How to Connect the Kindle Fire to a Projector
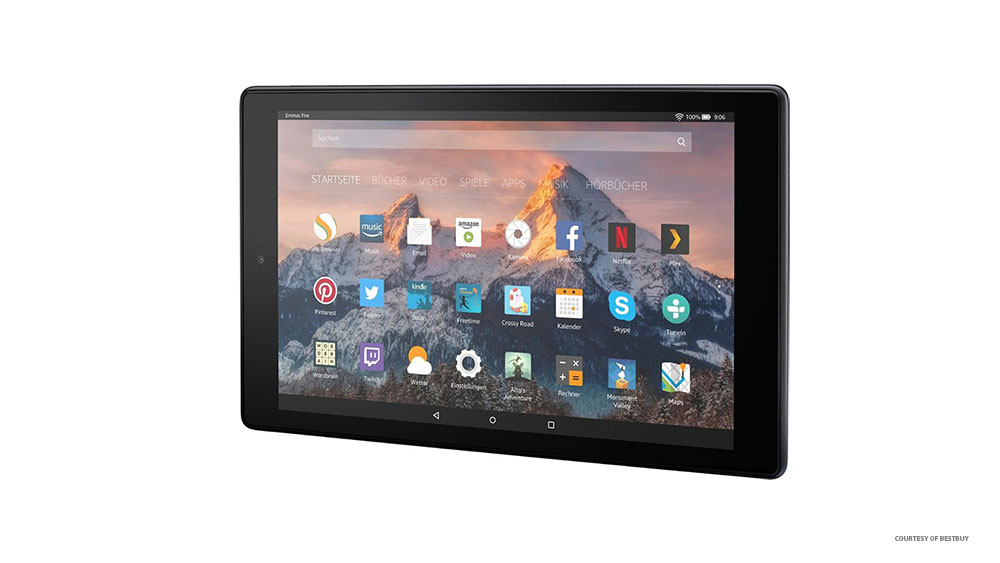
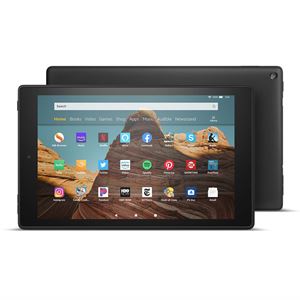
Kindle Fire, Amazon’s popular e-reader, allows you to do much more than just read books. Besides its numerous features, it can also play music and videos. Both of which you can share on your TV or projector.
Depending on the brand or model of the projector you’re using, there are three major ways to connect it to your Kindle Fire:
- Direct screen sharing
- Using an app
- Via a cable
Screen Sharing
Recent generations of projector may include some smart TV features, which could allow wireless connection with your Kindle Fire. This type of connection enables you to share your Fire tablet screen and audio directly to the projector. This is also known as “mirroring”.
To initiate screen sharing, first make sure that your projector is turned on and that it’s in the “Discoverable” mode. If you don’t know how to set your projector to this mode, please check the instructions that came with it.
To connect to the projector, proceed with the following steps:
- Turn on your Kindle Fire.
- Swipe down from the top of the screen and tap “Settings”.
- Tap “Display & Sounds”.
- Tap “Display Mirroring”. Please note that you may not be able to find this option. That means that the version of your Kindle Fire doesn’t support this functionality.
- Find your projector’s name in the list and tap it.
- Wait for the devices to connect. If this is the first time you’re connecting the two, it might take up to 20 seconds.
- If the connection was successful, you should see your Fire tablet’s screen on the projector.
When you want to stop sharing the screen, simply swipe down from the top of the tablet’s screen and tap “Stop Mirroring”.
If your projector doesn’t have the mirroring option but does have an HDMI port, you can try connecting your Kindle Fire using an HDMI display dongle. The process is the same as described above. By connecting the dongle to your projector, you may be able to wirelessly share the tablet’s screen on the projector.
Connect Using an App
Sometimes manufacturers will provide companion apps for their projectors. This enables you to quickly connect your smart device to a projector. These dedicated apps may also unlock some special features not available otherwise.
To be sure if your projector comes with an app, please refer to the device’s user manual. If so, download the app to your Kindle Fire. Next, open the app and follow the instructions on how to connect to the projector. Some devices use QR codes, while others may use a string of numbers and characters.
Once you establish the initial connection, simply start the app to share your Fire tablet’s screen on the projector.
Cable Connections
Depending on the brand and the model of the projector you’re using, it might have one of these types of connection:
- HDMI
- DisplayPort (DP)
- DVI
- VGA
- A/V jacks – 2 for audio and 1 for video
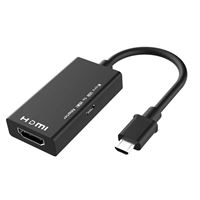
To connect your Kindle Fire to a projector using a cable, you’ll need an adapter with a micro-USB plug on one end and one of these connectors on the other. It’s worth noting that some projectors may have any combination of the mentioned ports as well.
HDMI and DisplayPort are modern, digital connection types. They can transfer both audio and video at the same time.
DVI and VGA are older types of connectors. DVI (Digital Video Interface) sends the signal digitally, while VGA (Video Graphics Array) is analog. They both pass along only the video component. That means that there’ll be no sound coming from the projector’s integrated speakers (if it has them) or the speakers connected to it.
In this case, you can enable the sound by doing one of following:
- Connect your Fire Kindle to a Bluetooth speaker.
- Plug your external speakers (or headphones) to the audio jack on your Kindle.
- As the last resort, you can always use Kindle Fire’s own stereo speakers.
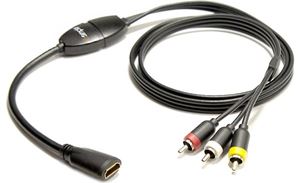
A/V Connection
A/V (Audio/Video) is an analog connection, and it’s quite different than the previous ones. A/V sends stereo audio to the left and right channels (white and red connectors), while transferring the video over a separate connector (colored yellow).
To connect to a projector in this way, you’ll need a converter to translate the audio/video signals from the digital to the analog standard. Most of these converters use the HDMI connection for an input. That means that you’ll need both the micro-USB to HDMI adapter and the HDMI to A/V converter.
To connect your Kindle Fire to a projector this way, you’d have to follow these steps:
- Connect the micro-USB end of the micro-USB to HDMI adapter to your Kindle Fire.
- Connect the HDMI end of the adapter to the HDMI port of the A/V converter.
- Plug in A/V jacks of the A/V cable to their respective ports on the A/V converter. This is for converters that don’t include the integrated output cables, unlike the one shown in the picture above.
- Connect the other end of the A/V cable (white, red, and yellow jacks) to the projector.
- Select the appropriate input on the projector, so it can process the signals coming to its A/V inputs.
Keeping Your Device Powered
When purchasing an adapter for any of the previously mentioned connections, make sure it has an additional micro-USB port.
Since you’ll use the port on your Kindle Fire to transfer the video, you won’t be able to charge it while doing so. That’s where the additional micro-USB port comes in handy, keeping your e-reader charged at all times.
For example, Amazon’s micro-USB to VGA adapter has an additional micro-USB port to serve this purpose.
Getting the Big Picture
Thanks to the mirroring option, you can now easily use your Kindle Fire on a much larger screen. Whether you want to stream a movie or simply play a mobile game, this allows you to truly share the experience with your friends and family.
Have you managed to connect your Fire tablet to a projector? Are you satisfied with how it looks? Please share your thoughts in the comments section below.

![what is the newest kindle fire [november 2019]](https://www.techjunkie.com/wp-content/uploads/2019/11/what-is-the-newest-kindle-fire-november-2019.jpg)