How To Convert Rows to Columns in Excel

Sometimes you need to restructure an Excel worksheet so the columns become rows and vice versa. Copying and pasting the data to restructure your table manually takes up a lot of your time. With large data ranges, it becomes virtually impossible to do.
Luckily, Microsoft Excel has a feature that does this automatically. Thanks to it, you can turn rows into columns and columns into rows with just a few clicks. Check out this article to learn how to do it.
Transposing Columns and Rows
Thanks to the ‘Paste special’ feature in Microsoft Excel, turning rows into columns and vice versa is an easy task. This feature is called ‘transposing,’ and you can perform it by following these steps:
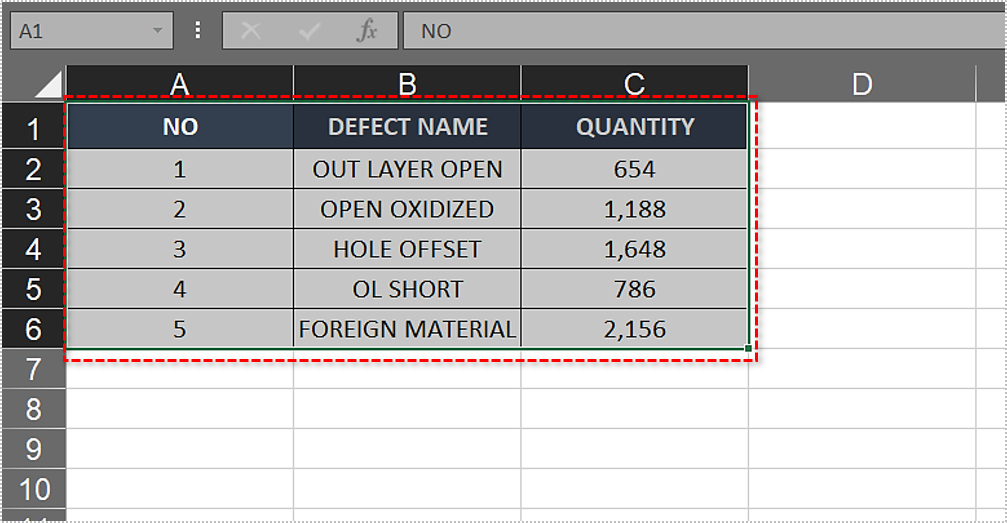
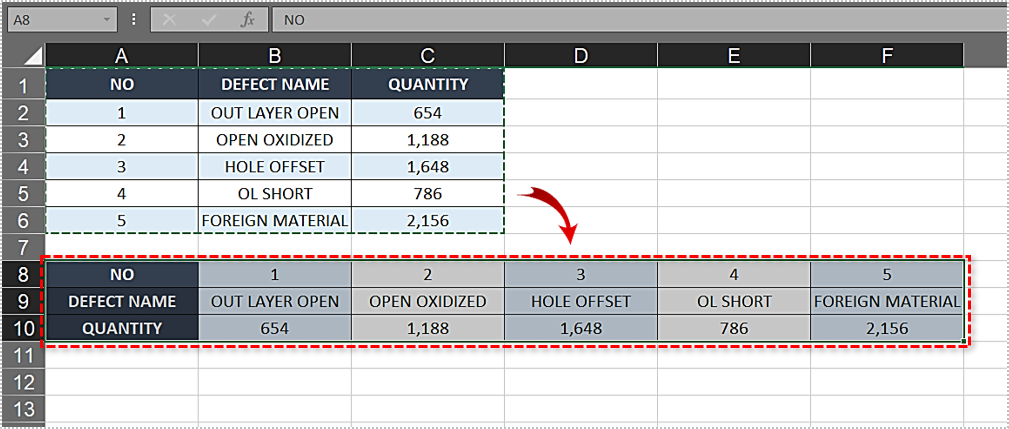
- Choose the data range that you want to switch. It may be any number of columns and rows, and you can select the range by clicking on it and dragging your mouse.

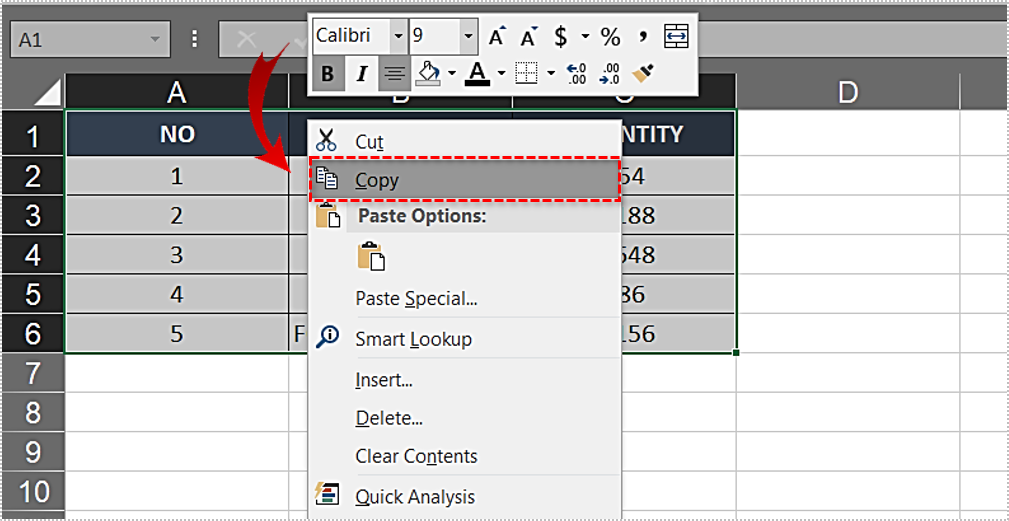
- Copy the table by pressing Ctrl + C. Alternatively, you can right-click and select ‘Copy.’ Do not use the ‘Cut’ option or Ctrl + X if you want to transpose the data.

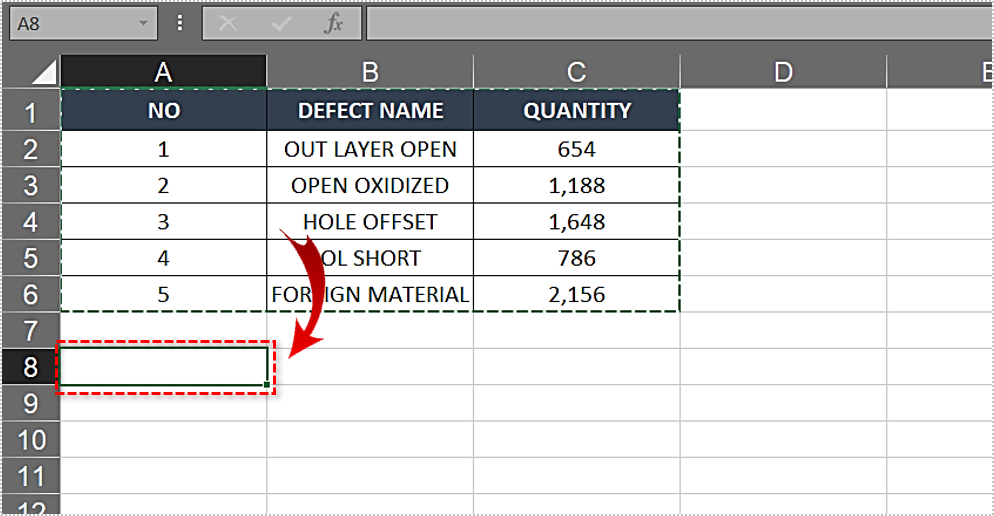
- Select an empty spot on your Excel worksheet where you want to paste the transposed table. You can also open a new Excel worksheet and paste the table there. Remember that if you paste new data over existing data, the old data will simply disappear.

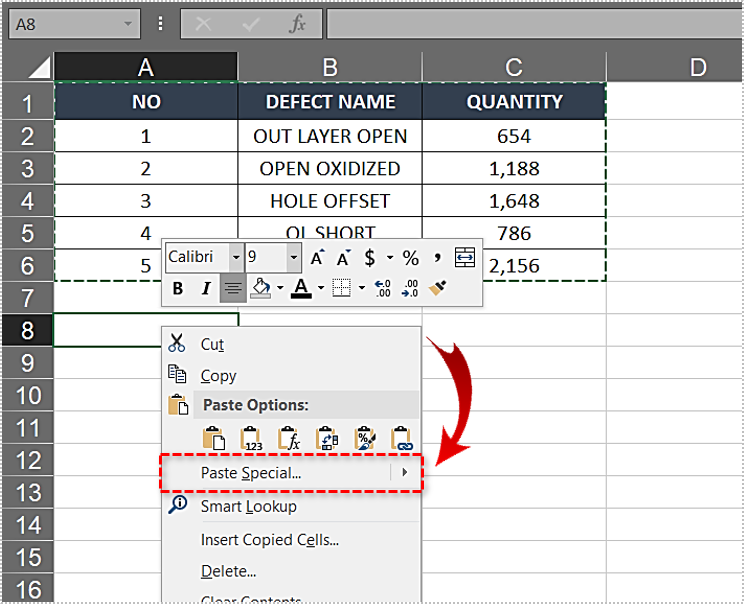
- Right-click on the empty space.

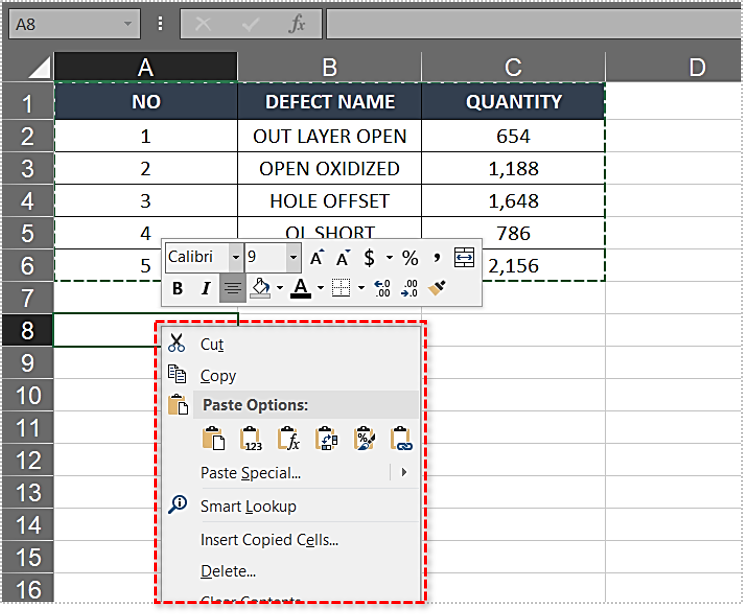
- Hover your mouse over the ‘Paste special’ option.

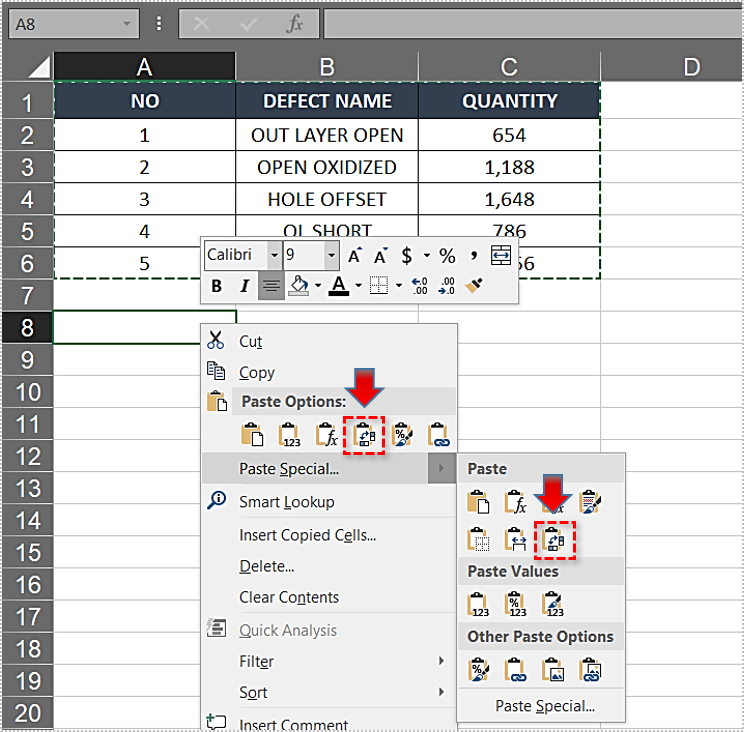
- Choose ‘Transpose.’ The icon shows rows and columns switching places.

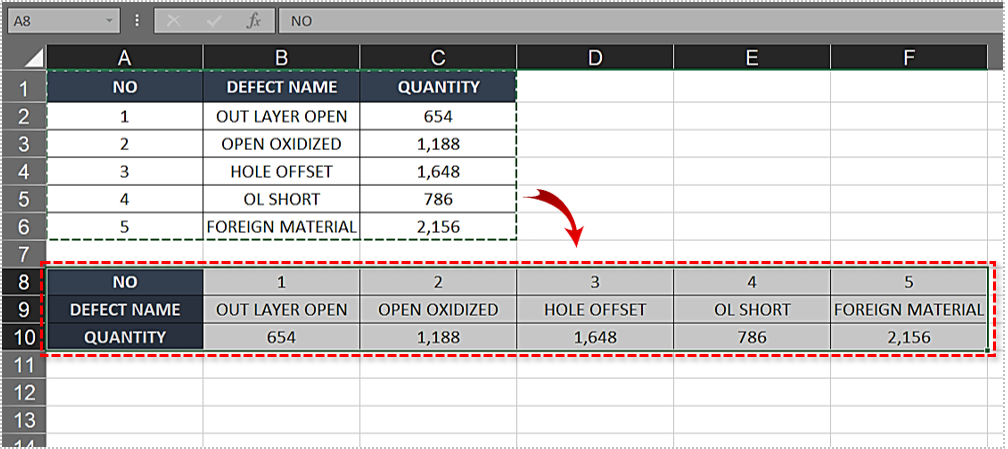
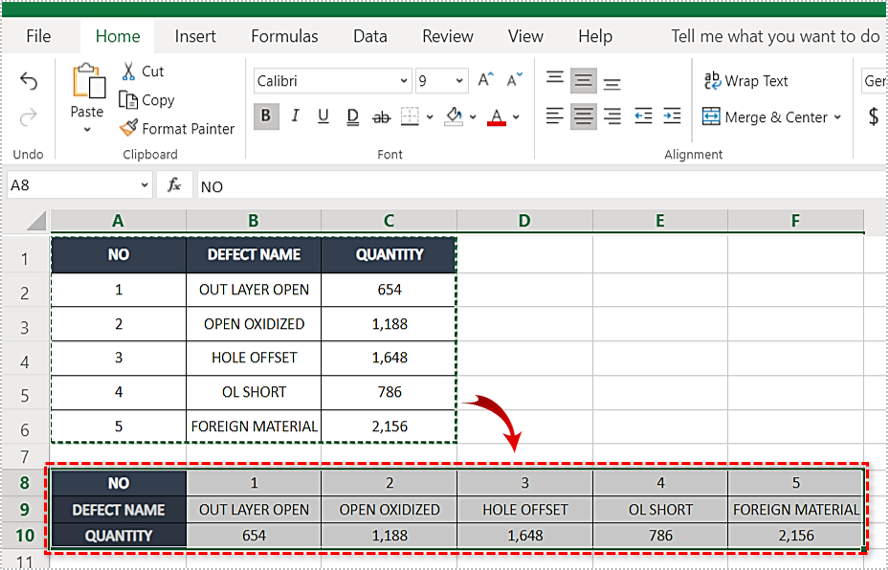
- The new, converted table should appear in the empty space you selected.

- You may delete the old table now.

Transposing on Excel Online
If you’re using the web browser version of Microsoft Excel, the process is similar:
- Select the data range that you want to convert.
- Right-click on the selected range.
- Select ‘Copy.’
- Choose an empty spot on your worksheet.
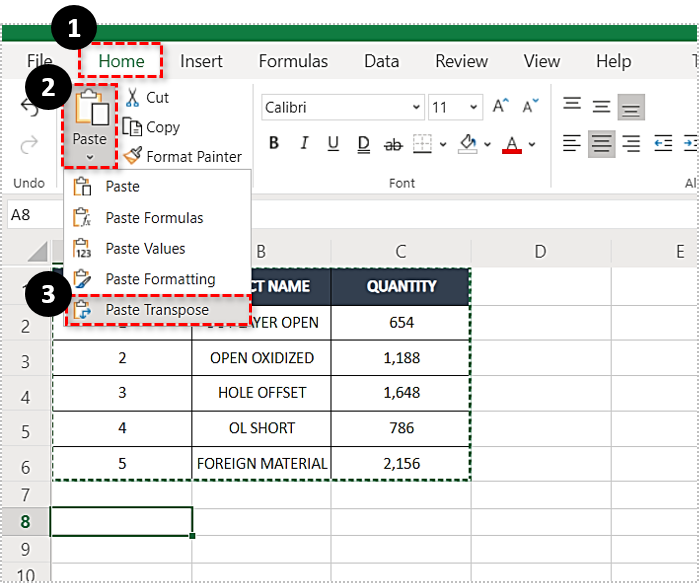
- Select the ‘Paste’ icon on the ‘Home’ tab.
- Choose ‘Paste transpose.’
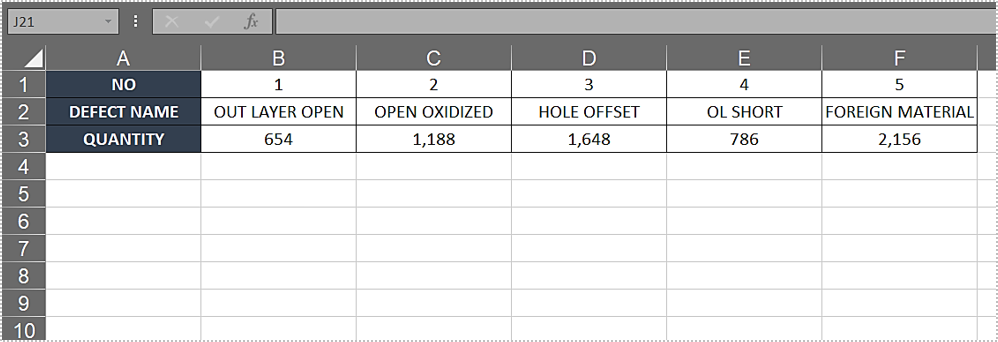
This should make cells and columns switch place.
Unable to Transpose Excel Table
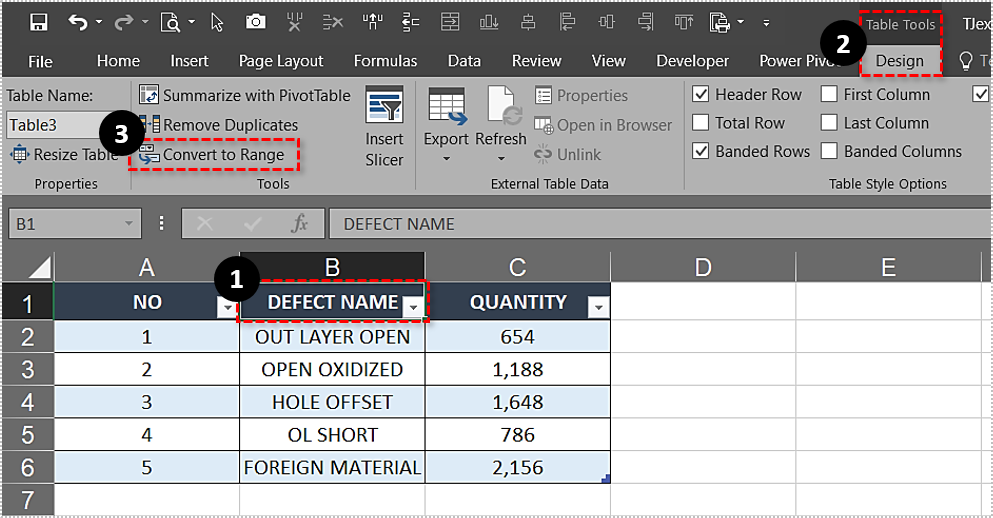
If you don’t see a ‘Transpose’ option among the paste options, it is probably because you want to paste an Excel table instead of just the data range. Since the feature doesn’t work with Excel tables, you need to convert it to a data range.
To do this, you should:
- Click on your table. You should see ‘Table tools’ above the ‘Design’ tab on the top of the worksheet.
- Click on the ‘Design’ tab. If you have a Mac, just select the ‘Table’ tab.
- Select ‘Convert to Range’ in the ‘Tools’ section.
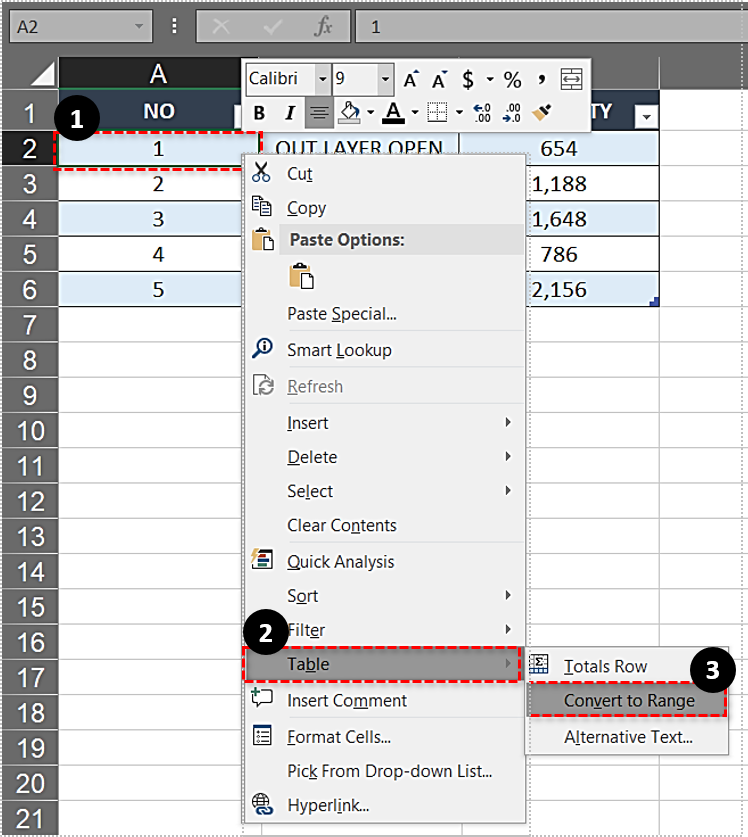
The other option is to right-click the table, go to the ‘Table’ menu and select ‘Convert to Range.’
Note that the features of the table will disappear when you convert it to a data range. For example, you won’t be able to sort and filter the row headers, since the arrows will disappear.
After you do this, you should be able to transpose your table. If the problem persists, consider contacting Microsoft Excel’s customer support, as your software may have a glitch.
Transposing Has a Catch
Now that you know how to rotate rows and columns, you can switch between these views as much as you like. Always make sure that you are selecting a data range when you transpose, instead of a table.
However, keep in mind that if your data has formulas, excel will automatically modify them to match the transposing. You should check if the formulas use absolute references to avoid misuse of data.