Four Fixes For “Failed to Connect to a Windows Service” Error

Nobody likes to see an error message pop up on their computer screen.
Windows 10 users may have, at one time or another, received this one: “Failed to connect to a Windows service.” If you’ve ever seen this error message, don’t panic! Here are a few solutions you can try:
1. Open Windows Command Prompt
You’re going to use the command prompt for this first attempt at solving the “Failed to connect to a Windows service” error message.
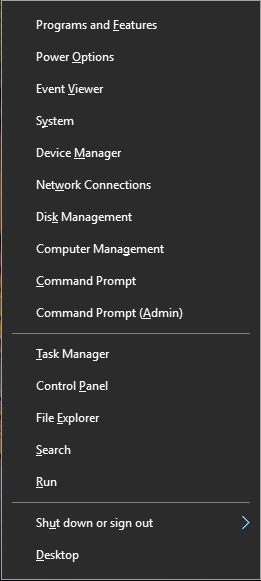
- Navigate to the command prompt by pressing the Windows key on your keyboard and the “X” key at the same time.
- A menu will pop up from the bottom left-hand corner of your display.
- Click on “Command Prompt (Admin)” in Windows 10. The Windows user access box will pop up, asking if you want to allow this app to make changes to your computer. Click “Yes.”

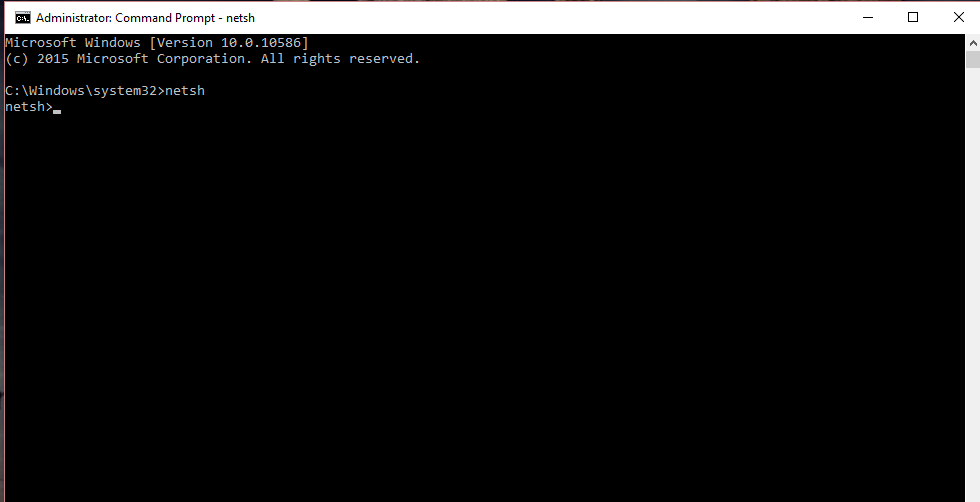
You’ll need to get into the Network Shell (netsh) on Windows. That, in turn, lets you run the command line to reset the Windows Socket (winsock) application.
- Now, in the Command Prompt, type “netsh” and press “Enter” on your keyboard.

- Then, type “winsock reset” and press “Enter” on your keyboard.

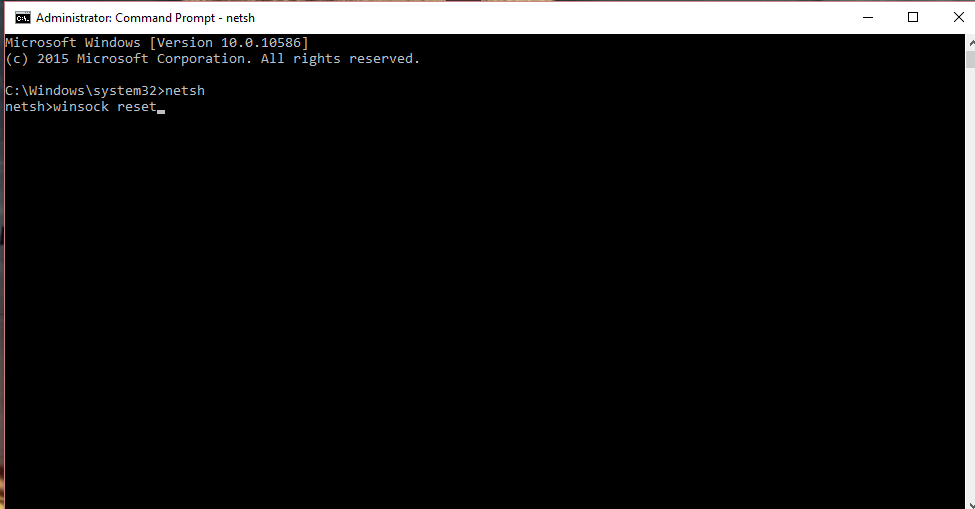
Now, cross your fingers and restart your computer to see if the error message has resolved itself.
2. Fast Startup
Our second solution is simply to disable fast startup in Windows. Here’s how you can do that:
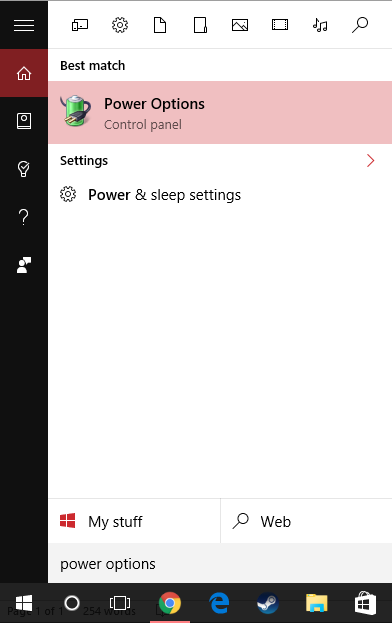
- Press the Windows key on your keyboard and the “S” key. This opens the Windows search box.

- Next, type “Power Options.”
- Click on “Power Options” when it appears in the search results.

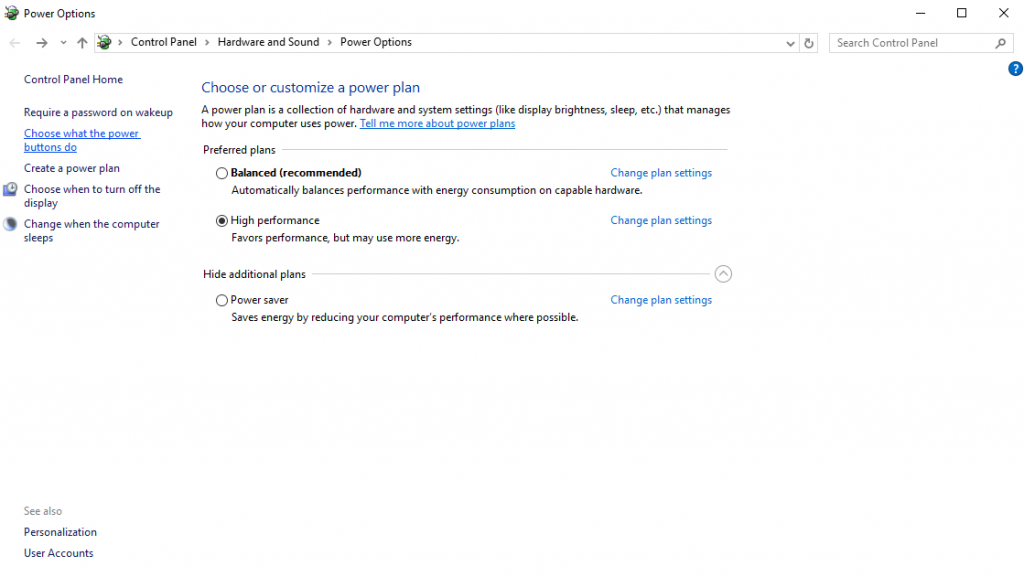
- Click on “Choose what the power buttons do.”

- Then, under “Shutdown settings,” uncheck the box that says “Turn on fast startup (recommended).”

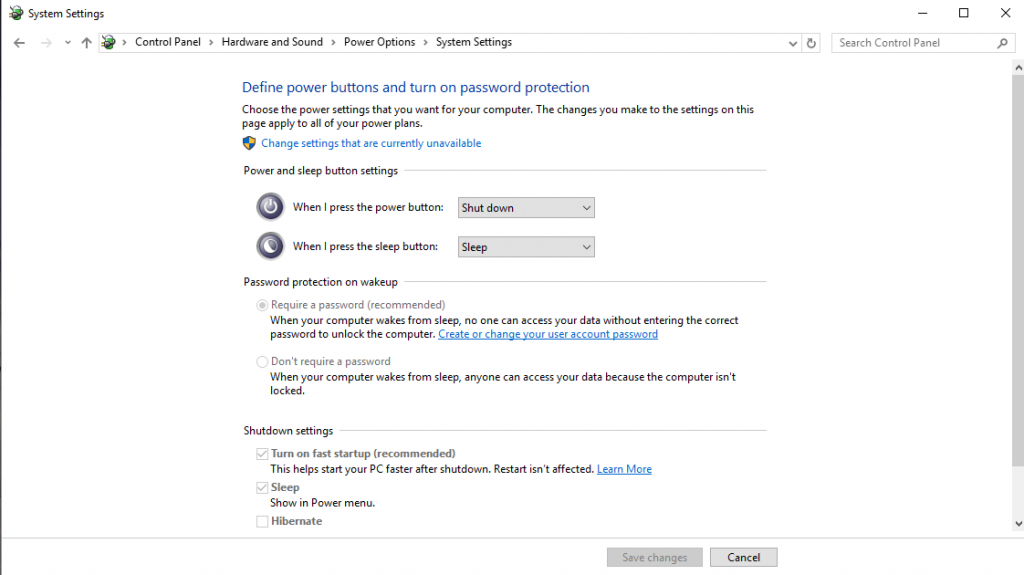
Click on the “Save changes” button to apply the new setting. Your computer may have a slower startup time by disabling fast startup, but it should fix the “Failed to connect to a Windows service” error from occurring.
3. Safe Mode
The third option to try is restarting your computer and begin by booting into Windows Safe Mode.
To enter Safe Mode:
- Click on the Start button (Windows icon in the lower left-hand corner of your screen)
- Click on the Power option/icon.
- Click “Restart” while holding the “Shift” key down on your keyboard.
After your computer restarts, you’ll be on a screen that says “Choose an option.”
- Your choices are: “Continue,” “Troubleshoot,” or “Turn off your PC.”
- Click on “Troubleshoot,” then click “Advanced Options,” then choose “Startup Settings.”
- In Startup Settings, select “Restart your PC.” When your computer restarts again, you’ll see a list of options, but you’ll press F5 to enter Safe Mode with Networking.
Once you’re in Safe Mode, restart your computer again as you normally would; this has been known to make the “Failed to connect to a Windows service” error go away.
4. Disable User Account Control
Lastly, though it’s frowned upon to do so (because you may be opening your computer up to security vulnerabilities), you could disable the User Account Controls on your PC. To do that, follow these steps:
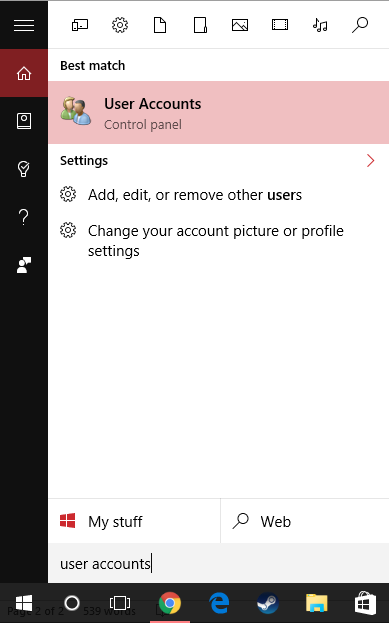
- Press the Windows key and “S” key on your keyboard at the same time to open the search bar.
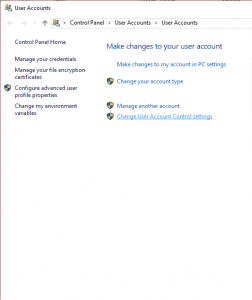
- In the search bar, type “User Accounts,” then select “User Accounts” when it appears in the search results.

- Select “Change User Account Control settings.”

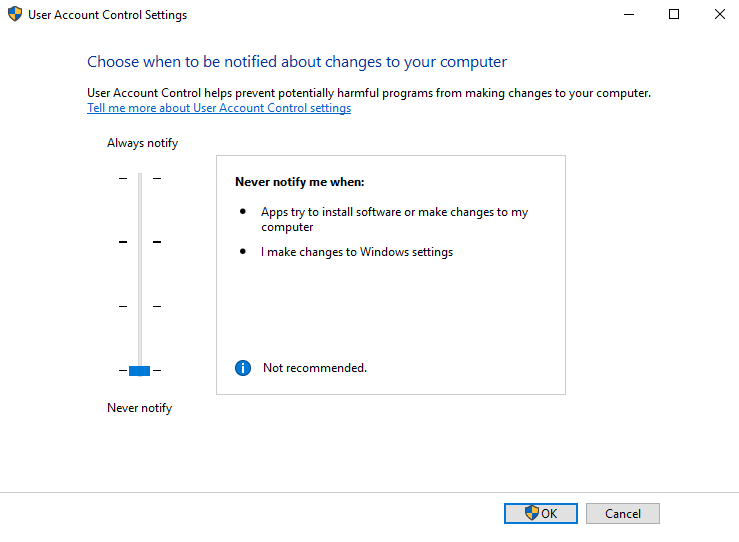
- In the User Account Controls settings window, move the slider down to “Never notify” me.

- Then, click the OK button to make those changes effective.
Click “Yes” if a box pops up asking you if you want to allow this app to make changes to your computer.
That’s it! You’ve now disabled User Account Controls and won’t need Admin rights to make any changes on your computer . . . and the “Failed to connect to a Windows service” error should also be gone.
If you’ve seen this particular error message on your computer, we hope that one of these fixes worked to solve things for you!