


How to Hide Cells in Excel for Mac OS X

Apple’s Numbers spreadsheet app, part of the company’s iWork productivity suite, makes it easy for users to create beautiful tables, but lacks the power and compatibility of Microsoft Excel. For those stuck with Excel on Mac OS X, however, manual formatting can still be used to improve the look of your tables. One of the most useful steps is to hide unused cells, mimicking the look of Numbers.
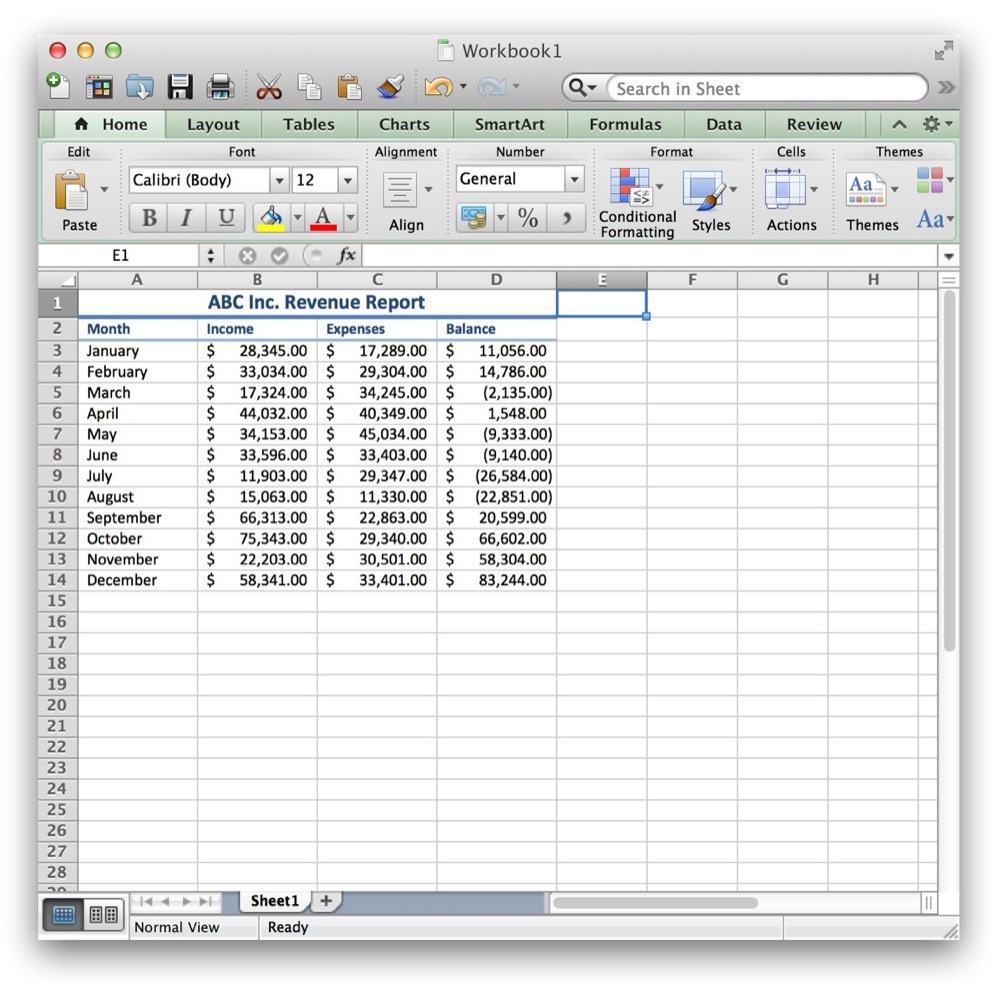
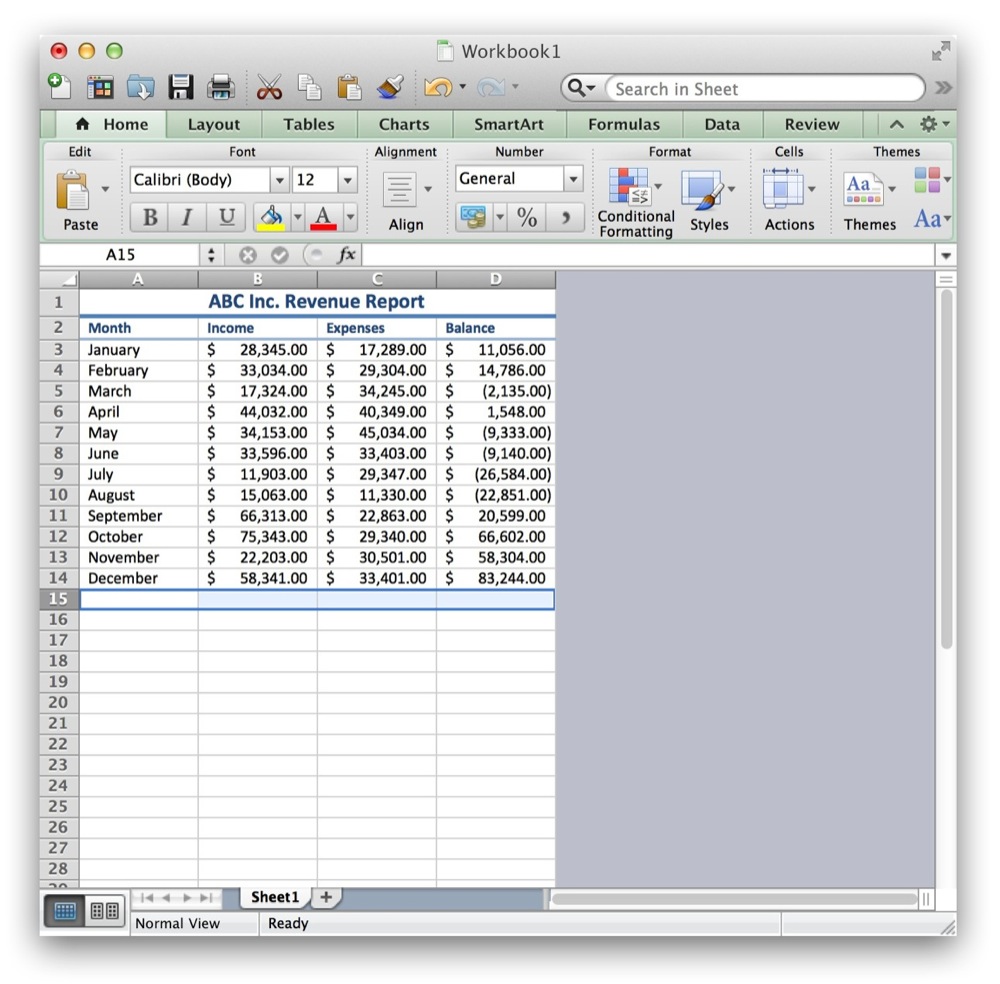
To hide cells in Excel for Mac, first create your table, making sure to leave room for expansion if necessary. Next, select the first column to the right of your data. Now we need to select all columns from this starting point to the end of the spreadsheet. Because Excel gives users spreadsheets with tens of thousands of rows and columns, we’ll use keyboard shortcuts to quickly jump to the end.
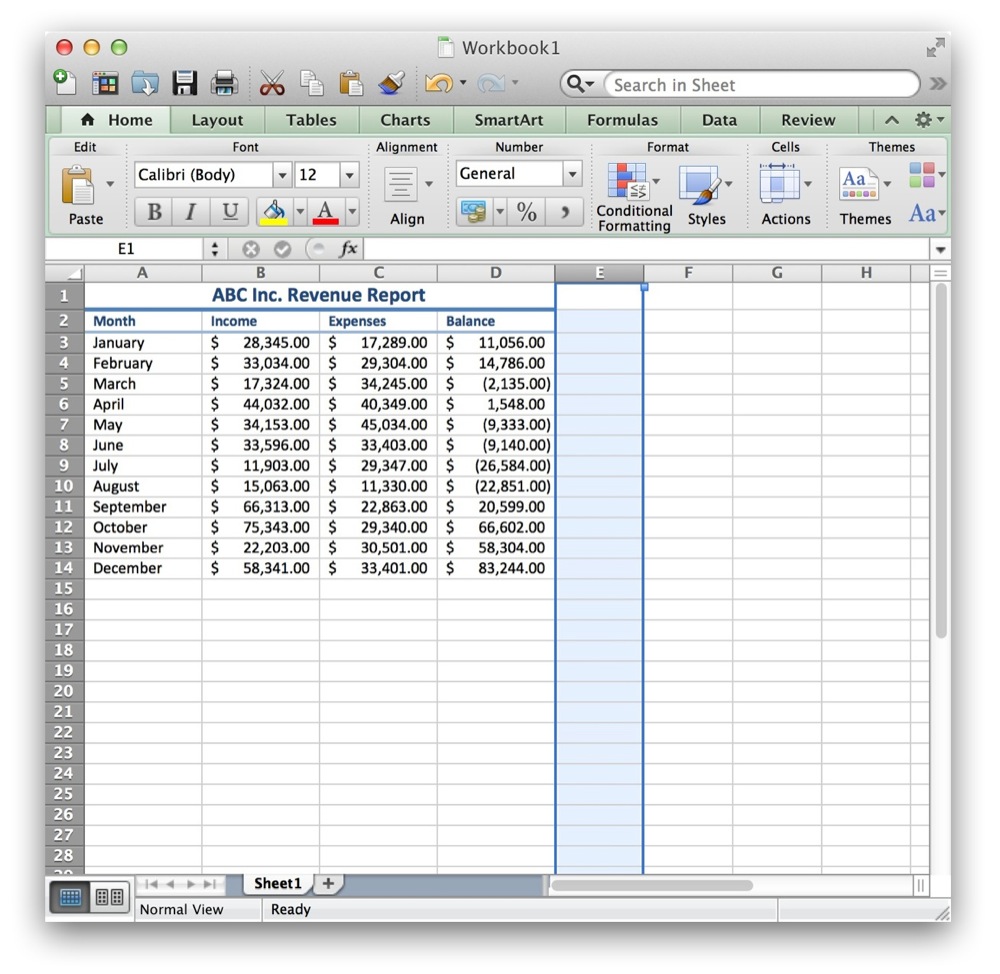
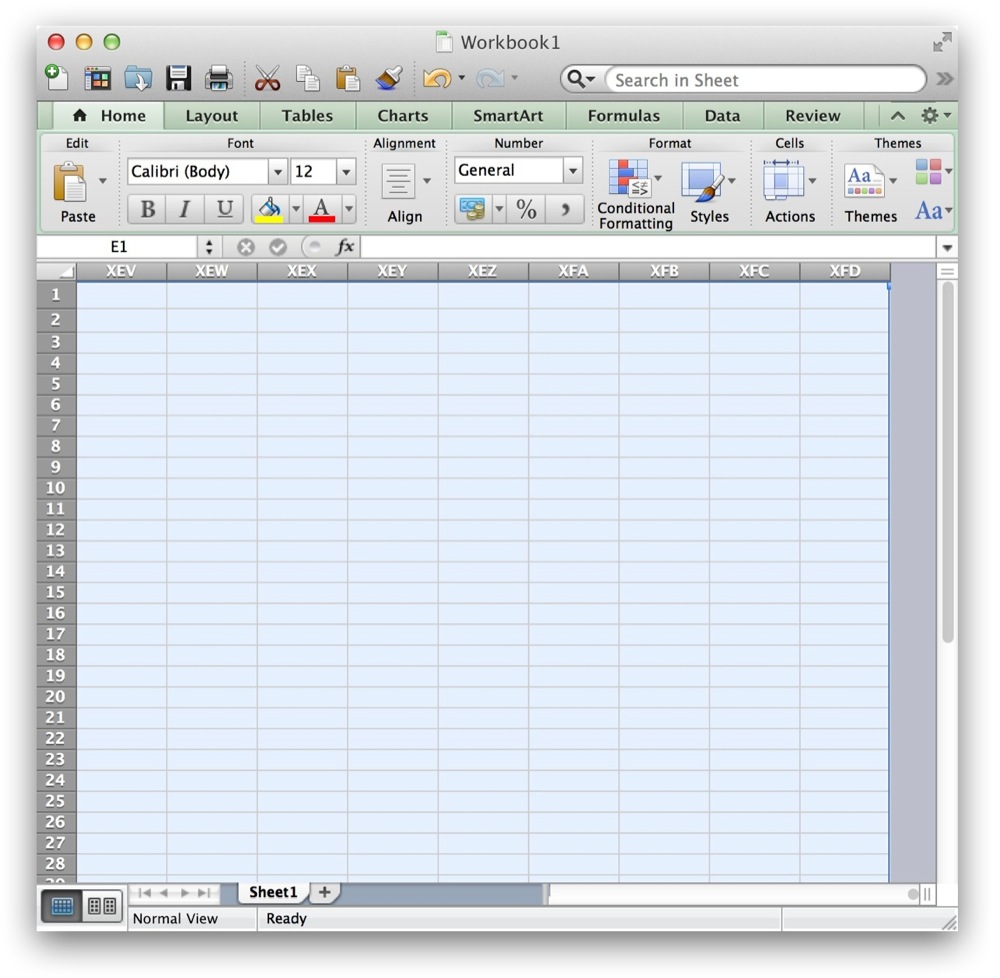
With the rightmost empty column selected, press and hold the Shift key and then press Command + Right Arrow. This will jump you to the end of the spreadsheet while the Shift key automatically selects every cell in between.
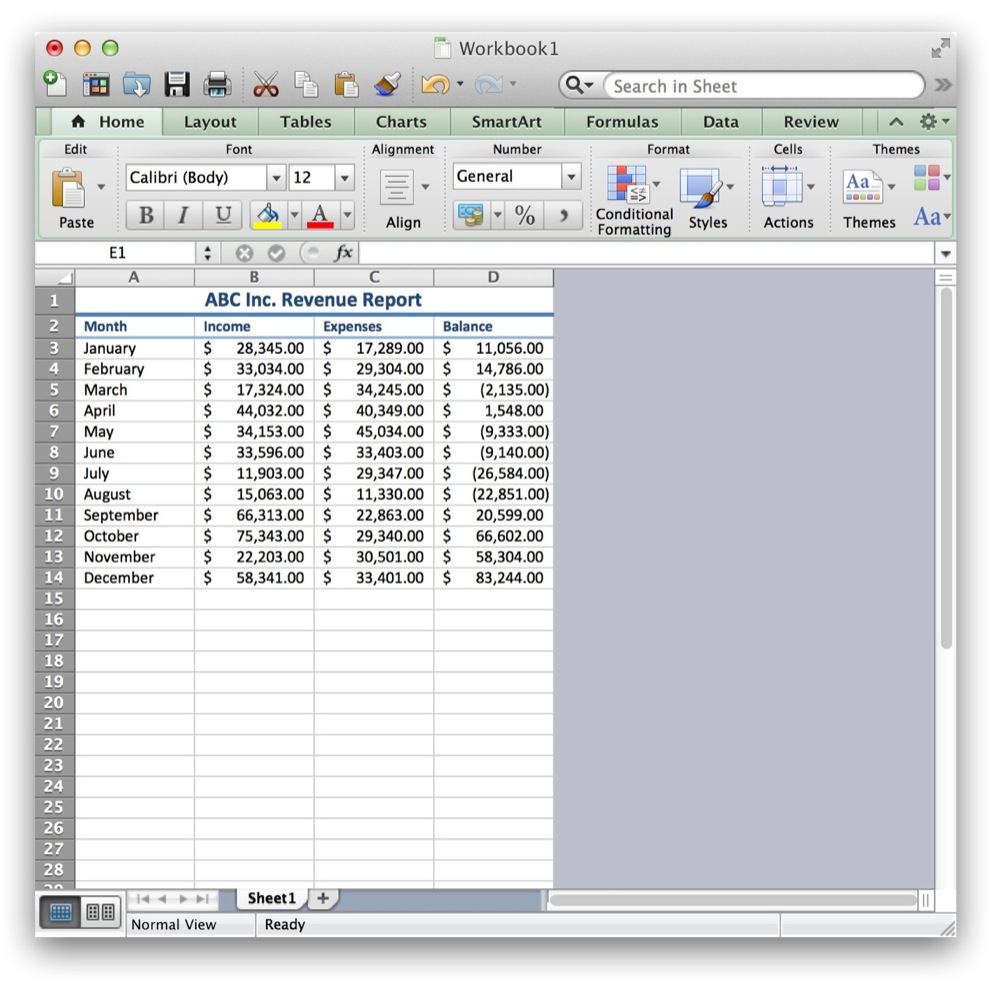
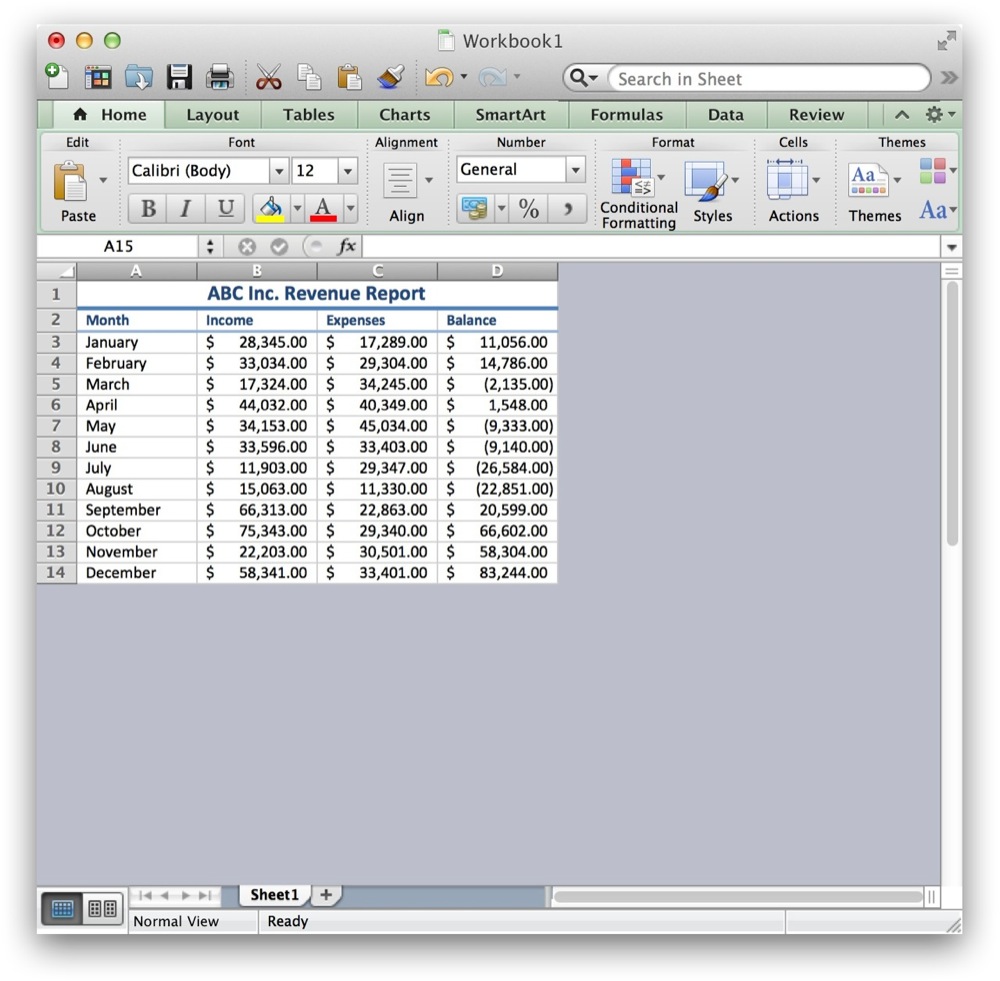
Now we have to tell Excel to hide these cells. With your cells still selected, go to Excel’s Menu Bar and choose Format > Column > Hide. You’ll now see all the cells to the right of your data disappear.
Next, we need to deal with the cells below your data. Similar to the steps above, this time select the first row beneath your data. With the bottommost cell selected, press and hold Shift and then press Command + Down Arrow. This will jump you to the very bottom of the spreadsheet and select all the rows in between.
Finally, head back up to Excel’s Menu Bar and choose Format > Row > Hide. You’re now left with a spreadsheet that features only cells containing your data, resulting in a much cleaner look.
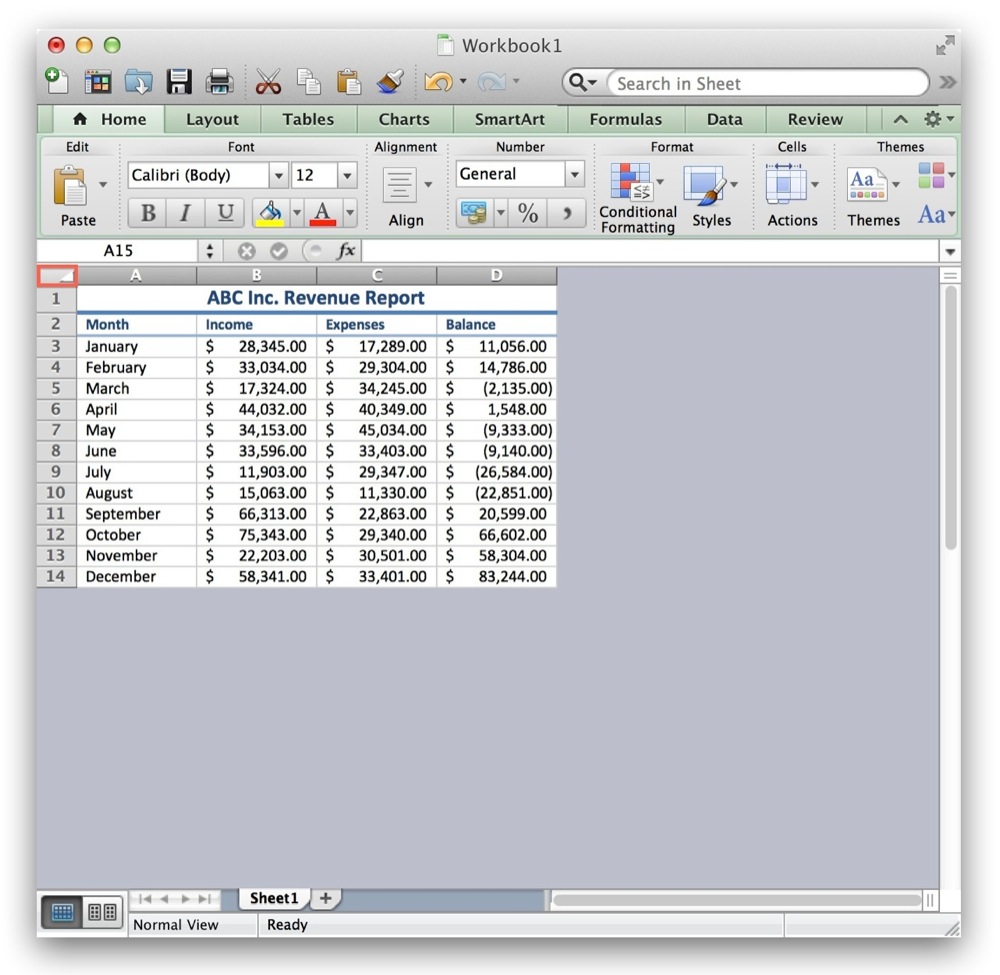
If you need to expand your table, or simply don’t like the new look, you can easily unhide the cells. First, click the top-left heading cell that looks like a white arrow pointing to the bottom-right corner. Clicking this cell will select all cells in your spreadsheet, both hidden and not. Once selected, go to Excel’s Menu Bar and choose both Format > Column > Unhide and Format > Row > Unhide. Your spreadsheet will now be restored to the default look.
In our example the hidden cells were empty, but these steps can also be used to hide cells that contain data. This can be useful for quickly hiding irrelevant or sensitive data during a presentation, for example. In either case, note that hiding data in this manner is not a secure solution, and these steps should only be used to hide data for purposes of convenience.


2 thoughts on “How to Hide Cells in Excel for Mac OS X”
Try it again if you never got it to work.. I know your post is three years old.
Make sure to click on the alphabet letter in the row to the right of your data to highlight that whole column.
Then, click/hold down Shift key and Command Key and press the Right (scroll) Arrow… all at the same time. It should select all unused cells to the right of your main document with data.
Then do the same with what is below your document with data on it. Select the row below your data, by selecting the number on the row. It will select that whole row. Then Shift plus Command plus Down (scroll) Arrow.
Let me know if it works for you.
Thanks!