


How to Remove Amazon Fire Stick Remote Cover
Amazon’s Fire TV devices are great set top solutions for all your streaming needs. They come with a rather handy little remote control that’s pretty versatile despite its apparent simplicity, especially on newer models.
Like any wireless device, it still requires electricity to function. Until wireless electricity becomes a more widespread option, you’re going to have to open the remote up at some point to replace the batteries. As with any electronic device, you need to be careful how you handle it, to avoid causing any damage. In this article, we’ll take a look at how to pop the back cover off your remote, so you can get back to watching your content as quickly as possible.
All About the Remote
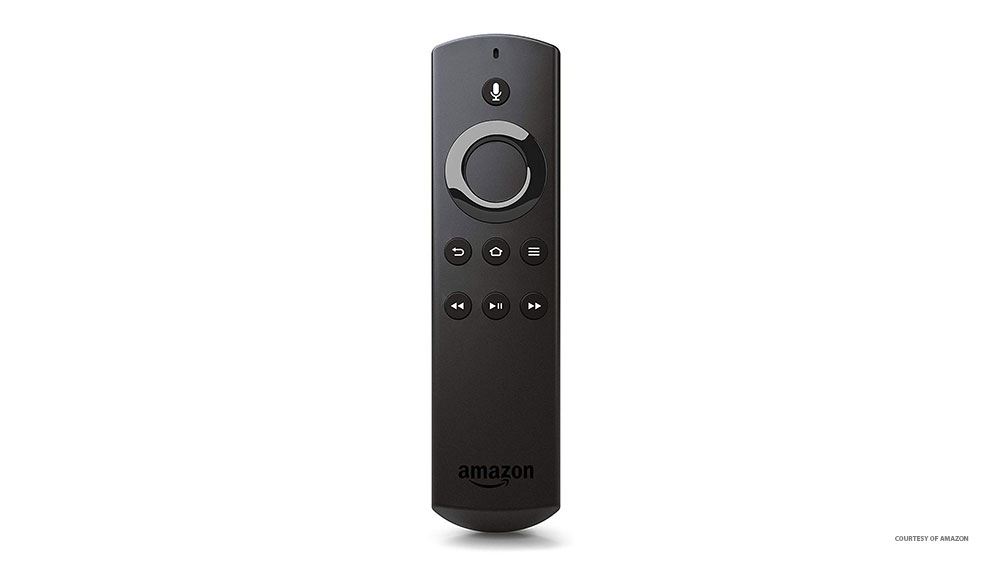
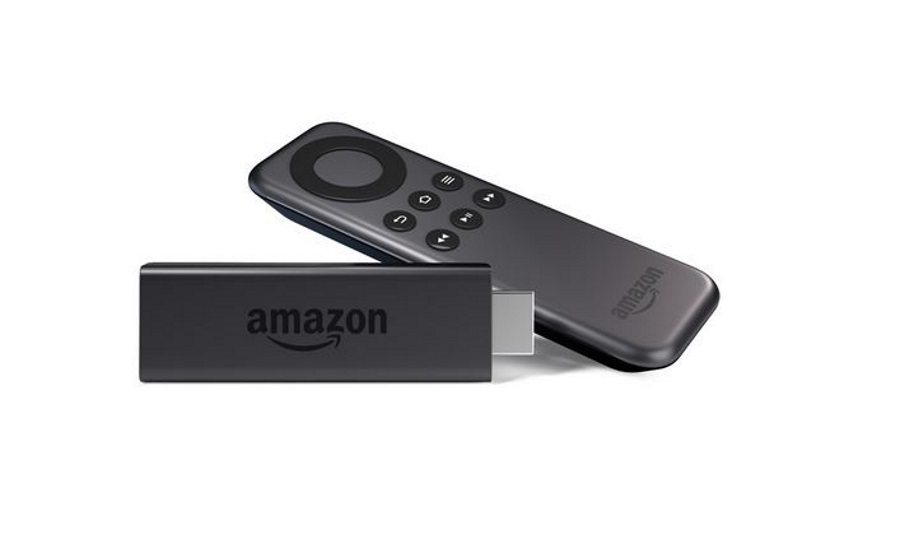
The first thing you’ll notice about the Fire Stick’s remote is that it’s much smaller than most TV controllers. Coming in at a mere 85.9 x 30.0 x 12.6mm, this diminutive little device is still pretty useful. Of simplistic, lightweight design, it’s easy for everyone to use (unless you’re as big as The Mountain from Game of Thrones, perhaps).
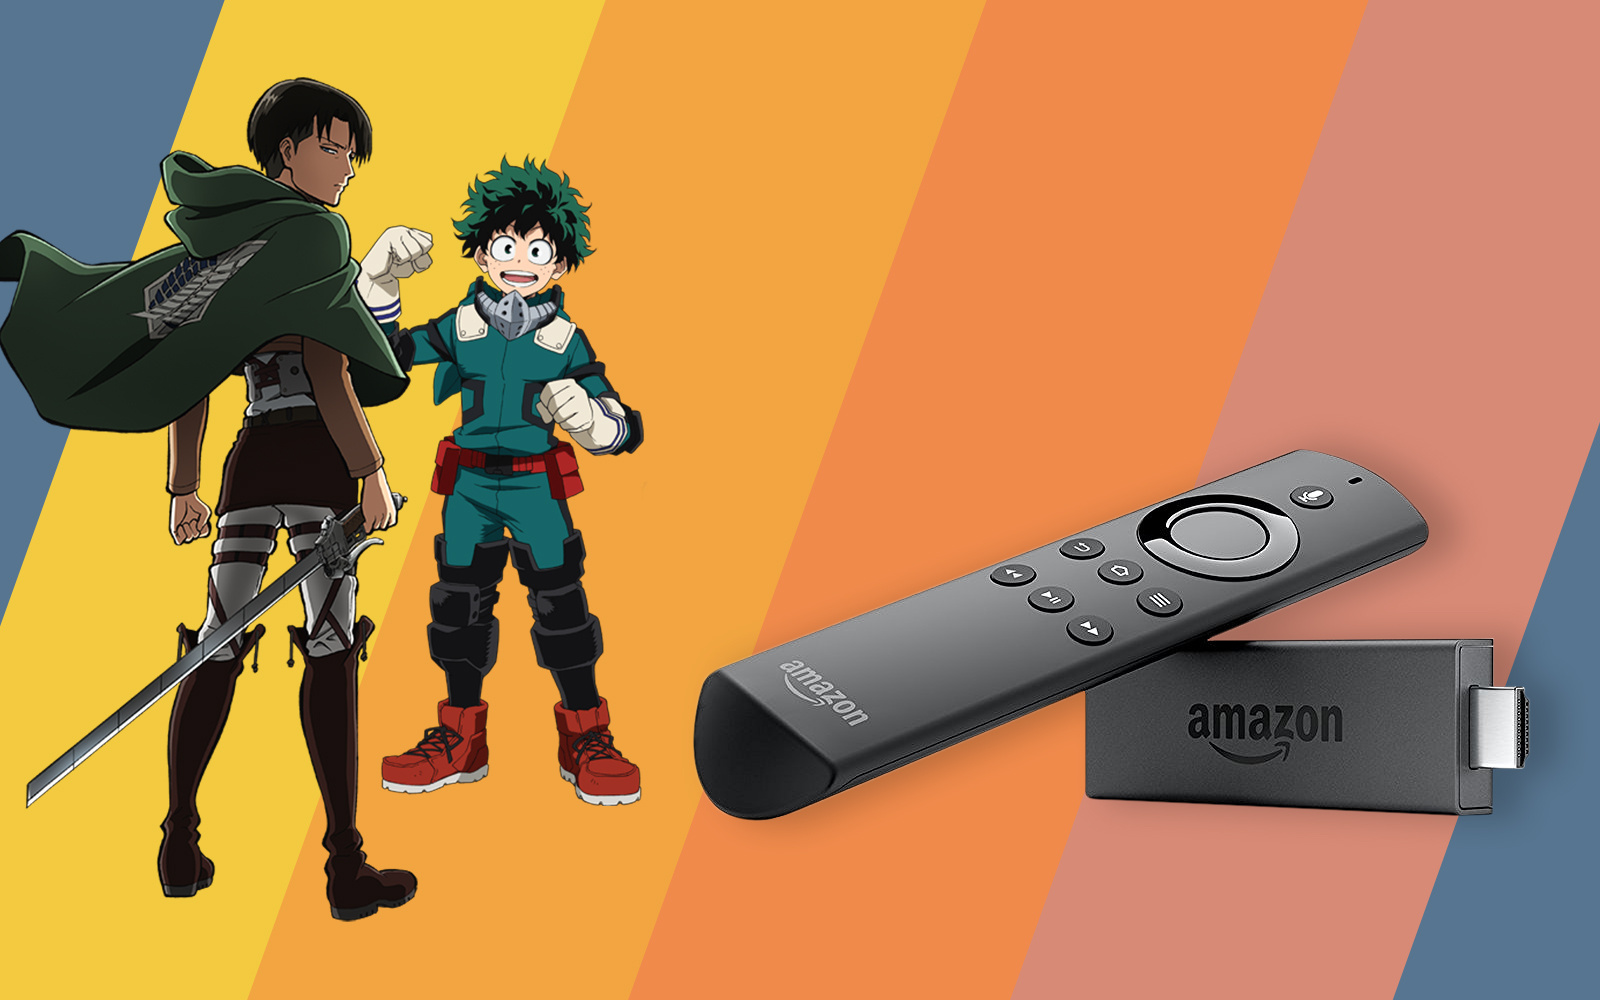
The newest versions of the remote control are also voice enabled, meaning that they’re powered by Amazon’s Alexa AI assistant. Just press the voice control button and tell Alexa what you want to watch, or ask it to search for a specific show or genre.
While this doesn’t work for every service that’s available for the Fire TV Stick, it’s a pretty huge quality of life upgrade over the average remote, and great for people with certain disabilities and conditions. Moreover, you can be sure that any app or content that comes directly from Amazon will be accessible using vocal commands.
Removing the Fire Stick Remote’s Cover
Once you know how, removing the cover from your Fire Stick remote is a fairly simple process, if it’s worth keeping in mind that some of the components are relatively delicate. It’s a good idea to take care when handling any electronic device, as you don’t want to break anything in your haste.
You won’t need to worry about removing the cover when you first buy your Fire TV Stick, because Amazon thoughtfully includes a couple of charged batteries with the remote itself. Eventually, however, these will run out, and you’ll need to replace them.
Removing the Cover of a 1st Generation Fire Stick Remote
If you’ve got an older model of Fire TV Stick, then it will have come with the original remote control. The batteries in this remote are placed next to each other in a side by side fashion. The cover on these remotes can be somewhat tricky to remove, which is why the mechanism was redesigned for later models.
Here’s how to get the cover off so you can replace the batteries:
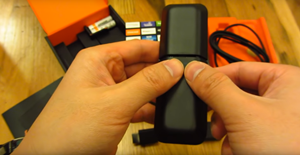
- Turn your remote over so the buttons are facing towards the ground, with the top of the remote facing away from you
- Locate the small thin rectangular indentation in the middle of the remote
- Apply firm pressure with both thumbs on the indentation
- While still applying pressure, pull towards the bottom of the remote with your thumbs
- The cover will slide down, and you can then remove it from the remote to reveal the battery compartment.
If the cover is especially hard to remove, despite following these instructions, you can use a small flat head screwdriver to help get some leverage. Press down with your thumbs, as mentioned above, then insert the head of the screwdriver into the gap between the cover and the body of the remote, and use this to help push the cover out, while still applying pressure on the indent.
To replace the cover, simply put it back the same way up on the rear of the remote, and slide it upwards back into position until you hear it click into place.
Removing the Cover of a 2nd Generation Fire Stick Remote
The newer Fire TV Stick remote is an impressive upgrade from the original, coming with voice activation as well as a redesign of the battery cover, in order to make it easier to open than the previous model.
Here’s what you’ll need to do to remove the cover from the remote:
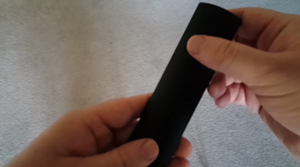
- Turn the remote over so that the buttons are facing the ground and the top of the remote is facing away from your body
- Locate the small arrowhead-shaped indentation towards the bottom of the remote
- Place one thumb over the indent, and one half way up the cover.
- Apply pressure on the indent, and push upwards until the cover starts to slide upwards.
To replace the cover, simply put it back on the rear of the remote and slide it downwards until you hear it click in to place.
Take Control of Your Remote
Now that you know how to remove the battery cover on your Amazon Fire TV Stick’s remote control, you can easily replace the batteries whenever they run out. If you’ve found another way to help get the remote cover unstuck, other than using a flathead screwdriver, why not share your method with us in the comments section below?


One thought on “How to Remove Amazon Fire Stick Remote Cover”