


How to fix ‘The hosted network couldn’t be started’ error in Windows 10
If you’re seeing this error when trying to set up your Windows PC as a wireless hotspot, you’re not alone. Cables are so last century, so when you want to share data between devices or allow your phone to access the internet through your computer, setting up a hotspot is the way to go. Unfortunately, Windows often has other ideas.
The full error syntax is ‘The hosted network couldn’t be started. The group or resource is not in the correct state to perform the requested operation’. The error is telling you that your hosted network isn’t working because the adapter cannot be switched on or won’t stay enabled. The cause is usually a configuration error within the network adapter settings and we can fix it. Here’s how.
Fix ‘The hosted network couldn’t be started’ error in Windows 10
Even though I refer to Windows 10 here, the same methods should work in earlier versions. I will assume that you have rebooted your computer and retested and that you have checked that Wi-Fi is enabled on your devices already.
- Right click the Windows Start Button and select Control Panel.
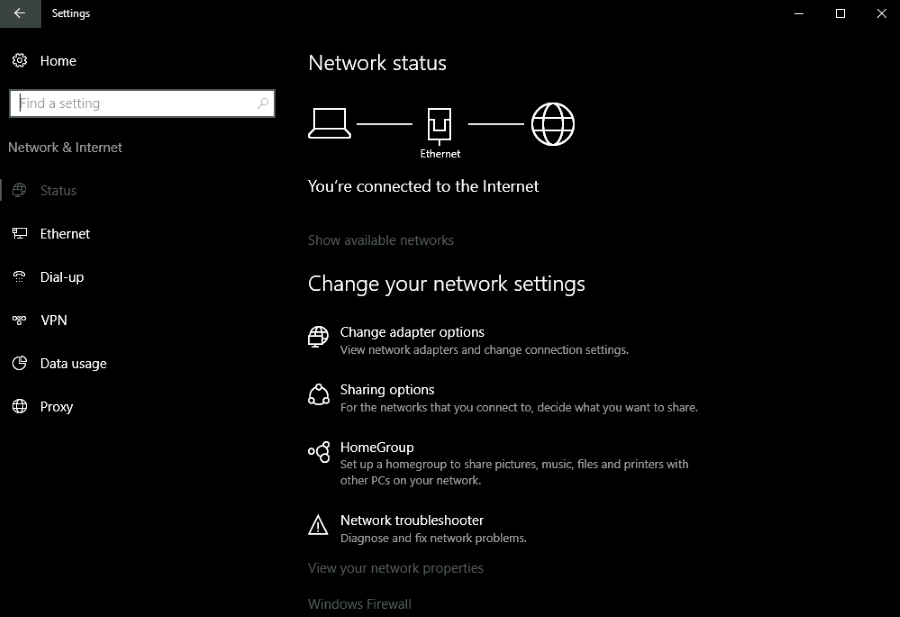
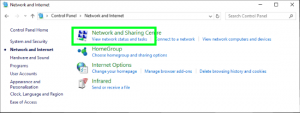
- Navigate to Network and Internet and View network status and tasks.
- Click Change adapter settings.
- Right click your wireless connection and select disable. Then repeat and enable.
- Retest.
This resets the wireless network and forces Windows to reload the configuration for it. Sometimes this is enough to fix the error.
If you still see ‘The hosted network couldn’t be started’ error after that, try this:
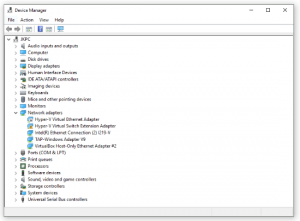
- Right click the Windows Start Button and select Device Manager.
- Navigate to your Microsoft Hosted Network Virtual Adapter.
- If it is disabled, enable it. If it is already enabled. Disable and re-enable it.
- Right click the adapter, select Properties, Power Management and make sure the box next to ‘Allow the computer to turn off…’ is checked.
- Open a command prompt as an administrator.
- Type ‘netsh wlan start hostednetwork’.
If you have an existing hosted wireless network, it should now begin working. If you don’t have a hosted network, do this:
- Open a command prompt as an administrator if you closed it.
- Type ‘netsh wlan set hostednetwork mode=allow ssid=NETWORKNAME key=PASSWORD’. Where you see NETWORKNAME, add a name of you own choosing. The same for PASSWORD.
- Type ‘neths wlan start hostednetwork’.
Now your network should work as expected. If it doesn’t and you still see ‘The hosted network couldn’t be started’ error, there is something more than configuration amiss and you may need to rebuild IPv4 or troubleshoot your Wi-Fi card.


One thought on “How to fix ‘The hosted network couldn’t be started’ error in Windows 10”
the last windows update broke my hotspot and I can’t get it to run again.
Non of the tipps worked for me.
Is there a new way fix that problem?
In the device manager I only can find the following:
Microsoft Wi-Fi Direct Virtual Adapter
But I guess that’ the right one.