


How Do I Add Sources to Kodi?
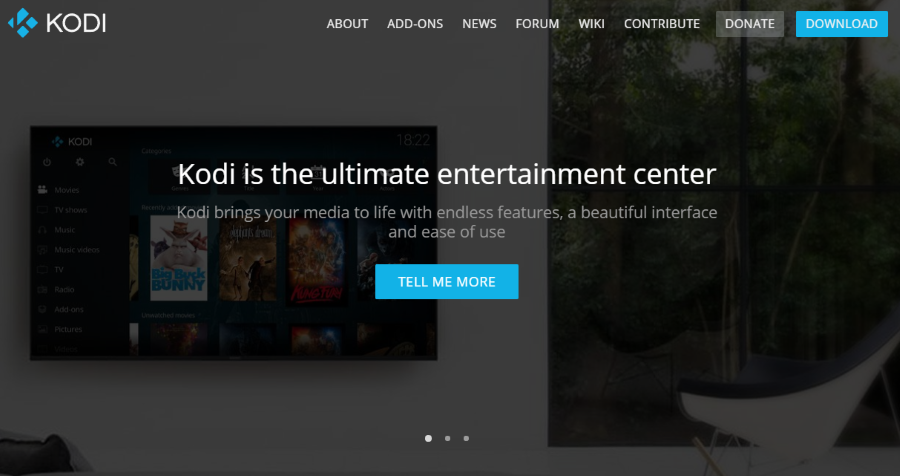
This Tech Junkie post told you about the open-source Kodi media center. A source is a link to any media you need to open in that software. You can add video, image and music sources to Kodi from your hard drive, CD/DVDs or even remote network storage devices. As Kodi doesn’t automatically scan for images, music or video on your HDD, you’ll need to manually add your content to it. This is how you can add media to the latest Kodi v17.1 (otherwise Krypton), which is pretty much the same as adding sources to Kodi 16.1.
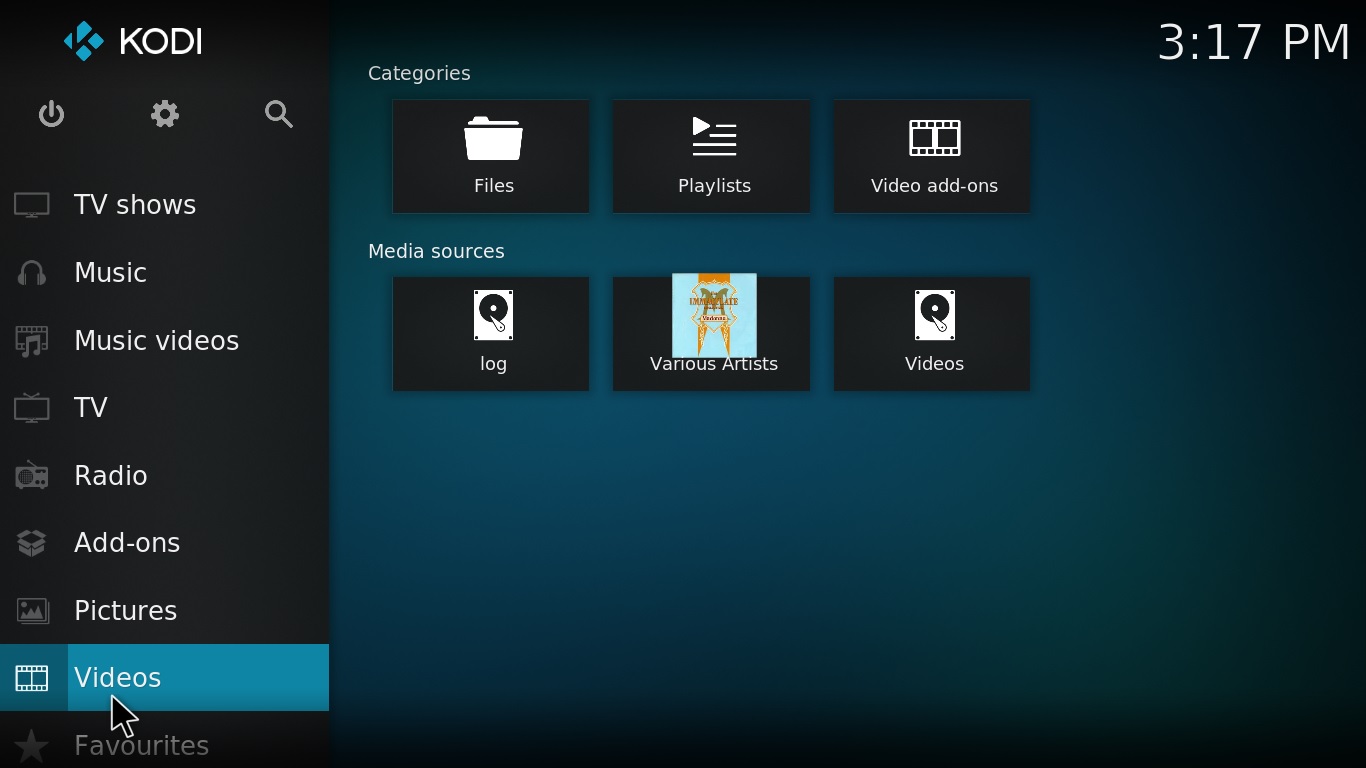
If you haven’t already installed v17.1, you can add it to Windows, or other platforms, from this page. Click Windows on that page and press the Installer button to save the setup wizard to one of your folders. Open the Kodi setup wizard to add the software to your desktop or laptop. If you’re updating Kodi, select to install v17.1 in exactly the same folder path as 16.1. Then you can open Kodi’s home screen shown in the shot directly below.

Add Picture Sources to Kodi
Firstly, you can add images to Kodi by clicking Pictures on the left sidebar. Then select Add pictures to open the window shown in the snapshot directly below. There press the Browse button and click the C: drive to select a folder that includes your images. For example, that could be the default Pictures folder in Windows. Press the OK button to confirm selection.
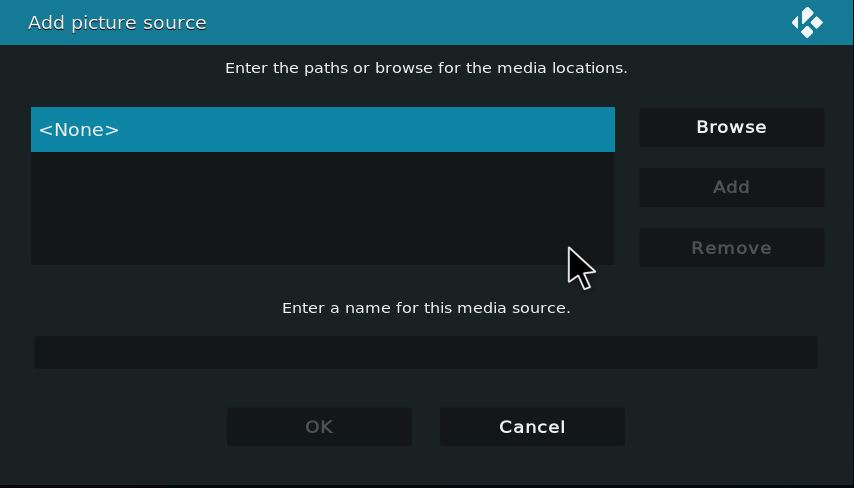
The title for the media source will be the same as its folder by default, but you can edit it if required. Then press OK to add the selected media source to Windows. Note that you can also press the Add button to add another media folder source to Kodi. That enables you to combine media from two, or more, separate folders in one Kodi media source.
Add Music Sources to Kodi
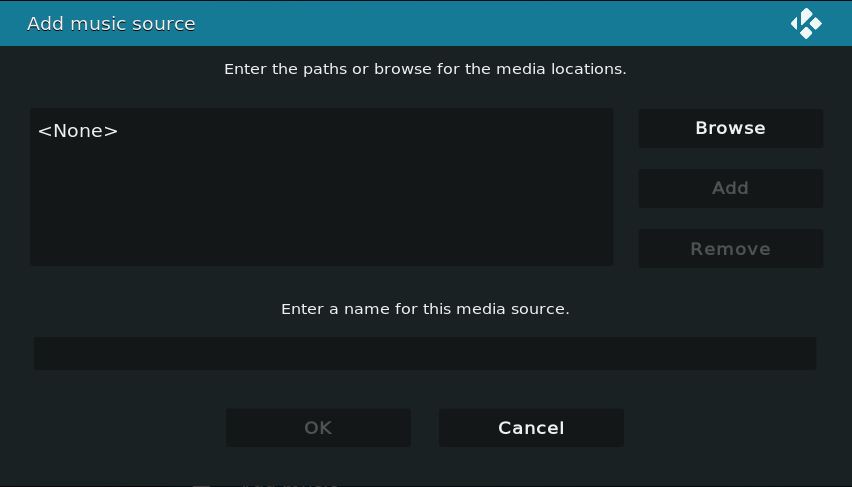
To add music to Kodi from your hard disk, select Music on the left sidebar and click Files. Click Add music to open the window shown below. You can select the music source just the same as pictures by pressing the Browse button. Press OK and click the Yes button to confirm your selection. Then you can select the recently added albums from Kodi’s home screen by hovering the cursor over Music on the sidebar.
Add CD/DVD Source Content to Kodi
If you have lots of music albums on CD/DVDs, you can also rip those from the discs. Then you can play those media sources in Kodi without inserting the CD or DVD. However, adding music sources from CD/DVD requires some configuration of Kodi’s default settings.
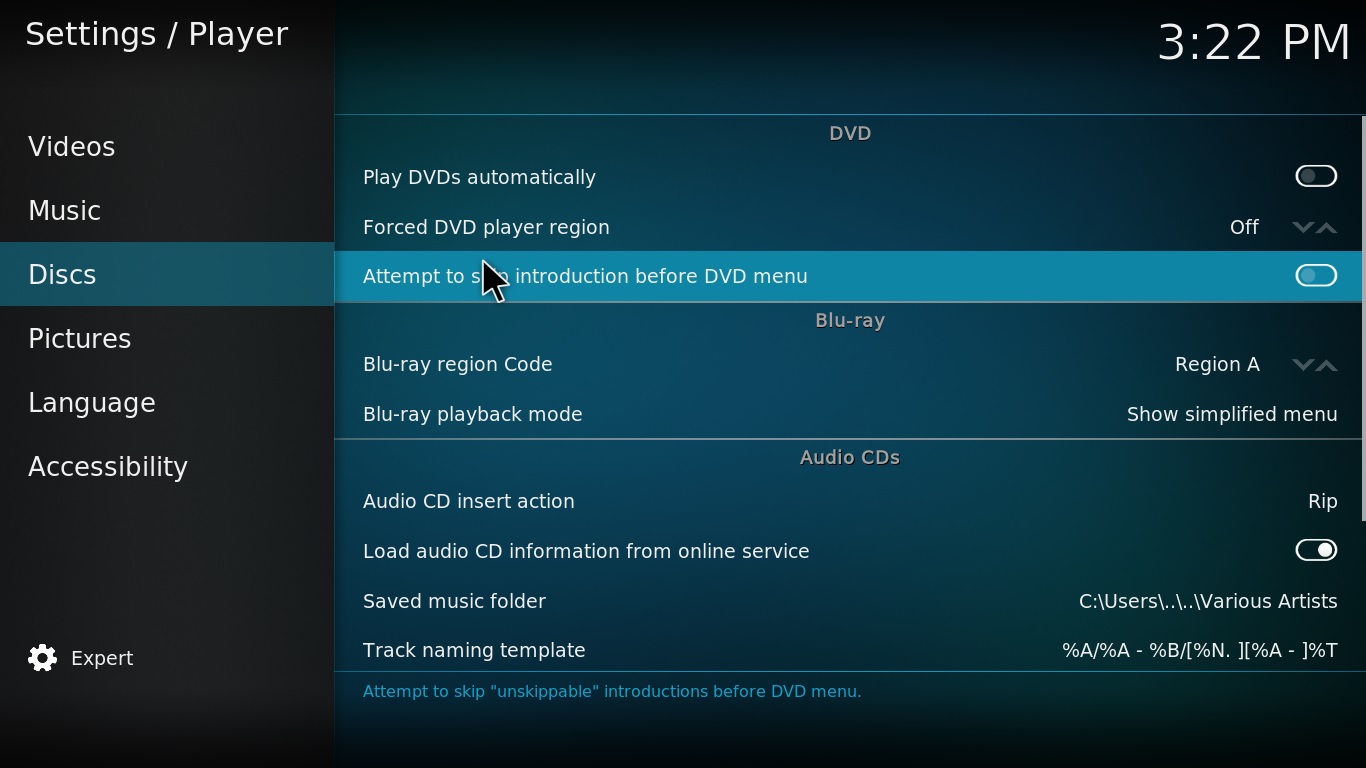
First, click the cog icon at the top of Kodi’s sidebar and select Player settings to open Settings/Player options. Then hover the cursor over Disc to open the options shown in the shot below. Click Audio CD insert action and select Rip. Next, click Saved music folder and select a path to save the ripped tracks to. You’ll also need to click Encoder and choose an audio encoder, which can be either WMA or AAC.
Now when you insert a music CD/DVD, Kodi will automatically copy its content to the designated folder. It shows you what tracks its ripping at the top right corner of Kodi’s window as below. It will probably take about 10-20 minutes to copy all the tracks, but much depends on how many there are. Then you can play the album without the CD/DVD by adding its folder media source to Kodi.

Add Video Sources to Kodi
There are various types of video sources you can add to Kodi, which include your own recorded clips, movies, TV shows and music videos. So when you add videos to Kodi, you also need to select some additional options to clarify what type of video media is in the folder. Furthermore, Kodi also scrapes a variety of metadata from web sources with scrapers that provide fanart, posters, trailers and summary details for movies, music videos and TV shows in your libraries. As such, video media sources have extra scraper settings.
To add videos to Kodi, click Videos on the sidebar, Files and select Add videos. Then press the Browse button as before to select a HDD folder that includes videos. The title for the media source will be the same as the folder, but you can edit it in the text box on the Add video source window. Press the OK button to open the Set content window in the snapshot directly below.
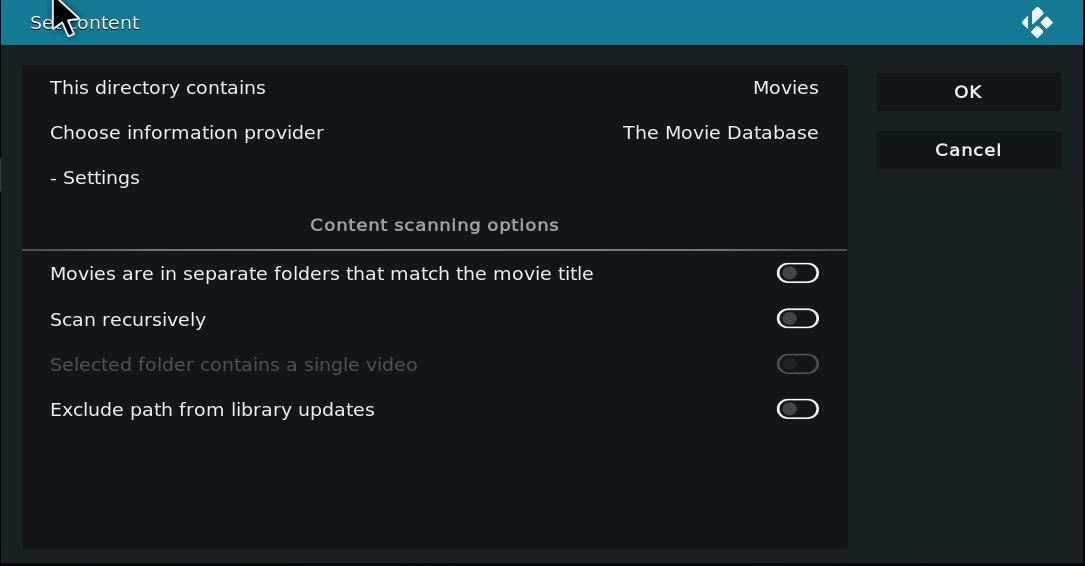
Now you can select the type of video the folder includes by clicking This directory contains. Then select Movies, TV shows, Music videos or None if the directory includes your own recordings. If the videos are movies, music or TV shows, you can select a scraper by clicking Choose information provider. The Movie Database is the default scraper for films, but you can select others by pressing the Get more button on the Movie information window. As you can only select one type of media scraper, make sure that all selected sources include the same type of content.
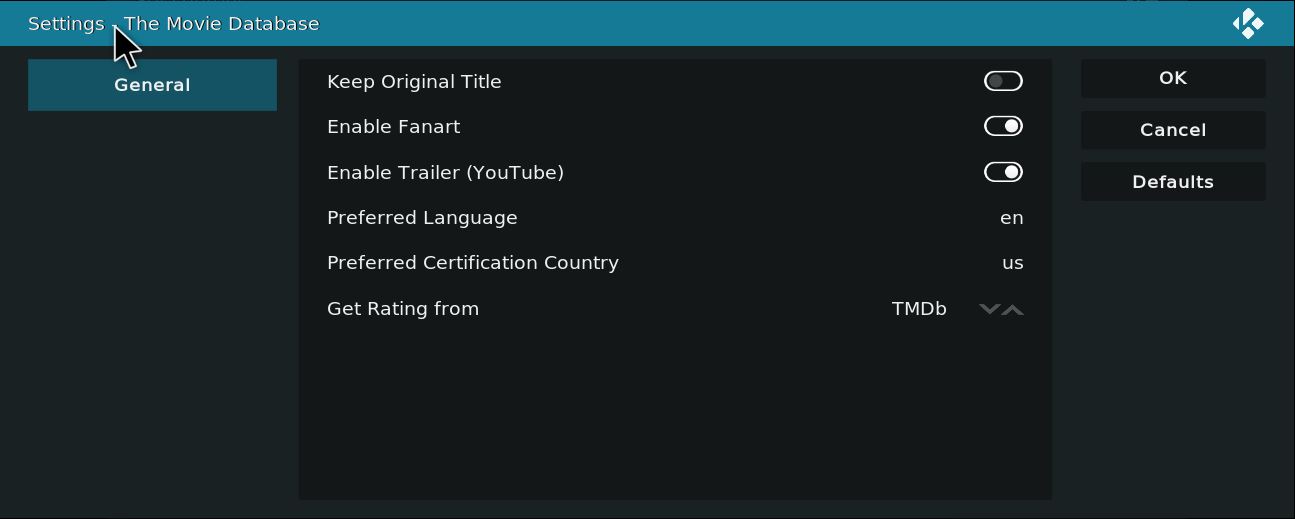
Click Settings under Choose information provider to open the window directly below. That window includes a few extra options for the movie scraper. For example, you can select whether to download YouTube trailers and fanart and select sites to get the film ratings from.
The Set content window also has some scanning options. You can select Scan recursively, which will scan subfolders in the main selected folder. The Exclude path from library updates option excludes selected paths from updates. Press the OK button on the Set content window to add the video source to Kodi.
So that’s how you can add new media sources to Kodi from your hard disk and CD/DVDs. Now you can build up your Kodi media libraries by adding music, movies, TV shows and image sources to them. Note that you can also add vast media libraries to Kodi with streaming add-ons such as Exodus, which enables you to stream and watch lots of films, channels and TV shows without adding your own sources from HDD or DVD. This Tech Junkie article provides further details on how you can install Exodus in Kodi.


One thought on “How Do I Add Sources to Kodi?”