




How to Export and Backup Windows Drivers Before Reinstalling Windows

A fresh install of Windows can be painful in a lot of ways. Starting with a clean slate means personal preferences have been swept away too. Drivers may also need to be reinstalled, meaning you may have to track these down and install them again, a labor- and bandwidth-intensive process.
Thankfully, there are a few ways to back these drivers up for your new operating system, and this article will show you just how to export and backup Windows drivers.
Before You Begin
It’s important to note that only third-party drivers, such as those for your graphics cards and sound devices, can be backed up. Windows will reinstall any of its own drivers upon reinstalling the OS. For the backup itself, you’ll need a folder to store them, and Admin rights to perform the process in the first place.
How to Export and Backup Windows Drivers
Let’s get into it. Below, we’ve got a few different ways of how to backup Windows drivers before the fresh install:
Using Command Prompt
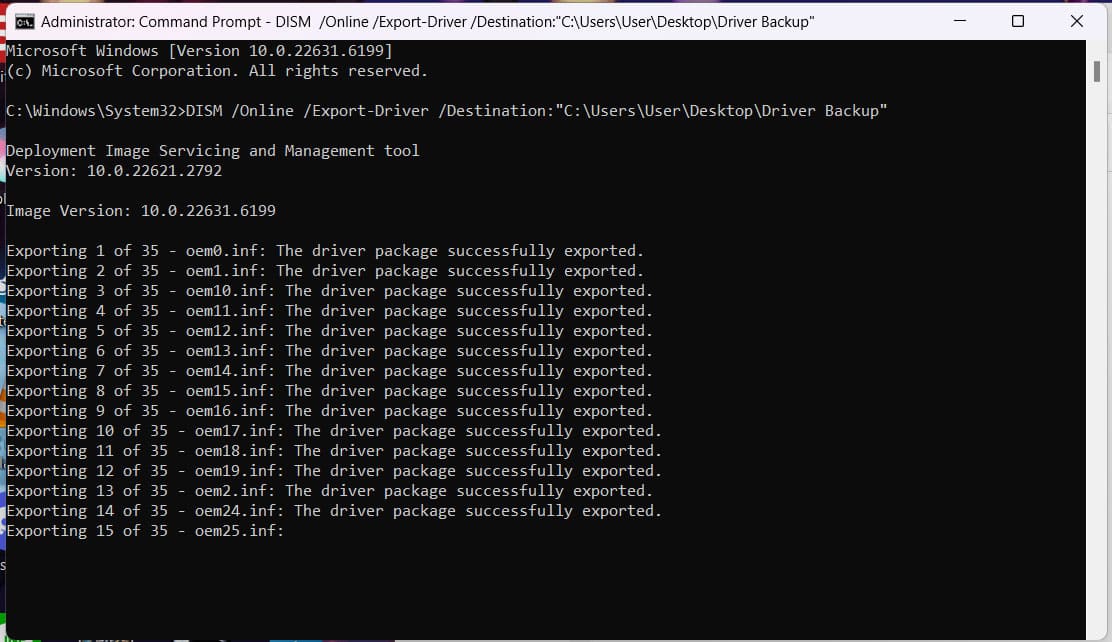
Command Prompt is a fantastic tool for most things, and driver backup happens to be one of them. Here’s what you need to do to back up with DISM:
Step 1. Open the Run Dialog (Win + R) and type “cmd” before hitting (Ctrl + Shift + Enter) to run as Admin.
Step 2. To perform the backup with the DISM utility, enter the following: “DISM /Online /Export-Driver /Destination:”[Folder Path]”” and hit “Enter.” Substitute the path to your backup folder for the text in square brackets. You can find the path by clicking the address bar in File Explorer.

Step 3. Let the process run. All third-party drivers will be backed up to the folder.
After this, you can copy the folder to any drive or external device.
Using PowerShell
If you’re wondering how to export Windows drivers in another way, PowerShell is up to the task like Command Prompt, though the command varies slightly. Here’s what to do:
Step 1. Open the Run Dialog (Win + R) and type “powershell,” followed by hitting (Ctrl + Shift + Enter) to run as Admin.
Step 2. In PowerShell, enter the following command: “Export-WindowsDriver -Online -Destination “[Folder Path]”” and hit “Enter.” Again, replace the square brackets with the path of your backup folder.
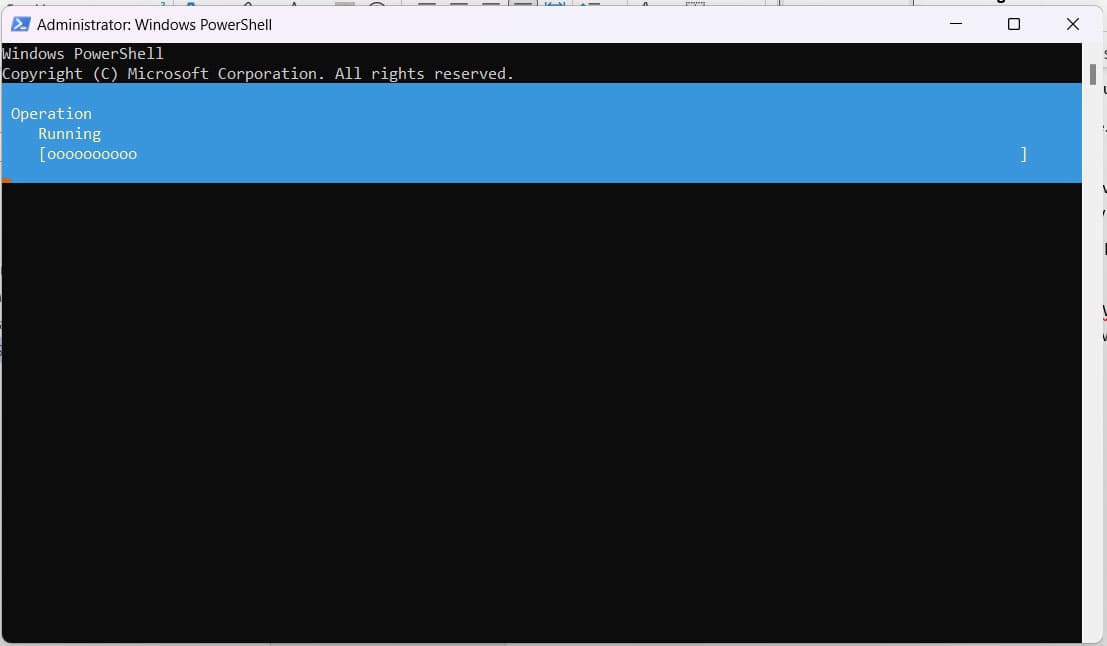
Step 3. Let the process run.
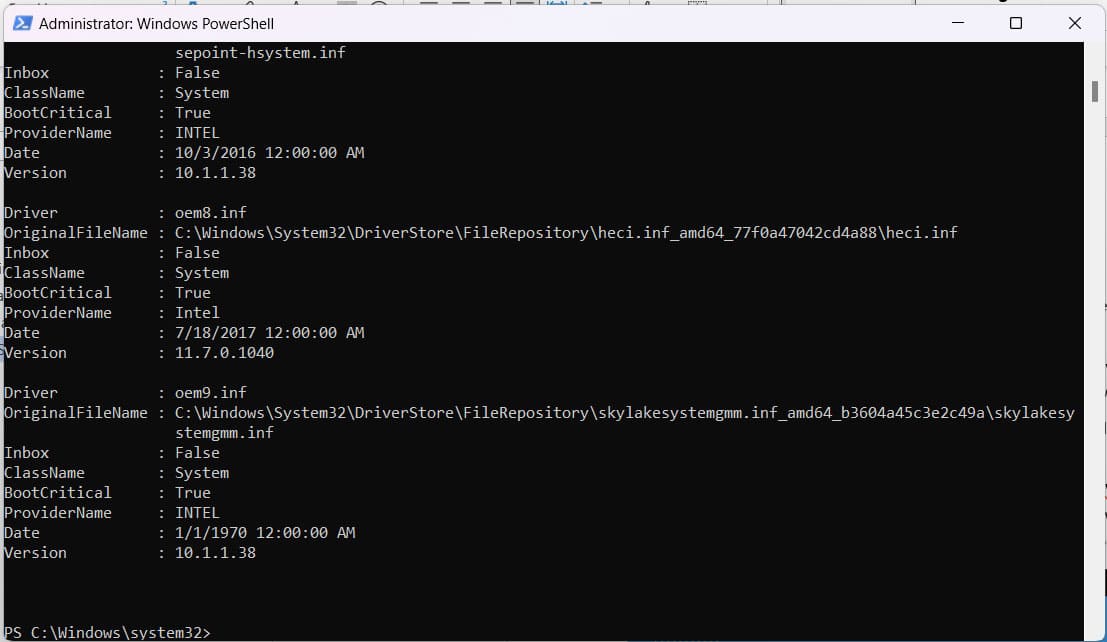
Another thing you can use to export drivers in PowerShell is the Plug and Play Utility. For this, you’ll need to enter the following command: “pnputil /export-driver * “[Folder Path]”” and hit “Enter.” The process is much the same.
Restoring Your Windows Drivers
So, you’ve freshly installed Windows, and your backup folder (complete with subfolders containing your drivers) is ready to go. Now, what do you do? Here are two quick ways to reinstall those drivers. Keep in mind, you may need to reboot afterwards, so save any unsaved work.
Using Device Manager
Device Manager is a straightforward way to get things installed. Here’s what to do:
Step 1. Open the Run dialog and type “devmgmt.msc” before pressing “Enter” to open Device Manager.
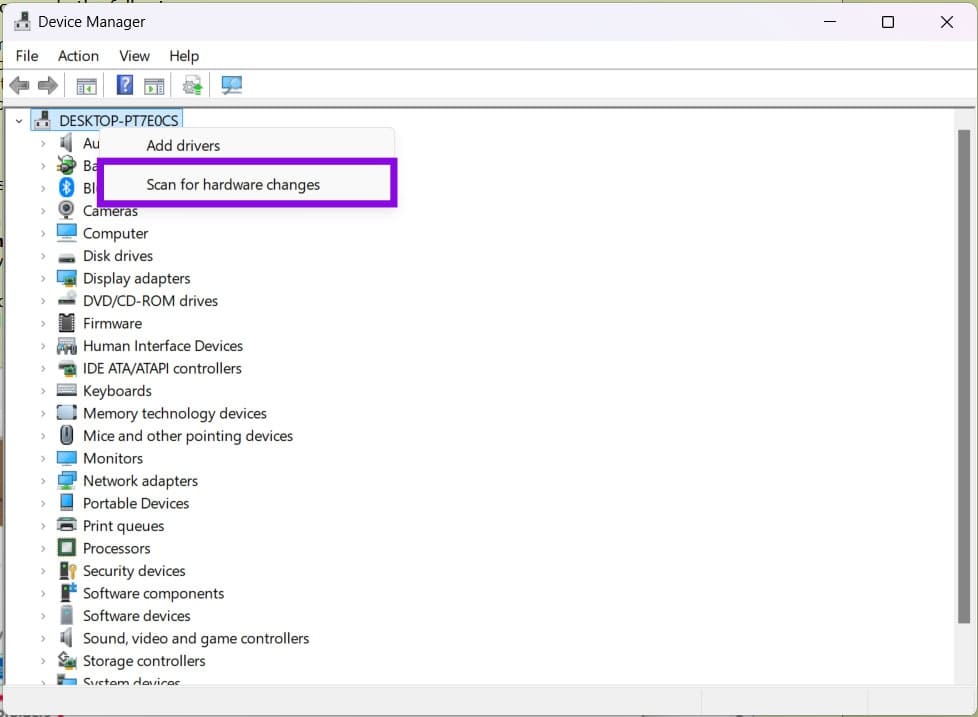
Step 2. Right-click your PC name at the top of the list and select “Scan for hardware changes” from the list.
Step 3. Specify the path of your backup folder and ensure “Include subfolders” is checked.
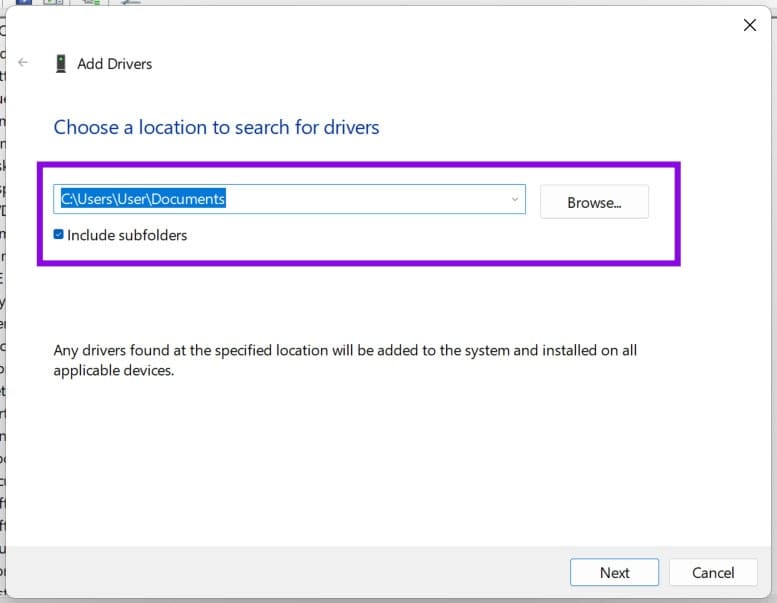
Step 4. Click “Next,” and the installation process will begin. Restart once done.
Using PnP Utility
The PnP Utility comes in handy again for reinstalling drivers. Here’s what to do:
Step 1. Open PowerShell in Admin Mode.
Step 2. Enter the following command: pnputil /add-driver “[Folder Path]\*.inf” /subdirs /install /reboot and press “Enter.”
Step 3. Let the process run. Your machine may reboot afterward if required.
Top 7 Software to Overclock and Boost Performance on Mac
Read Next