How to Install Kodi on RetroPie
RetroPie is a free software emulator that allows you to play vintage video games on Raspberry Pi and other hardware. It works like a virtual machine, adding a software layer within which older games can be played. As well as reliving your youth with 8-bit games, you can also install Kodi on RetroPie.
Kodi has to be one of the best media centers around right now. It is also free and readily available. It can manage all of your movies and music, stream TV and movies and generally work wonders for your digital media. Combined, Kodi and RetroPie sound like a marriage made in heaven. Is the reality as cool as the idea?
Install Kodi on RetroPie
RetroPie can be installed on a Raspberry Pi 3, ODroid or PC and will work equally well on any of them. The neat thing is that RetroPie plays nicely with Kodi so there is no awkward switching between images or messing around. You can run both programs side by side.
If that wasn’t enough, RetroPie can download and install Kodi itself so there is no more messing about with downloads, SD cards and all that. Once RetroPie is installed and configured, you can install Kodi from within the Ports section of the app.
For this to work you will need a Raspberry Pi, PC or ODroid and a game controller. I have a Raspberry Pi 3 so will describe the installation process using that. Just adapt the instructions to your hardware as necessary to get it working.
As I needed to install RetroPie before Kodi, I’ll talk you through the whole process.
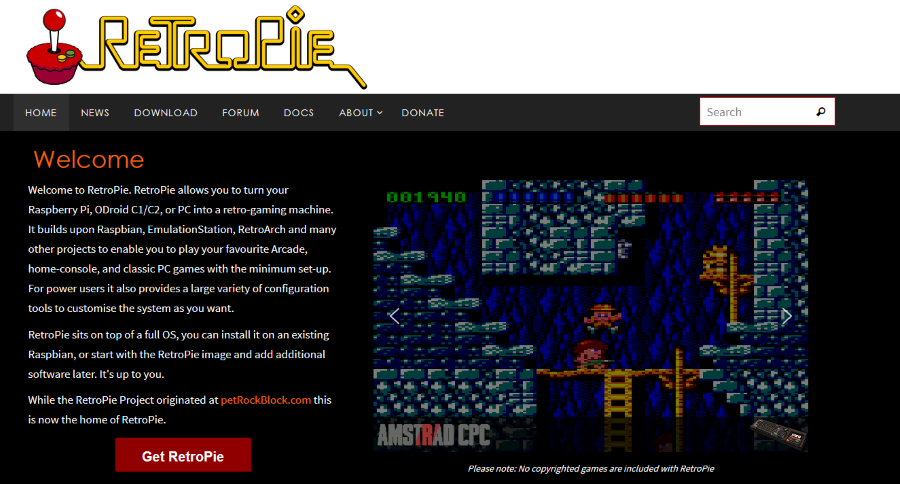
- Download RetroPie from the website onto a PC.
- Extract the image using your compression tool of choice.
- Install RetroPie onto the SD card from your Raspberry Pi. You will need a disk imager and a computer that accepts SD cards. If you get stuck, follow the official instructions from Raspberry Pi.
- Insert the SD card into your Raspberry Pi and boot from it. Make sure a game controller and keyboard is attached so you can complete setup.
- Follow the onscreen instructions to set up your controller, WiFi and any other settings.
RetroPie should now boot into its own menu and is ready for further expansion with Kodi. To make life easier, you can install Kodi from within RetroPie. You will need an internet connection for RetroPie to download the package but everything else will be taken care of for you.
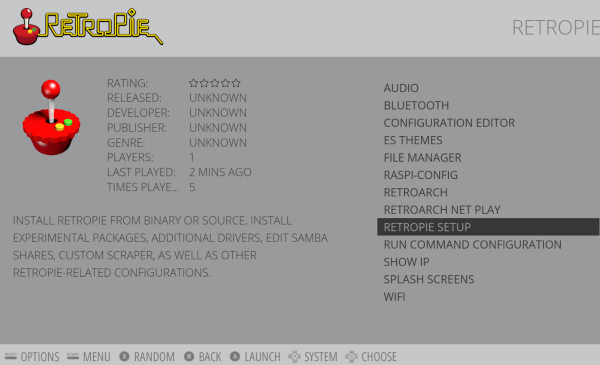
- Navigate to the RetroPie Setup menu.
- Select Manage Packages and then Manage Optional Packages.
- Select Kodi and Install from Binary.
- Reboot once complete.
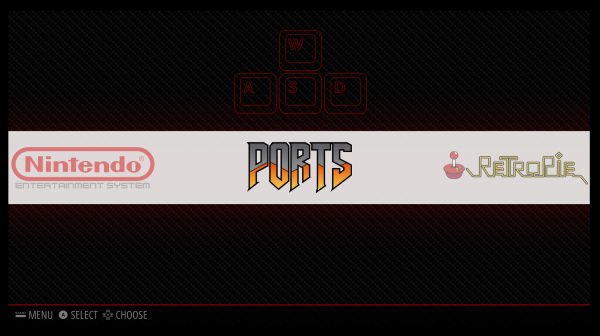
- Load Kodi from the RetroPie menu from Ports on the Home screen.
The banner in the center of RetroPie has a Ports entry. Use that to access Kodi and the familiar home screen should load. Depending on your version of Raspberry Pi, it could take one second or several seconds. Once done, you will could configure Kodi to boot as its own entity instead of using the Ports menu if you like.
If you would prefer to load Kodi as its own system instead of as a port, you can. Rather than regurgitate instructions already written by those cleverer than me, I think it best to direct you to GitHub where full instructions on how to configure your RetroPie setup to load Kodi as its own system.
The instructions seem complex but as long as you know how to SSH into your Raspberry Pi and open a terminal, the rest is copy and paste. It took me longer to get connected to my Pi than it did to set up this config file.
Use Kodi responsibly
As always when talking about Kodi, we have to spare a few words about protecting yourself. Kodi is not illegal, it is completely legal to use and to play with how you see fit. The wrinkles come when you use Kodi to access copyrighted content. That’s when you can get yourself into trouble.
If you use Kodi and think you may be tempted into access illegal streams, make sure to use a VPN. In fact, use a VPN every time you connect to the internet from anywhere. ISPs can collect whatever information they like about your browsing habits so don’t make it easy for them!
As you can see, it is quite straightforward to install Kodi on RetroPie. As long as you have the patience and the hardware, it’s just a matter of downloading the program and following these instructions. Of course, this is just the beginning as customization options are almost endless with both Kodi and RetroPie!