


How to Install an SSD
Solid state drives (SSD) are slowly replacing hard drives as key components of high-end computers. They allow your system to boot up faster, all the applications to perform better, and the computer itself to be more receptive to your commands.
If you were motivated by these facts and bought an SSD in a tech store, you should now install it on your computer. For someone who has never handled hardware before, this may seem a difficult task.
However, there’s nothing to worry about. You don’t have to pay a tech service to install your drive – you can do it on your own. This article will offer a thorough guide on how to install an SSD by yourself even if right now you’re completely unfamiliar with the process.
Preparations and Precautions
Installing an SSD is not an easy task and it requires special equipment and means of precaution. Since you are working around static electricity and hardware, make sure that you’re supplied with all that you need.
Here’s what you need to gather:
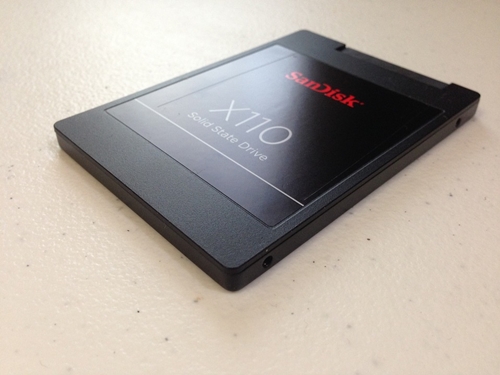
- Your solid state disk (To avoid unnecessary damage, it is best not to unpack it until the time arrives.)
- A screwdriver that doesn’t have a magnetic tip
- Your computer manual (optional, but will make things easier)
Also, if you want to replace the current drive with an SSD, you may want to use a data cloning software which will make it easier to move the files from the previous drive to the one you’re installing. Some of the best available disk cloning tools include Clonezilla and AOMEI (free), or EaseUS (free trial).
Keep in mind that static electricity may cause issues to your device. To prevent static damage, it is best you wear an anti-static (or electrostatic discharge) wrist strap. This safety gadget prevents the accumulation of static near electric devices. Alternatively, you can try to touch the non-painted metal surface on the computer case to discharge.
Another thing to know is that opening your SSD will make your warranty invalid. So, you should never unscrew the protective shell. If you believe there’s physical damage on the drive, you should take it back to the store first. Furthermore, if you touch the connectors on the drive, there’s a chance it may malfunction.
Installing Your Drive
Installing the drive will require a few practical skills and tech knowledge. To install an SSD without any issues, closely follow this step-by-step guide.
Step 1: Opening the Case
First, you need to ensure a proper working environment. Here’s what you should do:
- Make the environment as static-safe as possible. This means leaving your cable connected but the unit off so it remains grounded. Also, avoid rubbing yourself on a carpet or similar flooring and don’t wear clothes that cause static electricity (plexiglass, polyester, wool, etc.).
- To further prevent static electricity, touch a metal part of the case before touching the components.
- Hold down the power button for a few seconds to release any remaining electricity.
- Remove the computer case cover. Usually, you need to unscrew it and simply take it off, but if you have a manual, you should check it out.
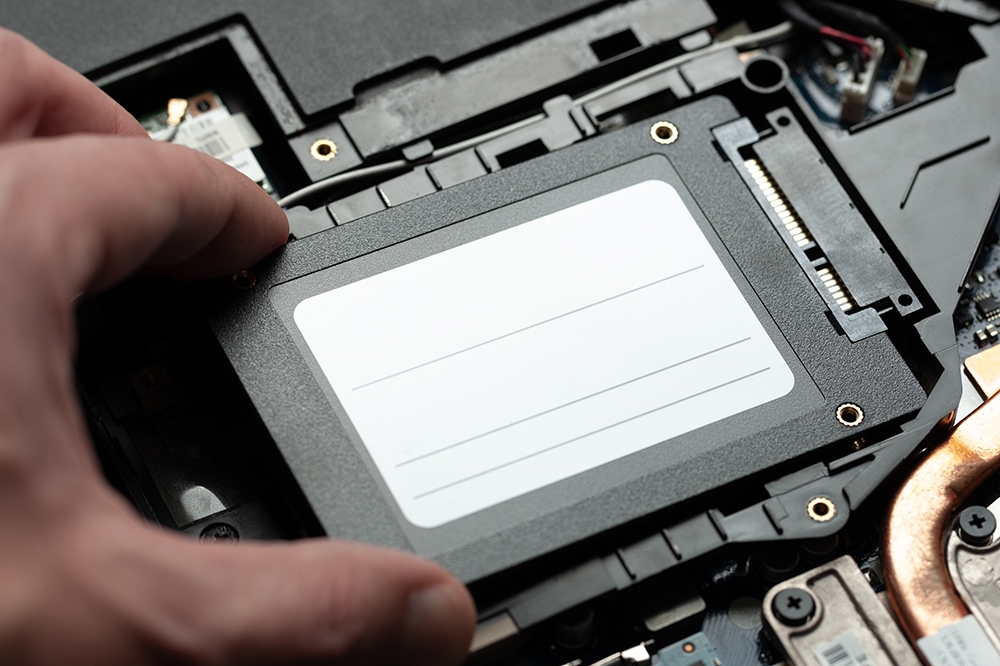
Step 2: Installing the SSD
Now that you have created a risk-free environment, you should place the SSD inside your computer. Follow these steps:
- Find the location of your storage drive inside of your computer. When you find the drive bays, you should note their size. For example, if you have a 2.5” drive, you’ll need an additional adapter bracket to attach the drive to it. This way, it will remain stable and secure in the open space. However, if you have a 2.5” bay, there’s no need for extra tools.
- If you want the SSD to be your primary drive, you should put it in the place of the existing one. To do so, remove the cables from that drive, and take it out. Place the new SSD and reconnect the cables.
- If you want the new SSD to act as a secondary drive, you’ll need to connect a SATA cable to a port in your motherboard. Then, use the other end of the cable to attach it to the SSD. Then attach a SATA power cord to the drive too. If your system or drive has different ports, you should consult the manual to see how to connect the cables.
- Double-check if the disk is mounted properly in the socket. If everything seems well, the SSD should now be part of your configuration.
Step 3: Cleaning Up
When you finish with the installation, you should return everything back to how it was and check if it all works. It is best to do the following:
- Put the case cover back on and screw it tightly.
- Connect the power cable and turn on the computer.
- If you didn’t perform data cloning, you should install the system and everything else manually. If you performed the migration beforehand, just enjoy your new SSD.
A Do-It-Yourself Expert
Now that you know how to install an SSD with all the means of precaution, you are a step closer to building your own configuration in the future. Beware of static electricity, don’t damage the hardware, and make sure to check all the cables properly – that’s all.
If you’ve installed everything properly, you should experience quicker booting of the system, shutting down, and better overall performance. Hopefully, all the effort has paid off.
Do you take precautionary measures when installing new hardware to your PC? Which SSD seems the easiest to install? Leave a comment below and share your thoughts with the rest of the community.


