How To Install Terrarium TV on your Amazon Fire Stick
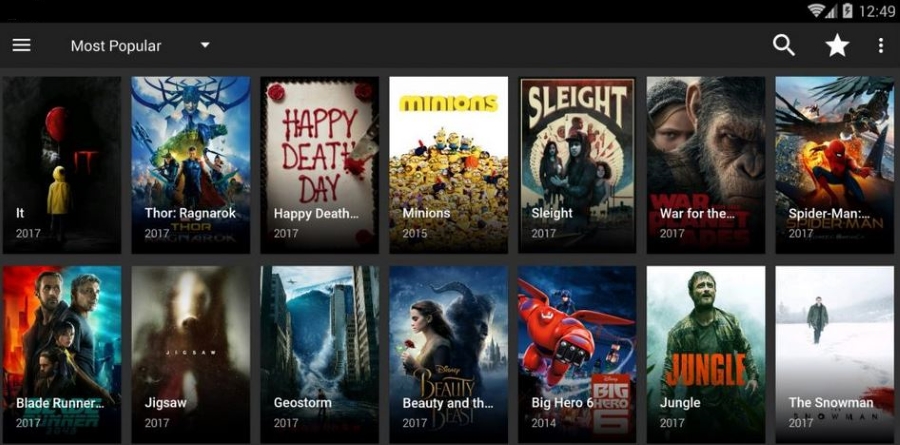
Terrarium TV is one of the better apps for watching TV and movies on your mobile device. Like Kodi and other apps of that ilk, Terrarium TV provides free access to a huge range of TV shows and movies from across the spectrum. The app works on Android, iOS, PC and even the Fire TV Stick. It is that latter we are talking about today. If you want to install Terrarium TV on your Amazon Fire Stick, I’m going to show you how.
Terrarium TV differs from many streaming apps in one important way. It does not play any illegal content whatsoever. That may limit the kind of content it has access to but it means you can freely use it wherever and whenever you like without having to worry about piracy or being tracked.
Where the app shines is in the speed of the streams and content loading within the main interface. It may only be small but the servers behind it are plenty powerful enough to load the menus and content choices quickly and allows very fluid interaction. Both important factors whenever you design a mobile app.
Terrarium TV is provided as an Android APK file that can be installed on a number of devices. It works natively on Android devices but can also be installed on PC or Mac and on an Amazon Fire Stick.
Install Terrarium TV on your Amazon Fire Stick
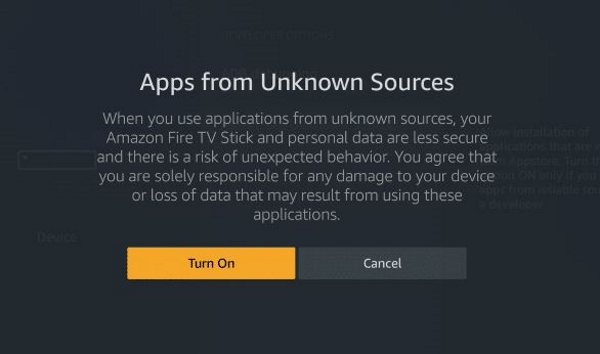
Before we get to the installing part, we need to enable apps from unknown sources on your Amazon Fire Stick. Without this you will not be able to install Terrarium TV.
- Open your Amazon Fire TV app and navigate to Device.
- Select Developer Options and ‘Apps from the Unknown Sources’.
- Select it to On.
This allows you to install non-Amazon apps onto your Fire Stick.
- Navigate to Home on your Fire Stick.
- Search for ‘Downloader’ and install the Downloader app.
- Open the Downloader app on your Fire Stick and select the URL bar.
- Type ‘https://terrariumtvappdownloads.com’ into the URL box with your remote and select Go.
- Select the latest version of the Terrarium TV app. At the time of writing, that is version 1.9.0.
- Select Next and then follow the installation wizard.
- Once installed, select Done and then delete the APK file to save space.
Terrarium TV is now installed on your Amazon Fire Stick but we need a media player and a codec pack to fully enable playback of media. That’s next.
- Open the web browser on your Amazon Fire TV stick.
- Navigate to https://sites.google.com/site/mxvpen/download and download the latest version. Don’t close the page.
- Install MX Player and delete the APK file once complete.
- Navigate to Codecs on the MX Player downloads page and select NEON Codec 1.9.19 or the latest NEON Codec.
- Allow the codec to install and allow it to update itself.
- Delete the APK file once complete to save space.
- Navigate back to Home on your Fire Stick.
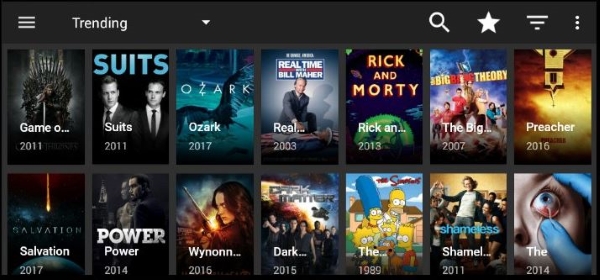
- Select Terrarium TV from the list, Accept the disclaimer and allow it to load.
- Select the three dot menu button in the top right and select Settings.
- Navigate to ‘Choose default video player…’ and select MX.
- Scroll down and check that ‘Force Android TV Mode’ is enabled.
That’s it. Now you have fully installed Terrarium TV on your Amazon Fire Stick.
No data error when using Terrarium TV on your Amazon Fire Stick
Using Terrarium TV is simple. Select the app from your Home screen and navigate content within it. If you install it on your phone, it may ask you to allow it to track your location. This allows programming to update but isn’t actually necessary. I didn’t get that prompt when I installed it onto my Fire Stick though.
I did come across one issue when I first used Terrarium TV and that was a No data warning when it first loaded. Apparently this is because some ISPs block traffic from the app even though it is legal. If you use a VPN, change the exit node to a different server and retry. This worked for me and might for you too.
The other way to get it working is to switch DNS servers on your Fire Stick.
- Navigate to Settings on your Fire Stick.
- Select system and WiFi.
- Forget your current network.
- Press Select and reselect your WiFi network.
- Enter the password and select Advanced.
- Add the desired IP address of the Fire Stick.
- Add the IP address of your router in Default Gateway.
- Add ‘24’ for the Network Prefix Length and select Next.
- Add 8.8.8.8 and 8.8.4.4 as the DNS servers.
- Select Connect.
That’s all there is to installing Terrarium TV on your Amazon Fire Stick. It should now work seamlessly.