How to Make Wyze Camera to Record
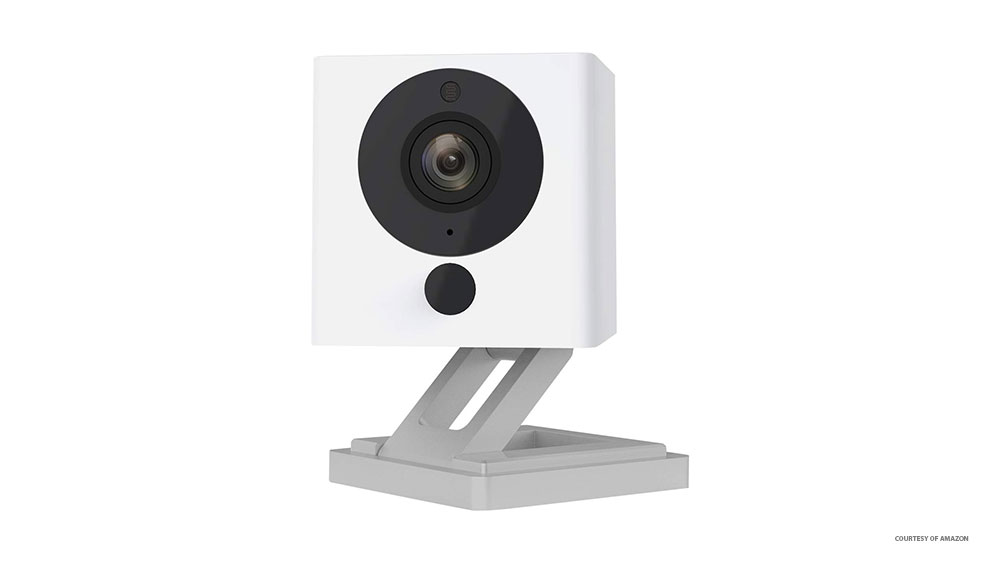
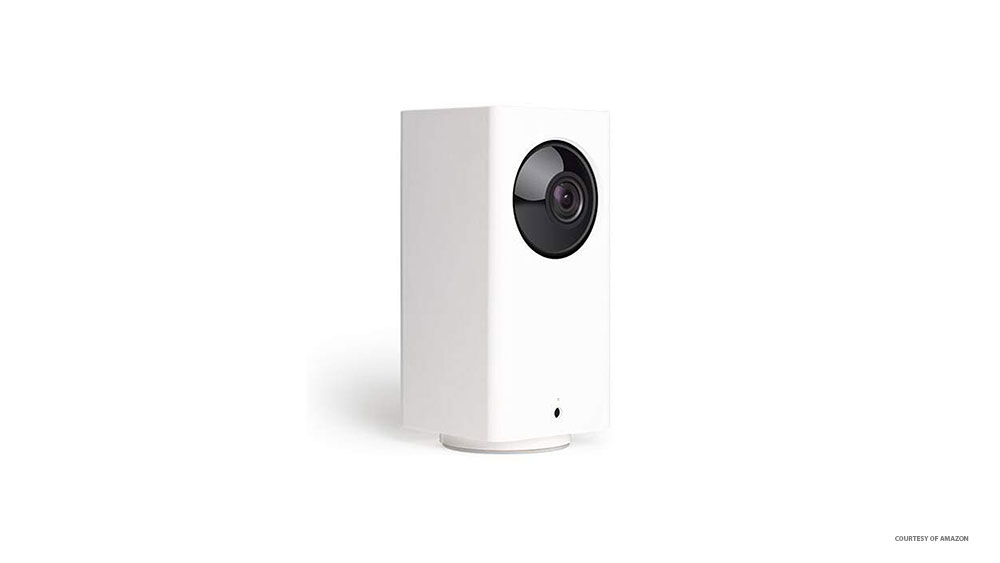
The Wyze Camera devices are amazing, and yet they’re not very popular. These budget cameras can be used for pretty much anything, from home surveillance to watching your kids or pets while you’re away.
The Wyze camera is quite easy to set up, but there isn’t much information provided by Wyze themselves. That’s why you can read all about it in the following article. We’ll also discuss how to make the most out of your Wyze camera.
Getting Started
Before you begin using your Wyze Camera for recording, here’s a list of things you’ll need. Naturally, you should get the Wyze Camera first, but it’s also recommended that you get an SD card, due to the limited storage capability of the camera.
An SD card will let you record and keep a lot more footage, and it isn’t expensive. Next, you’ll need to download the Wyze app on your Android phone or iPhone, from their respective app stores. You’ll use this app to view the Wyze Camera itself.
The app is totally free and easy to install. You’ll need a USB port or a power outlet where you can plug in your Wyze Camera. Lastly, you need to connect the Wyze Camera to the internet. Your home network will do just fine, just prepare a password.
It’s recommended that you have an internet speed of at least 2 Mbit/s. Also, make sure not to clog your connection. If everyone in your house is hooked up to the same network, consider making a separate network for the camera (most routers have this option), so it can work uninterrupted.
The Setup
Getting the Wyze Camera to record isn’t difficult at all. You’ll receive a manual with the purchase, but here’s a more detailed setup guide. Just follow the steps:


- Open the Wyze app on your iPhone or Android and set up an account.
- Log in to your Wyze app account so you can add your new device.
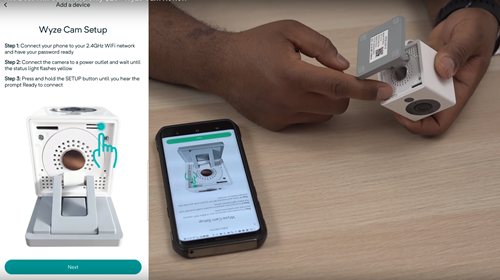
- Plug your Wyze Camera into a power outlet or USB port on your computer. Wait for a minute until it starts flashing yellow.
- Press the Setup switch on the back of your Wyze Camera and hold it until you hear the voice command “ready to connect”.

- Look at your mobile screen for setup instructions. These instructions will lead you through the process of connecting your Wyze Camera to your home network, naming the camera, and sharing the device with your family members or roommates if you like.
Whenever you get a new Wyze Camera, use the same steps to add it to your network. There isn’t a limit to the number of Wyze Cameras you can have, so go mad with them if you want to!
Why You Should Use a microSD
Getting a microSD for your Wyze Camera is not a must, but it will give you much more flexibility and utility. You’ll be able to time-lapse videos, save files locally to the microSD card, and most importantly, you’ll be able to record continuously.
Wyze offers an SD card of their own, which will also give you a good warranty. Their card has 32GB of storage space, which is more than enough. This is a Class 10 card, but you can also get class 10 8GB, 16GB, or 32GB in FAT32 format.
The Wyze Camera will also recognize larger SD card formats, but they’re more prone to glitches and other issues. Follow these steps to install a microSD card to your Wyze Camera:
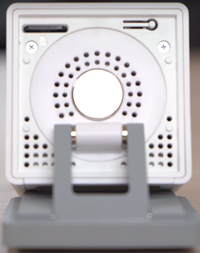
- Unplug your Wyze Cam.
- Insert the microSD card into the appropriate slot at the base of the Wyze Camera.

- Plug your Wyze Camera back on. If you inserted the card right, the cam will make a bell sound. If you don’t hear the sound, repeat the steps and try to insert the card correctly.
If you have a used microSD card, make sure to format it prior to adding it to your Wyze Cam.
How to Record with Wyze Cam
Once you have set everything up and inserted the microSD, you can start recording. Here’s how:
- Open your Wyze app.
- Select the camera from your Home tab.
- When you see the live stream from the camera, click on the Settings (gear) icon.
- Scroll down to Advanced Settings and choose Local Storage.
You’ll have to choose between continuous recording or recording events only. Let’s talk about continuous recording first.
This option is self-explanatory; it will make your Wyze Cam record all the time. If you have a 32GB card, it will record for seven to eight days in SD or two to three days in HD. The older footage will be replaced with the more recent footage over time.
Then you need to choose the recording quality of the live stream. Just tap on the Camera option on the home screen of the Wyze app and select 360p, SD, or HD. If you choose 360p, the live stream will be recorded in SD quality to your SD card.
If you set your camera to record events only, it will operate on its motion sensors. When they are triggered the camera will record the event. All activity within the minute of the event will be captured.
Regardless of the selected recording mode, events will have 12-second videos captured and backed up on the Cloud for two weeks where you can replay them.
The record events only option is great for conversing storage on your microSD card.
Going Live
You’re all set up and ready to record. The longer you use a Wyze Camera, the more you can experiment with its features. You can play around with different settings and see what suits you best.
Choose your recording mode based on your personal preferences and needs. If you have anything to add, feel free to do so in the comments section below.