How to Update the Camera and Microphone Settings in Google Chrome
Even though most people use apps, the majority of call services can be accessed through a browser. If you want to have a Skype call or a Zoom meeting on Google Chrome – or to prevent a website from using your camera and microphone, you can manage the permissions in Chrome settings.
This article explains how to allow and block sites and update camera and microphone settings at any time.
How to Allow Websites to Use Your Camera and Microphone in Google Chrome – and Block the Others
If you’d like to use a service that needs your Camera and Microphone so that you can make a video call, for example, here’s what you need to do:
- Open Google Chrome and go to that site.

- Start a video call or answer one.

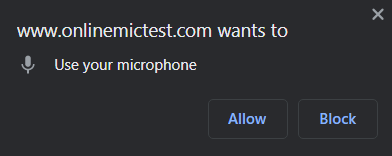
- When prompted to give the site permission to use your microphone, click Allow.

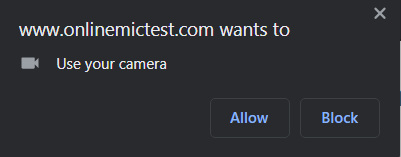
- When prompted to give permission to use your camera, click Allow.

Now that you’ve granted the site permission to use your hardware, you can have your video call.
But if you aren’t willing to give such permission, you can choose “Block”.
What Allowed and Blocked Sites Can Do
When you permit a site to use your microphone and camera, they can record you whenever you visit that site. On the other hand, the sites that you blocked won’t let you use them, participate in conference calls, or have an ordinary video call.
It’s always better to give permission to trusted sites only. However, you can change your mind at any time. Permissions can be given and revoked based on your needs.


How to Change Permissions
If you want more control over your camera and microphone settings, do the following:
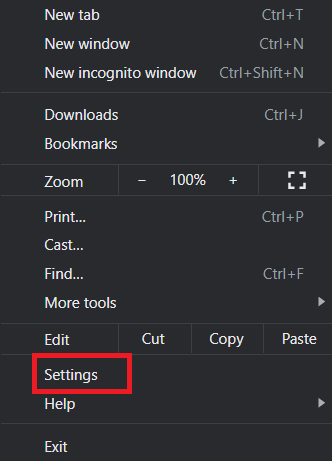
- Open Google Chrome and go to Settings (under More at the top right corner of the screen).

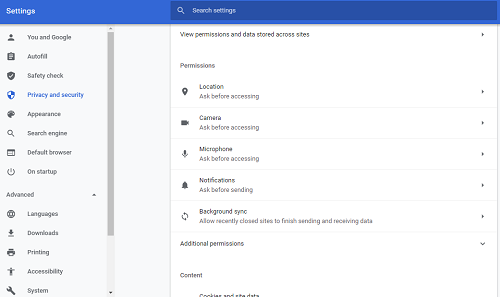
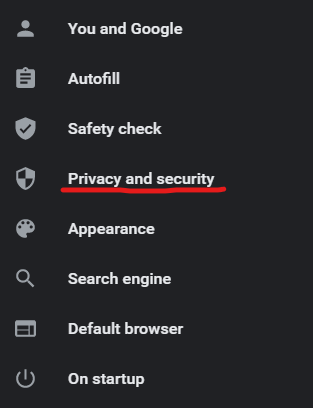
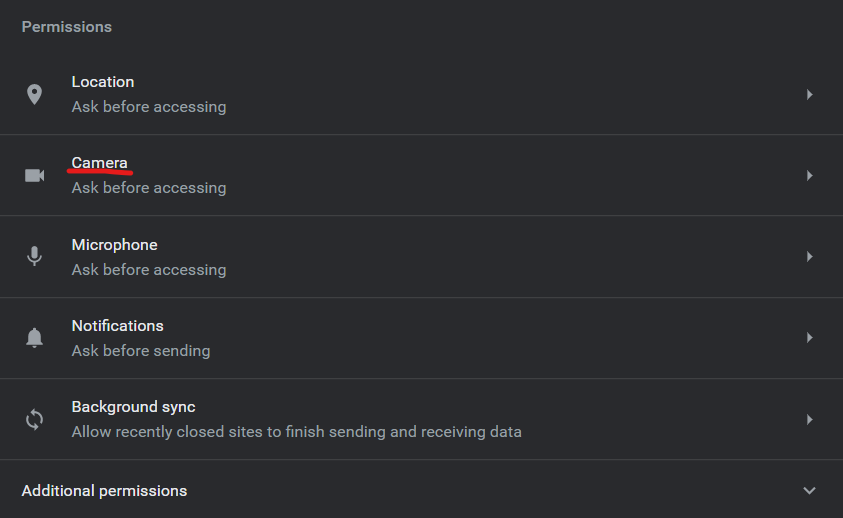
- Go to Privacy and security, and then Permissions.

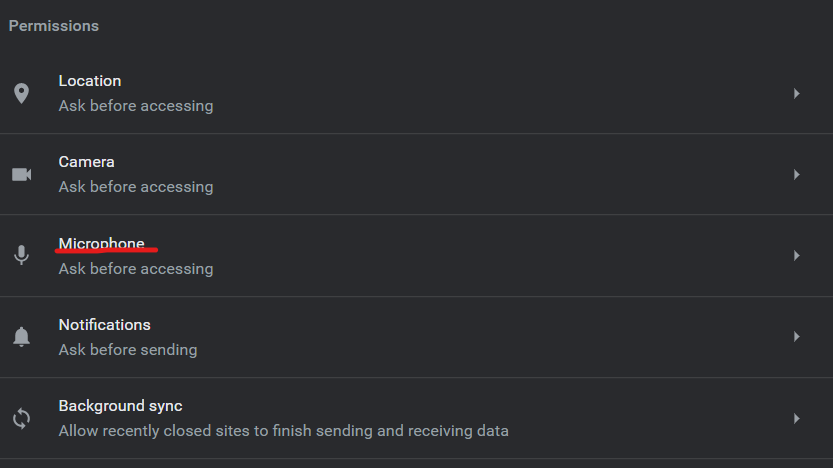
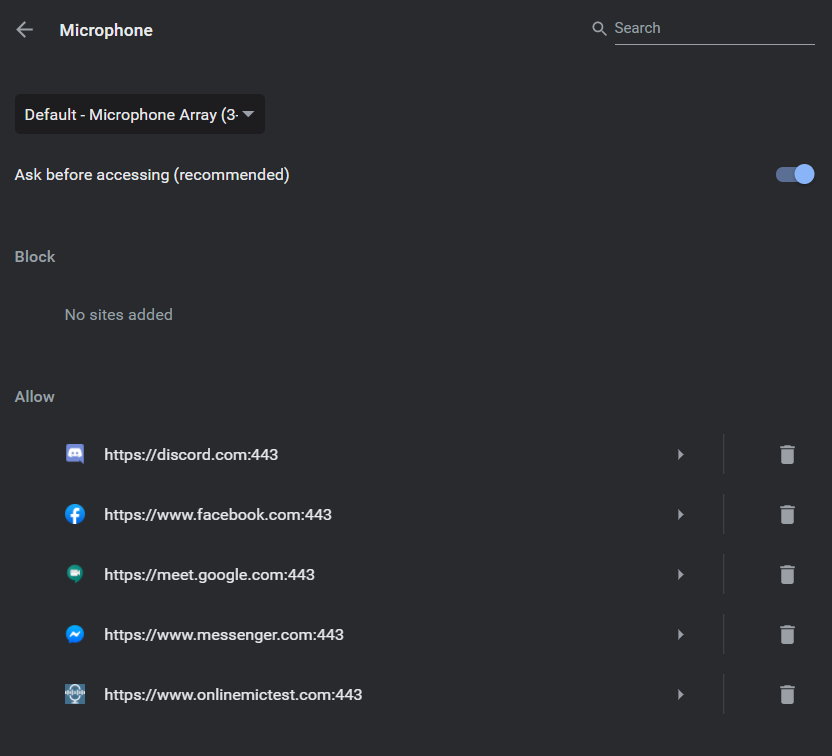
- Click Microphone.

- Make sure the option “Ask before accessing” is on.
- Review the list of sites that have permission to use your hardware. Delete any unwanted sites.

- Go back to Site settings.

- Click Camera.
- Repeat steps 4-5.


Give Chrome Permission to Use Your Camera and Microphone
Before you allow any website to use your camera and microphone in Chrome, you might need to give Chrome permission to use them. This permission is needed if you use external devices that aren’t in your system preferences. Certain operating systems, such as macOS Mojave, require that you explicitly allow Chrome to access your devices. Here’s how to do it:
- In the dialogue box, click Open Preferences.
- Go to Camera and check the box next to “Google Chrome”.
- Go to the Microphone and do the same.
- Click “Quit now” and choose to save the changes.
Manage How Adobe Flash Player Uses Your Camera and Microphone in Chrome
If a site you’re visiting uses Flash, you might be asked to allow the use of camera and microphone. Like above, just choose Allow or Deny. If you click Allow, you’ll be able to choose which microphone and camera to use and to adjust the volume.
Microphone Troubleshooting
If you’re unable to use the microphone in Google Chrome, here’s what you can do to identify and solve the issue:
- Unmute. If you (or someone else) accidentally switched on the mute cord on your headset, switch it off. The same goes if you’ve been muted on the website.
- Make sure all is fine with your system settings.
To check microphone settings on Windows 10:
- See if your microphone is properly connected.
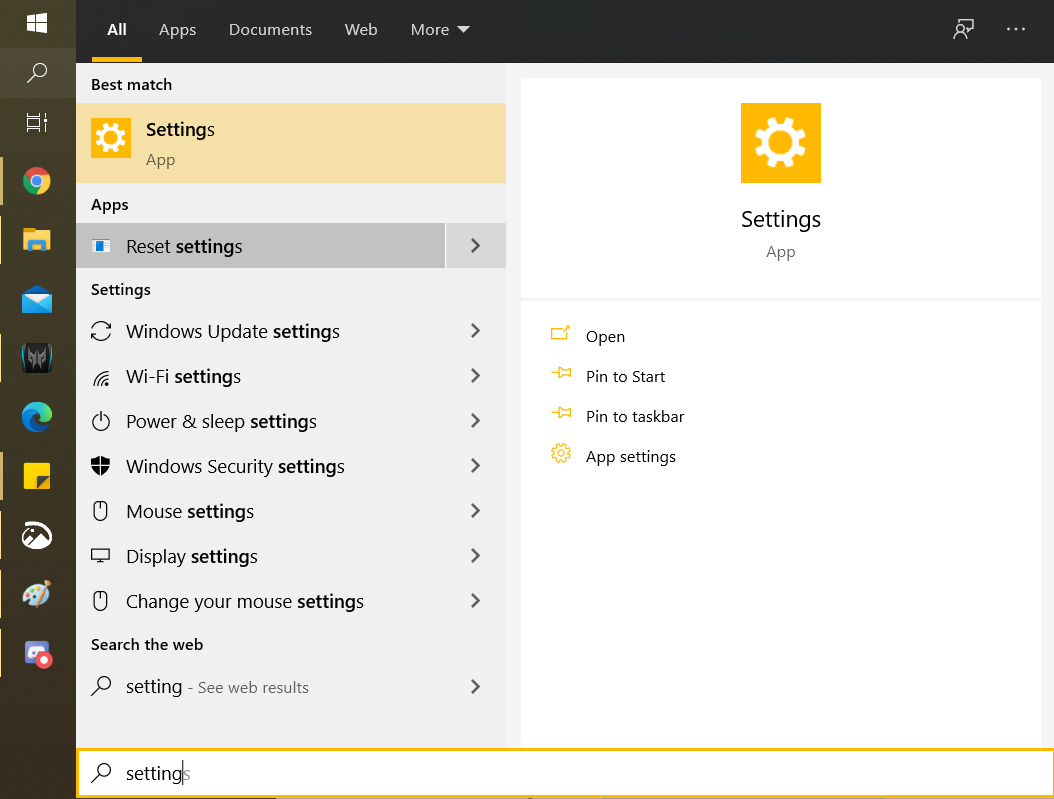
- Go to Start, then Settings.

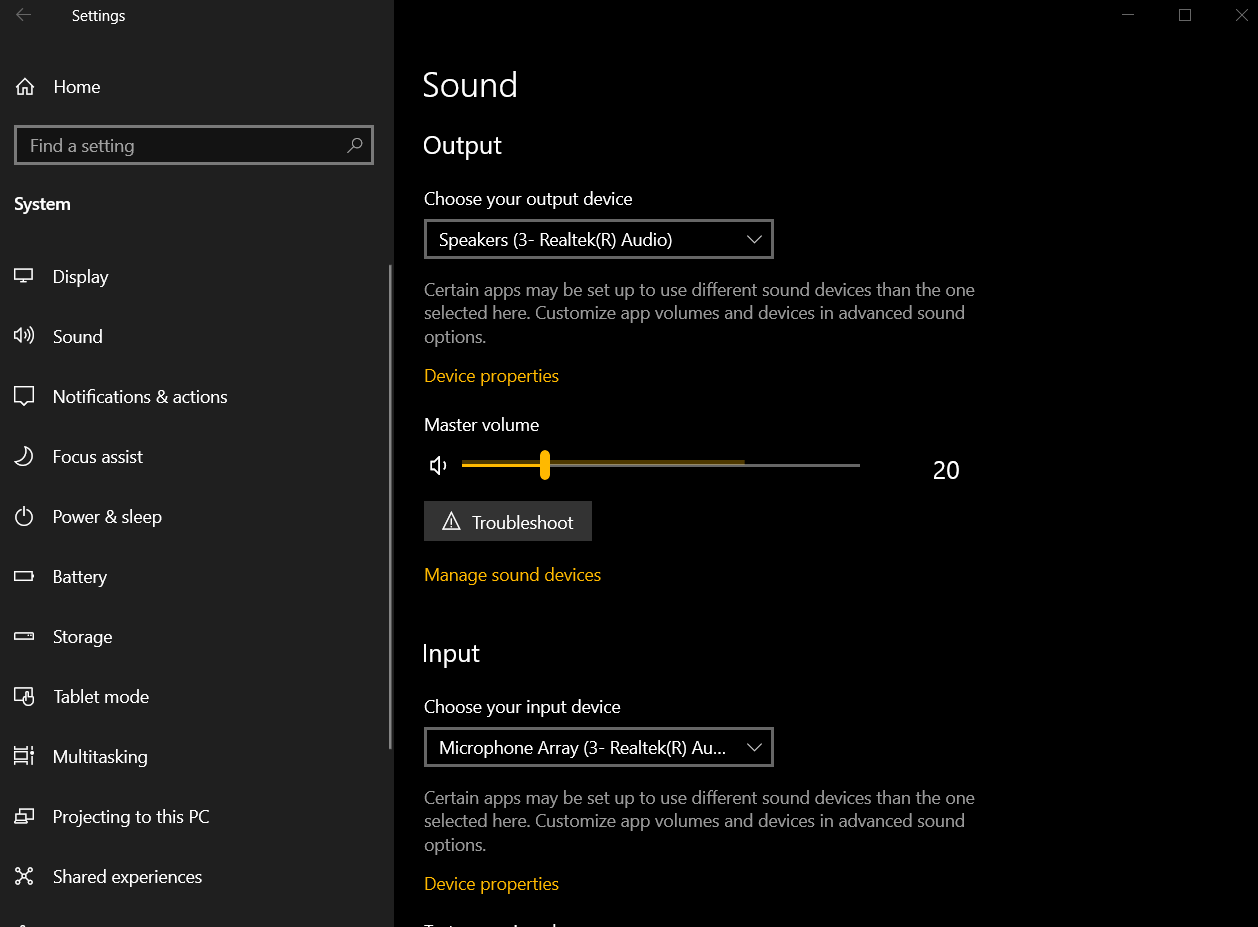
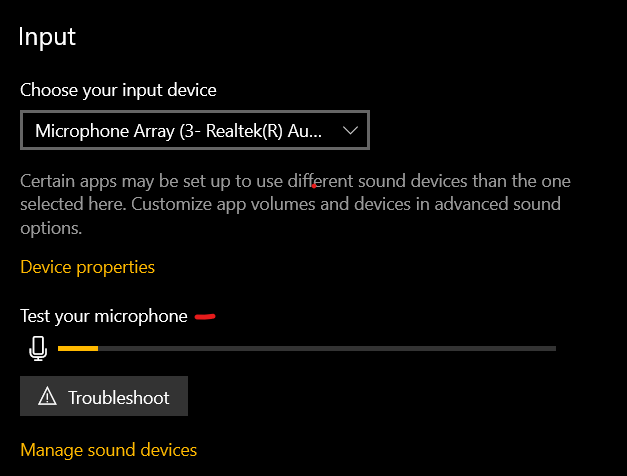
- Under System, go to Sound > Input.

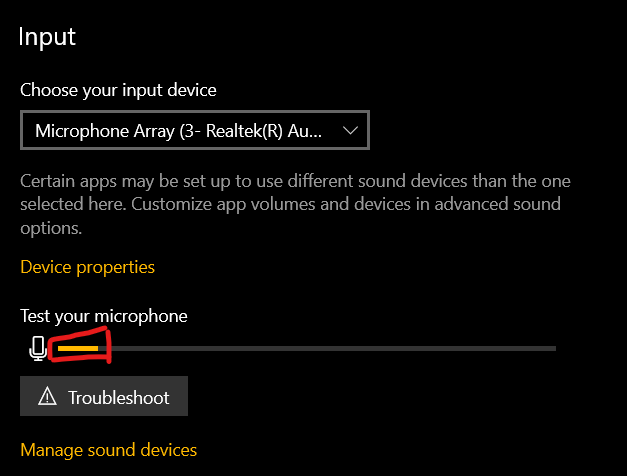
- Click “Test your microphone”.

- If the blue bar is moving, it means everything is fine with your microphone.
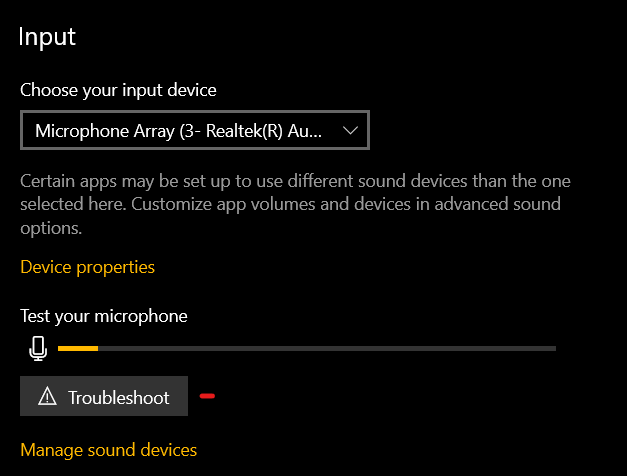
- If it isn’t moving, click the Troubleshoot wizard.
To manage microphone settings on Mac:
- From Apple menu, select System Preferences, then Sound > Input.
- Review the list of sound input devices and choose the microphone you want to use. Note that any internal microphone is labeled as “Display Audio”.
- Move the volume slider to manage input volume.
- If you wish, and if your microphone supports it, click “Use ambient noise reduction” to reduce background noise.
A Quick Fix for Sudden Camera Issues During Video Calls
If you experience issues during a video call through a service such as Skype, Hangouts, Google Meet, or similar, try this quick solution:
- Exit the video call.
- Restart Chrome and start the video call again.
- If it doesn’t work, restart the computer and rejoin the call.
Allow or Block
Up-to-date camera and microphone settings on your browser are very important for your privacy. Even though we have to give some permissions to make video calls and do other useful things, we all should review those permissions every once in a while.
When did you last check yours? Do you have any tips or tricks to share? Let us know in the comments section below.