How to Use Checkboxes in Google Sheets

Tick boxes proved their usefulness in a variety of documents. Whether you’re using them to make a to-do list, project progress plan, or an everyday planner, they provide you with instant gratification whenever it’s time to tick one thing off your list.
If you’re used to checkboxes for tasks and project management, it might be hard to imagine any work-related document without them. In this article, we’ll tell you all about using and customizing checkboxes in Google Sheets.
How to Insert a Checkbox in Google Sheets
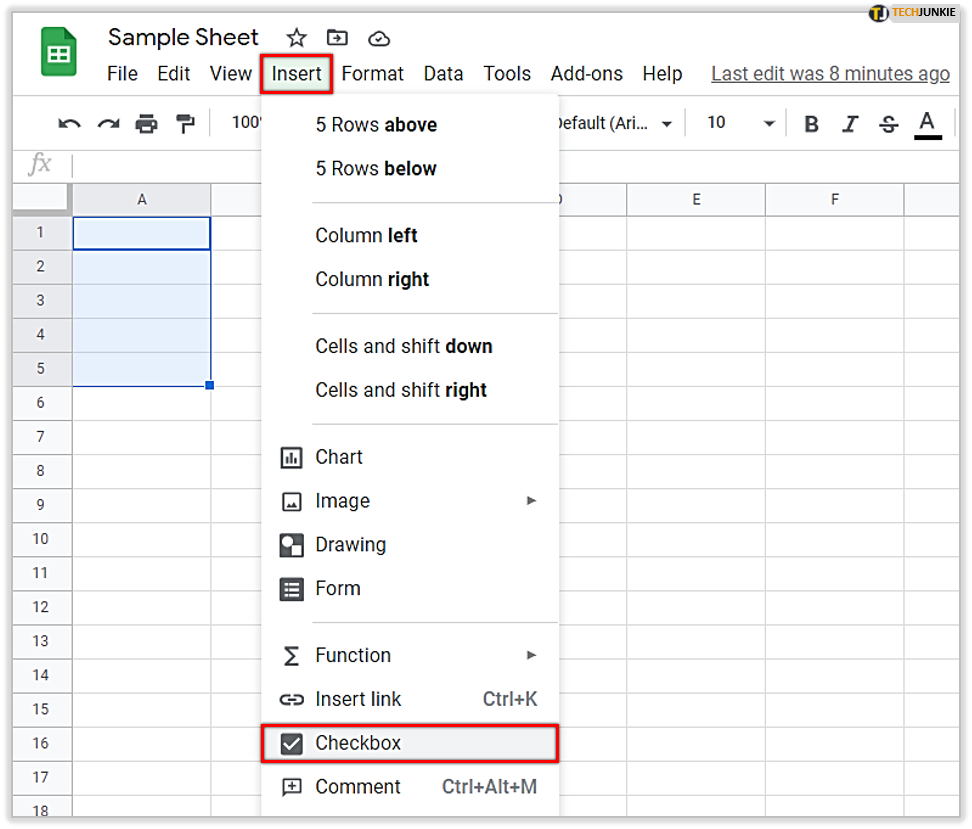
Here’s how to insert a checkbox in one of your Google Sheet documents:
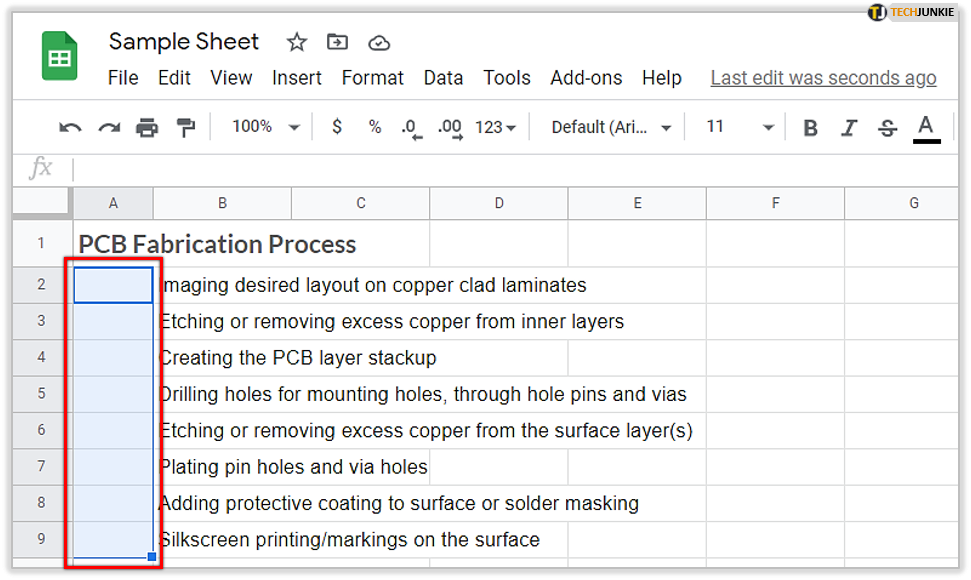
- Open a spreadsheet.

- Choose the cells where you want to add checkboxes.

- Go to “Insert” and “Checkbox.”

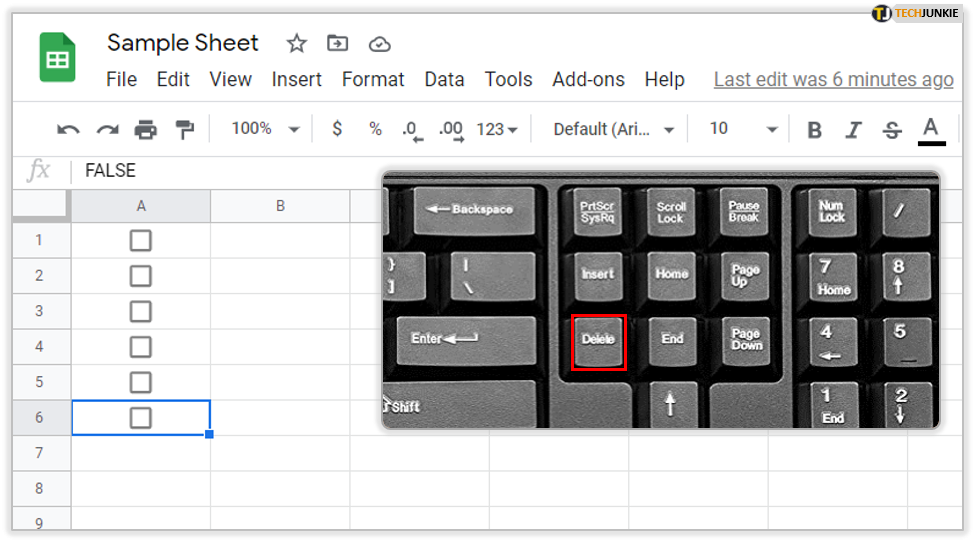
- If you accidentally add more checkboxes, you can delete them by selecting the ones you don’t need and tapping on “Delete.”


Adding Custom Checkbox Values
In some cases, you’ll assign a custom cell value to your checkbox to work differently. You can give it by following these simple steps:
- Open your spreadsheet.

- Mark the cells you want to assign customized values.

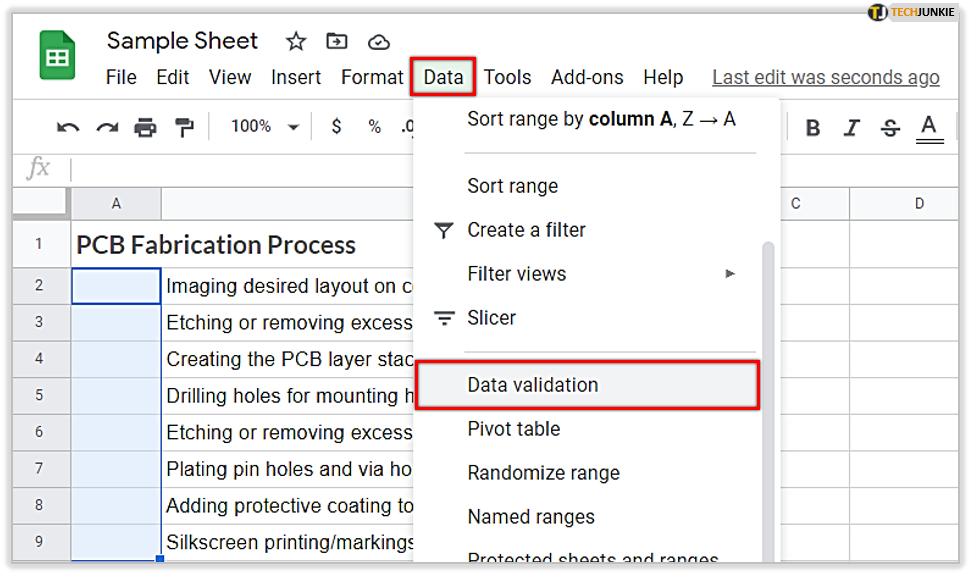
- Go to “Data” and “Data Validation.”

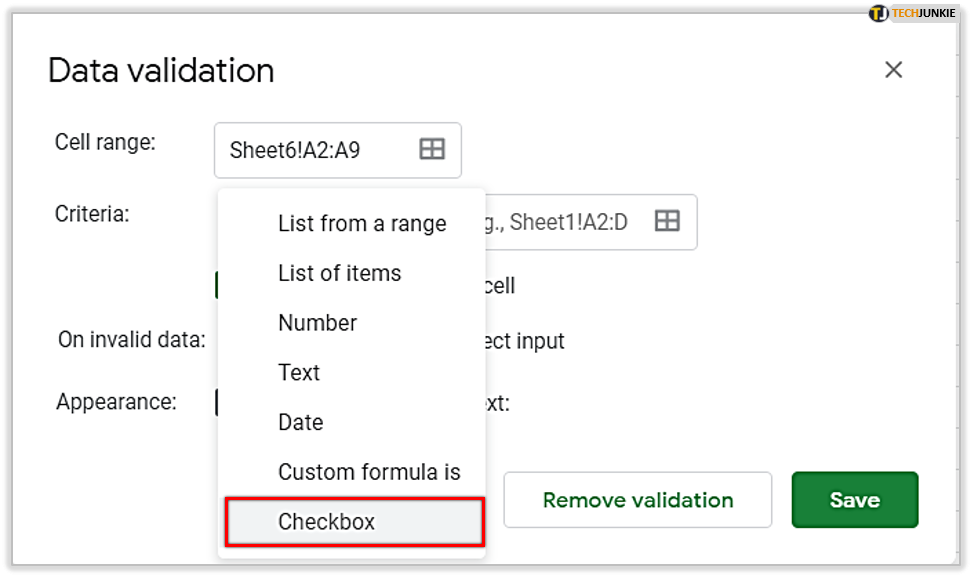
- When you see “Criteria,” make sure you choose “Checkbox.”

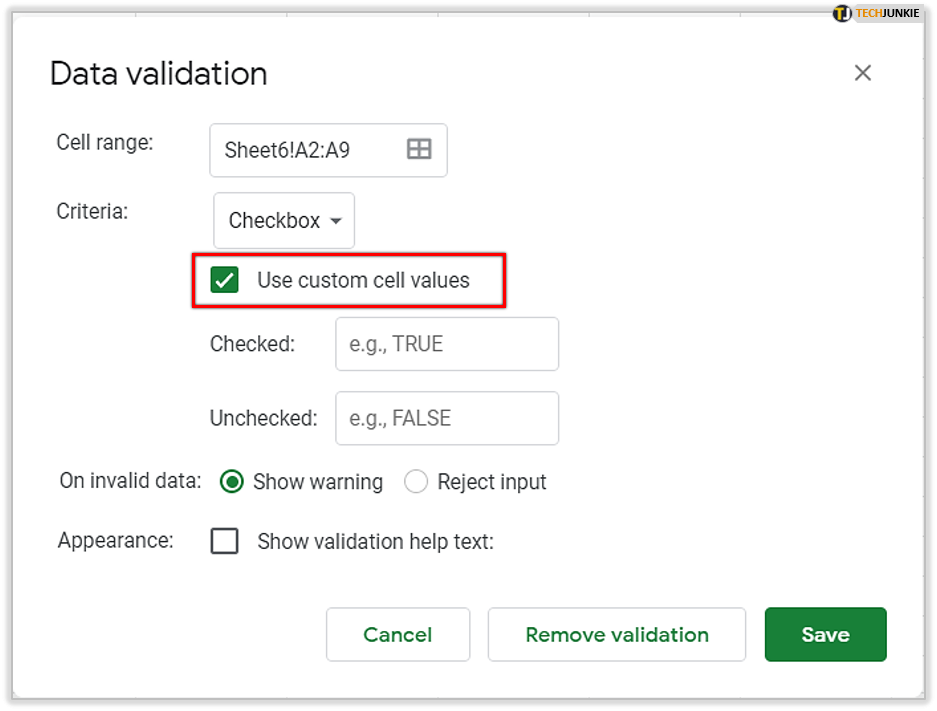
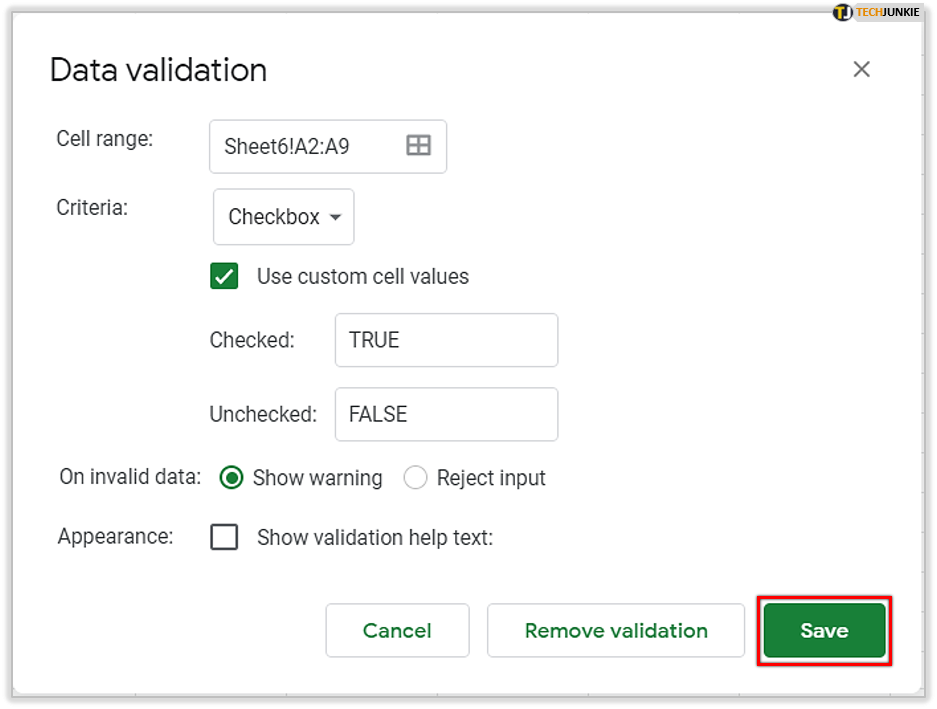
- Select “Use Custom Cell Values” and enter those values. You can enter the value next to “Checked” and “Unchecked.”

- Tap “Save.”


How to Copy and Delete Checkboxes
Once you add a checkbox in a cell, you can apply the same copy/paste shortcuts. That means you can copy and paste any checkbox in and out of any field in your document. Deleting it is even easier as when you hit the “Delete” button, it will immediately disappear from your table. It’s that easy!
Adding Notifications
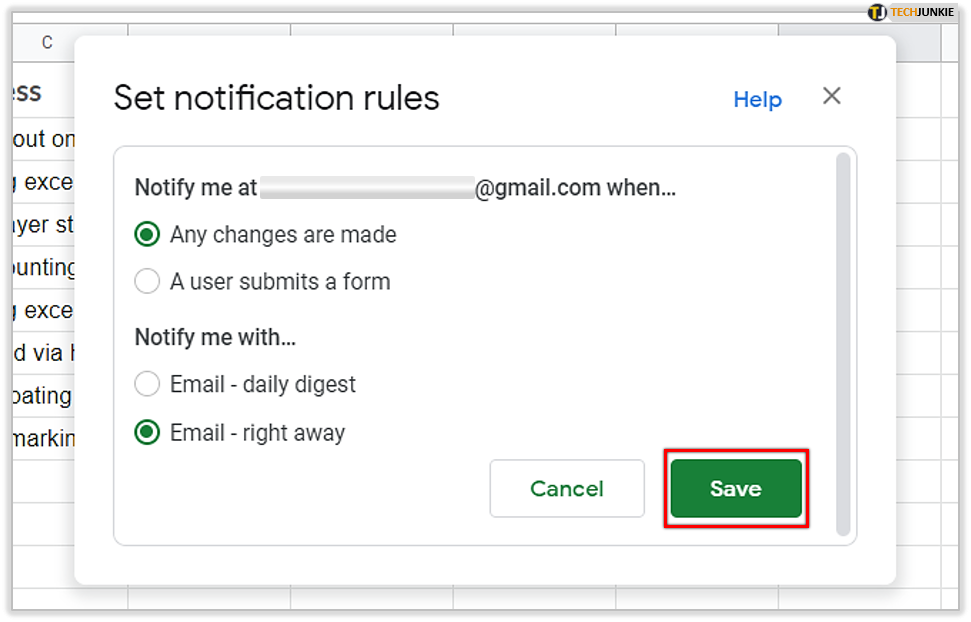
You can also add a notification rule, and whenever a collaborator checks the project as finished, you’ll get an email notification. The system will notify you whenever someone makes a change, and if you’re involved in multiple projects, it will state which one is finished. For project leaders, this tool is indispensable. So, without further ado, here’s how to add a notification:
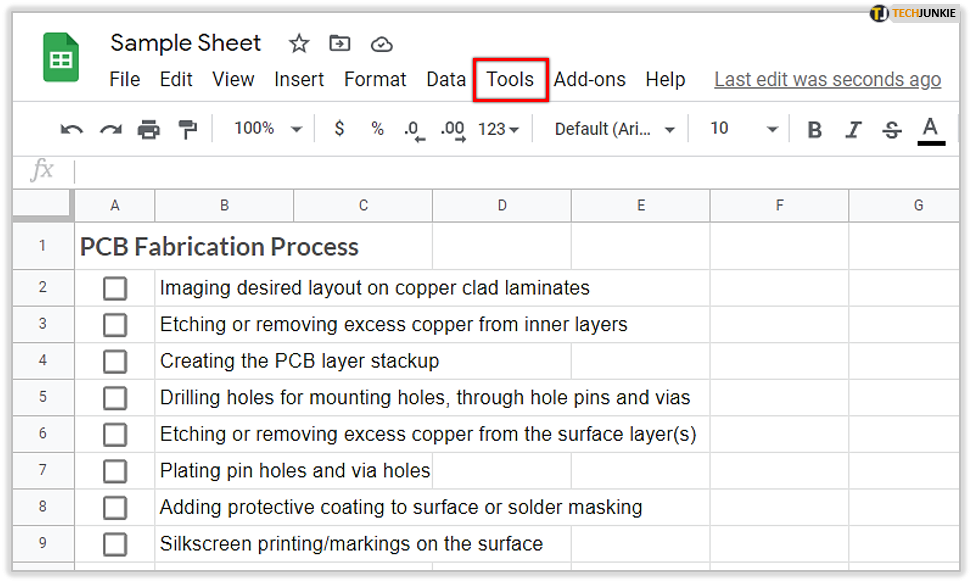
- Open your document and open “Tools.”

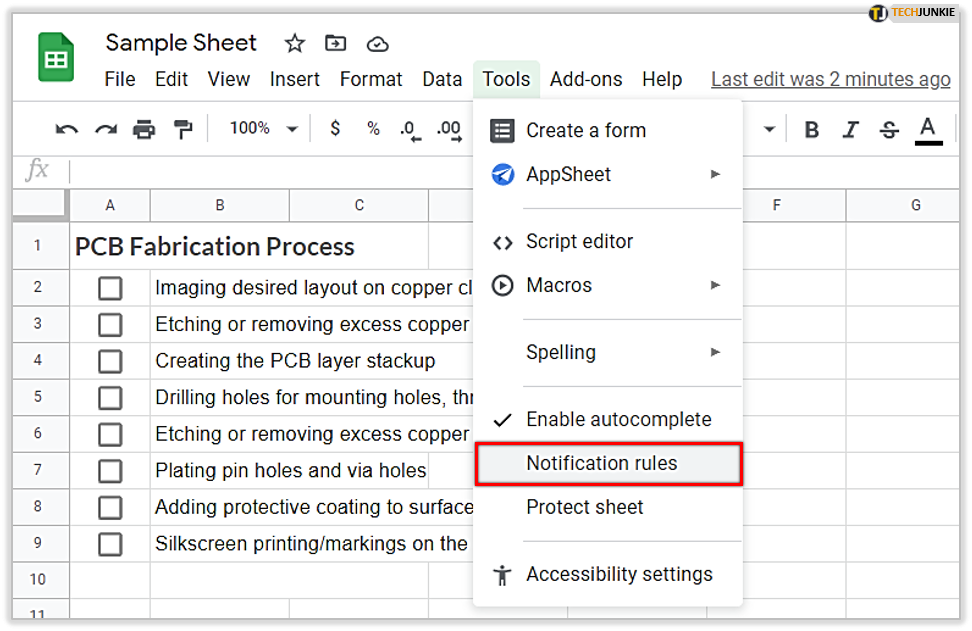
- Select “Notification Rules” and decide how often you want to get notifications.

- Tap “Save” and then “Done” to finish the process.

Format Checkbox Cells
Since the same formatting rules apply to normal cells and checkbox cells, you can customize them according to other sections in your spreadsheet. That means that you can use different colors to mark them and, besides, their fonts and font sizes can also be changed.
Mark Specific Data with Checkboxes
Making all your reports visually appealing is becoming increasingly important. Whether it’s a monthly review, a list of tasks, or a project draft, you need to specify the data segments and make them more impactful. To make this happen, checkboxes come to the rescue.
Using conditional formatting that relies on cell values, you can group all cells accordingly. It’s a simple, yet effective, way to demonstrate two groups of items and have them on display.
Create Tests or Worksheets
Checkboxes prove useful in education, especially for testing. You can use them to hide the solution or add hints or additional explanations. With a True/False value, you can program the checkbox to show or hide any solution. You can also quickly check how many correct answers each student earned by using a few simple formulas.
Dynamic Charts with Checkboxes
To showcase trends, market changes, sales, profit, and loss, and so much more, you need a tool to synthesize all of it into a comprehensive chart. Moreover, checkboxes can add a bit of interactivity to your charts, but only if you use them in the right way.
Make an Interactive To-Do List
By using checklists, you can create a set of tasks, and whenever one of them is completed, you’ll see in the table. Interactive lists can be used as a team organization tool as everyone can see the progress they’re making and can add new tasks if necessary. If you’re interested in creating one of these lists, we’ll show you all the required steps to do so:
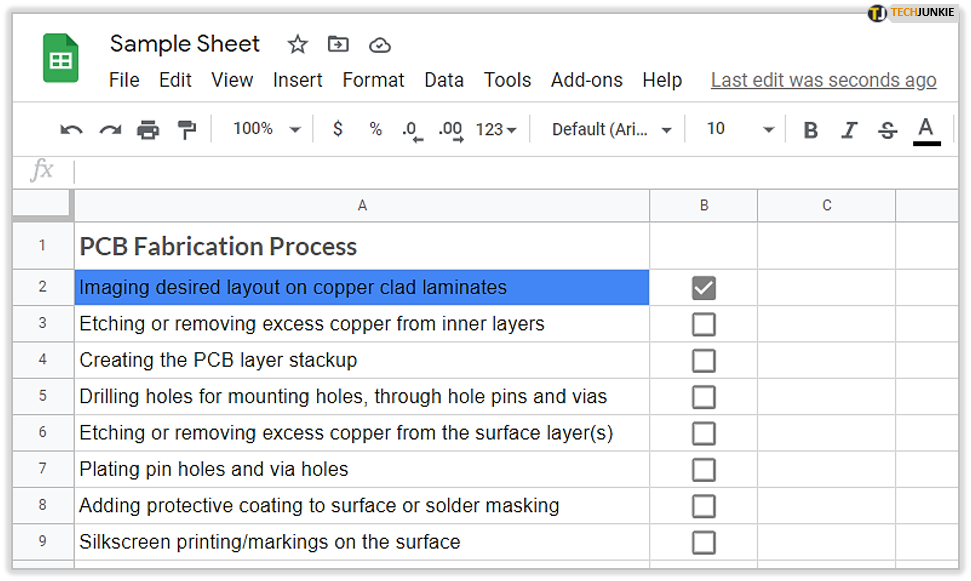
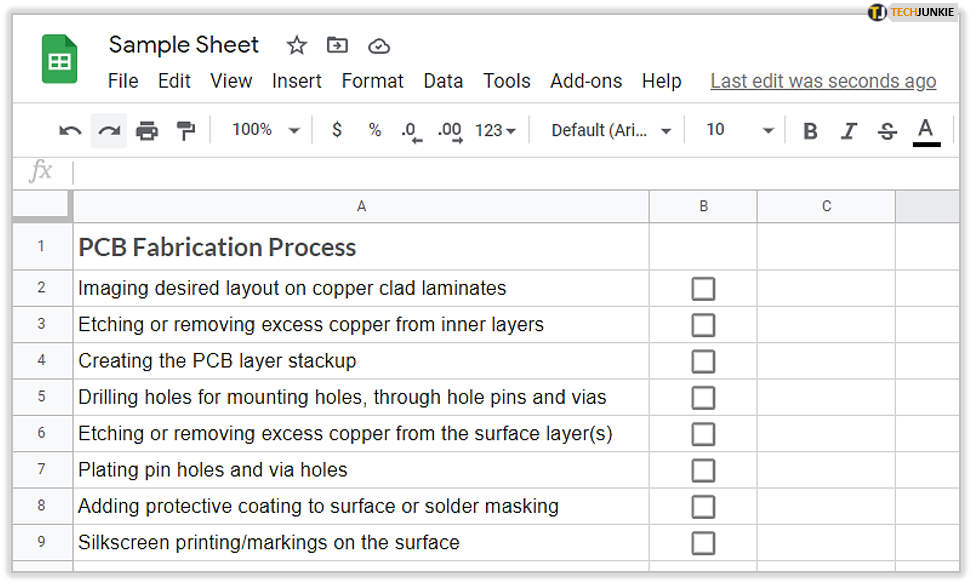
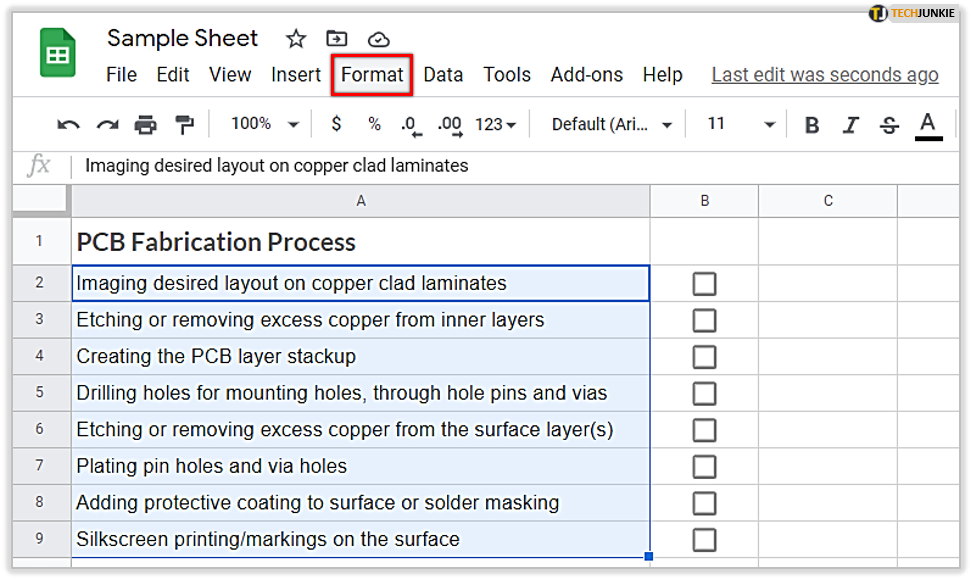
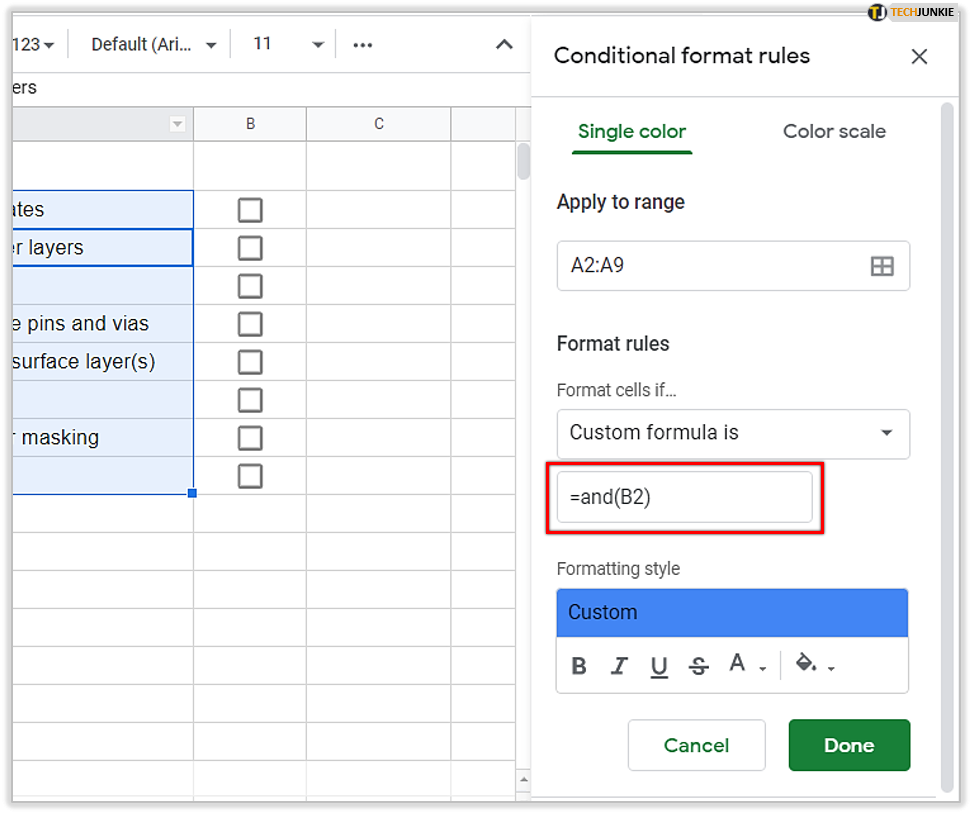
- Write all your assignments in one column, and in the next one, insert checkboxes next to them.

- Select the assignments column and tap on the “Format” button from the menu.

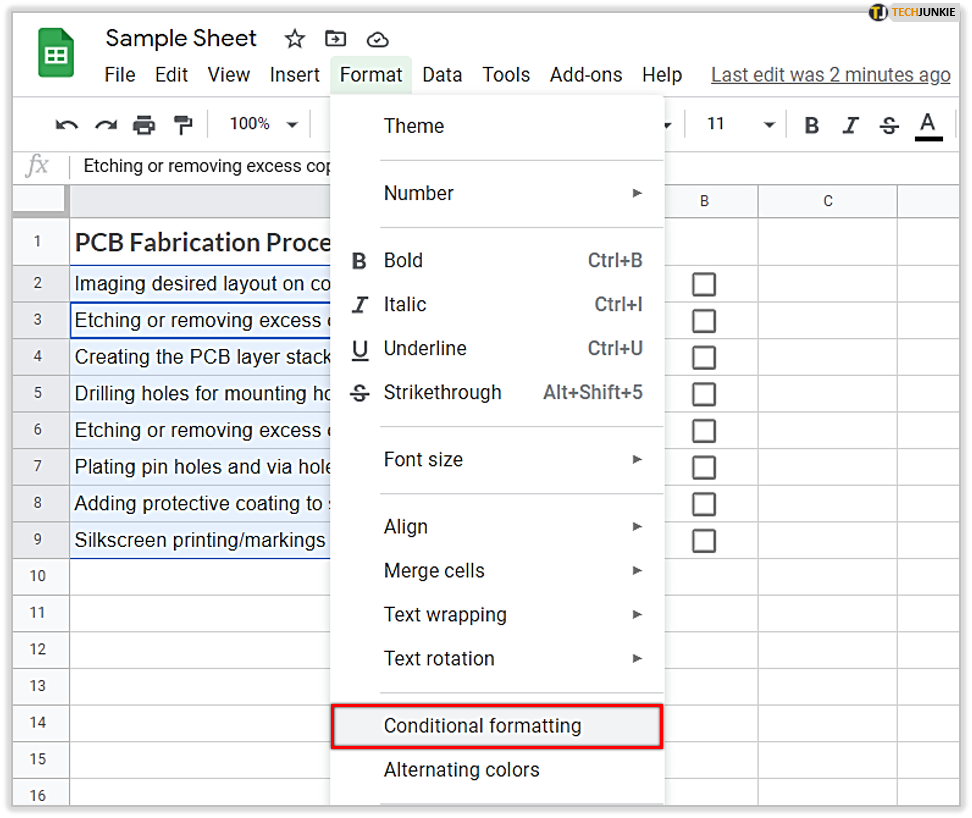
- Choose “Conditional Formatting.”

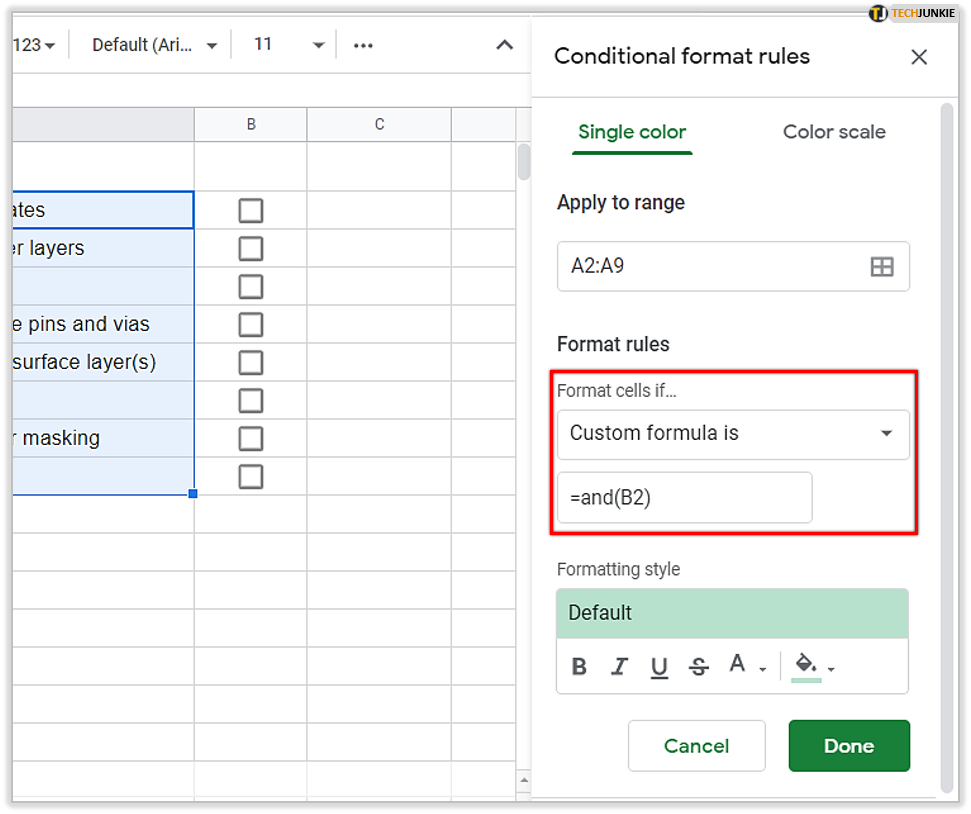
- Select “Format Cells If” and select an option to enter a custom formula.

- Put in the =and(B2) and specify colors and formatting.

Create a Habit Tracker
Having a habit tracker will make your life easier. You can keep track of your activities and habits using apps, smartwatches, or post-its. One of the best ways to start doing things differently, especially for Google Sheets users, is to have everything in a spreadsheet. You can write how many activities you have, how often you’re doing them weekly or monthly, and use formulas to make a spreadsheet for the whole year.
Ticking All the Boxes
With new updates, Google Sheets are getting better in offering users the best tools for their spreadsheets, and once you get used to its speed, efficiency, and features, you’ll start using it all the time.
Now that you’re familiar with how to use checkboxes in Google Sheets, it might be easier to use them in your spreadsheets. Have you used Google Sheets for making to-do lists? Would you use it for project plans?
Let us know in the comments section below.