How to add new menus to the Windows 10 system tray
Windows 10 has plenty of context menus, which you can customize via the registry. These menus can include a variety of system, software and file shortcuts. So they’re certainly handy, and you can expand the number of menus in Windows by adding some to the system tray at the right of the taskbar. Here are a few freeware software packages that add menus to the system tray from which you can quickly access programs, folders, websites, etc.
The FlashTray Pro System Tray Menu
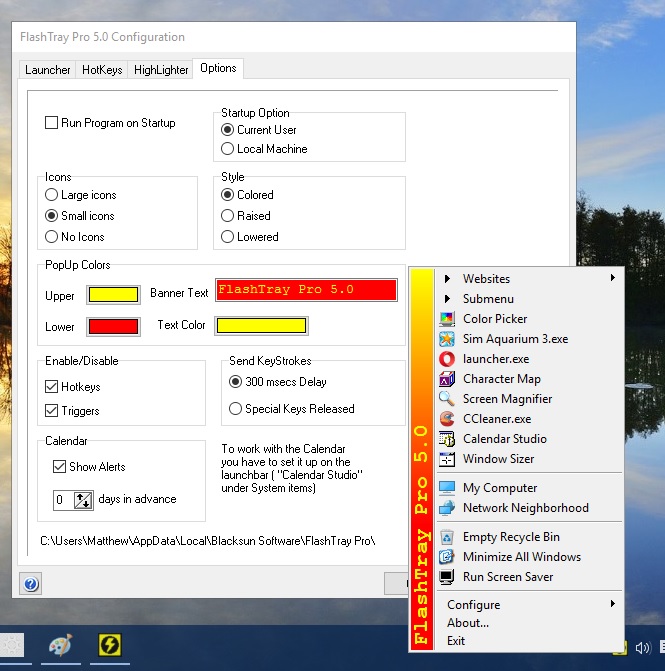
FlashTray Pro is one program, which is compatible with most Windows platforms, that adds a customizable menu to your system tray. With that you can set up menus that include program, document, URL and system shortcuts. Open this Softpedia page to add it to your software library. When you’ve run through the setup and launched the program, click the FlashTray Pro icon in your system tray as shown below.
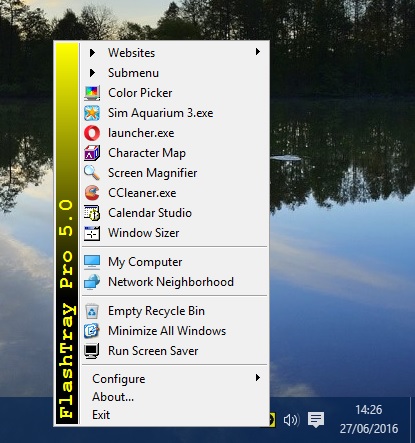
That will open a new menu in your system tray that you can now customize as needed. It already includes a few basic system options among which are Minimize All Windows and Empty Recycle Bin. You can add much more to it by selecting Configure > Launcher to open the window below.
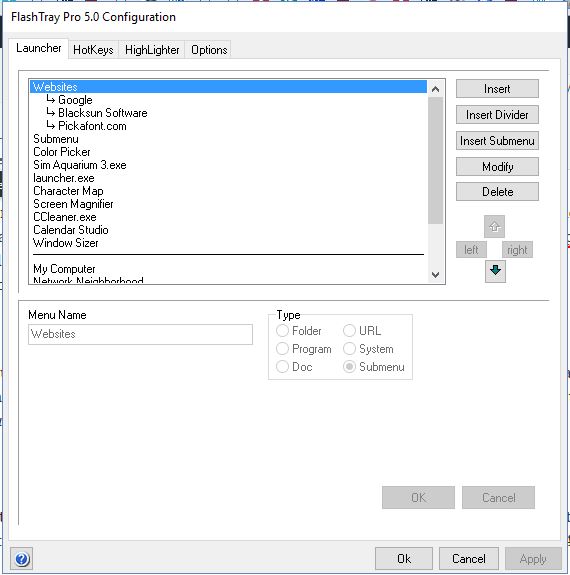
Next, press the Insert button and select the Program option to add a software shortcut to the menu. Click the Browse for file/folder button and select a program to include on the menu. Then click the OK button and Apply to confirm the new settings.
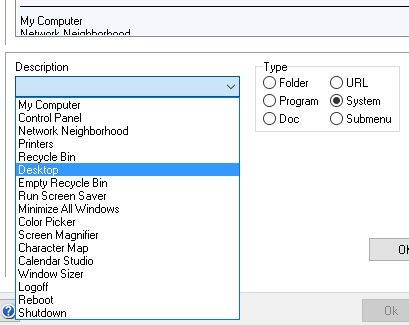
You can add folder and doc shortcuts to the menu much the same. Of course, for URL shortcuts you enter a URL instead of a software path. If you select the System radio button, you can choose a variety of system shortcuts to add to the menu from a drop-down menu.
Then you can adjust the placement of the shortcuts on the menu by selecting them on the menu preview on the Launcher tab. Click the up and down arrow buttons there to move the shortcuts further up or down the menu. You can also add submenus and dividers to the menu by pressing the pertinent buttons on that tab.
To customize the menu colors, select the Options tab. There select the Upper and Lower boxes to choose alternative colors for the banner on the left of the menu. Click the Text Color box to choose another font color for the banner’s text, and click Apply and OK to confirm your changes.
The Kana Launcher System Tray Menu
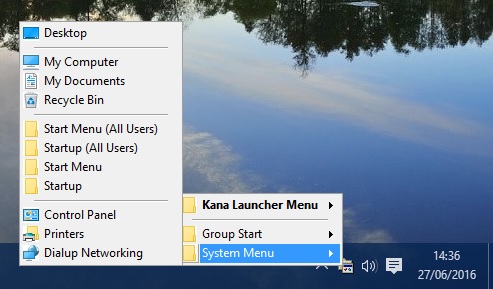
Kana Launcher is another program that you can open your software and documents with from the system tray in Windows. Click Download under Launcher-3.0.0.29s zip (with setup) on this page to save its Zip. Then select the saved Zip and press the Extract All button to Unzip the folder. Run the setup from the extracted folder to install the program. When you run Kana Launcher, you can right-click its system tray icon to open its menus in the snapshot below.
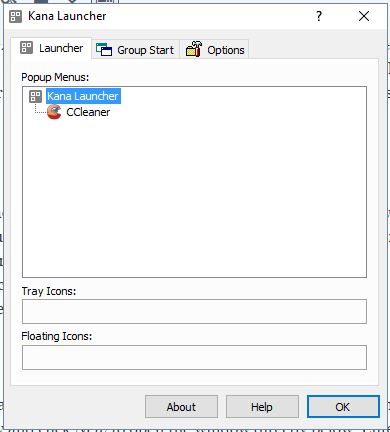
To add new items to the menu, double left-click the Kana Launcher system tray icon. That will open the window shown directly below where you can select the Launcher tab. Right-click an empty space in the Popup Menus box and select Copy from Shortcut. Now select All files from the File of Type drop-down menu, choose a program or document to add to the menu and press Open. Click OK to close the window, and you’ll find the new program/document shortcut on the Kana Launcher menu.
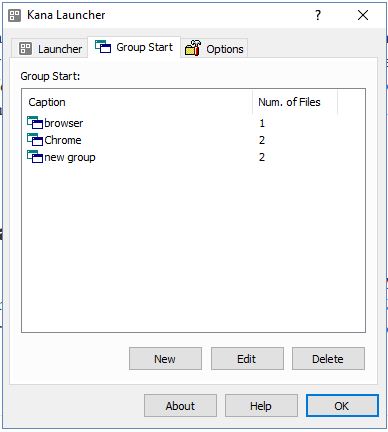
One of the good things about Kana Launcher is that you can open a group of software packages from its menu. Select the Group Start tab on the Kana Launcher window and click New to open the window directly below. Enter a menu title for the group in the text box, and press the Add button to select some programs for the shortcut to open. Click OK to close the window, open the KL system tray menu, select Group Start and then the group you added to open all the programs it includes.
The SE-TrayMenu System Tray Menu
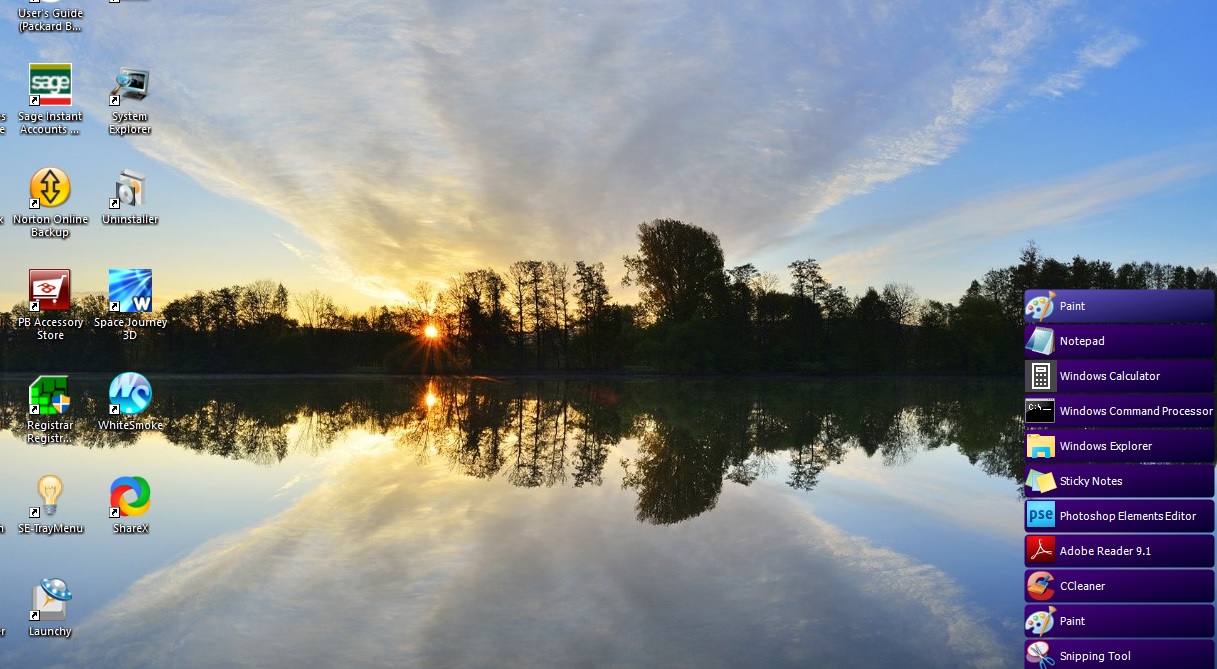
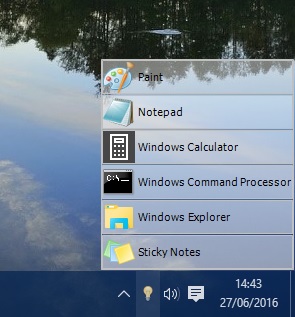
SE-TrayMenu is an efficient software package that includes a few customization options for its system tray menu. You can add this program to Windows platforms from XP up from Softpedia. Click Download to save its Zip, and you can run it from the compressed folder without extracting it. When it’s running, click its lightbulb icon to open the system tray menu directly below.
Now you can right-click the SE-TrayMenu system tray icon and select Settings to add some shortcuts to the menu. Select Applications, click Add and Add executable files to open the Select Item window. Then choose a software package to include on the menu from there and click Open to add it. It will be included on the application list, and you can delete any item there by right-clicking it and selecting Remove.
Adding URLs and folders to the menu is pretty much the same. Click Add and either Add folder or Add internet link to add those shortcuts. Then fill out the required fields on the URL Edit window or choose a folder to include on menu.
Click Color theme on the Settings window to customize the menu colors. Then click the Theme drop-down menu to choose new colors for the menu. For example, you could select Olive Green from there as shown in the snapshot below.

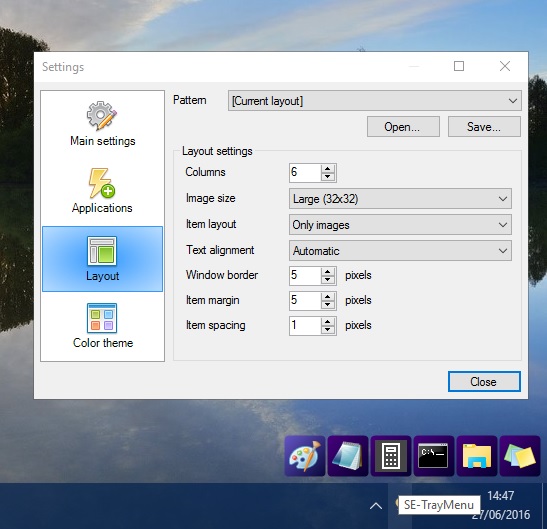
Select Layout to open the options shown directly below. There you can adjust the layout of the menus by clicking the Pattern drop-down menu. The drop-down menu includes 11 layouts, and you can adjust any of those by configuring their settings.
You can also give the menu a hotkey. Select Main settings and then click the Popup hotkey drop-down menu to choose a keyboard shortcut from there. Pressing that hotkey will then open the menu at the cursor position.
So SE-Tray Menu, Kana Launcher and FlashTray Pro are a triumvirate of programs that add handy menus to the Windows 10 system tray. You can add your most essential software, websites, folders and documents to those system tray menus for quick access without any registry editing. Then you can clear some shortcuts off the desktop and Start menu.