Belkin Router Login, IP Address and Initial Setup – Complete Information
Belkin routers are solid home network devices that perform well and need very little management once set up. With some great features, lots of options and a decent price, they appear in quite a few homes across the world. If you have just bought one and want a friendly guide to those initial steps, this tutorial if for you!
I will walk you through unboxing, connecting, logging in and initial setup of your Belkin router. It takes less than ten minutes and will have you set up and ready to go with a fully functioning wired and wireless network.
Belkin makes lots of routers and some use different menu configurations. If the descriptions below do not exactly match what you see on yours, just translate the terms in this tutorial to those that match your router.
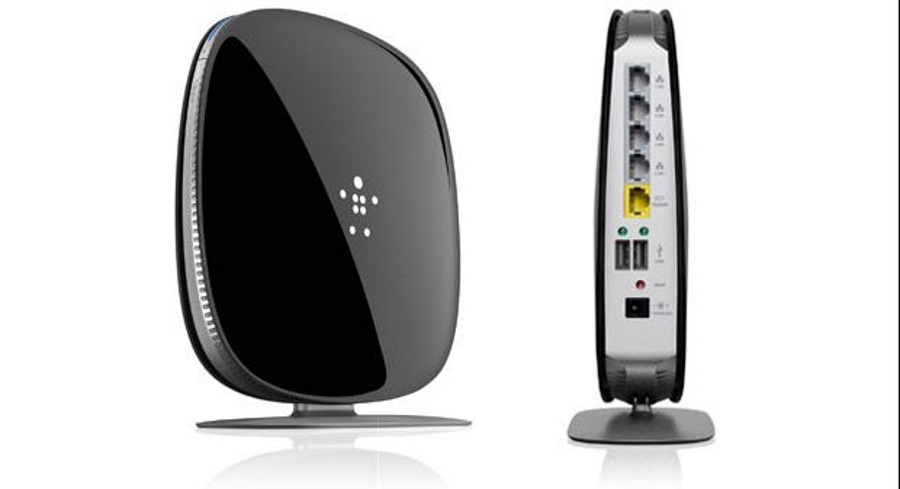
Unboxing your Belkin router
Your Belkin router will likely come with a mains adapter, Ethernet cable, instruction manual and the router itself. Take everything out of the box and remove any packaging.
A basic home network configuration will place the router between your ISP modem and any computers, switches or hubs. The router acts as the gateway to the internet and all traffic needs to pass through it.
- Turn off the ISP modem.
- Connect your modem to the input on the router with an Ethernet cable. That can be the cable that previously went from the modem to your computer or switch. Often labeled LAN or Ethernet on the modem and WAN on the router.
- Using another Ethernet cable, connect a LAN (or Ethernet) port on the Belkin router to your computer or switch.
- Power on your ISP modem.
- Connect the mains adapter to the router, plug it in and power it on.
Some Belkin routers have hardware switches. If yours doesn’t power on, find the power switch and toggle that. It should now come to life. The ISP modem will detect the router and they should configure themselves for first use.
Belkin router login
Now everything is connected, we need to log into the Belkin router and set it up.
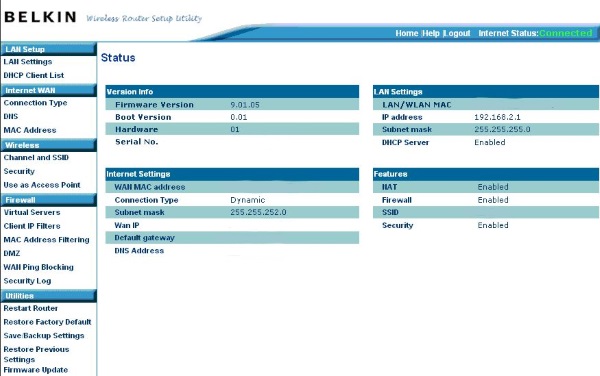
- Open a web browser on the connected computer and go to http://192.168.2.1. You should see a Belkin setup page.
- Select Login, leave the password box blank and select Submit.
You should now see the basic setup page for Belkin routers.
Belkin router initial setup
Belkin, like most consumer router vendors, use a web interface to enable configuration. Now we are logged in, we should set up the network type, a secure password, check for firmware updates, check the firewall and set up WiFi.
Set up network type
- Select Connection Type under Internet WAN in the left menu.
- Select Dynamic as a connection type if you use cable or PPPoE if you have a DSL modem.
- Select Next.
- The router then requires information about your ISP. Cable customers click here, DSL customers, click here. Enter the information and select Apply Changes.
Set up a password
There is no default password for Belkin routers so we need to set one up.
- Select System Settings under Utilities on the left menu.
- Leave the current password blank and add your new password twice in the boxes.
- Select Apply Changes or Save.
You can change the Login Timeout if you want but the 10 minute default is enough time to perform most actions.
Check for firmware updates
Vendors regularly release updated firmware for their products to fix vulnerabilities, add features and tidy up the code. Let us check for an update now.
- Select System Settings under Utilities on the left menu.
- Select Firmware Update and Check Firmware on the next page.
- Follow the wizard if a newer firmware version was found and select Update.
You can update the firmware manually but this is a little more involved. Check out this page on the Belkin website for instructions.
Set up WiFi on a Belkin router
Our final initial setup task is to get WiFi working.
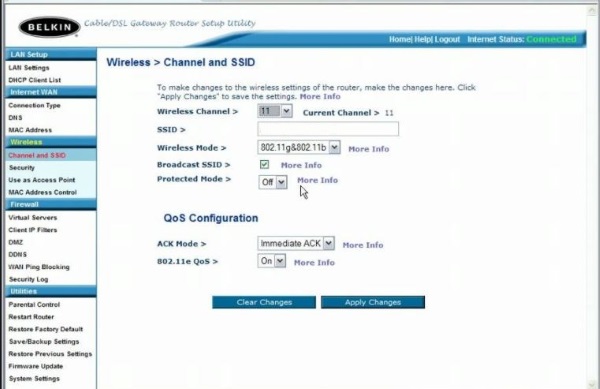
- Select Channel and SSID from the Wireless section of the left menu.
- Select a Channel, give it a Network Name and a secure password. Do the same for both 2.4GHz and 5GHz or use different passwords, up to you.
- Select WPA-PSK, WPA2-PSK, or WPA-PSK+WPA-PSK2 as Security Type.
- Add a secure password in Pre-shared key (PSK).
- Select Save when done.
- Select Wi-Fi Protected Setup for both channels and toggle it to off and Save.
Your WiFi network should now be working. Any device you want to connect using WiFi will require the password you entered in Step 4.
That’s it for Belkin router login and initial setup. Good practice is to change the LAN IP range, disable remote management and set up any firewall rules you might want to use. Look out for that in another tutorial.