


How to Change the Faceplate on the Ring Doorbell

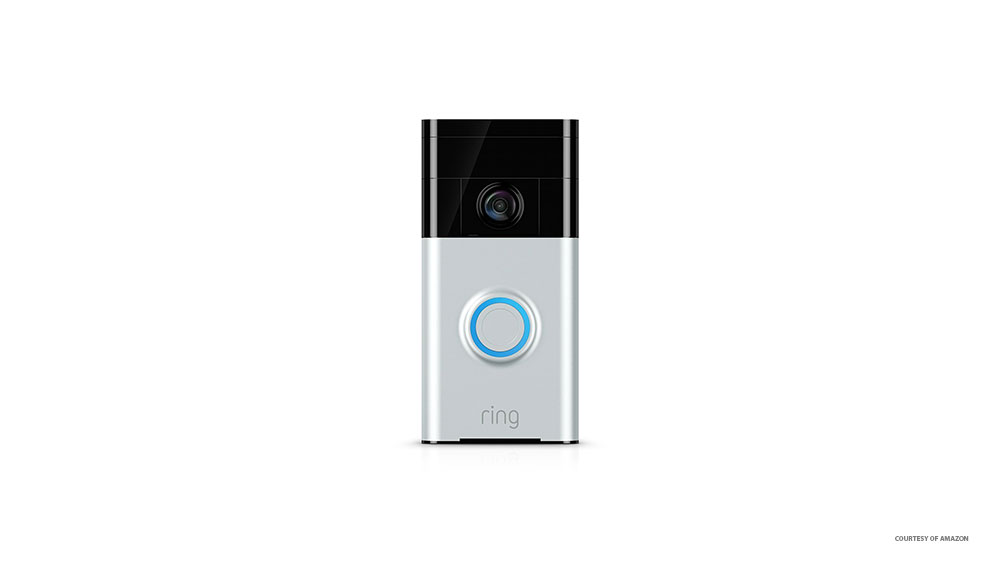
Ring Doorbell is an innovative device that brings technology into the world of doorbells. It’s compact and yet can perform everything an intercom does, and more. By connecting to it through the Ring app, you can communicate with whoever might be standing on your doorstep. Additionally, the device is equipped with a camera that allows live video feed access, as well as a motion sensor that notifies you anytime someone stands in a designated area.
In order for the Ring Doorbell to operate properly, the faceplate needs to be removed from time to time.
Why Remove It?
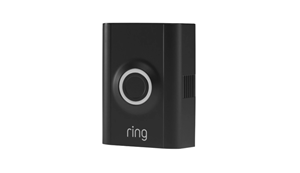
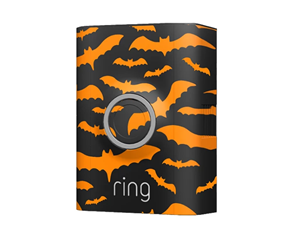
Sure, they’ve made the faceplate removable, but why remove it in the first place? Well, for starters, every Ring Doorbell comes with an additional black cover. Therefore, if you prefer the black cover over the metallic one, you need to know how to remove it.
Even more importantly, the device is battery-powered. Now, this battery can last anywhere from 6 to12 months, but you’re going to need to recharge it eventually. Unfortunately, the battery isn’t accessible from the device’s outer shell, so you’re going to need to remove the faceplate to take it out, in order to recharge it.
Taking off the Faceplate
Fortunately, the faceplate is fairly simple and easy to remove. All the tools you need are provided inside the original product packaging.
1. Remove the Security Screw
When your Ring Doorbell arrived, you probably noticed an odd star-shaped screwdriver inside the box. If you still haven’t figured out what it’s for, take a look at the security screw on the device itself. Yes, that’s right, it’s the exact same shape. In order to take off the faceplate, the first thing that you need to do is remove the security screw. Simply insert the screwdriver’s tip, turn the screw counterclockwise, and, at some point, the screw will come out.
If you happened to have lost the screwdriver, order a replacement from the Ring website or find it on Amazon. Don’t try to use third-party methods and tools to remove the security screw, as you may end up damaging it to the extent where not even the star-shaped screwdriver will be able to take the screw out. Also, be careful not to lose the screw itself.
2. Push Up from the Cover’s Bottom
Once the screw is out, the faceplate can be removed without using any other tools. However, the whole mechanism has been designed to be difficult to remove. The reasoning behind this is fairly logical; you wouldn’t want to make it easy for the burglars to mess about with your device.
Now, put your thumbs on the bottom of the faceplate. Place your middle and index fingertips on the front of the plate to provide support. Push the cover’s bottom using your thumbs until you hear it snap free. Don’t be afraid of putting some effort into it. The Ring Doorbell was designed to take a punch! If you’re having issues prying it open, use a butter knife or something flat and thin to help. Don’t use anything sharp, though, as this may cause damage to your cover.
3. Pull the Faceplate Away
With your index and middle fingers supporting the faceplate cover from falling, use your hand to grab the cover and remove it. Be careful with this to avoid dropping something. After the faceplate is loose, this should be a completely fluid motion. Therefore, do it slowly, particularly if you’re doing this for the first time.
Replacing the Faceplate
Having removed the faceplate, whether it’s to put on a new one or to recharge the battery, you’re going to have to replace the cover. Note: this process isn’t identical to the process of removing it.
1. Line It Up and Snap It Back On
Take the faceplate that you want to put back on and find the plastic hook on the inside of the cover (towards the top). Now, put the hook into the hole. Make sure that you’re holding the faceplate at approximately 45-degrees and snap the cover’s bottom in place.
2. Replace the Security Screw
Take the security screw that you’ve removed at the beginning, and place it into the corresponding hole, located on the faceplate’s bottom side. As you’ve probably guessed, now you need to use the star-shaped screwdriver in order to screw faceplate back on by turning it clockwise. You should make sure that it’s screwed-in tight, but don’t overdo it, as the cover may crack under pressure. Just keep it regularly tight.
If you lose the security screw, order the replacement online from Amazon or from Ring’s official website.
Removing the Battery
In case you’re removing the faceplate on the Ring Doorbell to recharge the battery, here’s how to do it.
1. Pull It Out
Once you’ve removed the faceplate, you’ll see the battery inside the Ring Doorbell unit. Locate the black rectangle-shaped tab towards the battery’s top. Press this tab with the index finger and use the middle finger and the thumb to slide it out from the bottom. Now, let go of the black tab and take the battery out.
2. Recharge It
Using the provided USB cable, recharge the battery. It may take several hours to charge to 100%, but it’s crucial that you let it charge completely.
3. Slide It Back In
Take the fully-charged battery and slide it back in place, until you hear the black rectangular tab snap. Try turning the Ring Doorbell on before replacing the cover, just to make sure that you’ve properly charged and inserted your battery. Now, just use the instructions from above to put the faceplate back on.
Changing the Faceplate
Removing or replacing the faceplate on Ring Doorbell units probably sounds more complicated than it really is. All you need to do is be careful when taking it off and make sure that you keep the security screw in a safe place, where you won’t lose it.
Did you find this easy? Did you replace the cover with a different one? Have you ordered a new one online? This is what the comments section below is for, so don’t be a stranger!


One thought on “How to Change the Faceplate on the Ring Doorbell”