How To Convert an Image to Ink in Photoshop

Adobe Photoshop is a great tool for anyone who deals with image editing. But did you know that you can also use Photoshop to convert a regular image into ink? What’s more, it isn’t hard at all.
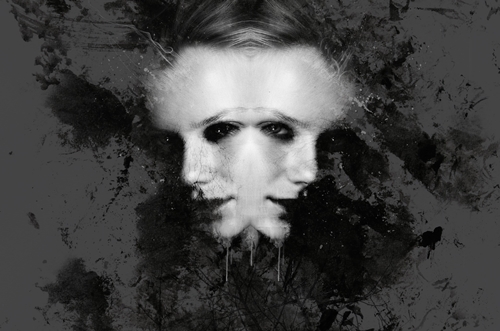
You can convert your image to black and white and then easily add color to it. The final product will look like something straight out of a comic book or a graphic novel. This article will teach you how to accomplish this without putting in too much effort. Let’s get started!
Tutorial for Converting Images to Ink in Photoshop
Before we begin, there is only one thing you need to prepare. That is, of course, Photoshop.
If you haven’t already installed it on your PC, you can buy it from the official Adobe website. Prior to that, you can test it with a free trial. You will surely not regret it because Photoshop is by far the best and most comprehensive image and graphic design program in the world.
After installing Photoshop, you can start turning your image into ink by following these steps:
Step 1
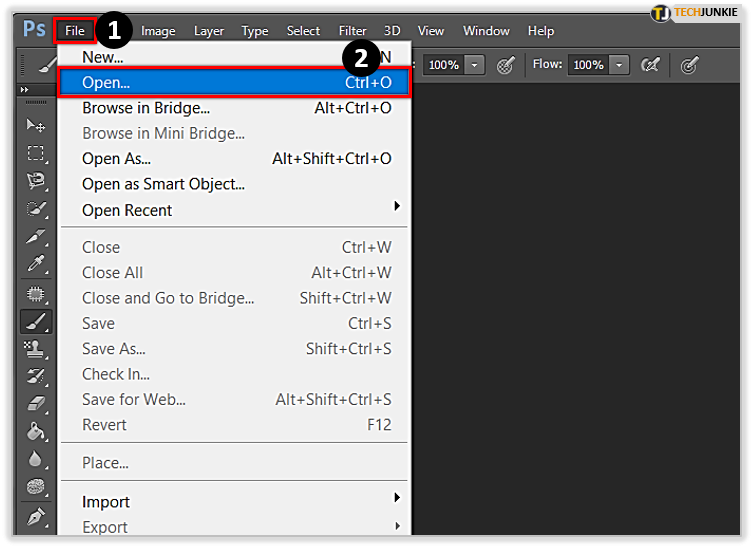
Start Photoshop on your PC. Tap on File then select Open so you can choose the image you want to become ink. Select it and press Open. Confirm it with OK. You will then have to wait a bit for the image to get processed.
Step 2
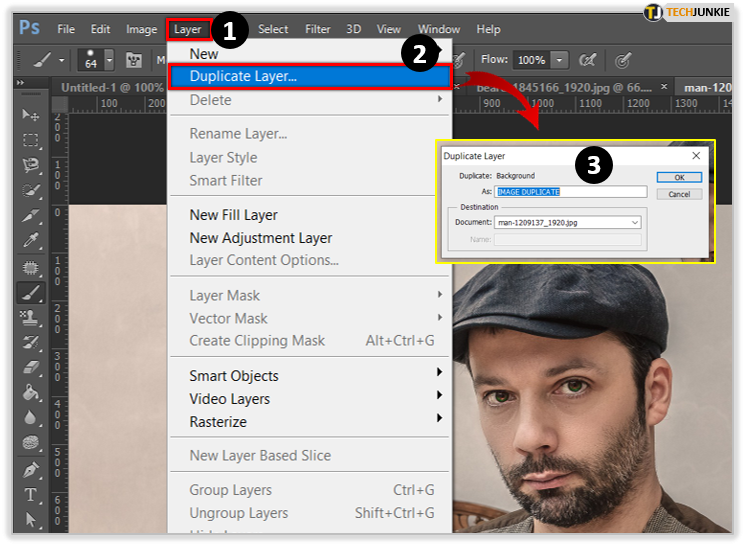
Look for the Layer option at the top of your screen. Select it and then proceed with Duplicate Layer. You will need to give this layer a different name; it is totally up to you how you will name it. In the end, confirm with OK.
Step 3
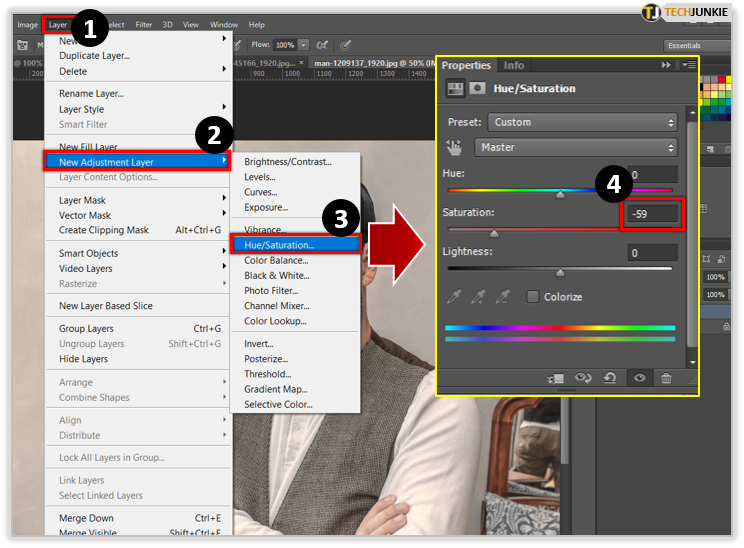
Again, you need to go to the Layer section and find the option labeled New Adjustment Layer. Now you should select Hue/Saturation. Here you should switch up the saturation level to –59. Your picture should now be black and white.
Step 4
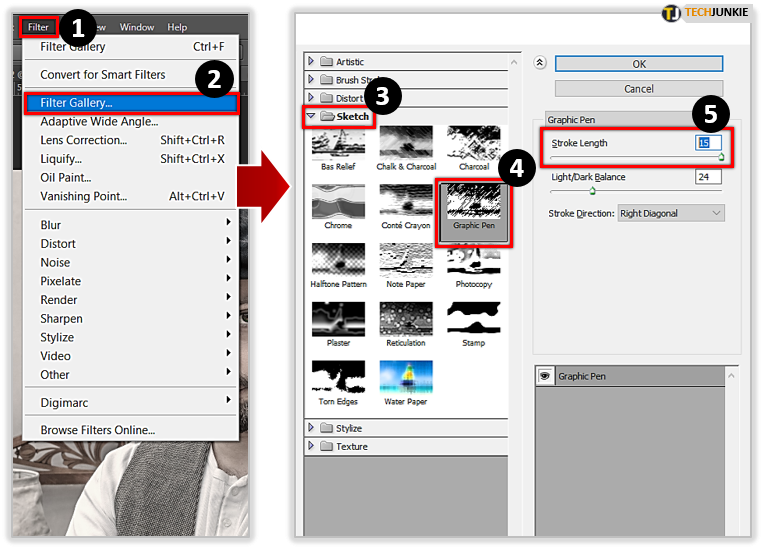
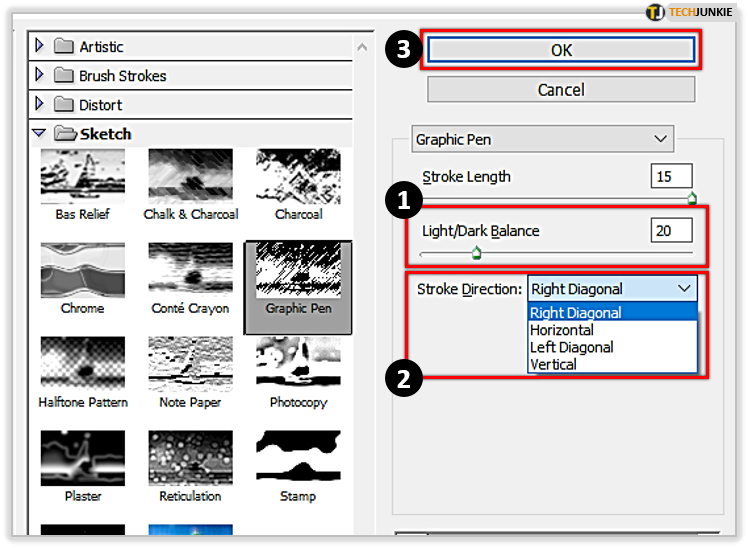
Click on the copied layer. After it pops up, you should select Filter, Filter Gallery and then Sketch. Finally, select Graphic Pen. Now you need to adjust the tab below Stroke Length and make it so the number 15 is directly above. Once done, you can move it around until you are satisfied with the effect.
Step 5
Now you need to do the same with the ab directly below Light/Dark Balance. When you are satisfied with the light balance and the stroke length of your pen, you can open the Stroke Direction menu. You get a choice between horizontal, vertical, left diagonal, and right diagonal lines. Click OK when done.
Step 6
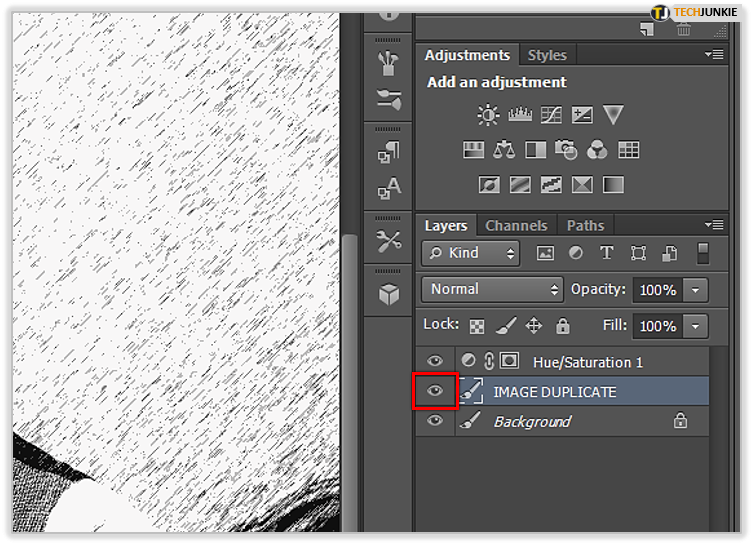
Move your mouse to the Layer option, to the right of your screen. Now you need to select the first box to the left which has the image duplicate. It will have an eye shape if the overlay is visible. In case you want your image to stay black and white, this is it. End of the road.
Step 7
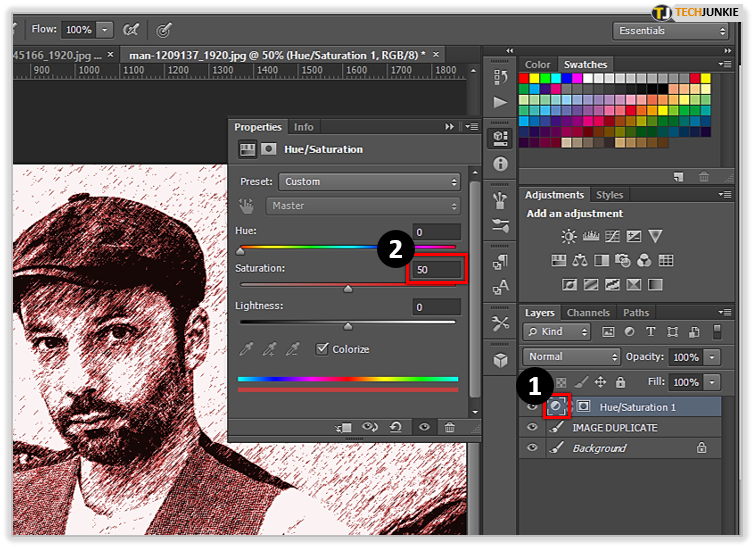
For those who want to add color, you need to double-click Hue/Saturation from the Layer option. Now change the saturation to 50 and confirm with OK. Your image will now be in color.
Step 8
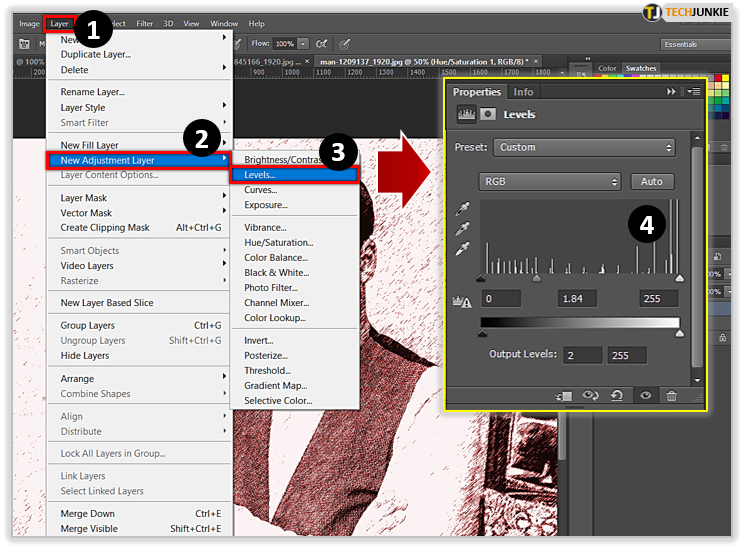
In case you want to change the color level you need to go to Layer, New Adjustment Layer, and then Levels. Adjust the color until you are satisfied by moving the tabs below graphics, and confirm with OK.
Alternative Method
There are alternatives for converting images into ink but they require different ink effects. You need to combine an image with an ink png file to make an image with ink. You can use any image, like stock images from Pixabay and you can get the ink splash here.
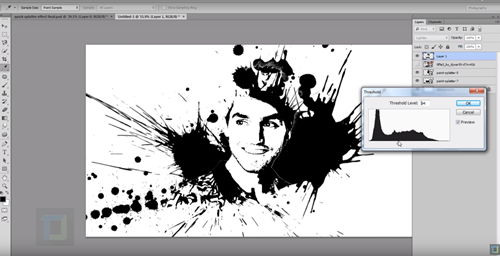
You add the ink splash image first as a layer, then add your desired image on top of that, and then crop it to your liking. Then you need to desaturate your image in color by clicking on Image, then Adjustments. Then follow the same path and select Threshold instead of Desaturate.
That is all. If you want to, you can play around and customize the image even more to your liking.
Inkception
That is how you convert an image to ink in an easy manner. Were these steps hard to follow? Did you have fun changing your image to ink? Tell us how your ink turned out in the comments below.