


How to Permanently Disable Gatekeeper in OS X El Capitan

As we’ve previously covered, Gatekeeper is a security feature in OS X that prevents the user from launching apps that are either not from the Mac App Store or from unverified Mac developers. The theory behind the feature is that by restricting the source of applications that users can open or launch on their Mac, the chances of a user inadvertently downloading and executing viruses or malware can be significantly reduced.
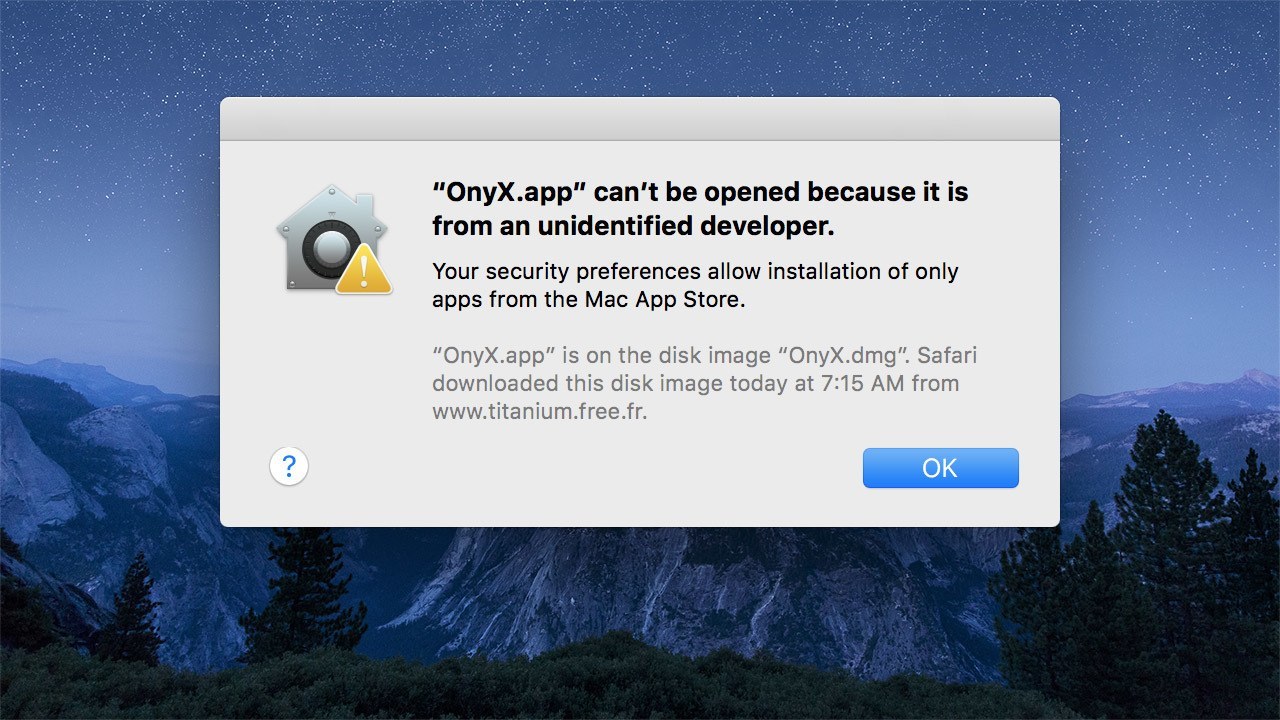
You’ve likely encountered Gatekeeper at some point, even if you didn’t know it by name: Gatekeeper is the feature at work when OS X tells you that a particular application can’t be opened “because it is from an unidentified developer,” and it requires various workarounds for users looking for temporary relief but who are not willing to disable the feature entirely.
Although useful for many Mac owners, those who need to frequently access third party apps from unregistered developers have generally made disabling Gatekeeper one of their first tasks when upgrading or setting up a new Mac. With the launch of OS X El Capitan in late 2015, the process of disabling Gatekeeper appeared to remain the same, but several weeks after upgrading to Apple’s latest OS, many users who had disabled Gatekeeper noticed that OS X was once again bugging them about apps from unidentified developers.
No, these users weren’t collectively going crazy. It turns out that Apple quietly made a key change to the way that Gatekeeper works in El Capitan, and the feature will now re-enable itself (a.k.a. “auto rearm”) after 30 days. While Apple would likely defend this change as a positive one in the name of user and ecosystem security, some users justifiably feel annoyed at Cupertino’s encroachment on their personal control of their Macs. The good news is that if you fall into this latter category and want to disable Gatekeeper indefinitely in OS X El Capitan, the solution is just a quick Terminal command away.
Before we continue, it’s important to note that disabling Gatekeeper, temporarily or otherwise, does technically make your Mac less secure. So if you’re not 100% confident in your ability to spot and avoid malicious software, it’s probably a good idea to keep the feature enabled and simply use one of the aforementioned workarounds when needed.
If you’re ready to proceed with indefinitely disabling Gatekeeper in OS X El Capitan, launch Terminal and enter the following command:
sudo defaults write /Library/Preferences/com.apple.security GKAutoRearm -bool NO
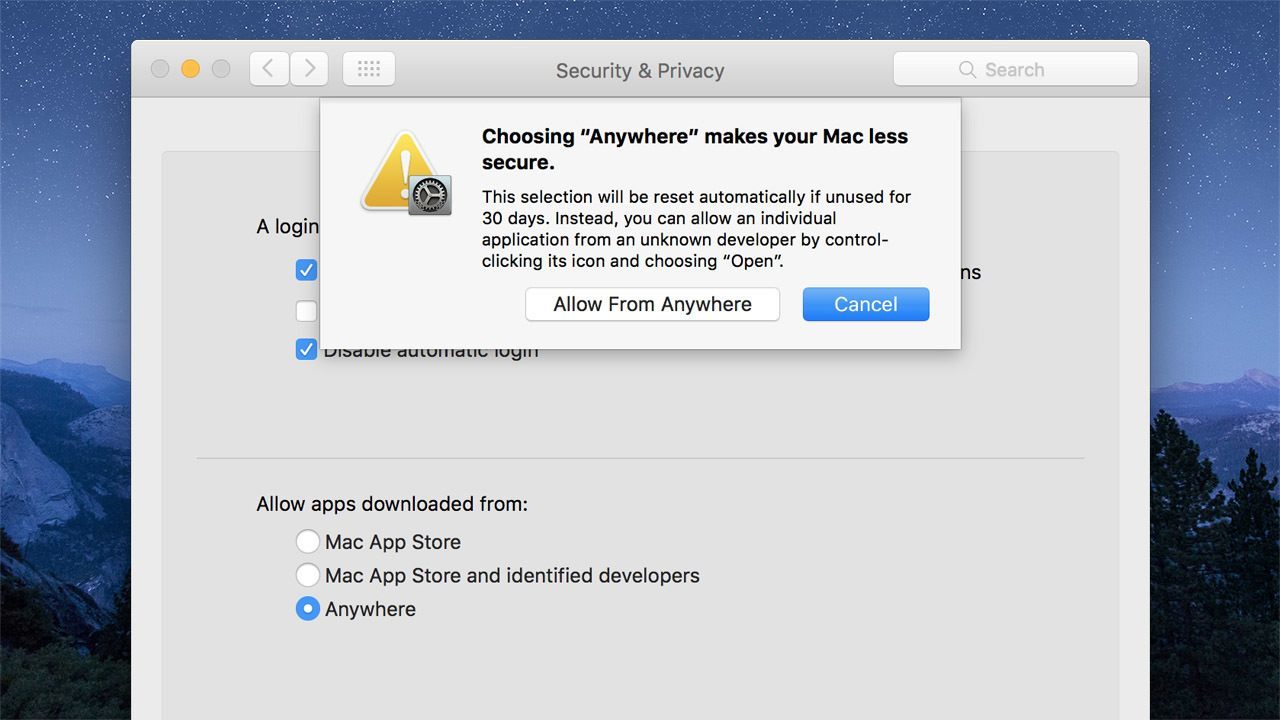
As this is a sudo command, you’ll need to enter your admin password when prompted in order to execute the instructions. Once you’ve typed your admin password, hit Return on your keyboard to complete the process. Gatekeeper will now no longer rearm itself after the 30-day waiting period, although you can manually turn the feature back on by visiting System Preferences > Security & Privacy > General and selecting one of the two protection options.
If you ever want to turn Gatekeeper’s auto rearm feature back on (something that might be a good idea if you’re giving your Mac to a less tech-saavy friend or relative and don’t plan on performing a clean install of OS X), just head back to Terminal and use this command instead:
sudo defaults write /Library/Preferences/com.apple.security GKAutoRearm -bool YES
You’ll again need to provide an admin password, but once you do, OS X will once more automatically turn Gatekeeper back on after 30 days if a user happens to disable it.


