


How To Set an Expiration Date for a Google Drive File/Link
Google Drive links are valuable for anyone who uses the cloud storage service for work or to collaborate on projects. Anyone with an account can share access to their entire drive or particular files or folders. You can restrict access to read only or allow full collaboration, it’s entirely up to you. It is possible to add an expiration date for a Google Drive link, which is a neat trick. I’m going to show you how to use links to collaborate within Google Drive.
Google Drive makes it easy to collaborate and share data. Sometimes a little too easy. While easy to remove access to your data, it is very easy to forget who has access and how doesn’t. When the project finishes or you no longer need someone else to access your Drive, you have to remember to revoke access. While secure, it’s a sensible precaution. It’s well then that Google allows you to set an expiry in such links.
Here are the basics of working with Google Drive links.
Using links in Google Drive
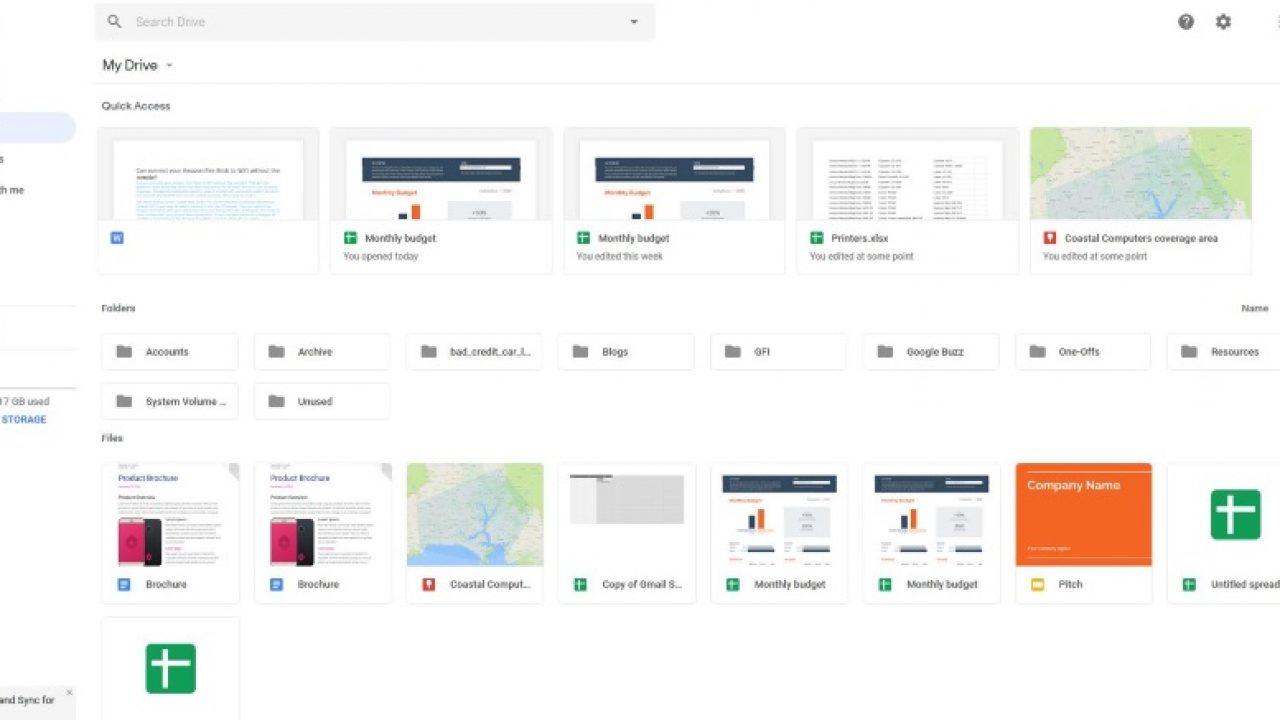
Once you have data saved to your Google Drive, you can allow others to read it or have read, write and edit access to it. You can add as many users as you like using their email address and they will be sent a link to follow to access the data and perform whatever tasks you assign.
It’s important to know first that links in Google Drive do not allow those people to access any other part of your stored data so is still secure.
Now, to the sharing.
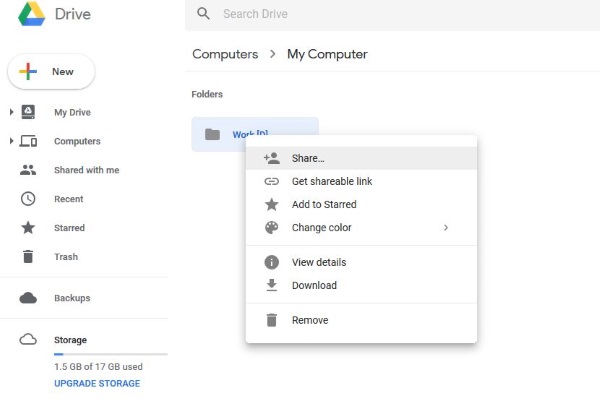
- Log into Google Drive and navigate to the asset you want to share.
- Right click the file or folder and select Get Sharable Link.
- Toggle on link sharing and the toggle will go green.
- Select Sharing Settings.
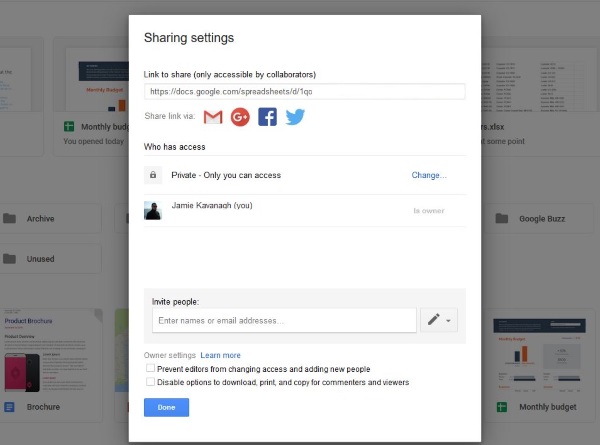
- Either copy the link and manually email it to those you want to allow access or add them as users by typing their email address in the People box.
- Select Done once finished.
Those you add will receive an email with the link they can use to access the asset you allow.
Managing access levels in Google Drive
As well as controlling who can access your Google Drive assets, you can also control what they can do with them. You can limit read, write access and prevent other people adding further users. You can also prevent anyone from downloading, printing or copying your files. If you’re running a business, that final aspect could be very useful.
- Right click the asset you’re sharing.
- Select Share and then the Advanced link in the bottom right.
- Select to add the people you want to allow access to.
- Select the pencil icon to the right.
- Select the access level you want, Edit, Comment or View.
- Check the boxes below to prevent those with edit access adding more people or downloading, printing or copying your data.
- Select Done.
It is always better to restrict access rather than be too generous with it. This is especially true if your data is private or contains personal or company data. You can always add access should you need to.
Set an expiration date for a Google Drive link
If you’re running a project over a finite amount of time, you may want to set an expiration date for the Google Drive link. This helps if you have a lot going on and may forget to revoke access once the collaboration is complete.
- Select the file or folder you want to share.
- Select Share and Advanced in the bottom right.
- Add the email address of the person you’re sharing with.
- Hover over the name and select Set an Expiration Timer.
- Add a suitable time limit.
- Select Save and then Done.
This will allow you to allow the person access for a suitable amount of time but in in perpetuity. For busy or forgetful people, the system then takes care of itself.
Change owner in Google Drive
If you’re handing over a piece of work or data in Google Drive, rather than allow the person you’re handing it to becoming an editor, you can simply pass the asset over to them. It keeps things nice and tidy and allows you to concentrate on the next piece.
- Select the file or folder you want to share.
- Select Share and Advanced in the bottom right.
- Add the person if you haven’t already.
- Select their name under Who Has Access.
- Select the pencil edit icon and change to Is Owner.
- Select Done.
The asset then copies across to their Google Drive and you can either retain access to it or be removed.


One thought on “How To Set an Expiration Date for a Google Drive File/Link”