


How to backup and restore your Linux distribution with Déjà Dup
In the world of computers, you never know what could go wrong with your hardware or software. Glitches in the system happen, and they can cause some unfortunate problems of data loss and the like. That’s why having a backup solution on your PC is so important. Ubuntu has a couple of different options for this, but as far as a GUI backup solution goes — Déjà Dup is the way to go.
What is Déjà Dup?
Déjà Dup is a simple and easy-to-use backup solution. It’s simple, but it comes with a ton of different features. For example, you get built-in encryption, file compression support, the ability to schedule backups and it even has support for either a local, remote or cloud backup location.
It’s a pretty neat tool, and with how easy it is to use, everyone should be using it to keep their system backed up.
Installation
In some cases, you won’t need to install Déjà Dup in Ubuntu, as it usually comes with the distribution pre-installed; however, if it isn’t there, you can always open up the Software Center and search for “deja.” It should be one of the first results.
The easiest way to install it though is by using the Terminal. Pop that open and type in sudo apt-get install deja-dup. If you’re on Fedora, the command is dnf install deja-dup. Or, if you’re on OpenSUSE, you can use zypper install deja-dup.
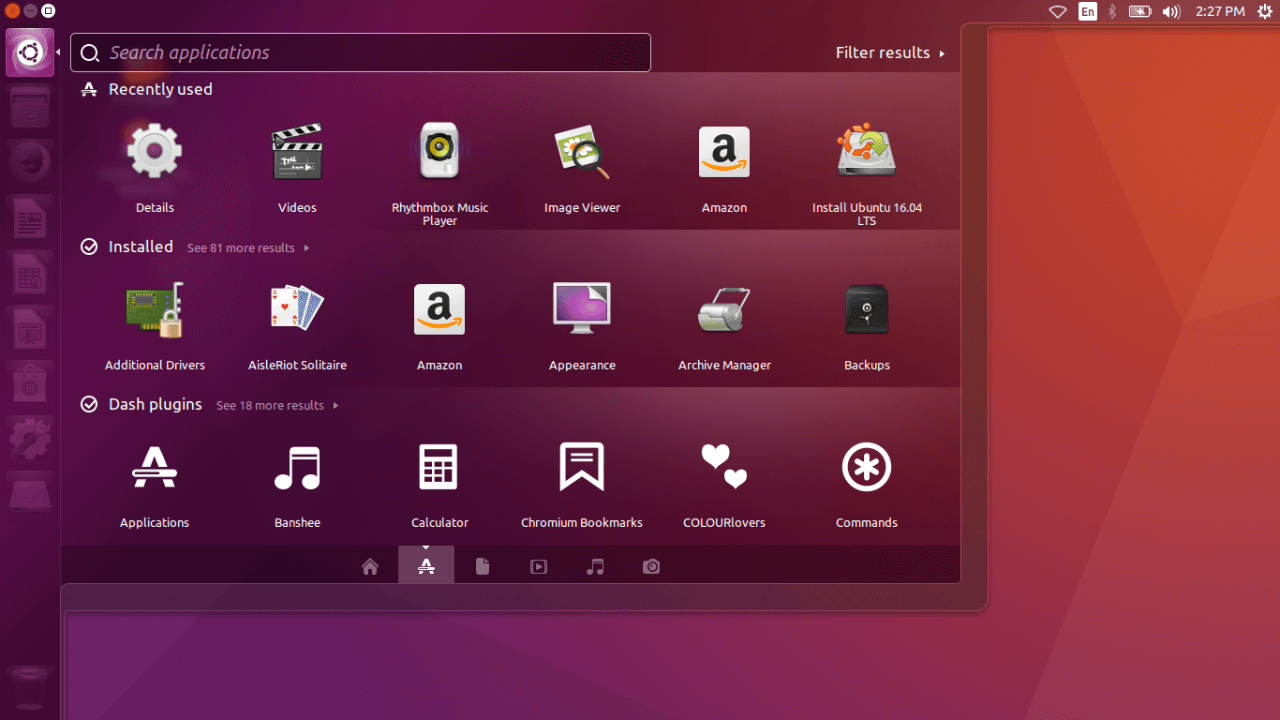
Once it finishes the installation process, you should be able to find it in the Desktop menu pretty easily, usually with a simple search if it’s not one of the first few options.
Setting up Déjà Dup
Déjà Dup can be a little different on each Linux distribution. It works the same, but some things may be named differently
For the first step, you’ll obviously want to open up Déjà Dup. The program opens with automatic backups disabled. To enable it, there’s a slider on the top-right corner of the program. Click it, and this should “enable” automatic backups, which is something we highly recommend doing, although it may be good to wait until we reach the Scheduling tab to make sure all the settings are how you want them.
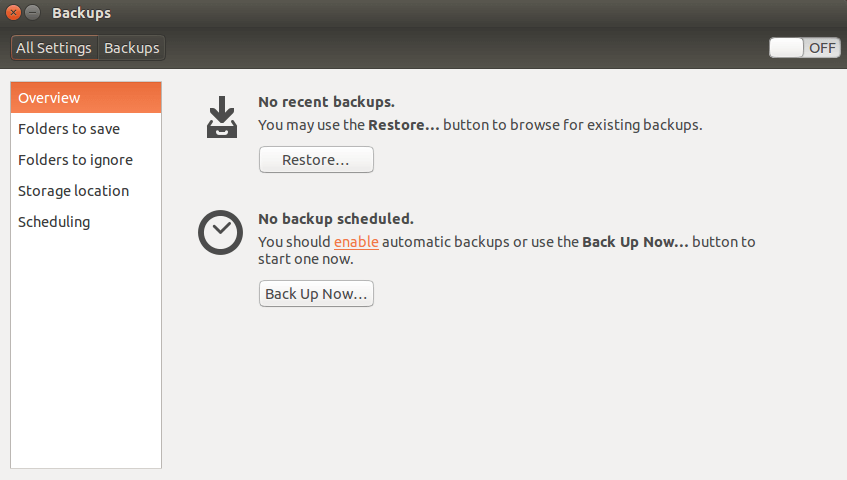
On Ubuntu, you’re taking straight to an Overview pane. Here you have options for manually backing up or restoring a backup.
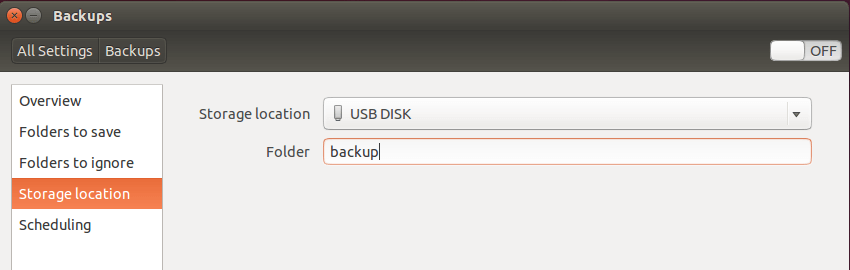
You can select the location of where you want your backup to be saved. This is under the Storage tab in the left navigation pane. You have a decent amount of options for where your backup is saved. You can choose to save it to your Ubuntu One accounts, over FTP, SSH, or, if you want to save on a local drive, you can simple click on the “Local Folder” option. There’s a few other options in there as well, such as by Windows Share, WebDAV or a custom location.
Once that’s done, you can start choosing what you want to backup. In the left navigation pane, click on Folders to save. Your Home folder shows up here, and by selecting that, you can do a full system backup; however, if there’s only a handful of folders you want to backup, you can usually double-click the Home folder to see your files within that folder.
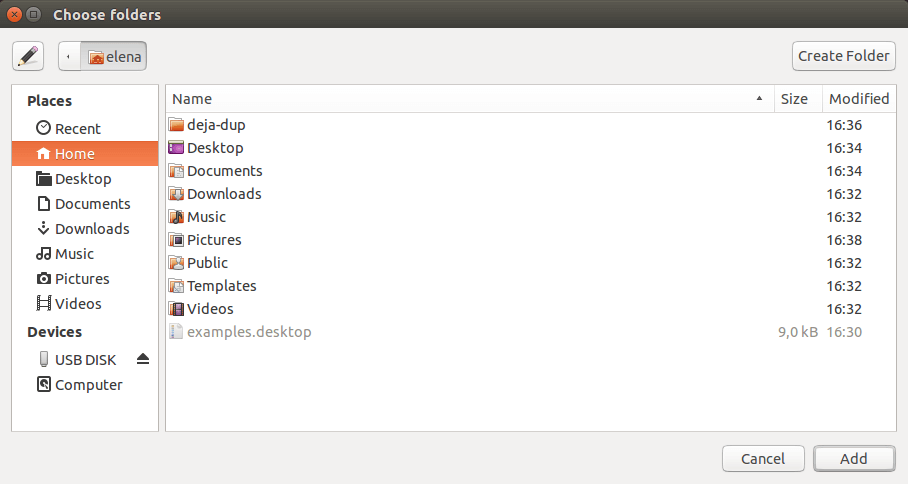
If there’s only those select folders you want to backup, remove your Home folder from the Folders to back up list and instead, add the specific folders you want to backup there. Similarly, you can choose folders you want Déjà Dup to ignore by putting them in the Folders to ignore list.
You can add a folder to be backed up by selecting it and pressing the “+” button. Likewise, you can remove folders by pressing the “-” button.
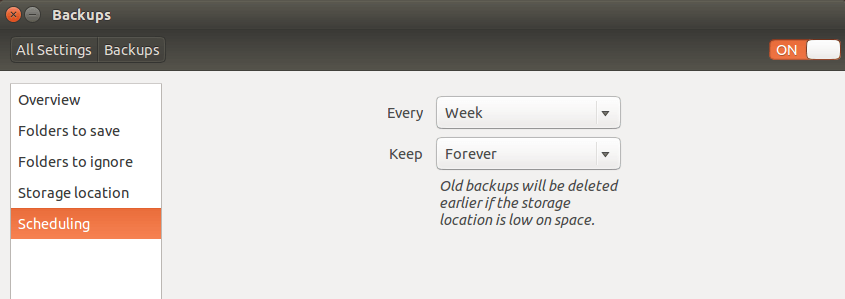
With all of this setup, we can finally look at scheduling our backups. Head on over to the Schedule tab in the navigation pane. Here, you can choose how often you want to backup and for how long you want to keep backups — choosing forever will, well, keep them forever. But, if you choose something like “at least a week,” Déjà Dup will automatically delete those older backups.
Backing up your system
Now that we’ve done all the leg work, backing up your system with Déjà Dup is super easy. You’ll need to head back to the Overview pane. Here, you can choose to enable your automatic backups by moving the slider to the on or off position.
If you want to manually backup your system, it’s as simple as pressing the Back Up Now button. Once you press it, sit tight, as this process can take some time, depending on how many files you have on your system.
The first time you backup is going to be the slowest. Déjà Dup is built with rsync, an extremely versatile and effiicient file copying tool. That said, any backups after this first one will be pretty fast, as Déjà Dup and rsync will only copy the changes since the last backup.
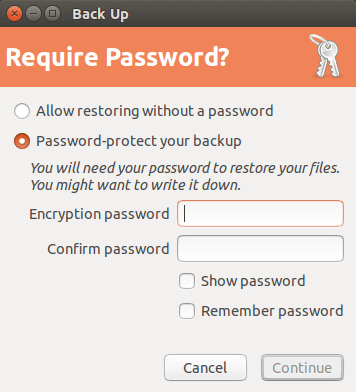
Another neat thing is that you can password protect your backups. Déjà Dup will prompt you to do this. It provides a nice level of encryption, keeping prying eyes out of it. This is especially important if you’re saving it online somewhere.
Restoring
Restoring your backup is easy, too! In the Overview pane, you click on the Restore… button. Once you click it, the Déjà Dup wizard opens for restoring a backup. You won’t need to select your backup here, Déjà Dup automatically selects the folder that you last backed up to.
However, as you go through the Restore Wizard, you’ll need to select a date to restore from as well as where you want to restore to. Déjà Dup automatically selects your original file locations for this.
Finally, you’ll need to add your encryption password, press “Restore” and Déjà Dup will begin, well, restoring your system!
Closing
And that’s all there is to it! Like we already said, this will work for many different Linux distributions; however, the GUI may look a little different from distribution to distribution. But, it functions the same, so there’s no worries there.
By following the steps above, you’re ensuring that if your system ever runs into a problem, you have a surefire way to return things to normal.


One thought on “How to backup and restore your Linux distribution with Déjà Dup”