


How To Effectively Use The Windows Task Manager in Windows 10
Although there have been a lot of big changes made to Windows 10 from the days of 8 and beyond, one tool of the operating system’s trade has remained almost identical throughout its many life cycles: the task manager.
It’s the tool that everyone desperately clicks for when their computer freezes up on a YouTube video, the analytics center which can out any program that’s hogging more than its fair share of resources, and the one place where you can actually make sense of the glut of services and apps that are slowing down your machine every time you need to reboot.
But what’s the best way to most effectively use the Task Manager during your daily work routine? Check out our guide on the often frustrating, but always helpful piece of kit that Windows couldn’t survive without.
The Layout
If you’ve just installed a fresh build of Windows 10 from say XP or 2000, there’s definitely going to be a lot here that you’ll need to be caught up to speed on. If you’re coming from something like 7 or 8.1 however, most of what you see will already feel pretty familiar.
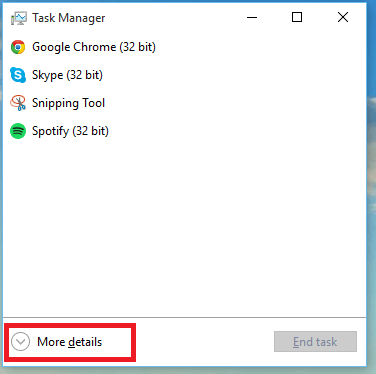
The first step is to get rid of the minimalist Task Manager that Windows 10 will default to upon the initial boot. To do this, click the button titled “More details”, highlighted above.
Once you do, you’ll be taken the real Task Manager, where the heart of the operation happens. Here there are six different tabs that will display a range of different details about your computer, everything from which applications launch when you start up your computer, to what’s been running the longest.
The Tools
Get an Overview
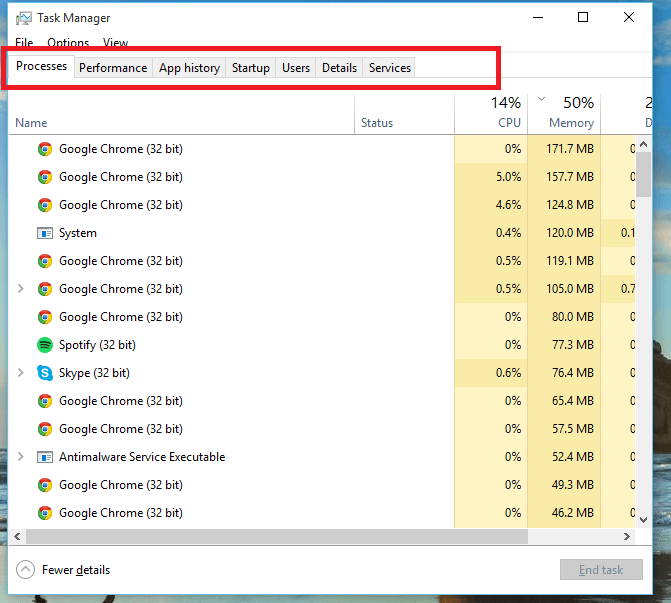
The first tab that pops up in Task Manager by default is the “Processes” tab.
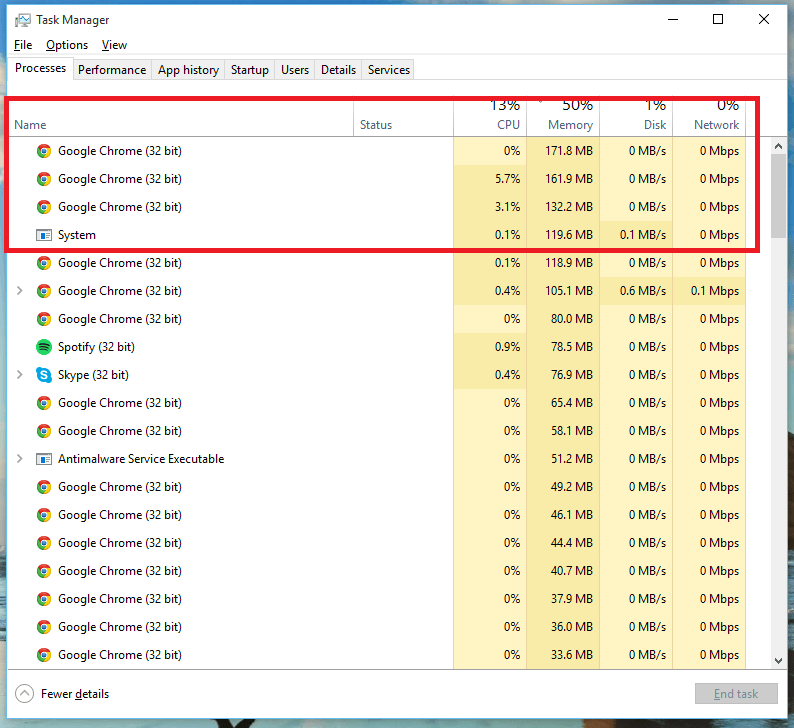
The most basic of all the sections, Processes will give the user a list of all the apps that are currently active and running on the machine right now, both from the system side of things and otherwise. Next to the name of each program you’ll see four columns, reporting exactly how much of your computer is being allocated to any one given task at a time.
This is where you want to go to find out what software, but if you need more details about how the PC is holding up as a whole, the Performance tab is where you’ll need to head next.
Track Your Stats
The “Performance” tab is where you can keep detailed track of what your computer is doing through the eyes of four different metrics: the CPU, your disk activity, network bandwidth, and memory usage.
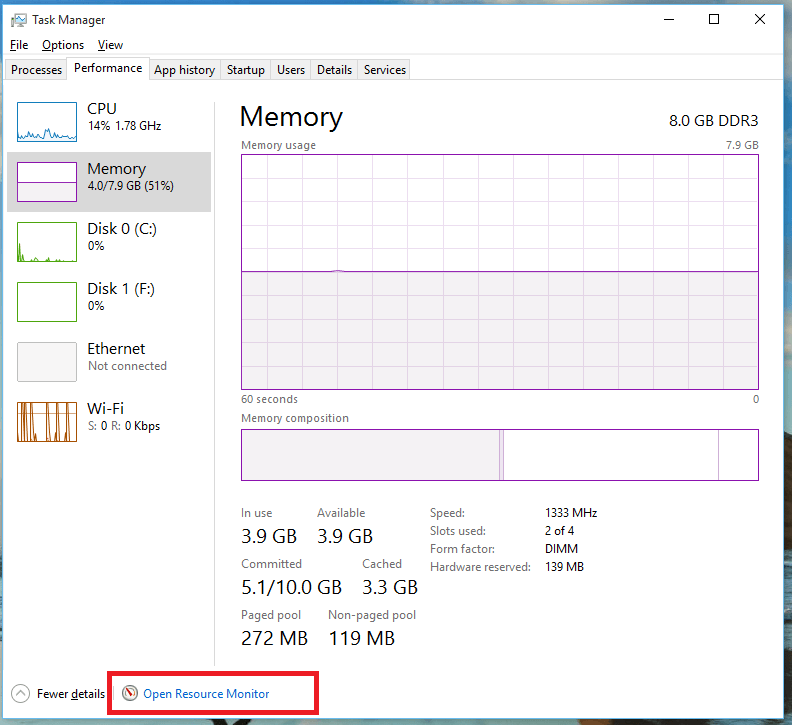
The initial window will only contain a very rough outline of what’s happening with your computer’s resources. Data like the percentage of your RAM being utilized or the download/upload speed of your network connection are only displayed in vague graphs and charts, which means if you really want to get on the trail of what’s going wrong, the Resource Monitor will be your best bet.
Once inside the Resource Monitor, your computer will automatically begin filling up the window of your chosen metric with realtime data about what resources are being allocated, where they’re going, and how much of a strain that’s putting on the machine as a whole.
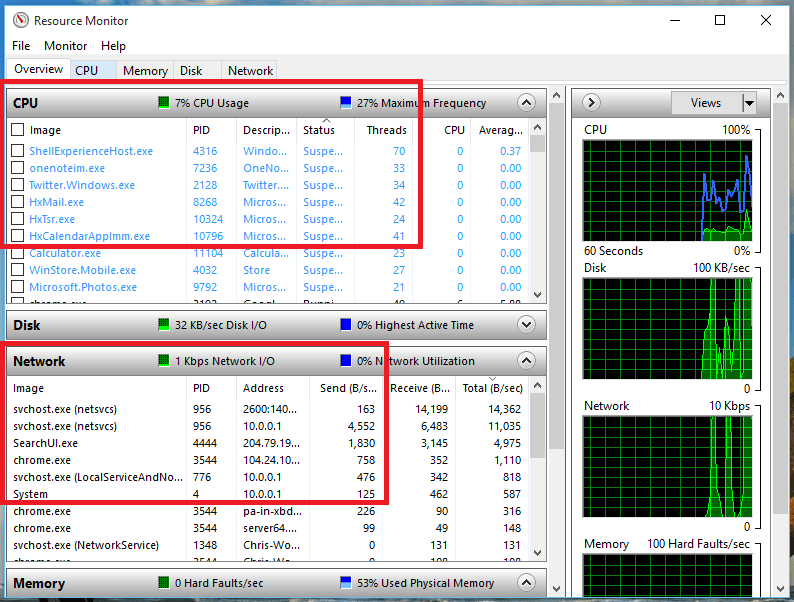
This is where most of the troubleshooting you’ll get done for a buggy piece of code happens, as it has the most information in one place which can specifically point out where a particular system is failing, or at the very least acting up enough to warrant an investigation.
Time It Out
Another good way to determine what went wrong with a program is to find out when it went wrong, which is where the App History tab takes its time to shine.
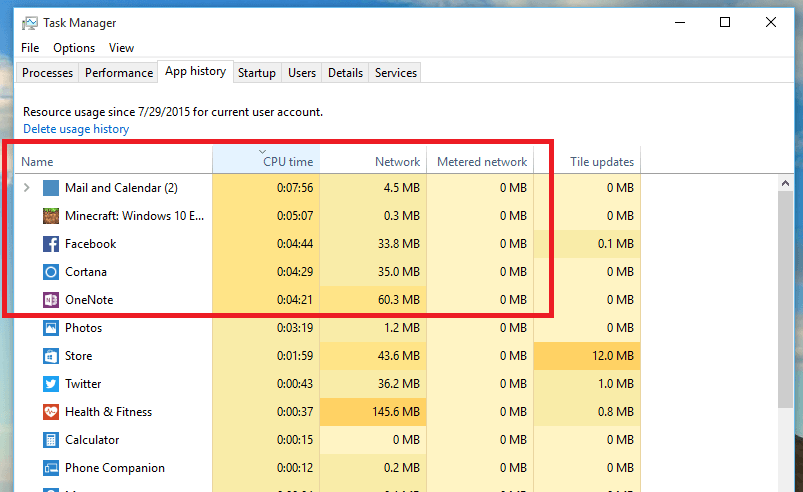
In the App history section, you’ll find another list of the apps that either are running currently, or have been started up at least once since you last booted the computer. Task Manager will keep a close eye on each, timing how long they take up system resources along with a detailed layout of how much was used before the app closed.
Change Your Boot Strategy
If the problem you’re trying to fix has anything to do with waiting minutes, hours, even days for your computer to finally boot, your Startup items may be too many for the CPU to bear.
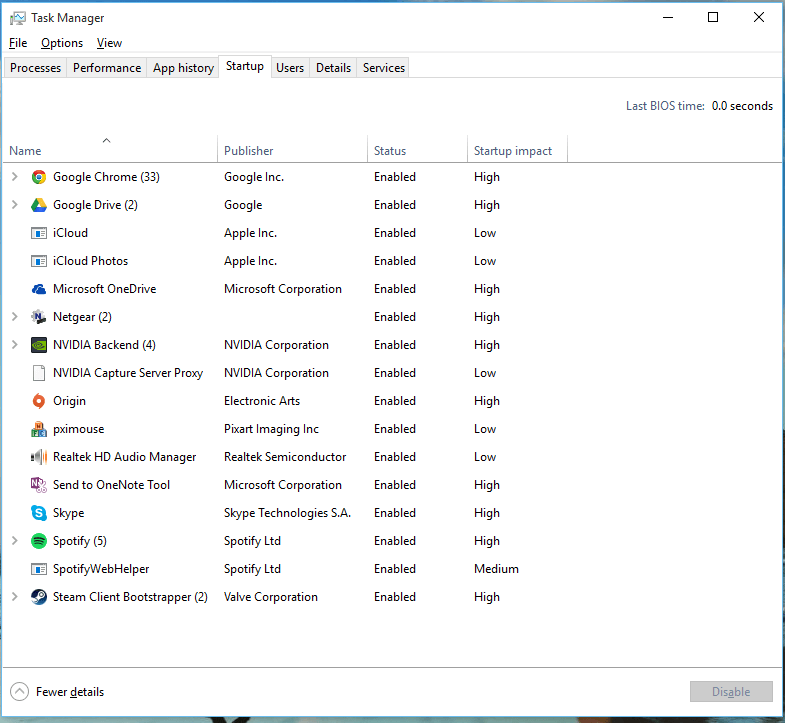
In the “Startup” tab, you can track and manage every piece of foreground and background software that will start each time you log in with a new user.
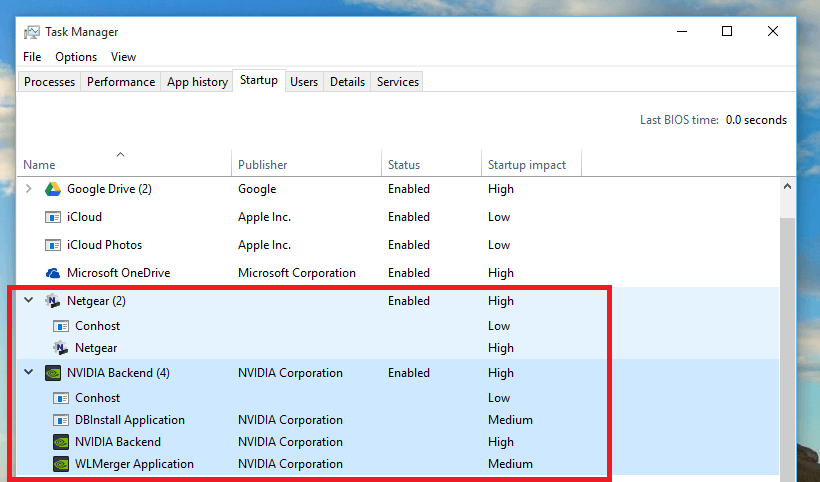
The shorter of a list this is, the faster you should expect your computer to boot on a fresh login. By paying attention to the markers that Windows automatically gives each program (ranging from Low to Medium and High), you can fine tune exactly which apps start automatically, and which are taking up too many resources and will only launch on a manual, per-click basis.
Know Who’s Doing What
To make sense of where the slowdown is coming from, it helps to check the “User” tab, highlighted below.
In the User tab, you’ll be able to see every user that’s currently logged in on the local machine, as well as any that might be connected in via the Remote Procedure service. This will allow you to place the blame on another account tied to the system if your login isn’t the one wreaking havoc on the RAM, and better understand just how many users the computer can support before its beams eventually start to buckle.
Break it Down Now
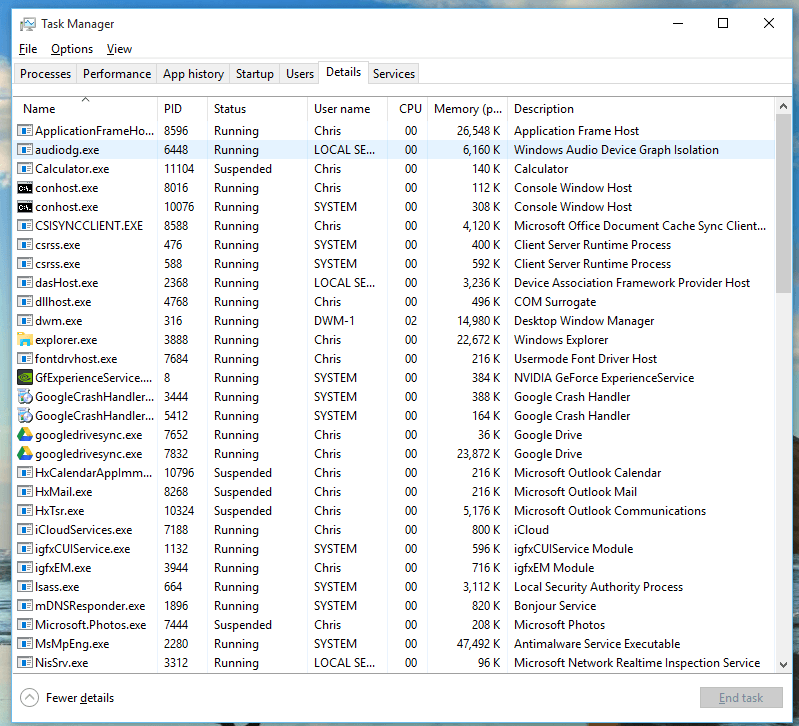
The “Details” panel works in much the same fashion as the Processes tab, except here you’ll have a greater level of control over exactly what processes are doing what at any given time.
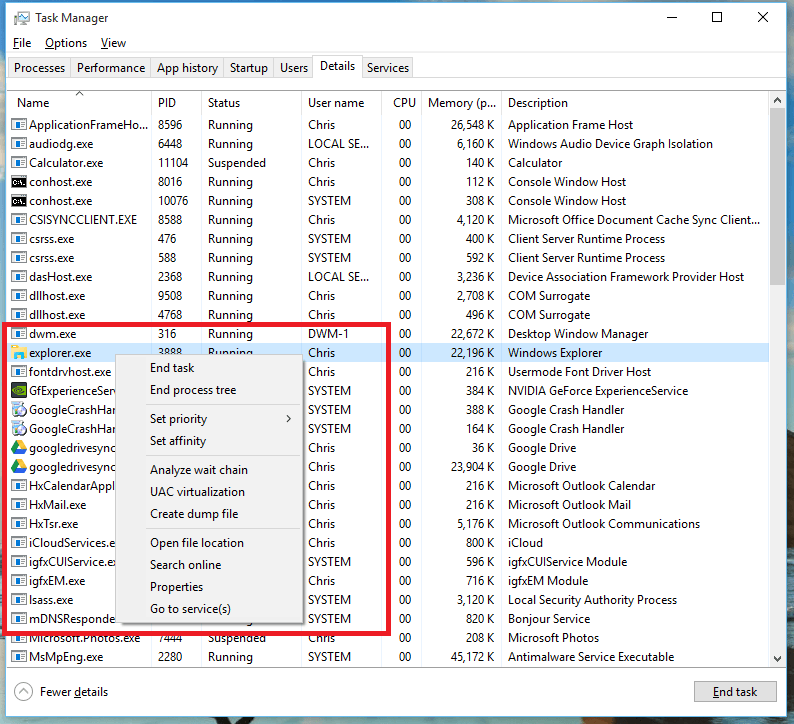
When you’re in the Details window, you can right-click on any programs or software that might be giving you trouble. On the submenu that pops up you’ll see several different options for what to do, including the best route to either “End task” or “End process tree”. If there’s an app which won’t stop freezing up your computer or making things run slowly, ending the process altogether can be an effective method of getting things back on track again.
Dig Into the Guts of the Machine
Last up, there’s the Services tab. Unless you know specifically what you’re doing in this section, we recommend that any beginner users stray away from making drastic changes here, as many of the installed services and their dependent launchers are critical components for Windows 10 to remain upright and continually functional.
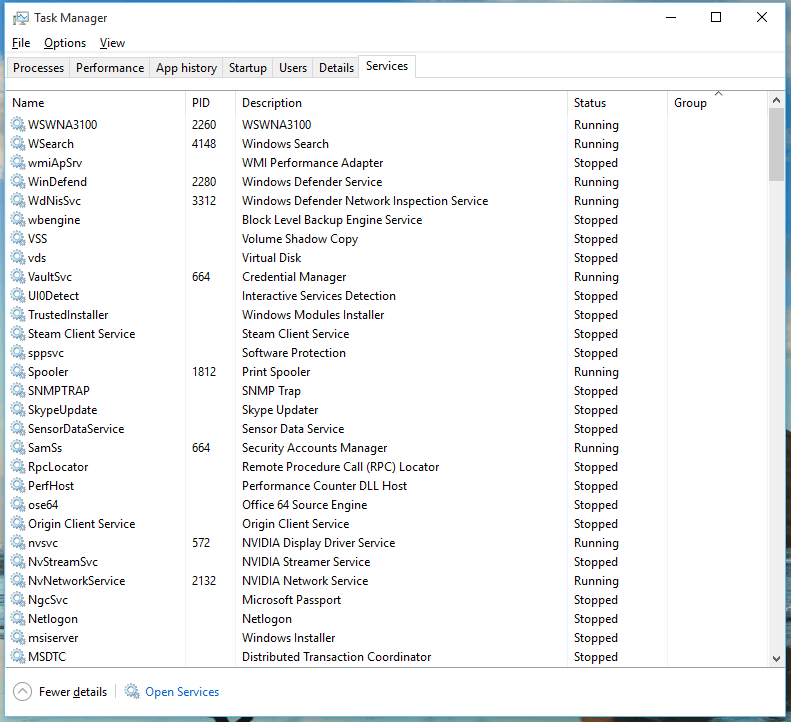
If you’re uncertain about any one service in particular, you can right click on it and choose the option to “Search Online” from the following submenu:
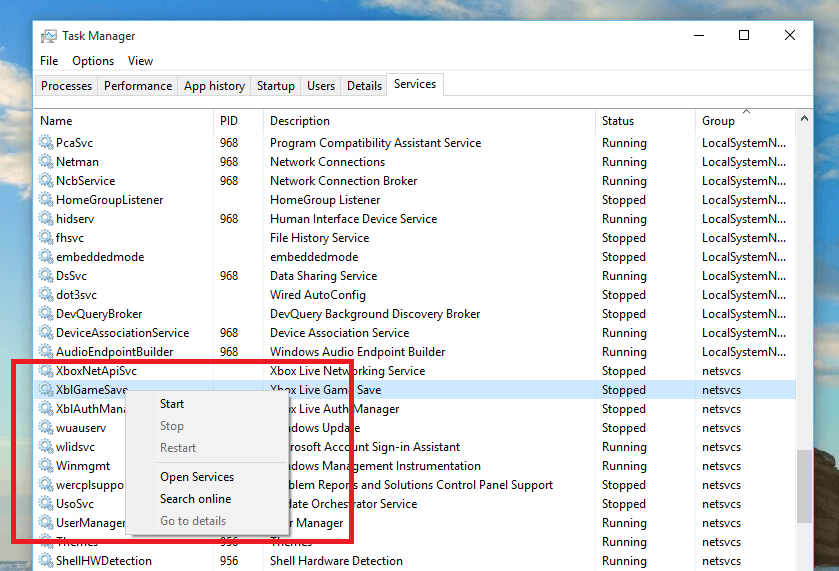
This will give you a more accurate picture of what services do what, and which can be turned off without causing too much turmoil in the operating system. Furthermore, on the right-hand column you’ll see a group of labels that signify which “Group” a particular service is in. If it’s anything like “LocalSystem”, “Netsvcs”, or “NetworkServices”, it should be left alone here and troubleshooted further using a more advanced tool.
When you first get started with it, the Windows Task Manager can seem like a scary and confusing place, filled with settings that could crash your entire computer. Once you know your way around the ropes though, you’ll wonder how you ever got along without the help of this little Ctrl + Alt + Delete savior.


