Three Tips for Creating Professional Emails on the Mac

Email is often just a quick way to get a message delivered, but sometimes you want to come across as professionally as possible. If that’s the case for you, there are a few tricks that Apple Mail has up its sleeve to make you look like you really know what you’re doing. Hey, I can use all the help I can get in that regard, so let’s check out these tips for crafting professional emails on the Mac!
1. Format Your Links
This menu item will make the links you send not look so darned unwieldy. Here’s an example:
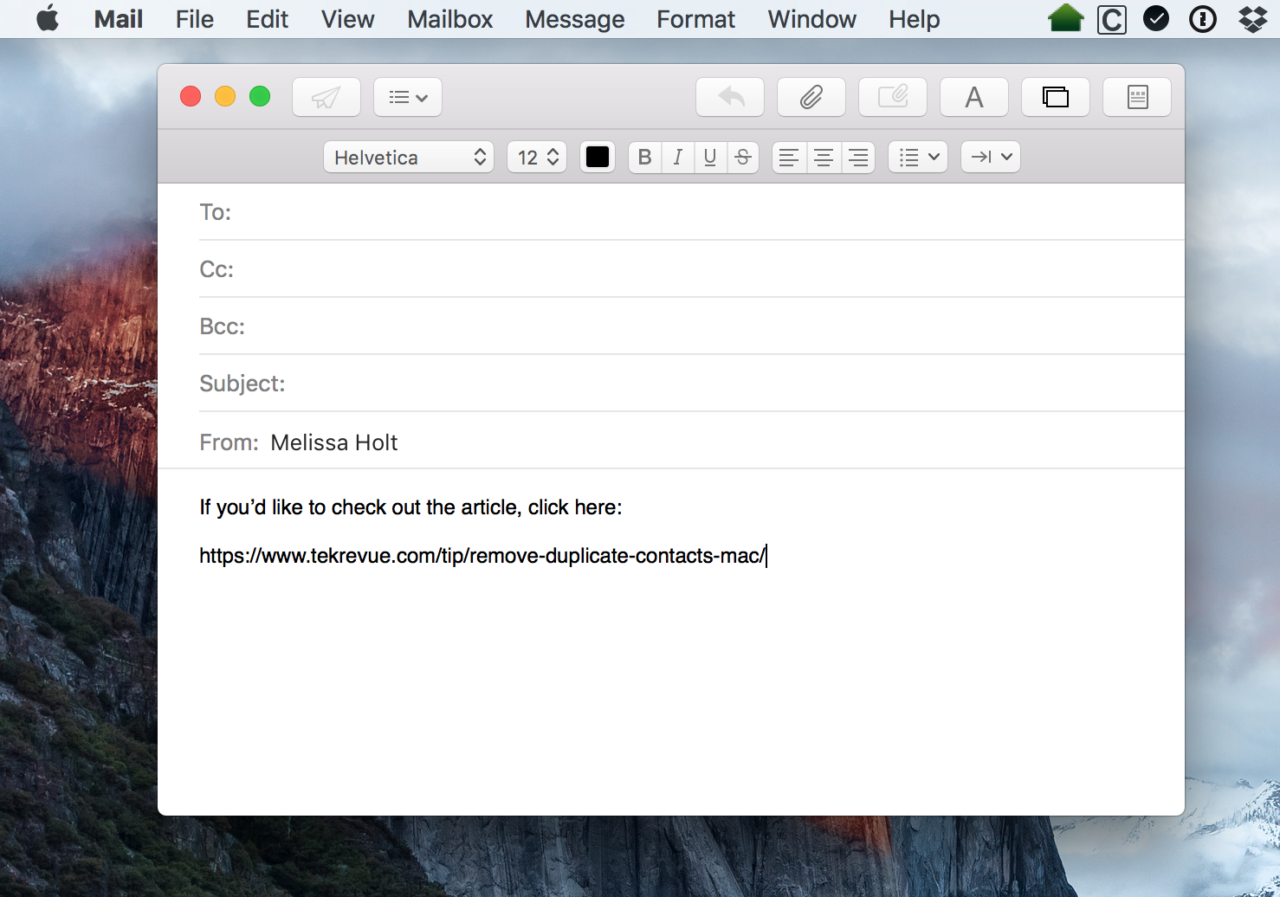
See that pasted link? It’s clunky. It’s ugly. I don’t like it just hanging out there. To make it better, first click and drag to select the text you’d like to add a link to (instead of just pasting one into the body of your message).
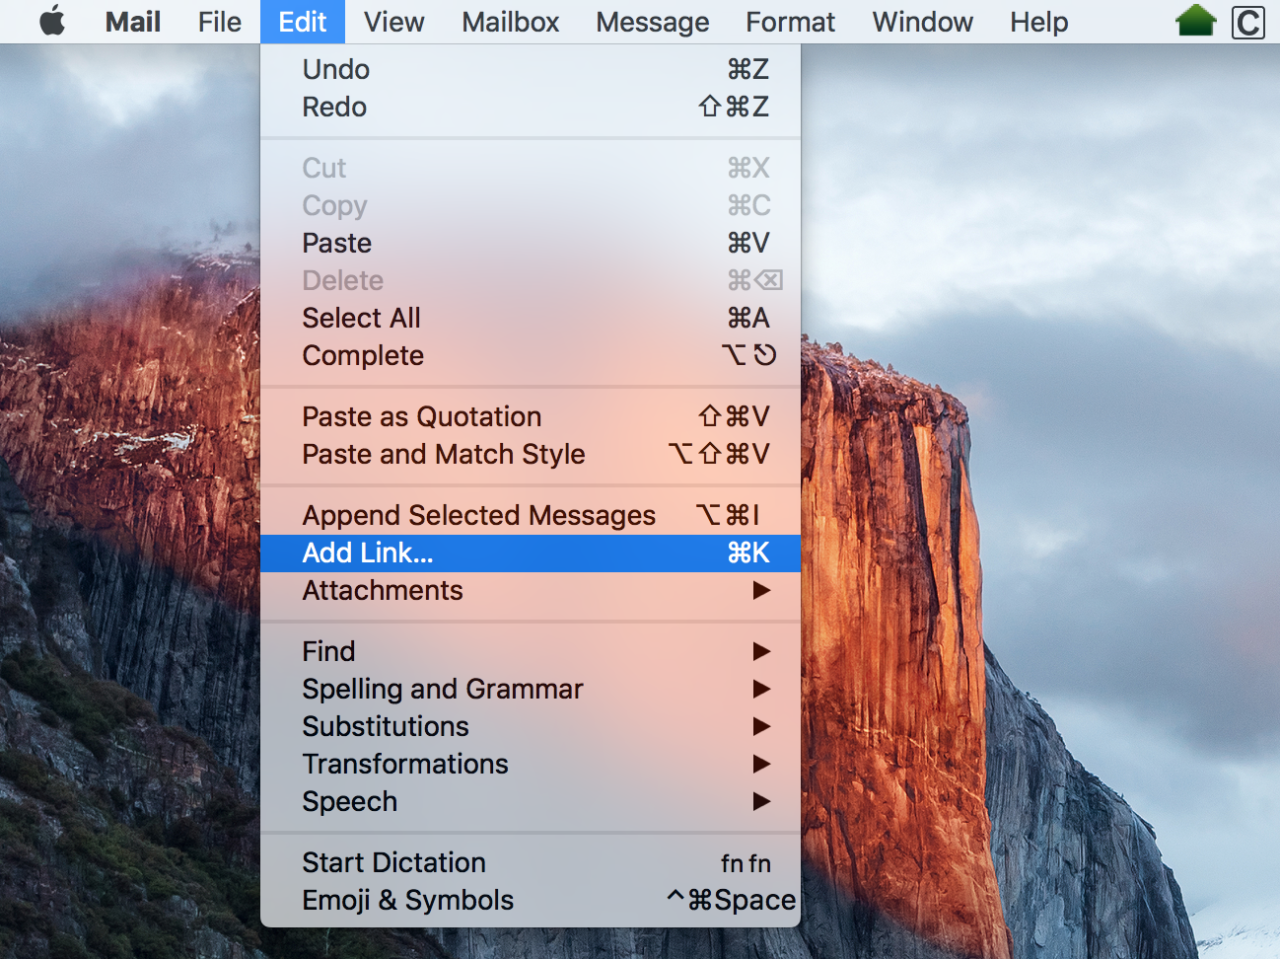
Then choose Edit > Add Link from the menus at the top of your screen, or use the keyboard shortcut Command-K.
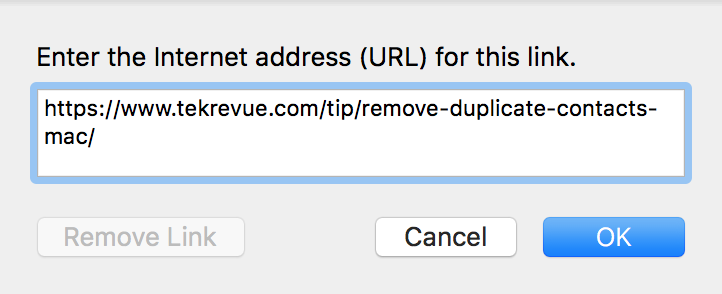
When the little box appears, paste the link you’ve copied from your browser into it.
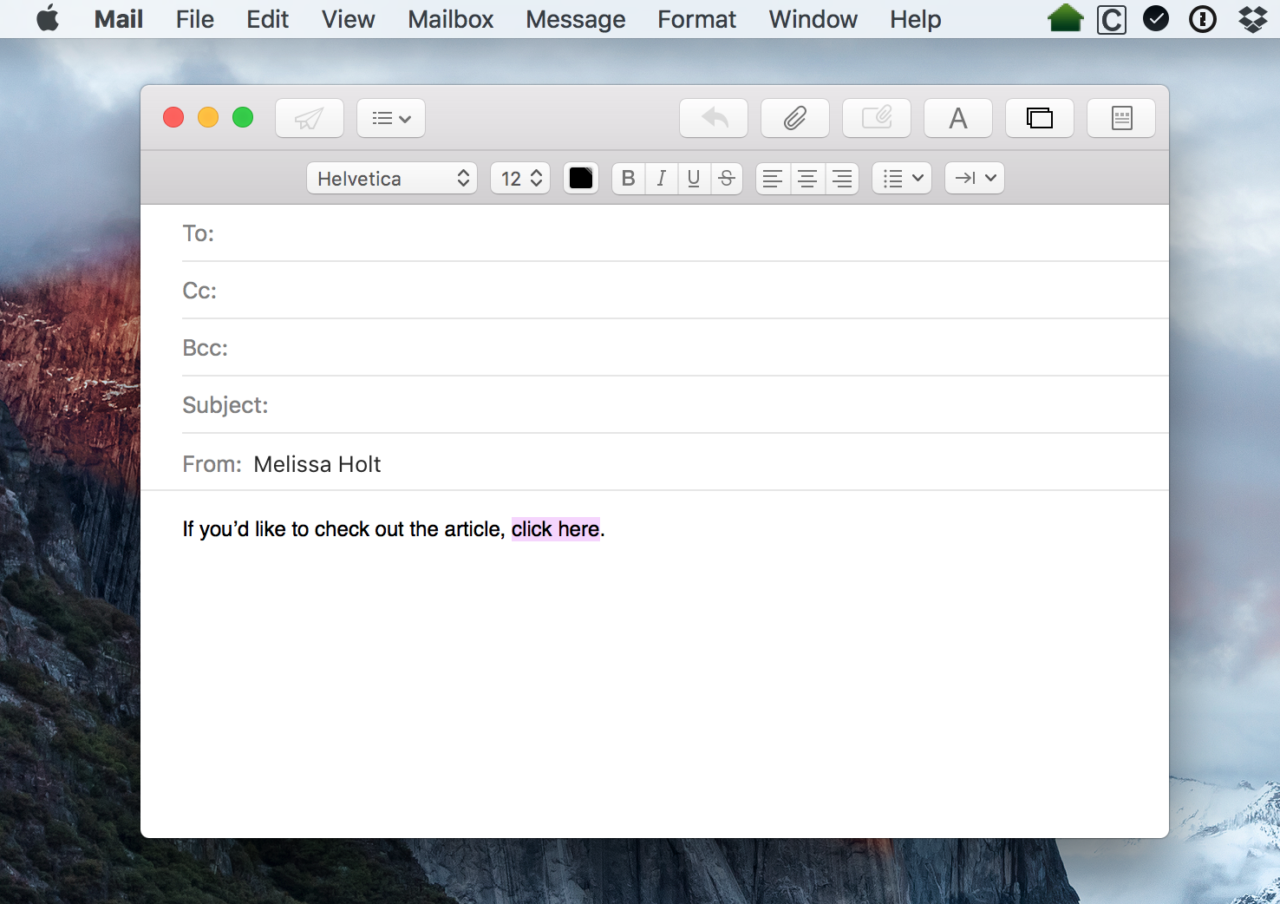
And voilà! Well, that sure does look nicer, I think.

2. Don’t Mix & Match Fonts When Pasting
Many emails require you to paste some text from another source into the body. By default, the text you paste will retain the formatting—i.e., the color, font, size, and so on—of its source, and not match the default body formatting of the rest of your message. This creates an inconsistent and unprofessional look.

To easily solve this use, use the Paste and Match Style function instead of standard paste. To do so, first copy your desired text, place your cursor at the correct location in your email body, and then select Edit > Paste and Match Style from the menu bar.
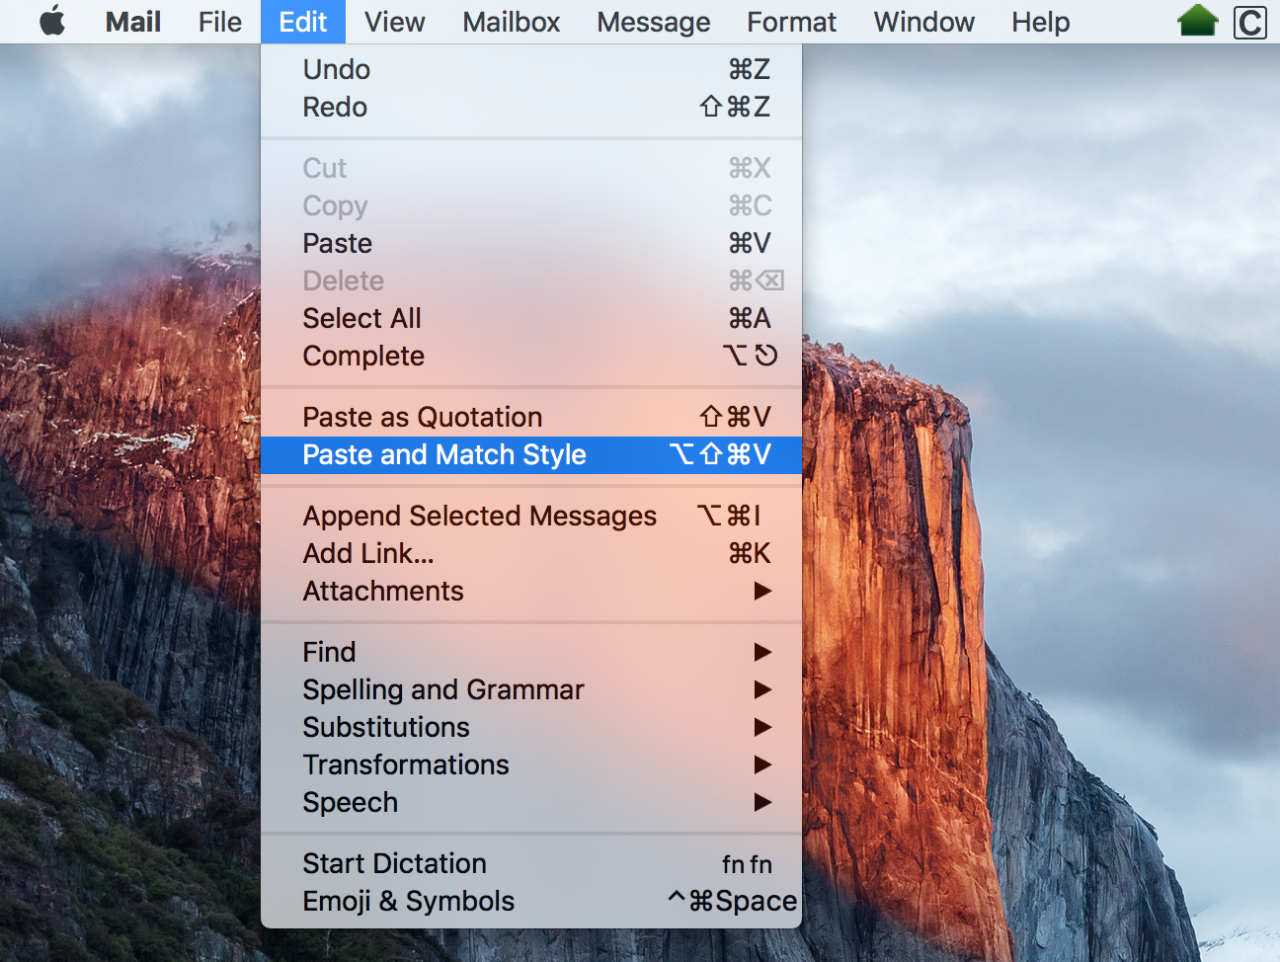
Alternatively, you can use the keyboard shortcut Option-Shift-Command-V. Using either option instead of the default “Paste” function (Command-V), will give you something like this:

That’s both easier to read and more professional. Nifty!
3. Make Quoted Text Stand Out
Users can manually format body text in a rich text email message to allow quoted selections to stand out, but Apple Mail includes a Quote Level feature which can quickly do this for you. Using unique formatting for quoted text can make your emails clearer by visually differentiating your words from those sourced elsewhere. To use this feature, first select the text you’ve pasted or are quoting, and then choose the Format > Quote Level > Increase option.
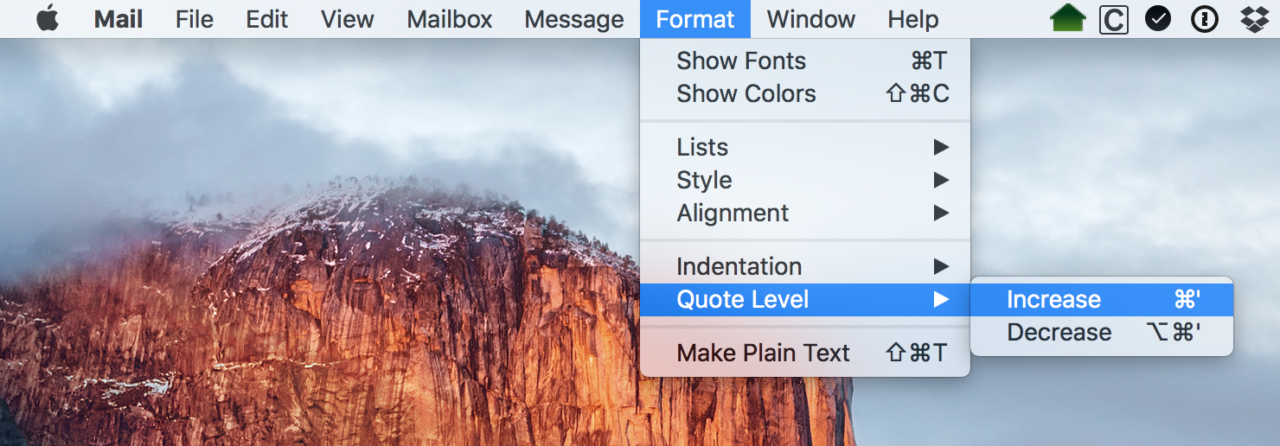
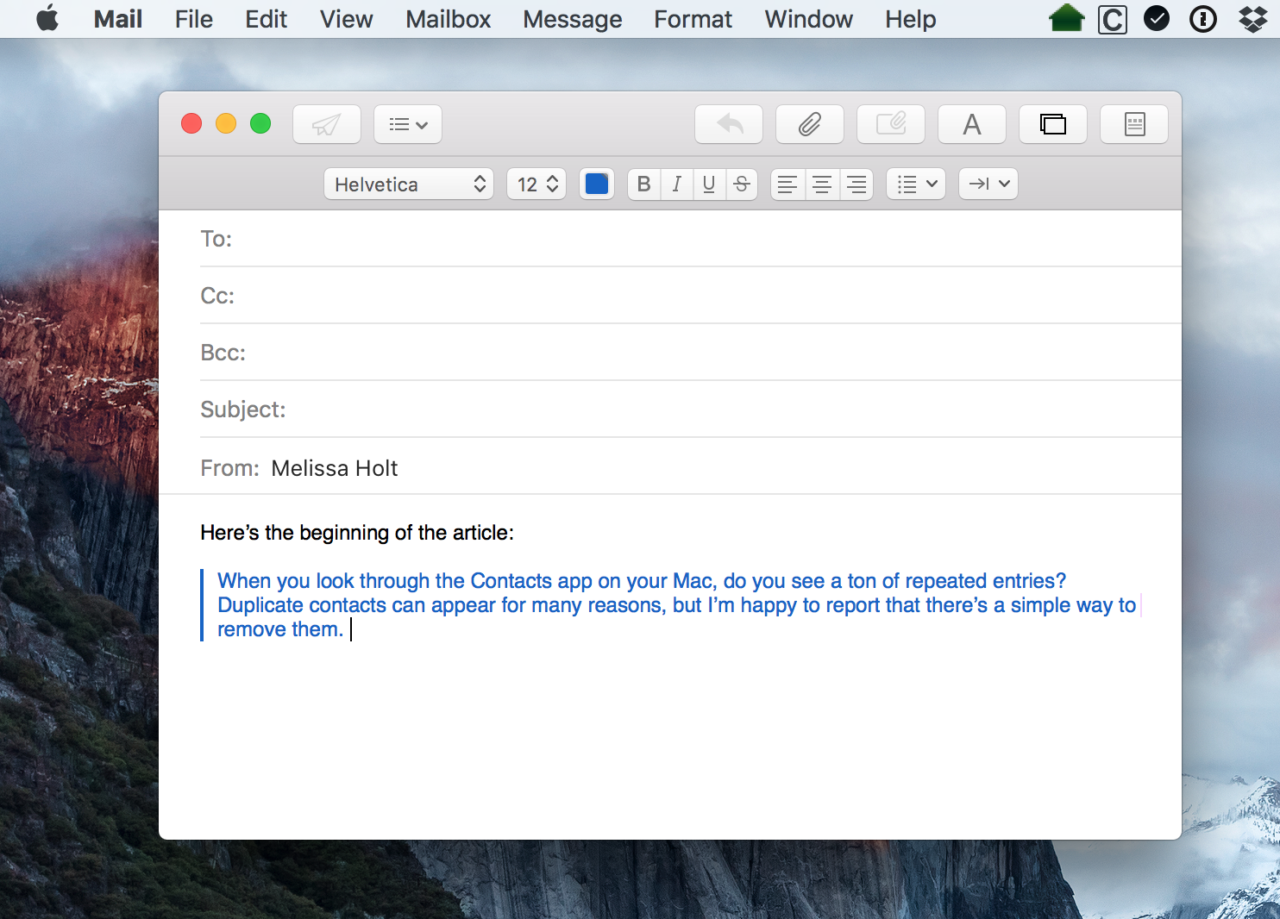
You can also access this function with the keyboard shortcut Command-[apostrophe]. What you previously selected will look like this, called out in blue and with special indentation:
And just because you guys are awesome, here’s a bonus suggestion for making your Mac emails look professional. Have you seen anyone use a mail signature with fancy fonts, colors, and maybe even attached images? Well, avoid doing that if you can. You see, the way your signature will look is dependent upon the recipient’s device, program, and settings too, so what you spend time designing may look completely different or bad on the other end. It’s best to stick to simple fonts and no attachments if possible, so if you need to edit yours, choose Mail > Preferences from the menu bar and click on the “Signatures” tab.
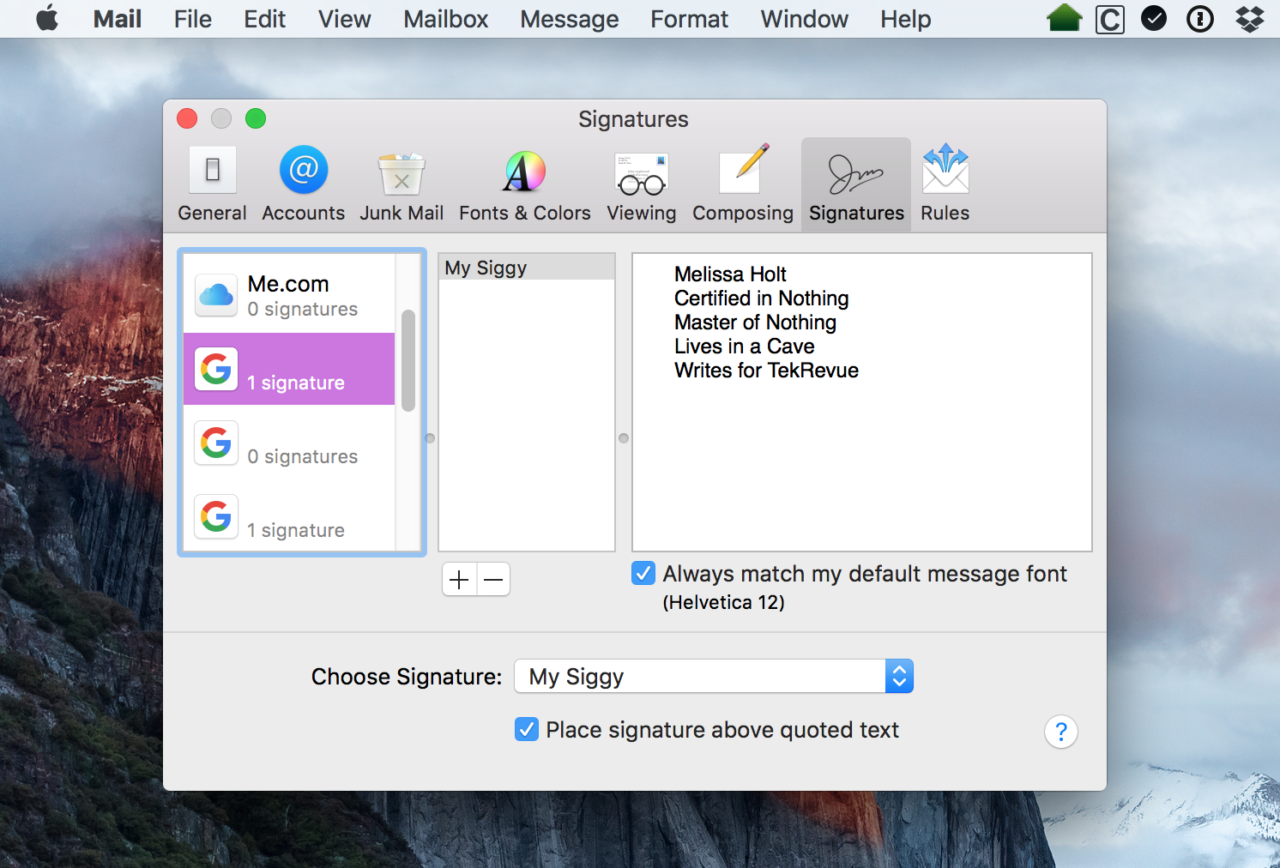
Of course that’s my actual email signature. What? That’s totally professional, right?