How to Remove Creative Cloud Files From the Finder Sidebar in macOS

We previously wrote a tip on how to remove “Creative Cloud Files” — a sidebar shortcut created when you install the Creative Cloud desktop app — from File Explorer in Windows. That same shortcut is also created in Finder when you install the Creative Cloud desktop app in macOS, and reader Markus asked us how to remove it, as well. Thankfully, the process to remove the Creative Cloud Files shortcut is a lot easier for Mac users than what is required in Windows.
To remove Creative Cloud Files from Finder in OS X, launch a new Finder window and make sure that your sidebar is visible (View > Show Sidebar from the Finder menu bar, or use the keyboard shortcut Option-Command-S).
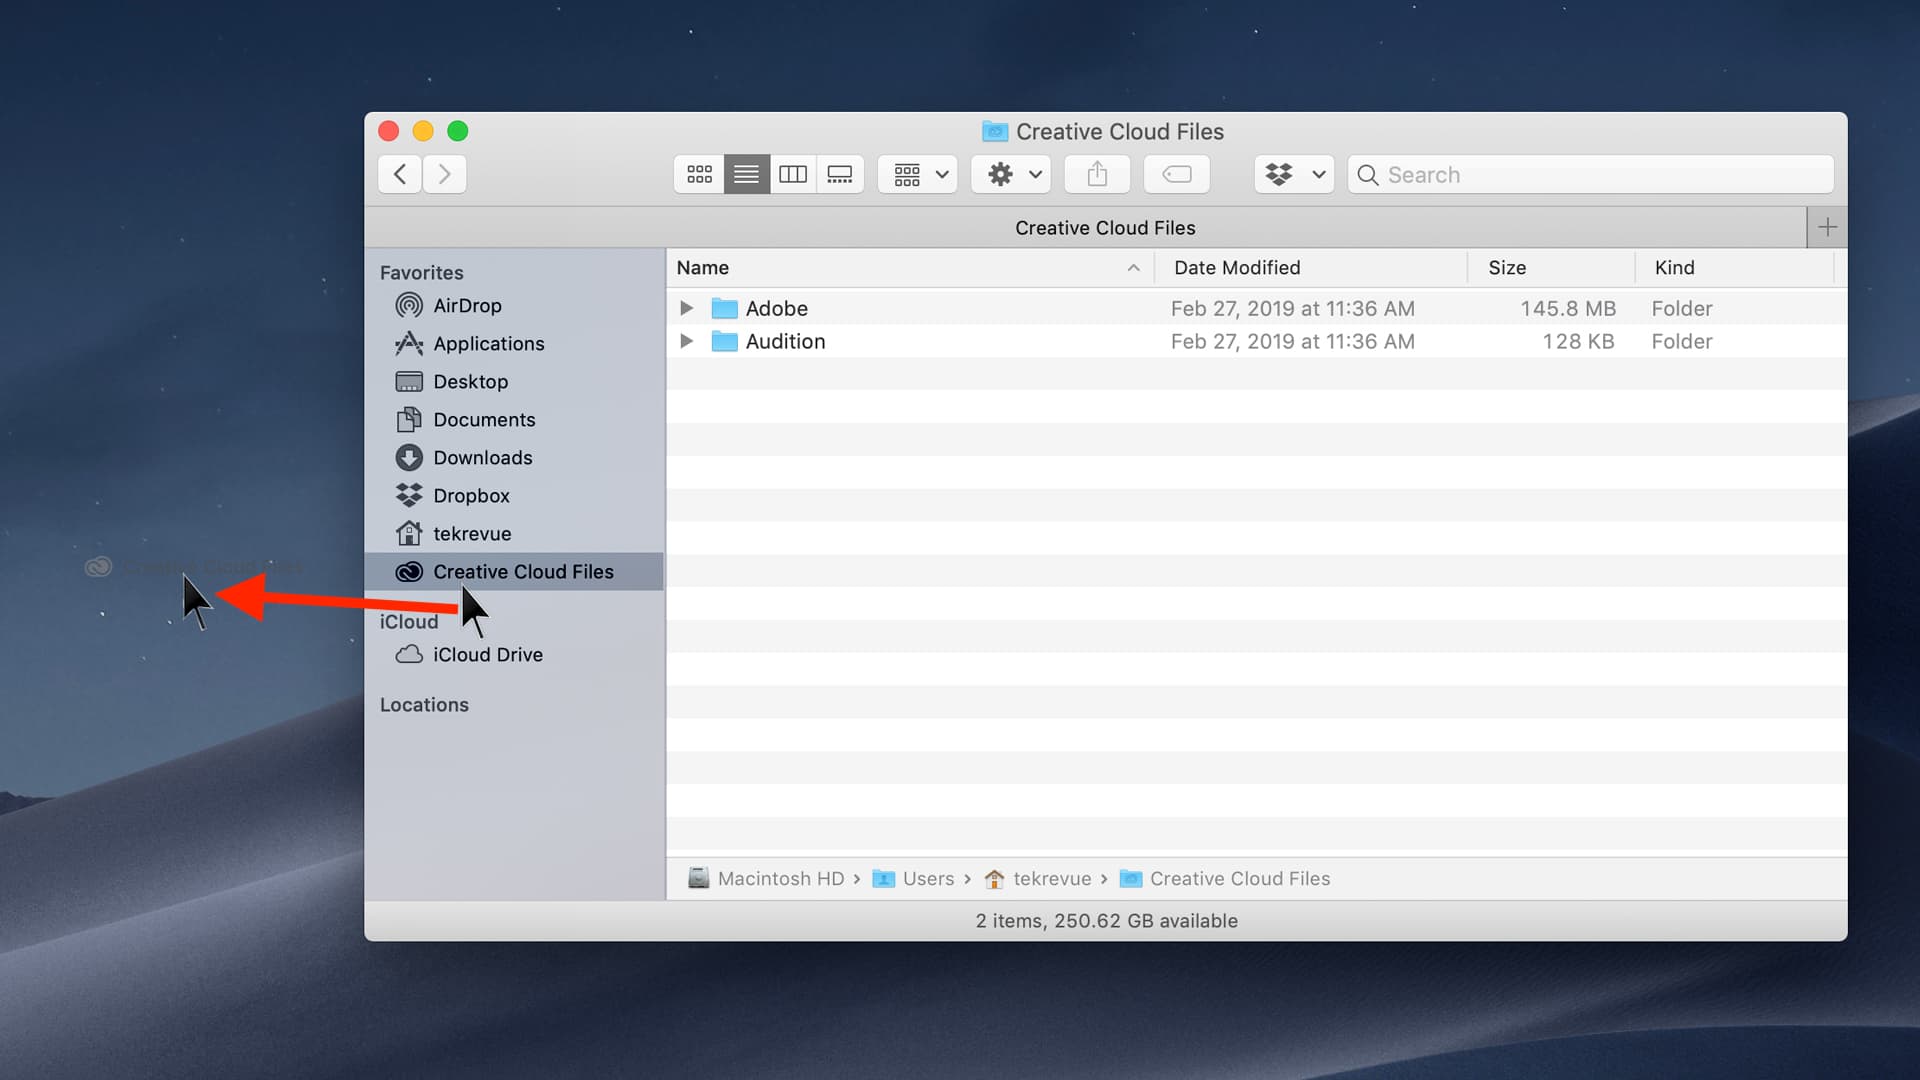
Once the sidebar is visible, you should see the entry for Creative Cloud Files listed in the “Favorites” section. Unlike Windows, which required a trip to the Registry Editor, you can remove Creative Cloud Files by simply right-clicking (or Control-clicking) on its entry and selecting Remove from Sidebar.

Alternatively, you can click, hold, and drag the entry outside of the Finder window and hold it over an empty spot on your desktop. After a brief moment, a small circled “x” will appear, at which point you can release the mouse button and watch the file disappear.

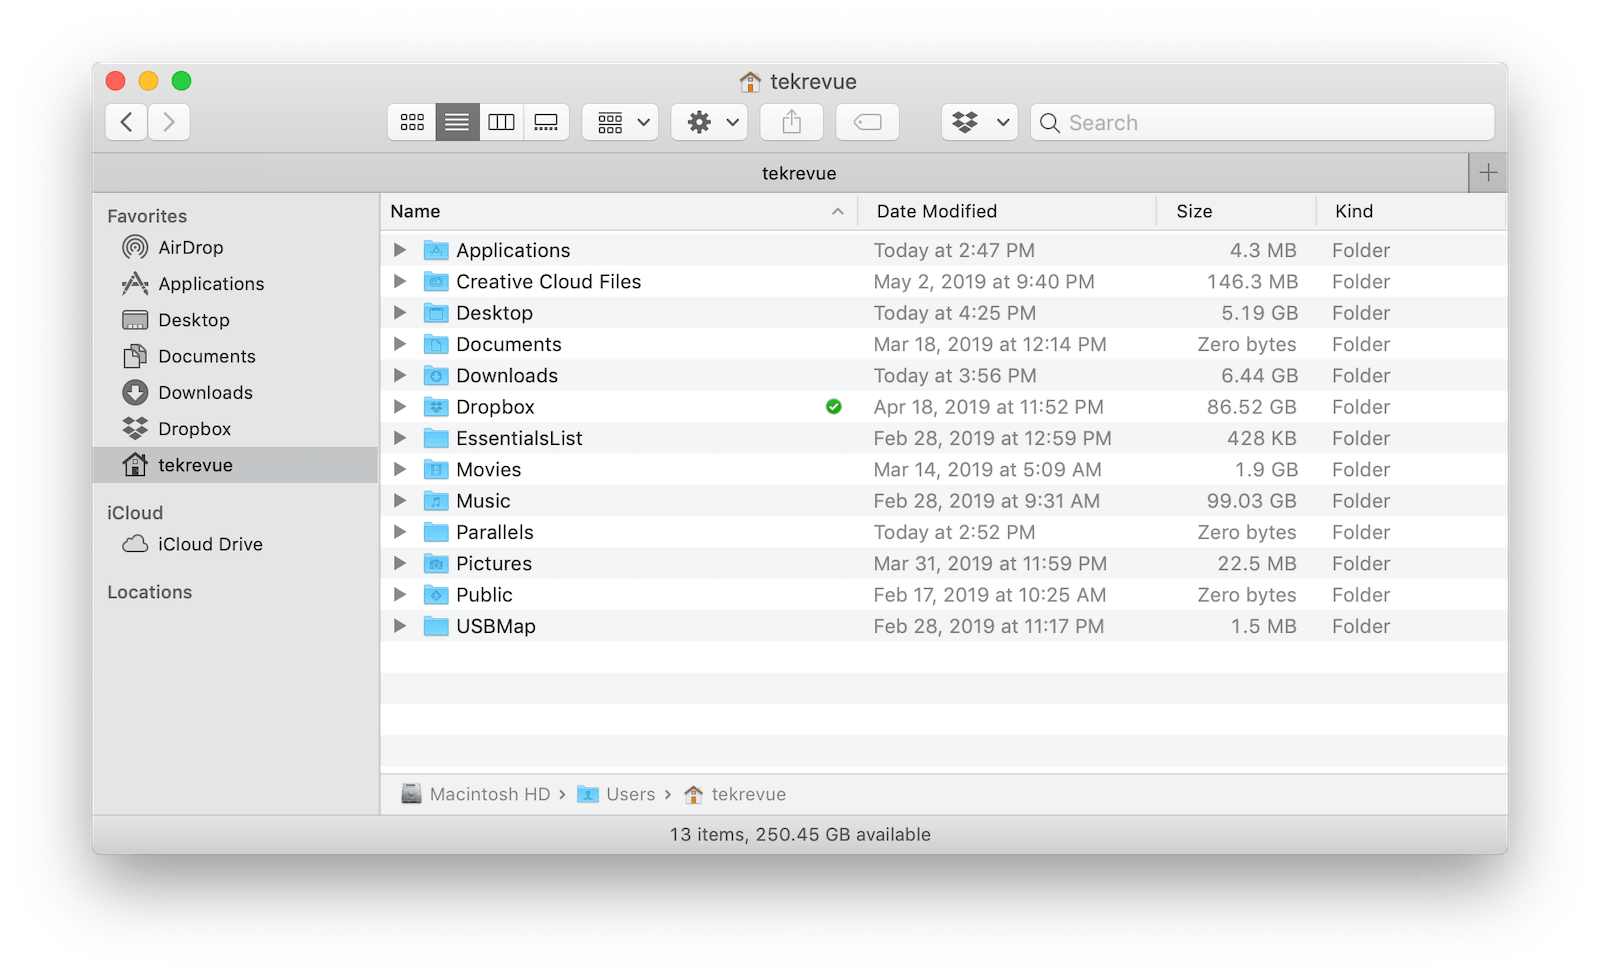
Neither step removes the actual Creative Cloud Files folder from your Mac, it merely removes it from the Finder sidebar. You can still find the Creative Cloud Files folder in your default user folder if you need it, or if you want to actually delete it in the future.


