How To Setup a Linux Virtual Machine with VirtualBox
Ever wanted to try out Linux, but didn’t really want to go about dual-booting it or even erasing your own operating system to simply take it for a test run? Well, you can! In this case, a virtual machine is the way to go, and you can do that right in a free program called VirtualBox. Today, we’re going to show you how to use the program and get your first very own virtual machine up an running.
Getting VirtualBox Up And Going
The first step is to obviously install the program. It’s available for a variety of different operating systems, but in this case, we’ll be downloading the Windows host, as I’ll be using it on Windows 10. You can find the correct program for your operating system and download it for free here.
After downloading the program, installing it through the setup wizard, you’ll want to open the program.
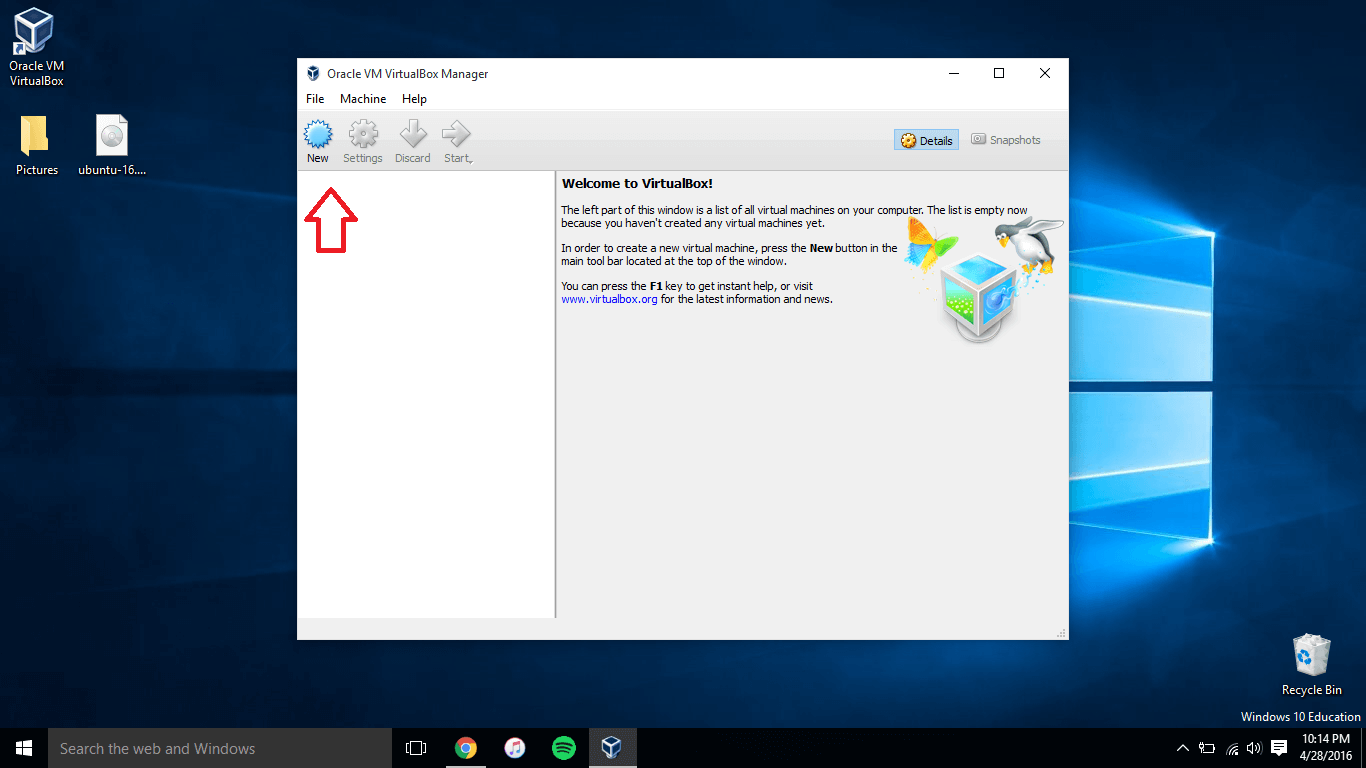
You’ll want to press the “New” button to create a new virtual machine.
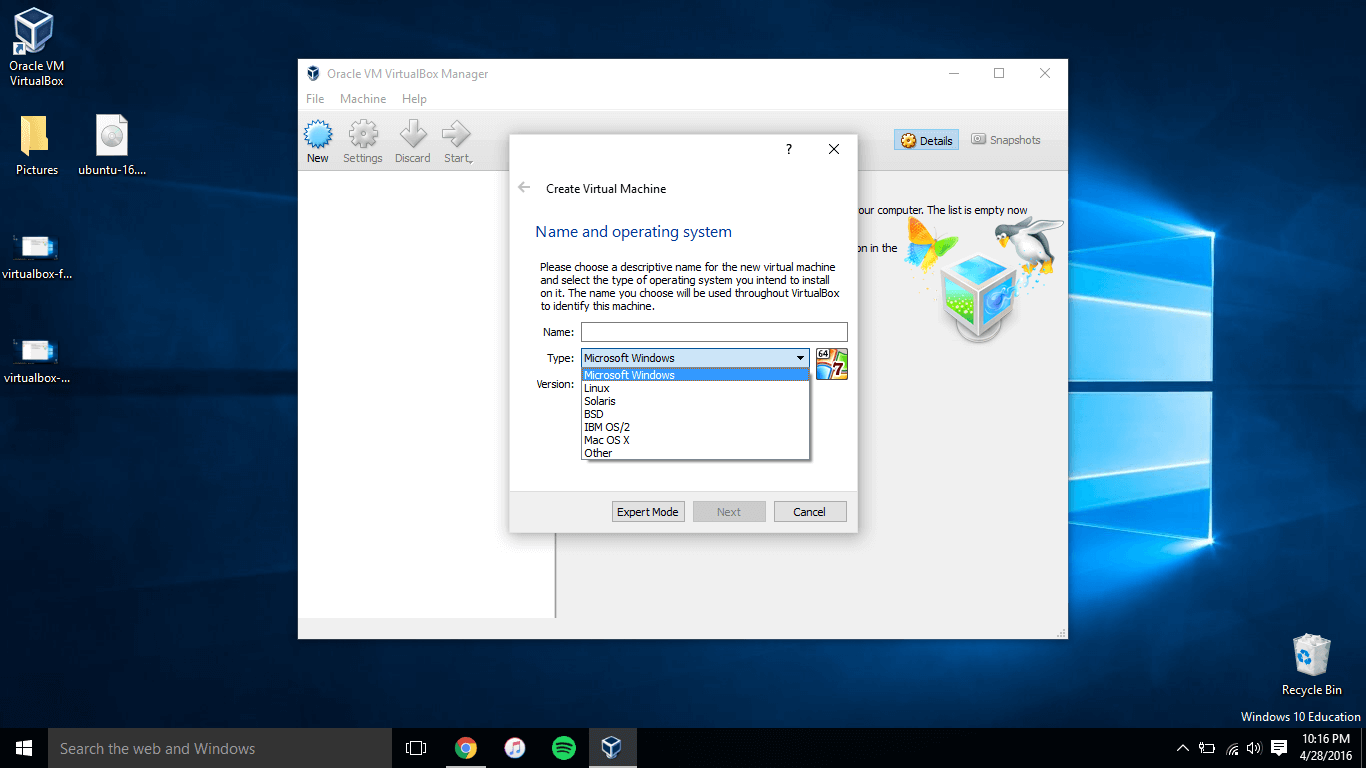
Once pressed, you’ll want to select a name for the new virtual machine, select the type of operating system you want, and then the version of the operating system you want (e.g. Ubuntu).
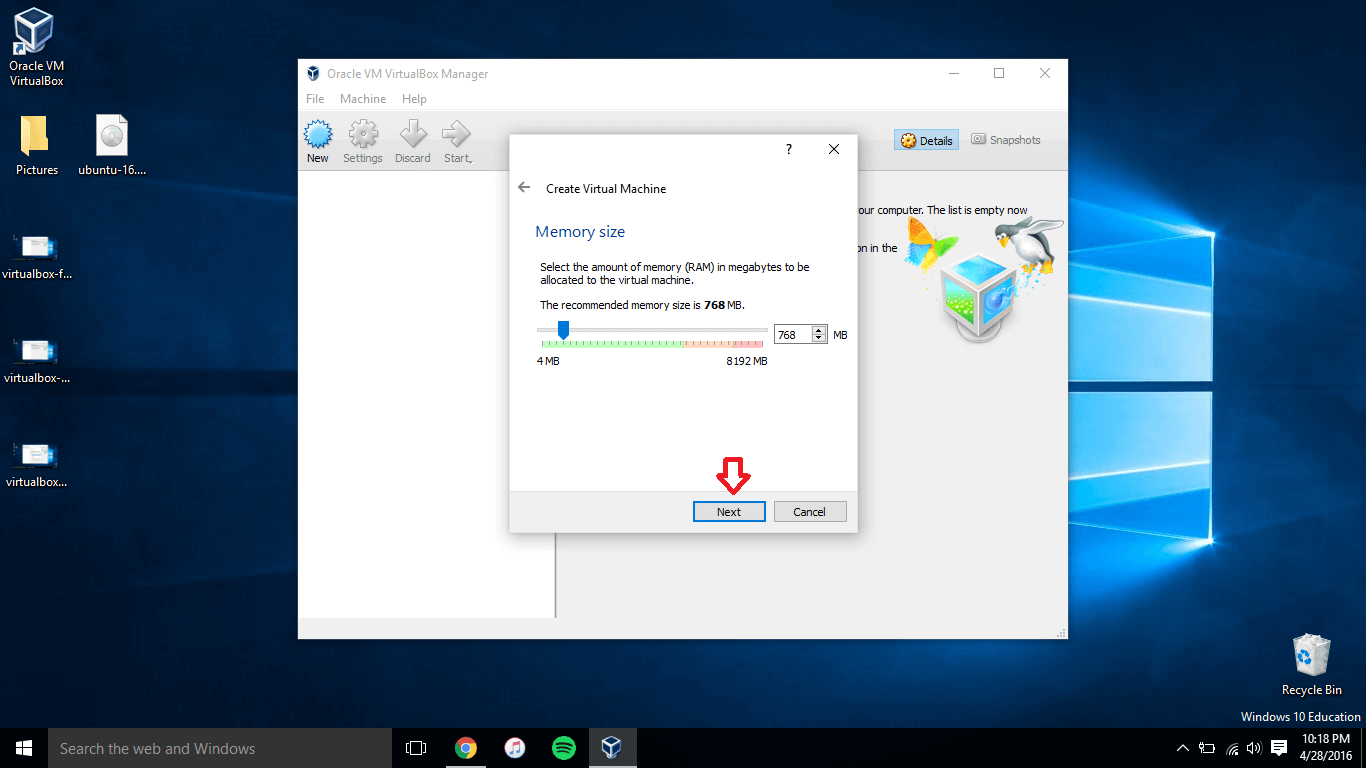
Once you’re finished deciding, press Next. The next screen (pictured above) will ask you how much memory you want to allocate to it. Usually the recommended is a good option to go with, but you can allocate more if you so desire. After you’ve set it, press Next again.
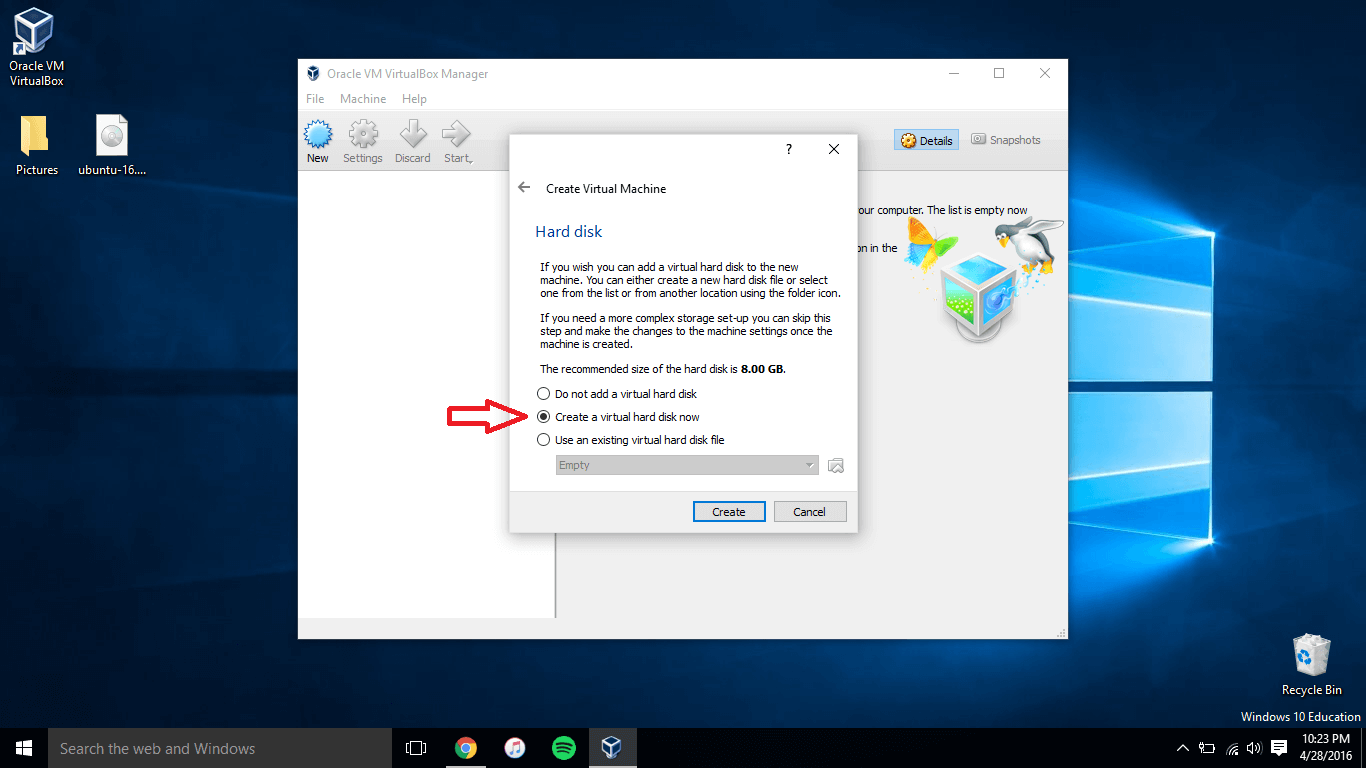
Now, you need to allocate some storage to the virtual machine. If this is a first install, you’ll want to create a new virtual hard disk in the recommended size. Press “Create,” and in the screens that follow, you’ll want to leave everything at default and just press OK.
We’re almost ready to roll with our new virtual machine. You’ll next need to download the ISO for your operating system in the virtual machine. I chose Ubuntu, which you can download here for free.
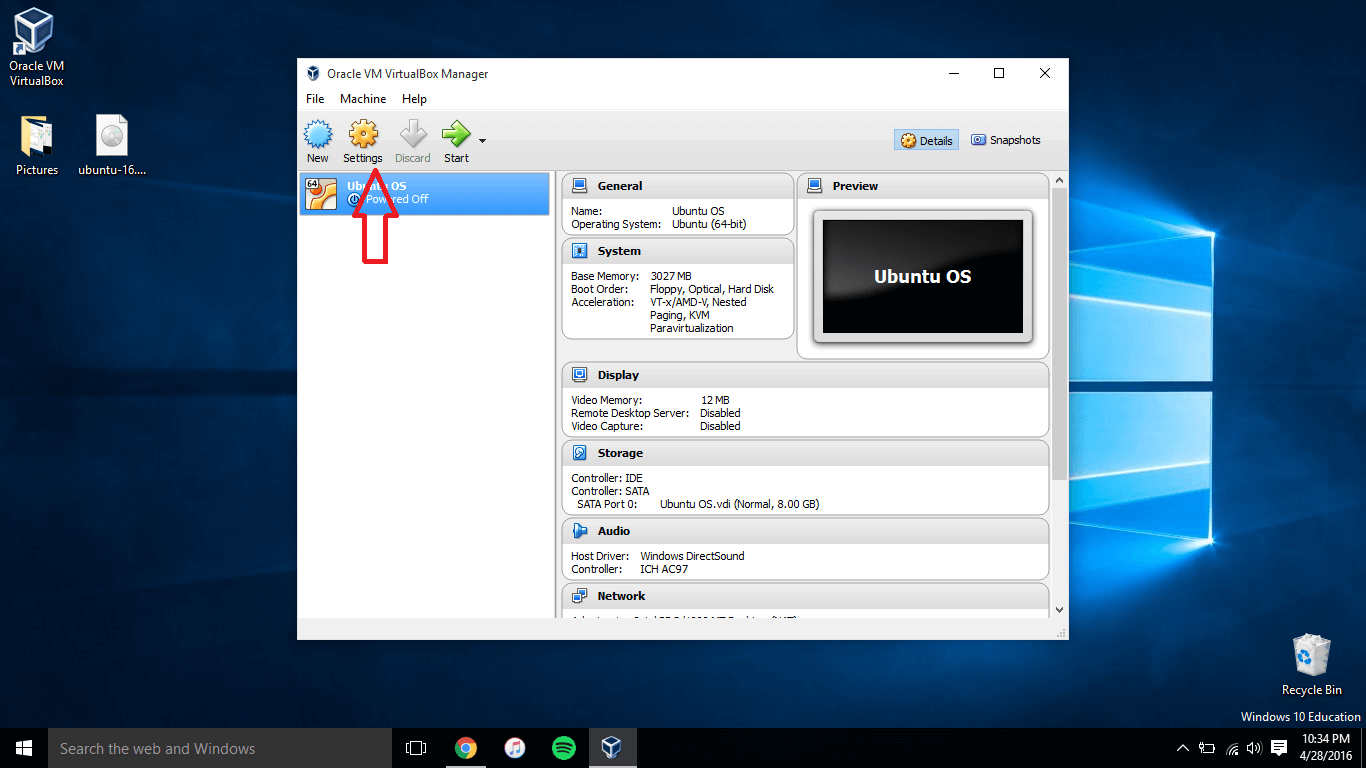
Once you have the ISO downloaded, you’ll want to mount it to your virtual machine. Click on Settings.
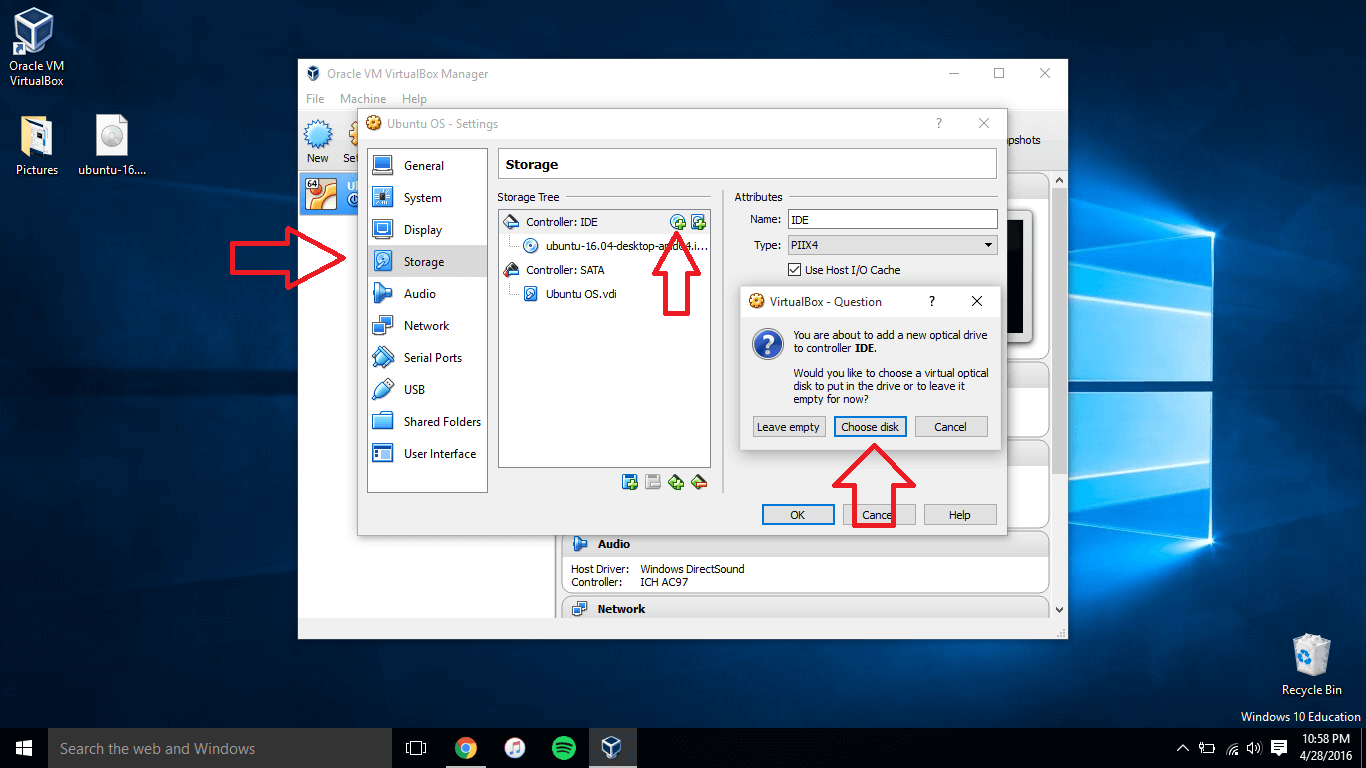
Next, click on “Storage,” select the Controller IDE, and then click the “Adds Optical Drive” button. From there, you’ll want to click the “Choose Disk” button on the prompt that comes up, and then find the ISO, select it, and press OK to add it to your virtual machine.

Finally, press OK on the Settings tab. And now, you’re ready to start it!
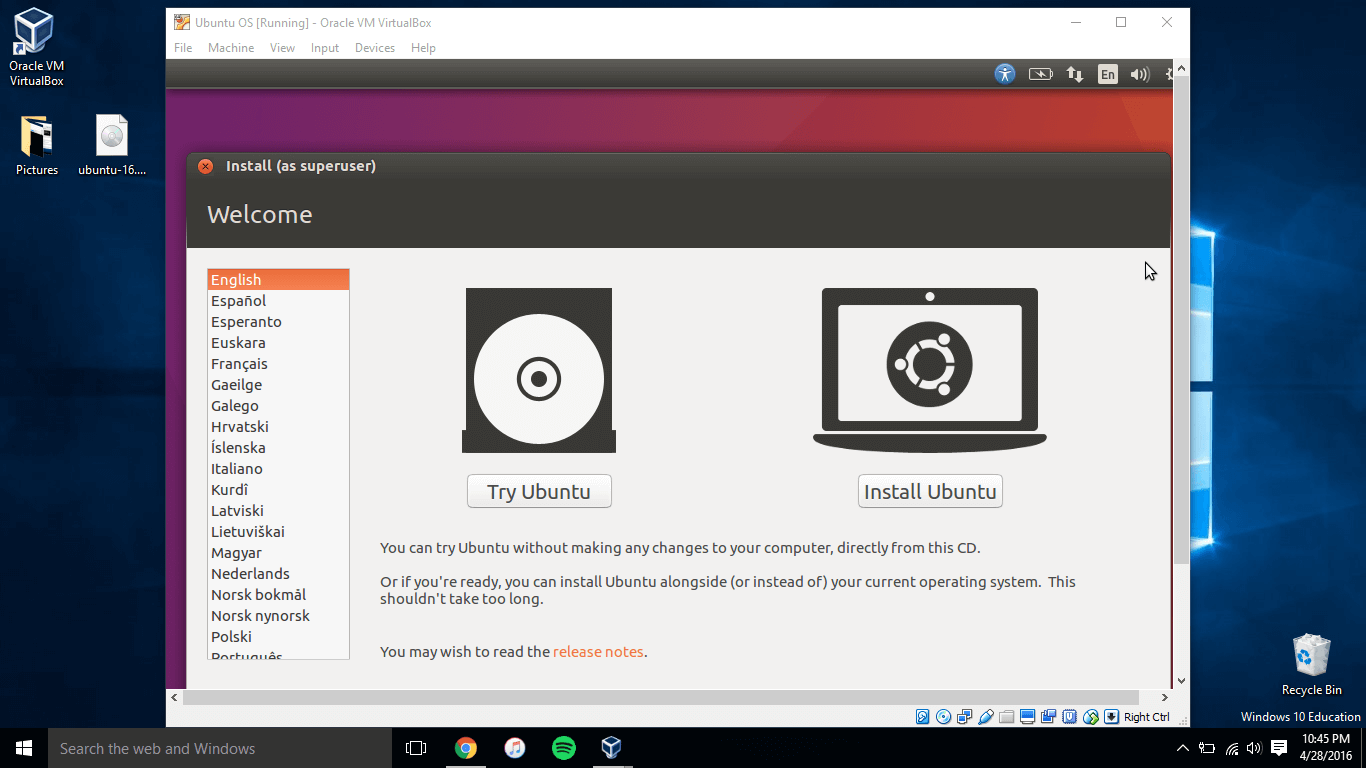
Press the “Start” button, and your virtual machine should start booting up. Now all you need to do is go through the Ubuntu setup wizard inside the virtual machine, and then you have another operating system on your computer without any dual-booting or partitioning! Congratulations!
Got stuck? Be sure to leave a comment below or some feedback over in the PCMech Forums, and we’ll be sure to offer a helping hand!