How To Convert a Photo to a JPEG
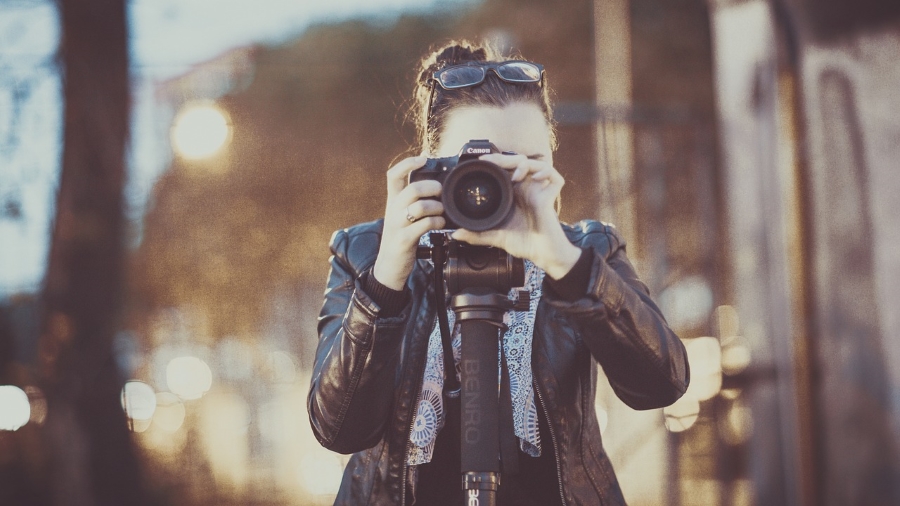
JPEG is one of many image formats that we use online and probably the most popular. It is the default format for most websites, forums, blogs and social networks so if you want to upload an image, chances are it will have to be in JPEG format. This tutorial will show you how to convert any photo into a JPEG.
JPEG and PNG are very common web formats. PNG is very good and works better with transparency and text-heavy images but can produce larger file sizes. JPEG is smaller but lossy so there are compromises with both. As many websites prioritize page loading speed over quality, they choose JPEG as the default.
JPEG, or Joint Photographic Experts Group, as it’s known is a lossy image format that compresses the image to make it as small as possible. Balance is needed to maintain image quality with file size but as a general rule, JPEG files are smaller than PNG. The one thing to remember about JPEG is that it is lossy. Every time you open, edit and make a save, image quality is slightly reduced. Otherwise it is a very useful format.
PNG, Portable Network Graphics, uses lossless compression to maintain image quality. This means you can edit as much as you like without reducing overall image quality. It does mean slightly larger file sizes though which is why JPEG is so popular online.
Converting images to JPEG
You can convert images to JPEG using most image editors. You can also perform the conversion online if you don’t have an image editor to hand. Basically, all you need to do is perform all of your edits in the native file format and then save it as JPEG. As JPEG is lossy, performing edits before conversion means you lose as little quality as possible. What you end up with should be a good quality image at a small enough file size to be usable online.
Convert a photo to a JPEG in Windows
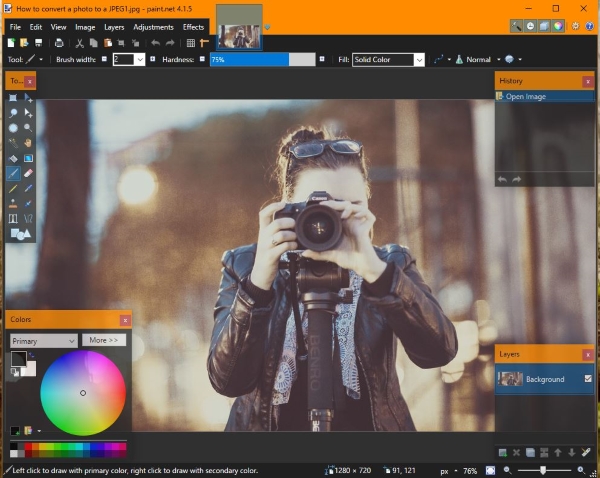
The native Photos app in Windows 10 is not able to convert file formats. You will need a photo editing app to do that. There are many out there but I usually suggest Paint.net or GIMP. Both are free and both work well to manage images and perform edits and conversion.
A typical process would be like this:
- Open your image in your image editor.
- Make any edits or changes and save in the original format.
- Change the image size if necessary.
- Select Save As and select JPEG as the file format in the save window.
Depending on what editor you’re using you should see a small radio box underneath the filename in the save window. It should have an option for JPG/JPEG. Select that and save the image. JPG and JPEG are the same thing so if you only have one option you’re fine.
Convert a photo to a JPEG on Mac
Mac is better equipped to manage images than Windows which is logical given its popularity with creatives. You can use Preview to perform basic edits and change the file format. The awesome but expensive Photoshop would also work if you have a copy.
- Open the image in Preview.
- Perform any edits and resizing as necessary.
- Select Export.
- Give the image a name and select JPEG as the Format.
- Select the image quality to be as high as practical.
- Select Save.
You should now have two copies of your image. The original in its original format and a JPEG version.
Image quality versus file size
If you are planning to use your images online, you need to balance file size with image quality. File size means the size of the actual image file, not the size of the image itself. So when you see the file in a folder and it says ‘155KB’ that is the file size. The lower the number, the faster it will load online. As page speed is now critical on the web, most websites will specify a maximum file size for you to use.
The higher the image quality, the larger the file size will be. That’s logical as the image will contain more data to provide that quality which has a ‘weight’. Image quality combined with image size will determine how large the file is.
Lowering image quality will also lower the file size. It’s a delicate balance. You want the image to have the smallest possible file size but also be of a high enough quality. This takes some experimentation and is a subject much larger than this tutorial. This website has lots more detail on file size and image quality and is well worth a read.