How To Create a Triangle in Photoshop

Whether it’s equilateral, isosceles or a scalene, triangles are elementary shapes that stand out in their own right, but can also be integrated into more complex shapes or designs. Triangles are a shape that’s useful to designers, frequently used as building blocks in architecture, design, and fine art.
If you’re new to Photoshop or have never gotten around to creating shapes of your own using Photoshop, now is a good time to learn this skill. You can start by creating a triangle and go from there. This TechJunkie how-to article will show you how to create a triangle in Photoshop.
Photoshop perhaps isn’t the first program you would turn to in order to create a design from scratch, though it is used by many digital artists and graphic designers to do just that. Many people think of Photoshop purely in terms of photo editing and manipulation, but it is capable of much more than that.
If you’re considering adding a graphics layer to an image or if you are designing something with a photographic element or background, Photoshop has you covered.

How to create a triangle in Photoshop
To create a triangle in Photoshop, we can use several methods to achieve the same goal. The easiest is to use the Polygon Tool, but you can also use a rectangle or the Pen Tool if you prefer.
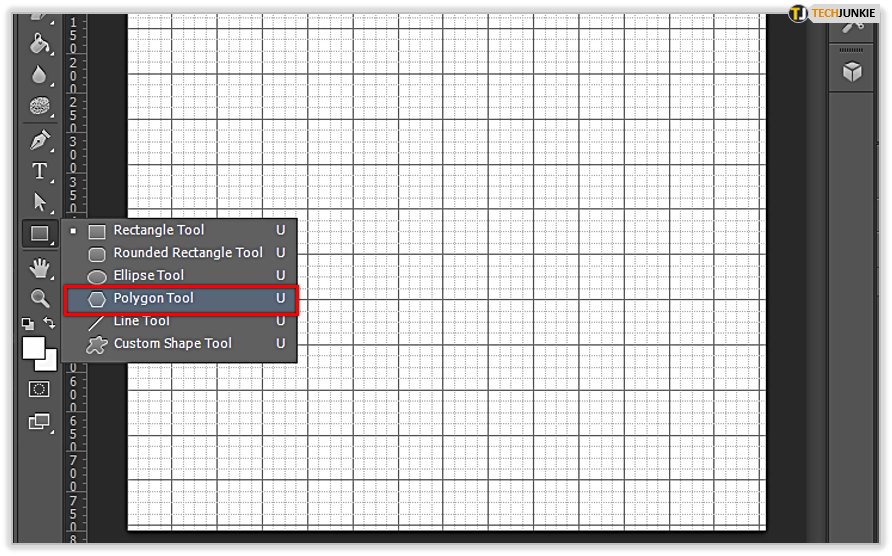
I prefer to use the Shape Tools included in the program. There are six of them in total: the Rectangle Tool, the Rounded Rectangle Tool, the Ellipse Tool, the Polygon Tool, the Line Tool, and the Custom Shape Tool. Each has its own specialty and common use. To create a triangle, we will use the Polygon Tool.
You can also use the Custom Shape Tool, but I think it is easier to create the right angle triangles with the Polygon Tool.
Here are the instructions for creating a triangle using the Polygon Tool:
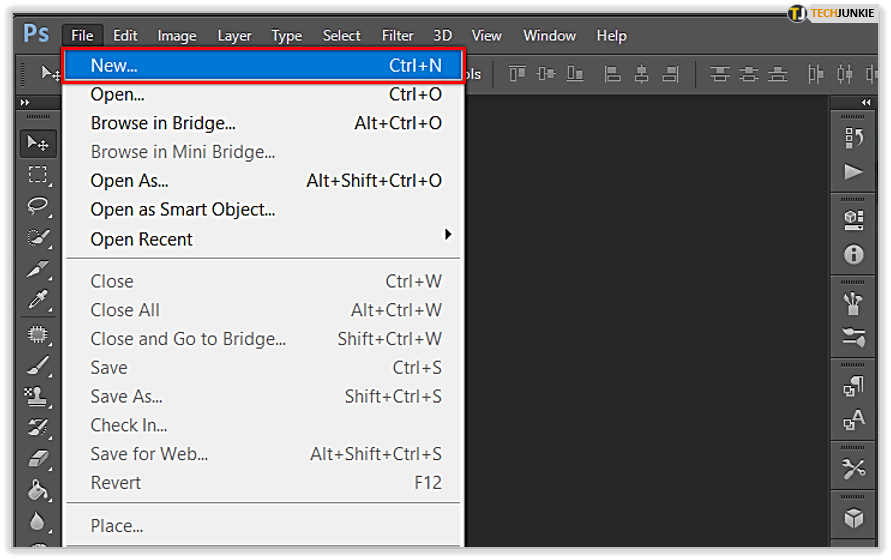
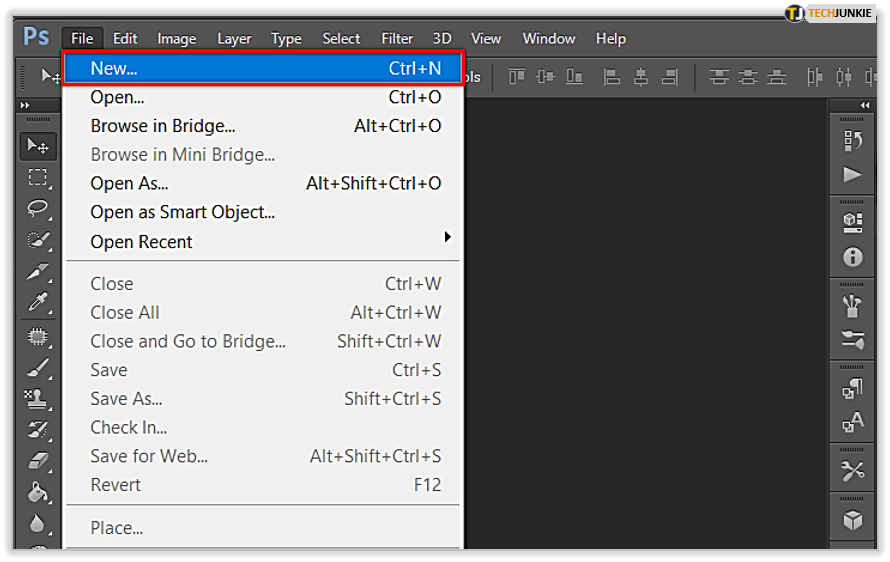
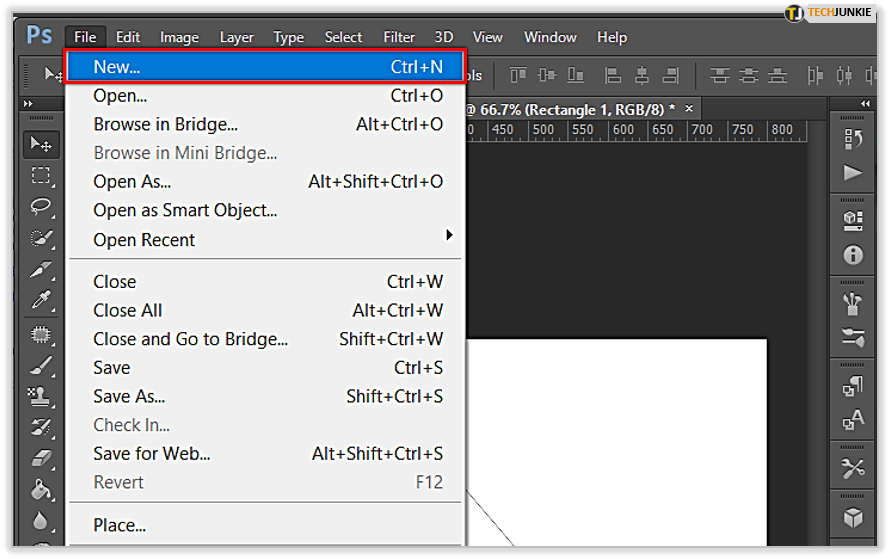
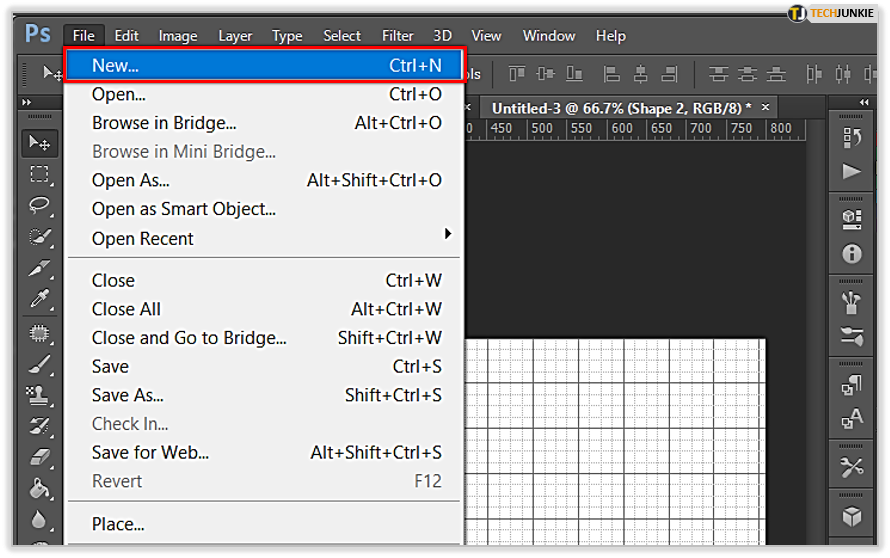
- Open Photoshop and select a new canvas.

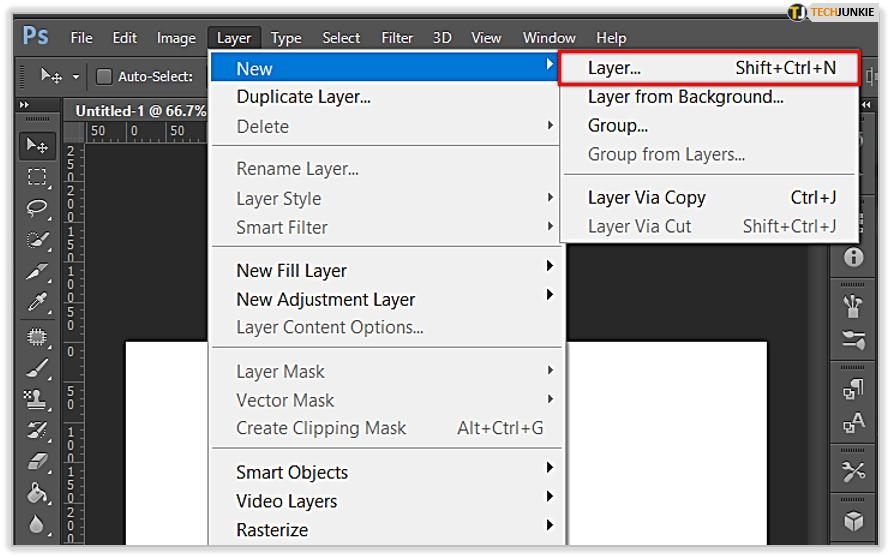
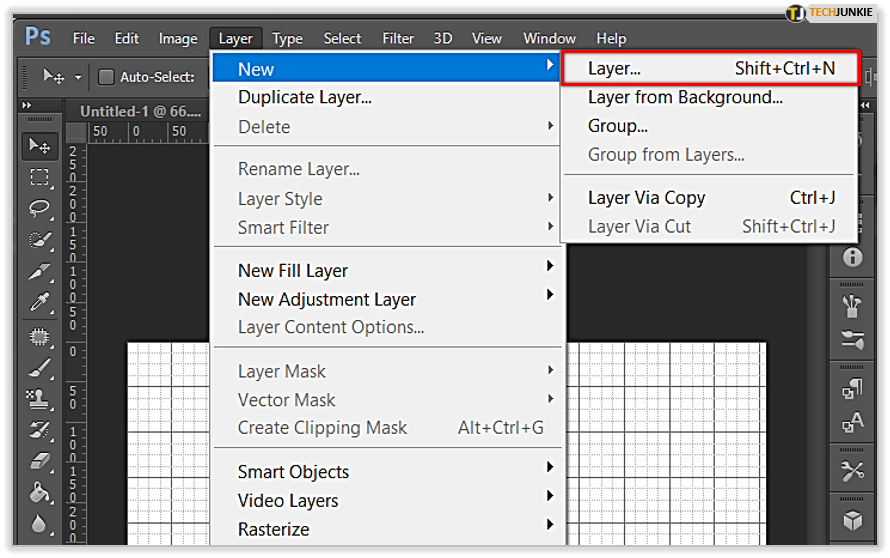
- Add a new layer by selecting the Layer menu at the top, choose New and then Layer.

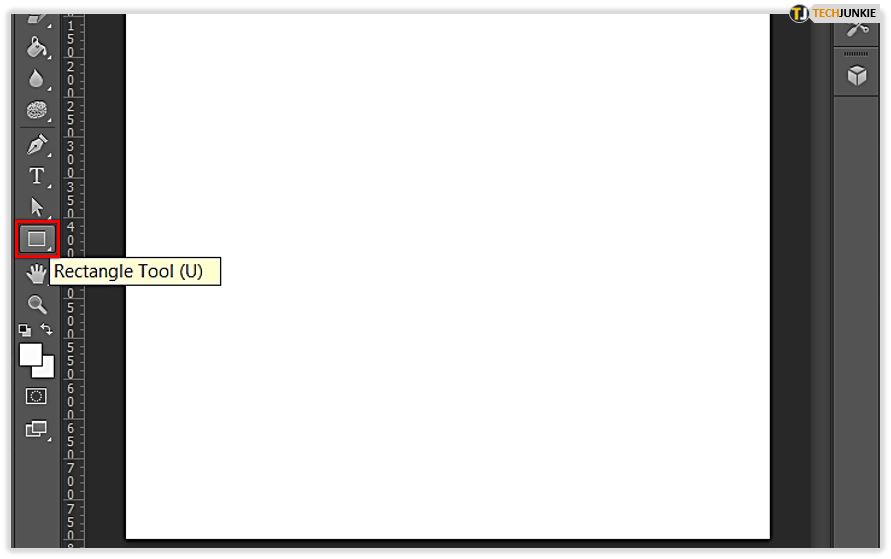
- Select the rectangle icon on the left menu to select Shape Tools.

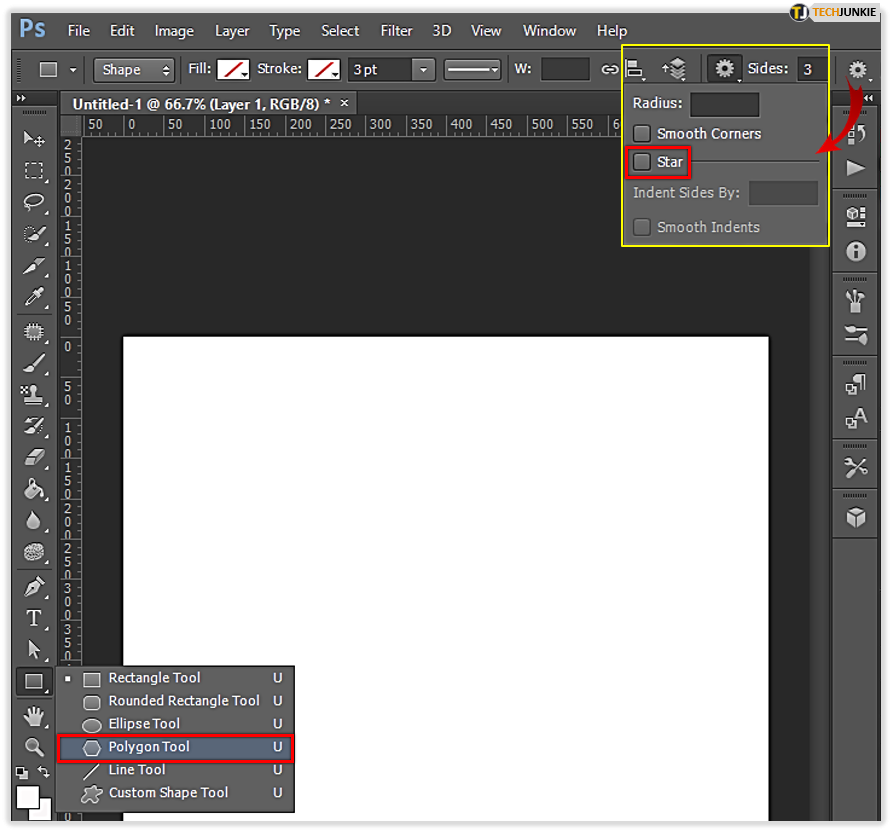
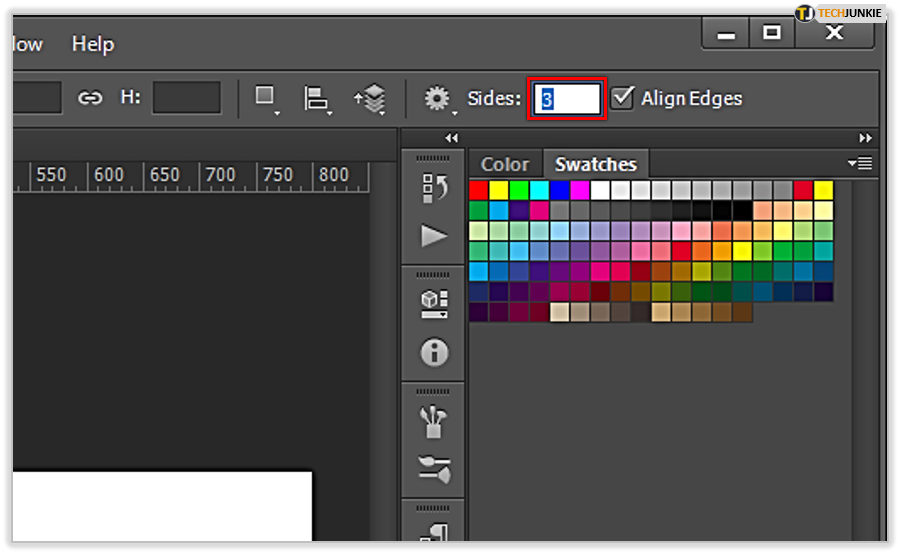
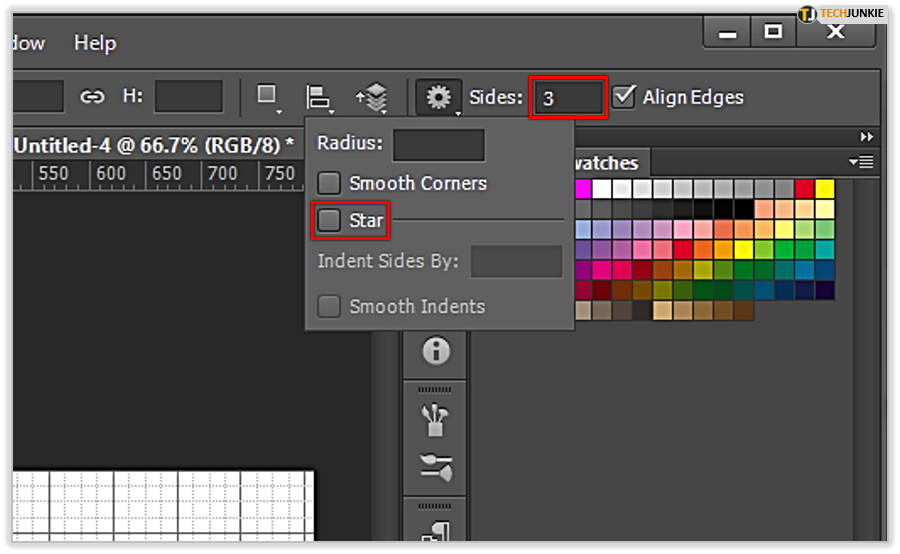
- Change the shape to Polygon and set the Star option to No or un-check.

- Set the sides to 3.

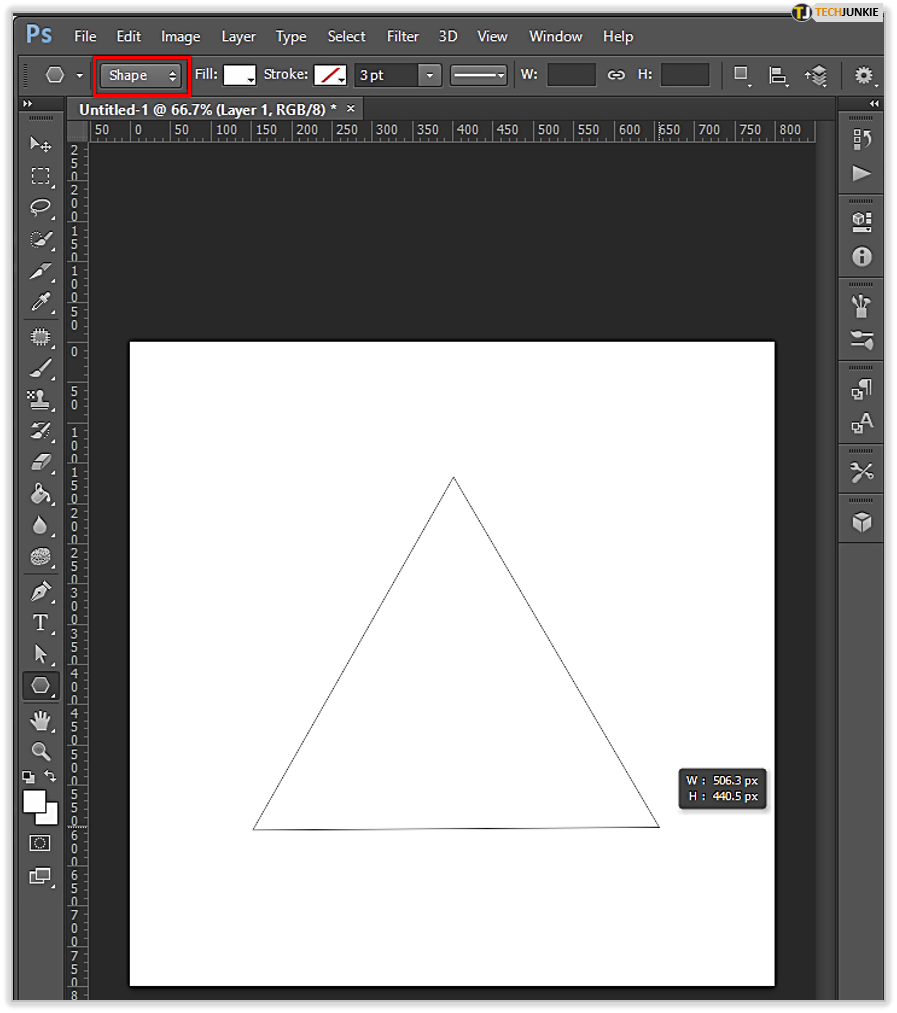
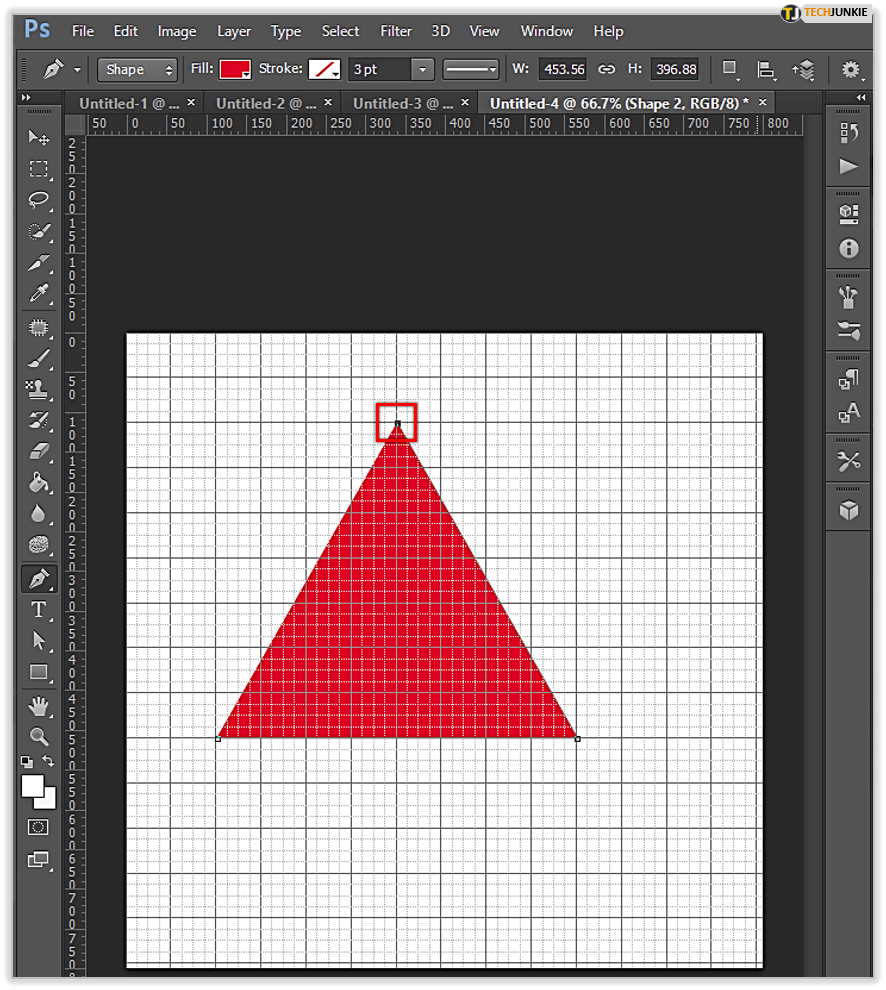
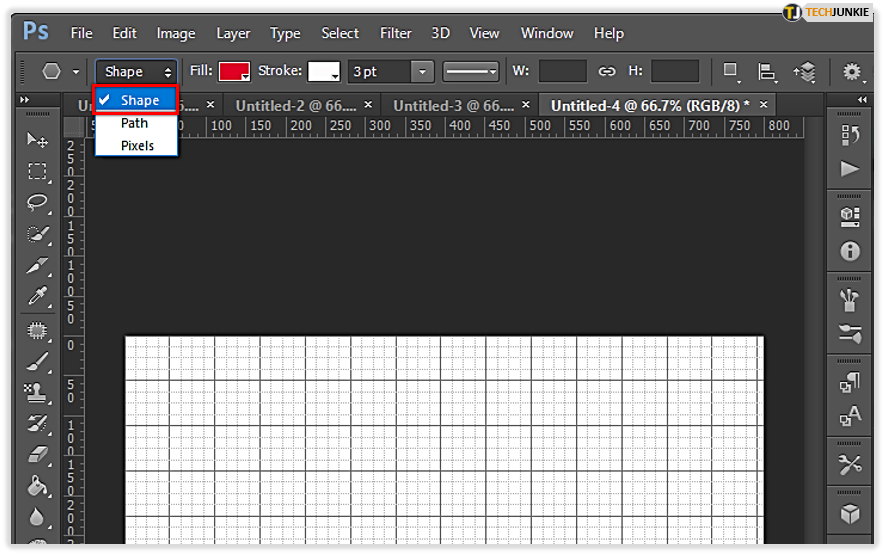
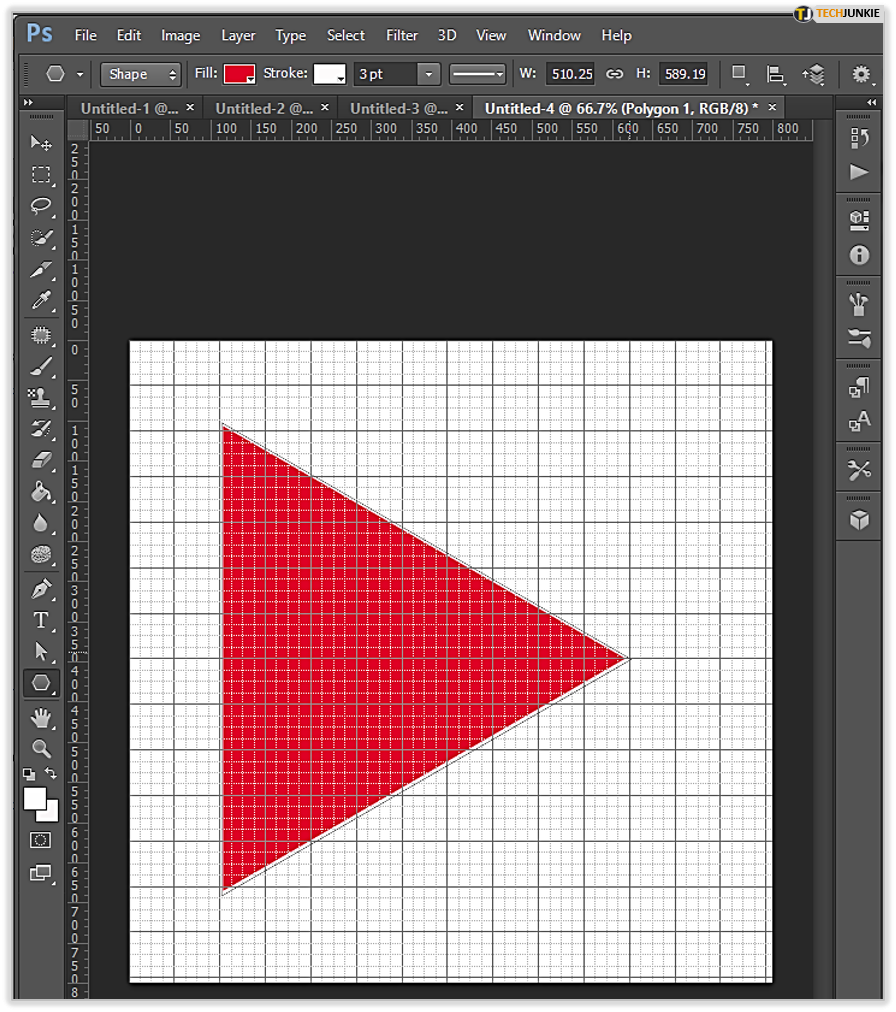
- Select the shape option and then draw the triangle shape on the canvas.

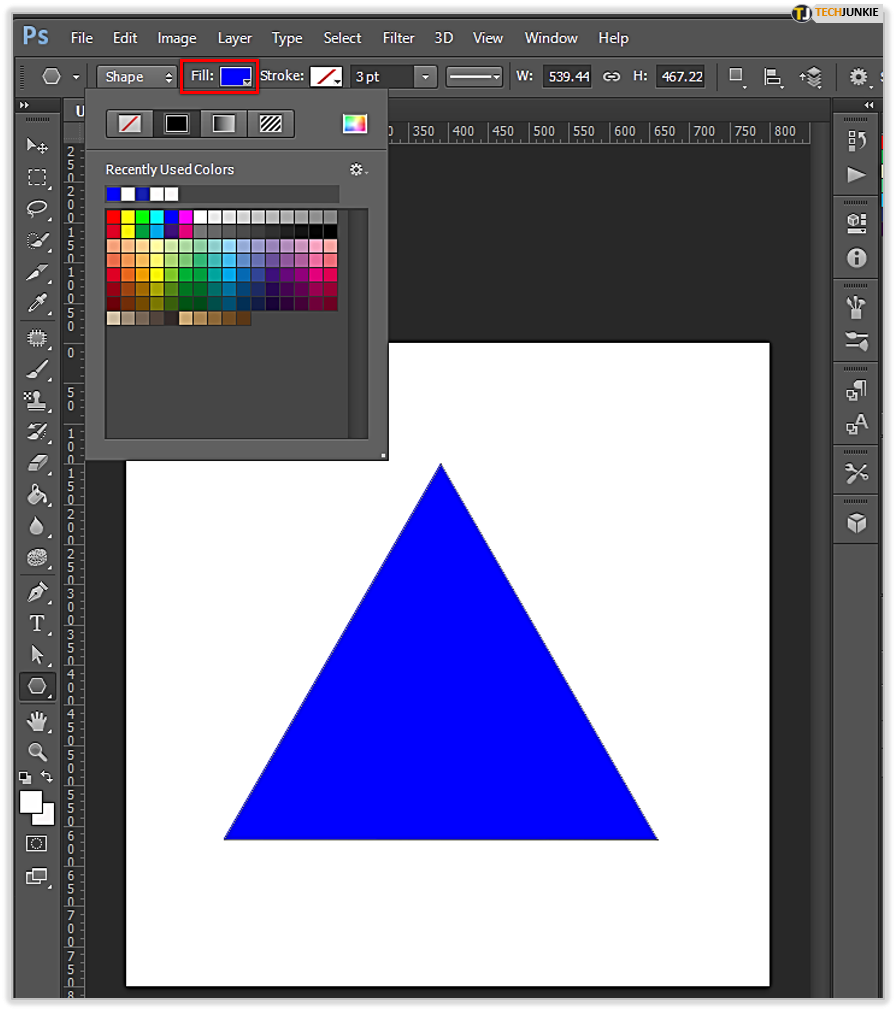
- Select the color of the triangle from the menu and fill.

You can also draw a rectangle then cut the rectangle in half if you prefer by following these instructions:
- Open Photoshop and select a new canvas.

- Add a new layer by selecting the Layer menu at the top, choose New and then Layer.

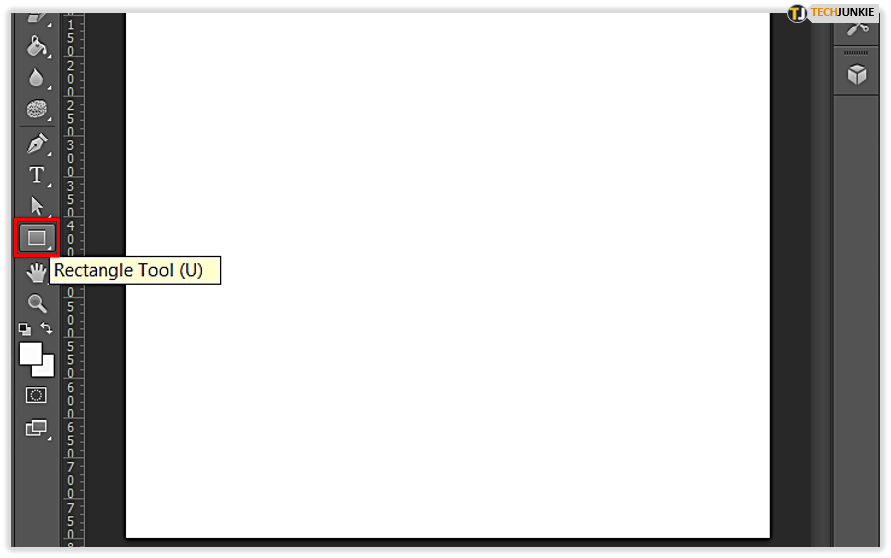
- Select the rectangle icon on the left menu to select Shape Tools.
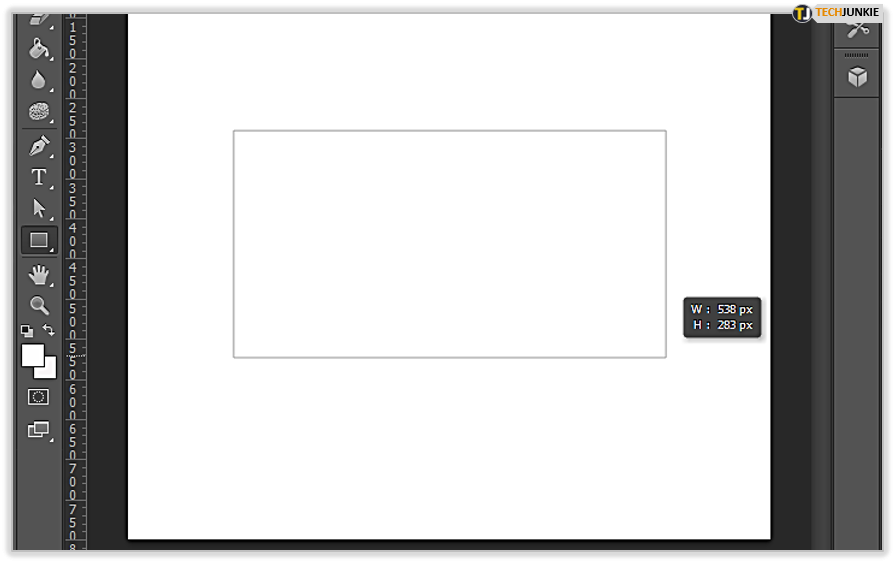
- Draw your square or rectangle on the canvas.

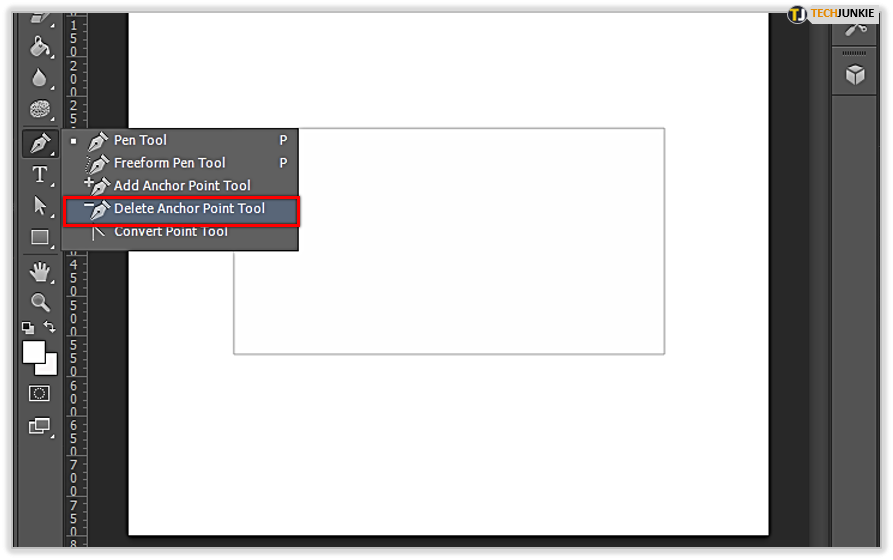
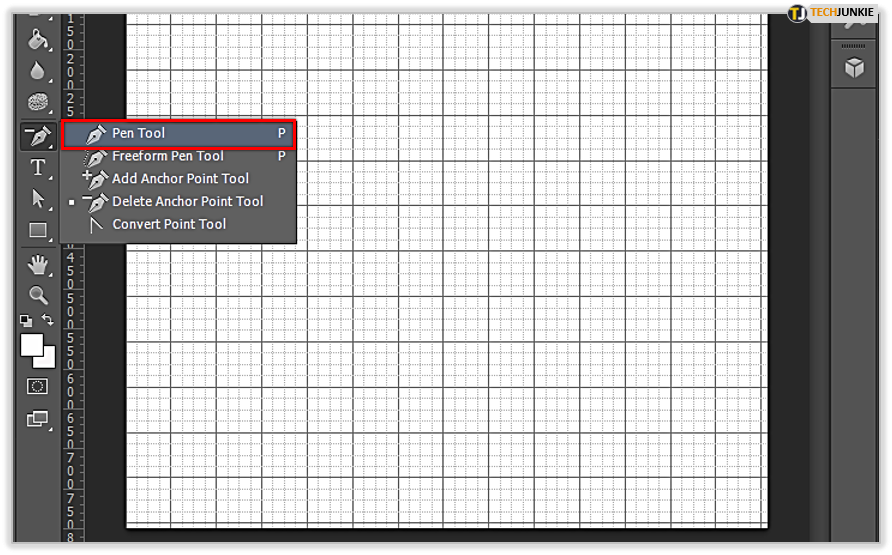
- Select the Pen Tool from the left menu, and select ‘Delete Anchor Point Tool’.

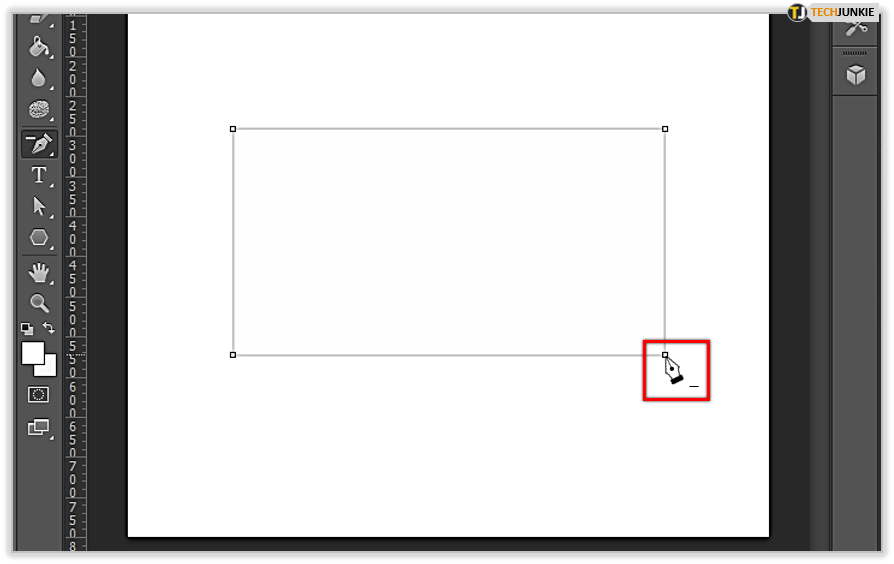
- Select an anchor point in one corner of your square or triangle. You should see half of it disappear.

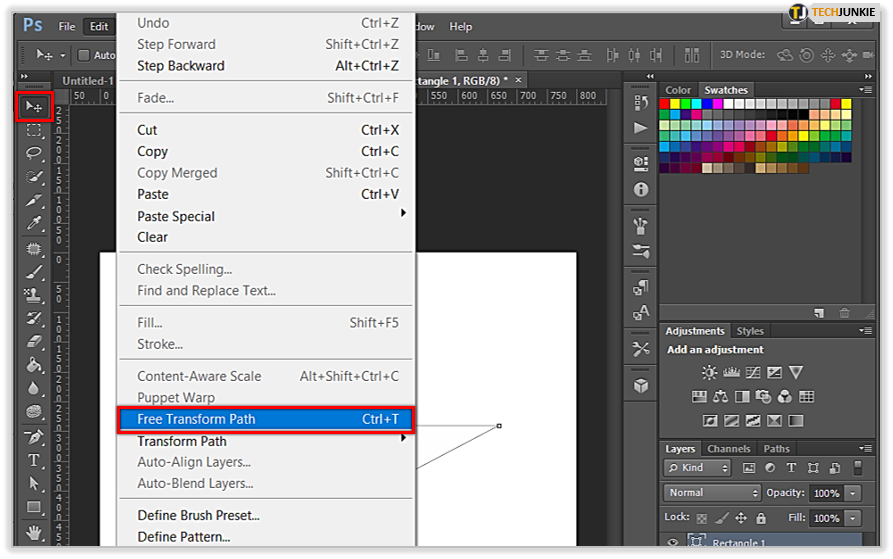
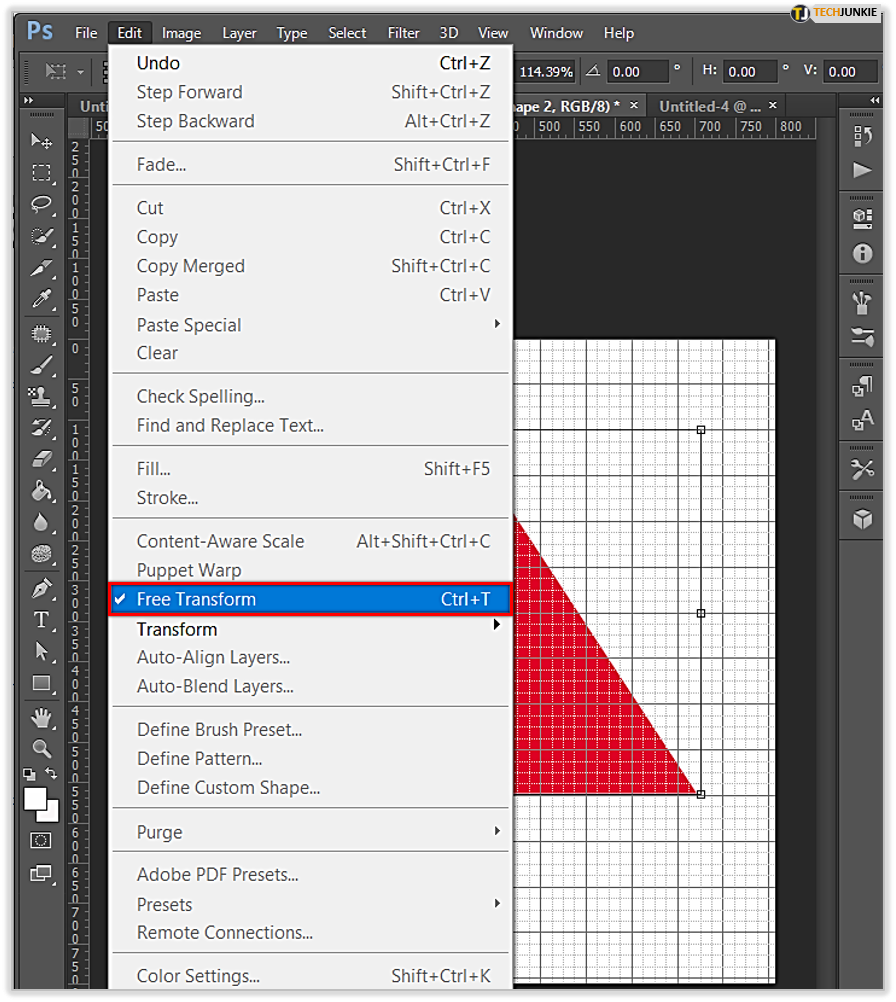
- Select the Move Tool and then choose Free Transform in the Edit menu. You can now move the triangle to any position or angle you like.


You can also use the pen tool to create a triangle in Photoshop. It helps to have the grid enabled on the canvas so you don’t have to eyeball whether it’s straight or not, but it is otherwise quite straightforward.
Here are the instructions for using the pen tool to create a triangle using Photoshop:
- Open Photoshop and select a new canvas.

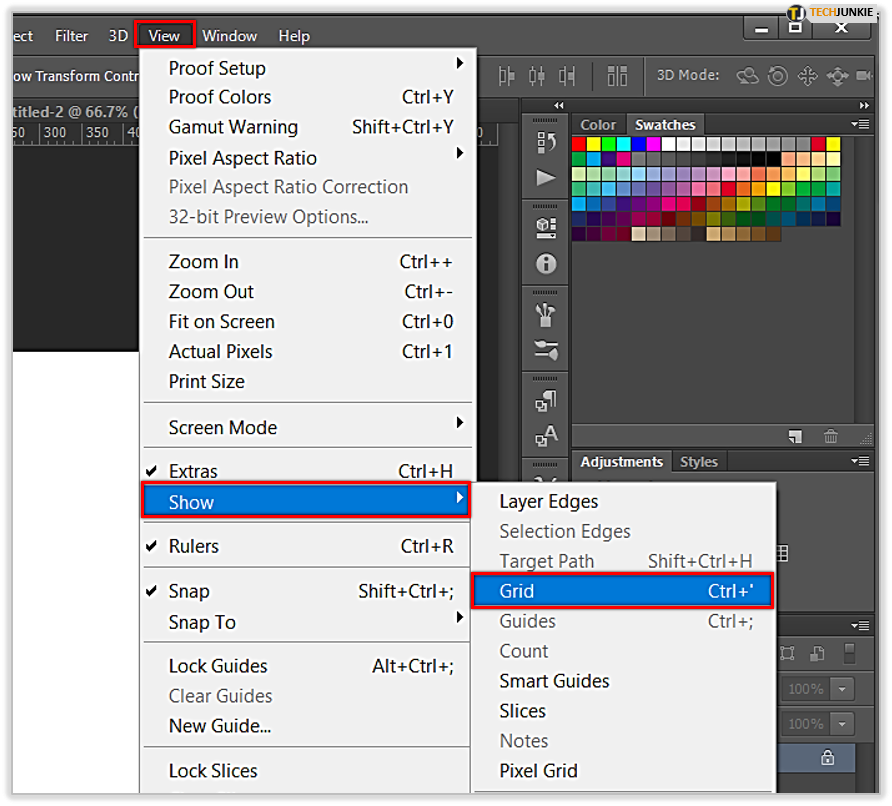
- Select View and Show Grid.

- Select the Pen Tool in the menu.

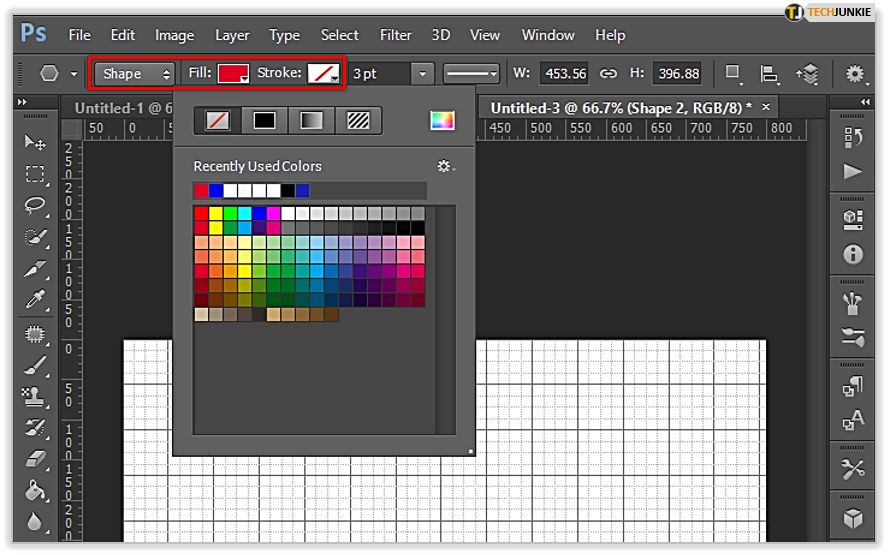
- Select the Shape option, add a fill color, and set the Stroke to no color.

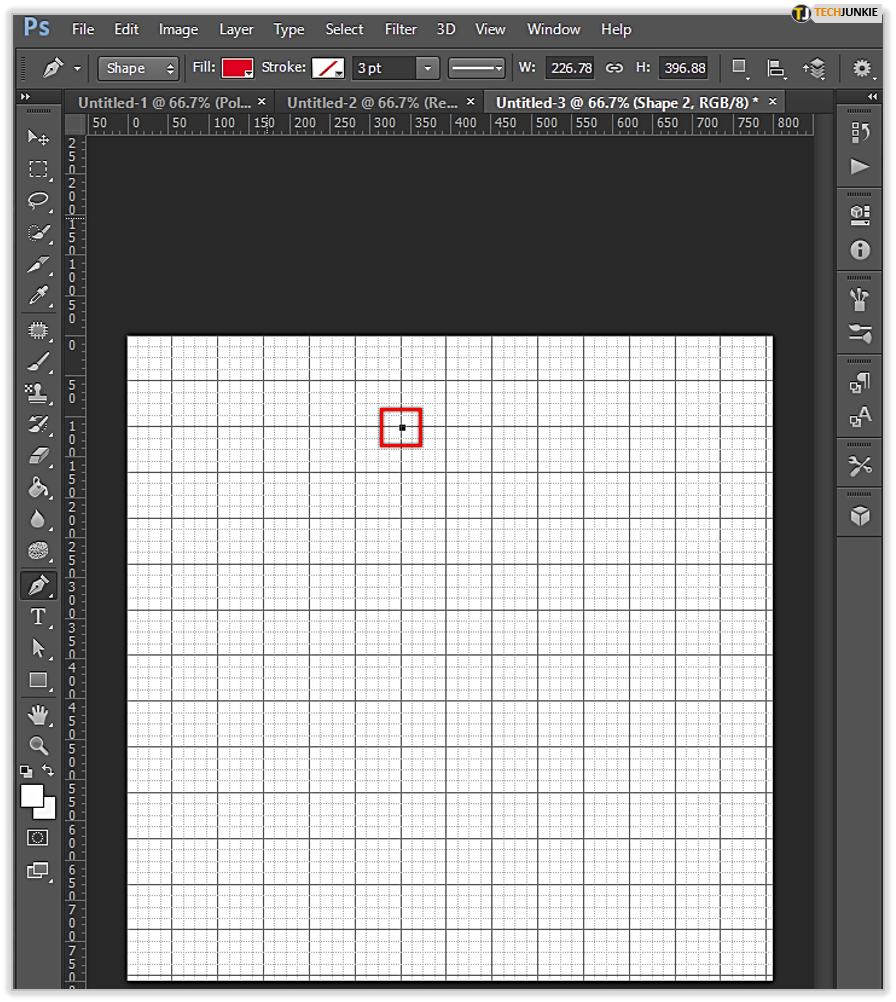
- Select a position on your canvas and click the pen to begin drawing the triangle.

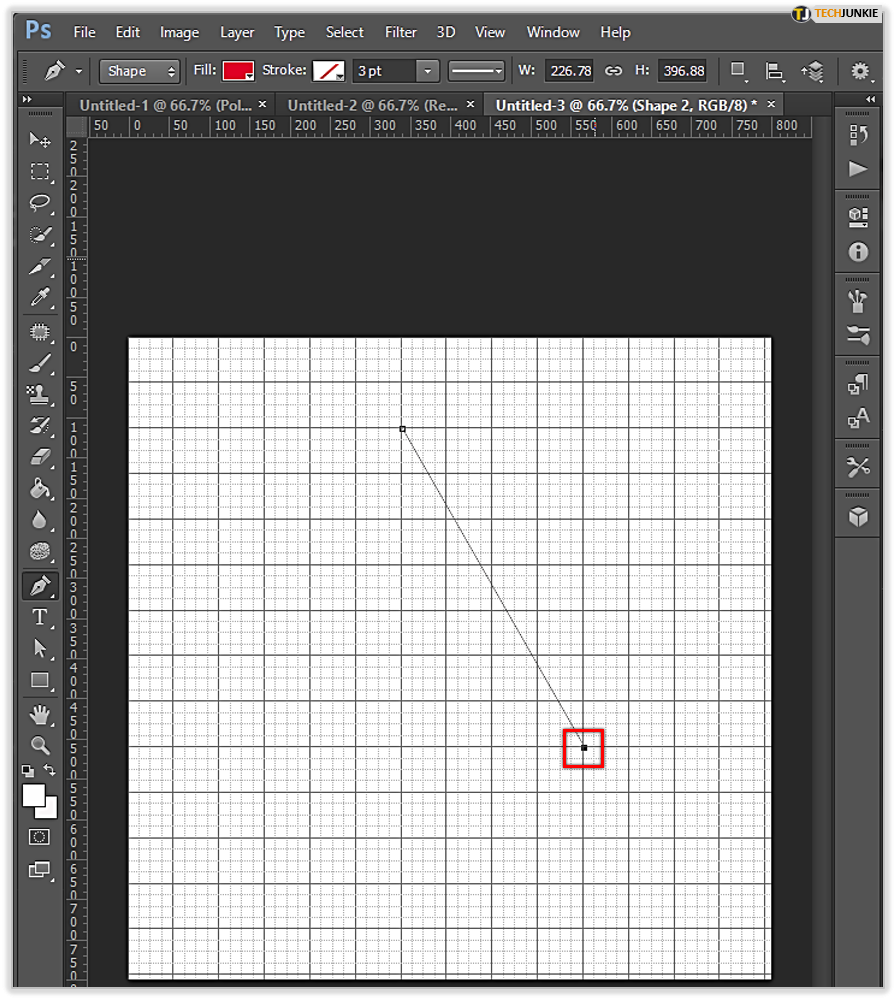
- Select another position and click.

- Select the third position and click.

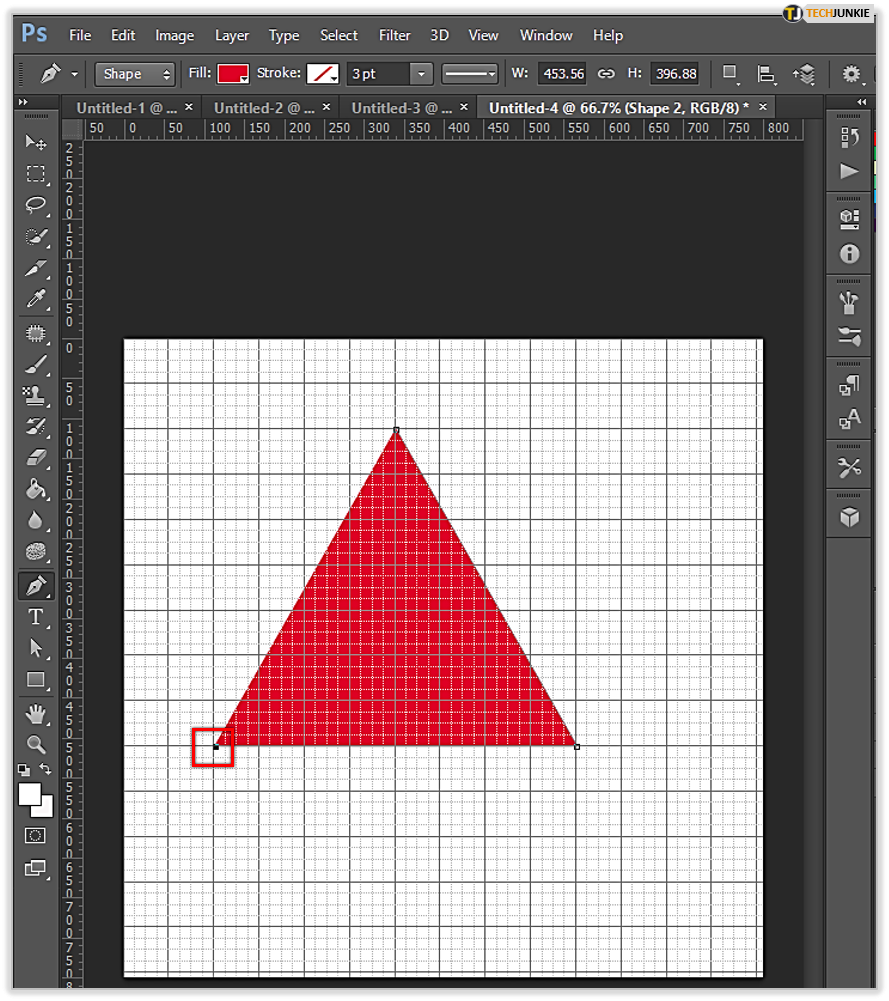
- Select your first position again and click, closing off all the sides of the triangle.

- Use Free Transform (Ctrl+T) and resize the triangle as you see fit.
Once you have drawn a single triangle, you can then copy and paste it into multiples or otherwise use it as you see fit.
If you would prefer not to have it filled with color, you can just outline the shape instead of filling it.
Here’s how to outline the shape instead of filling it in with a color:
- Open Photoshop and select a new canvas.

- Add a new layer by selecting the Layer menu at the top, choose New and then Layer.
- Select Shape Tools and then Polygon from the menu.

- Set the Star option to No or un-check and Sides to 3.
- Select the Shape option.

- Draw the triangle shape on the canvas.

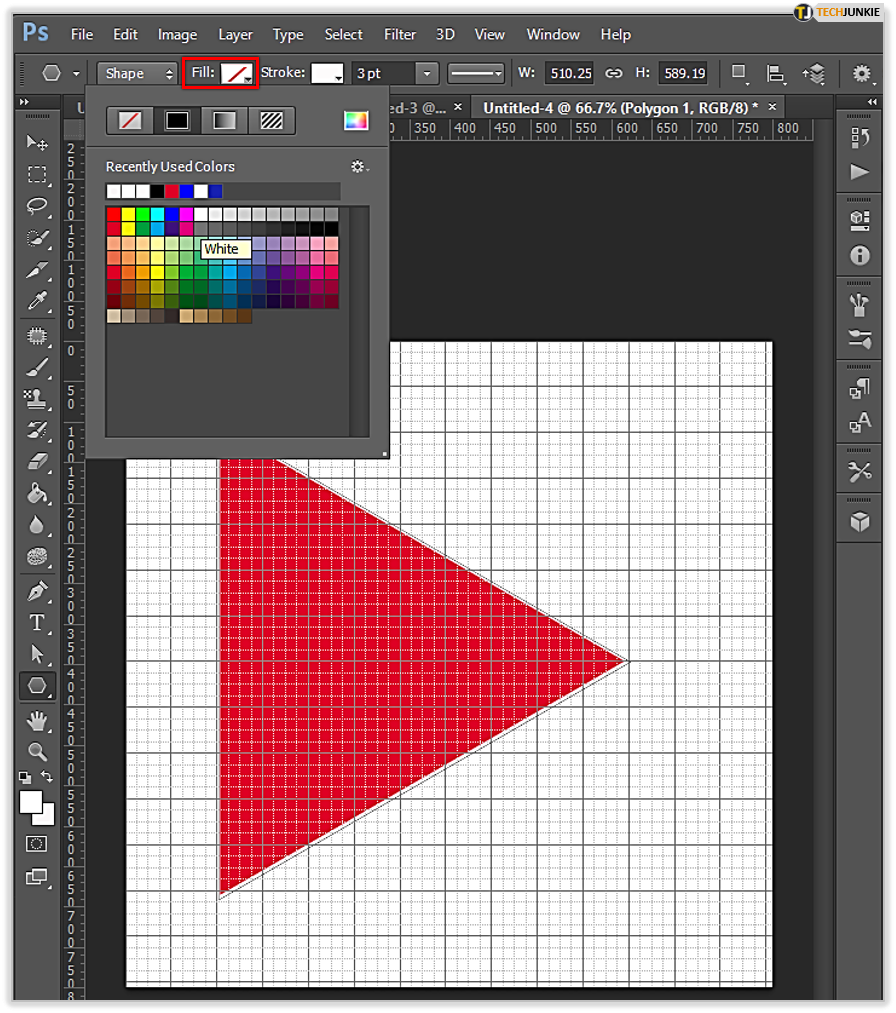
- Select Fill and set to No color.

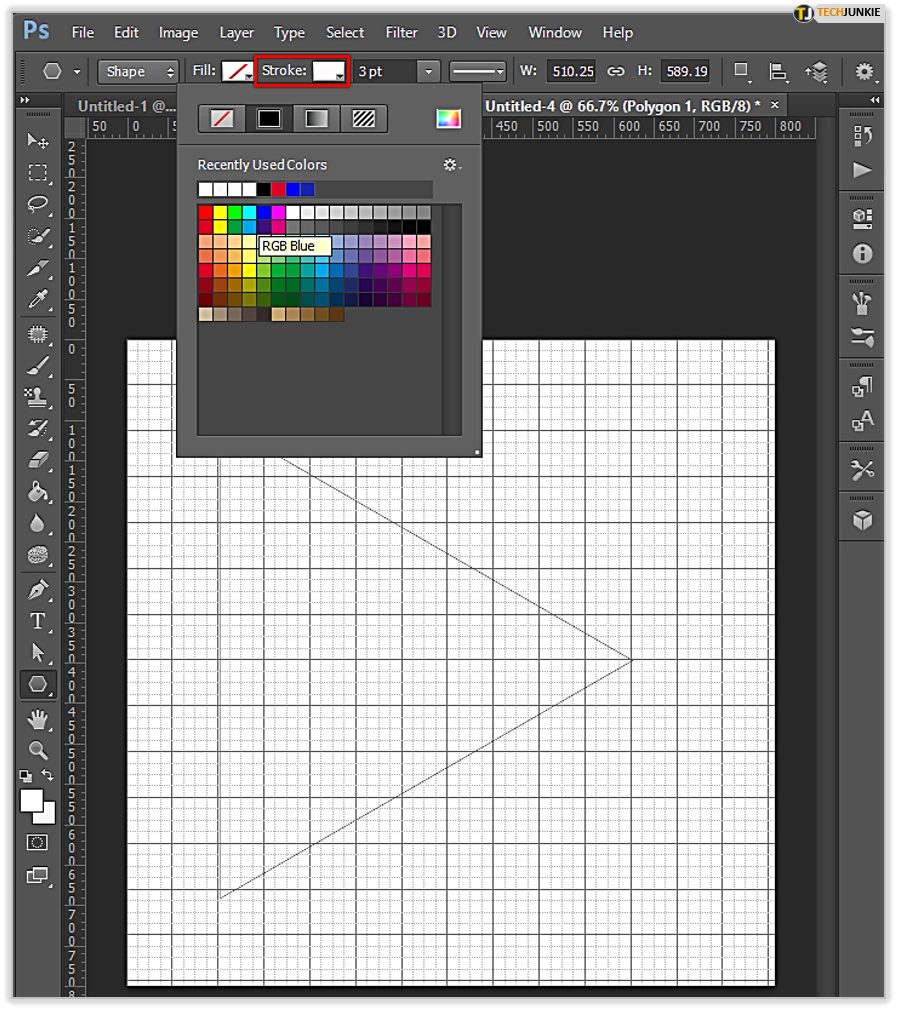
- Select the Stroke and set it to your chosen color.

- Set the Stroke weight to something appropriate.

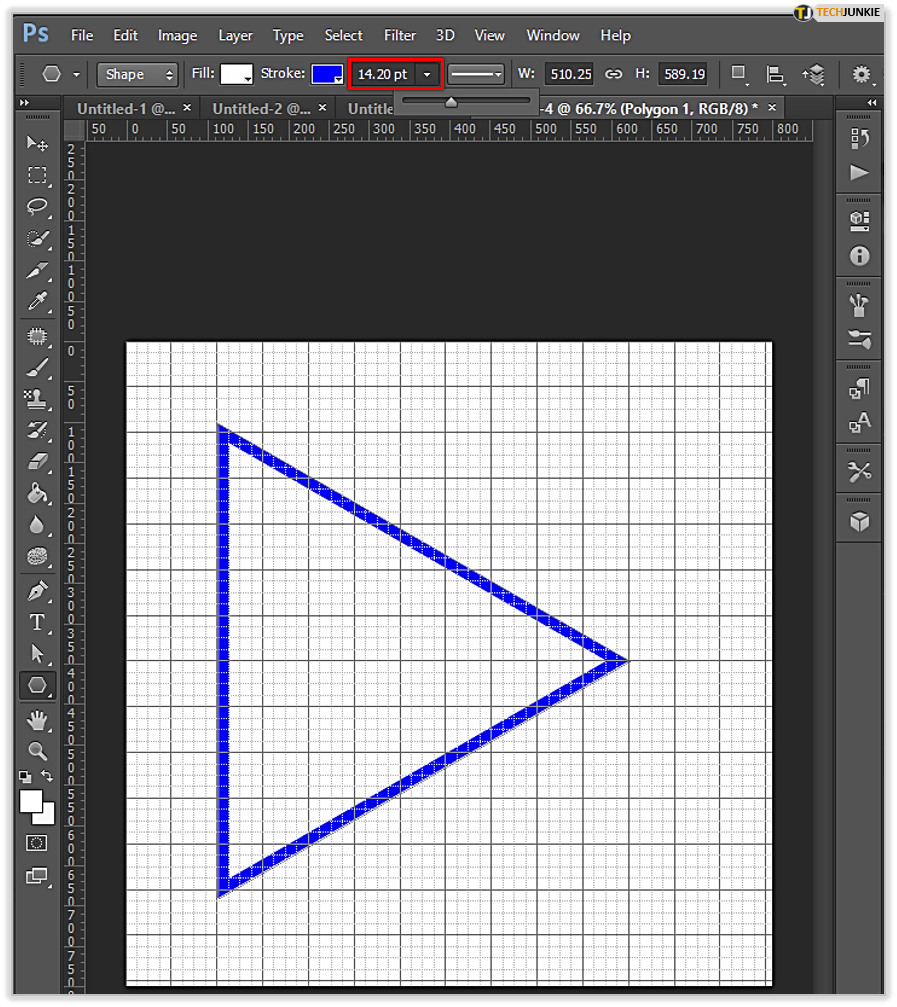
This should create a triangle shape with a clear or transparent center and an outline of the color and thickness you require. If you set the stroke color and the fill color, you can have a triangle that’s any color you please, with a colored outline.
With a bit of practice, the same basic principles can be applied to any number of other shapes, too. Give it enough practice, and you’ll be a pro at it.
For now, though, those are all the ways I know of to create a triangle in Photoshop. I’m sure there are others within the program and even more with the numerous add-ons available.
If you enjoyed this TechJunkie how-to article, you might want to check out How To Make a Photo Collage in Adobe Photoshop as well as this article about how To view and edit Photoshop PSD files online.
Do you know of any other ways to create shapes using Photoshop?! Tell us about it below if you do.