


How To Use HandBrake Guide
Do you have a video that isn’t playing in your selected device? If that’s the case, HandBrake is the software for you! HandBrake converts videos to container formats optimized for a variety of tablets, phones, game consoles and digital media players. With the software you can convert lots of video files and DVD or Blu-ray discs into formats that will certainly play on your hardware devices.
First, it’s worth noting what HandBrake is and isn’t. HandBrake is not software that converts videos to a lot of alternative output formats. In fact, you can only convert videos to MP4 and MKV container formats with the software, which will play on most hardware devices. So if you need to convert videos to any other formats, Handbrake isn’t going to be much good. For further details on how to convert more general media files to other formats, check out this Tech Junkie guide.
HandBrake is freeware software that enables users to convert videos with configured device presets. Each preset is configured for specific hardware devices or software you might need to play videos on. As such, you can select presets such as Android, iPhone & iPod, iPad, Apple TV, Windows Phone 8, Roku 4 and Amazon Fire TV to quickly convert video to formats configured to play on those devices. Click Download (64 bit) on this website page to save the software’s installer and add HandBrake to Windows 7 or 10. There are also Handbrake installers for Mac OS X and Ubuntu.
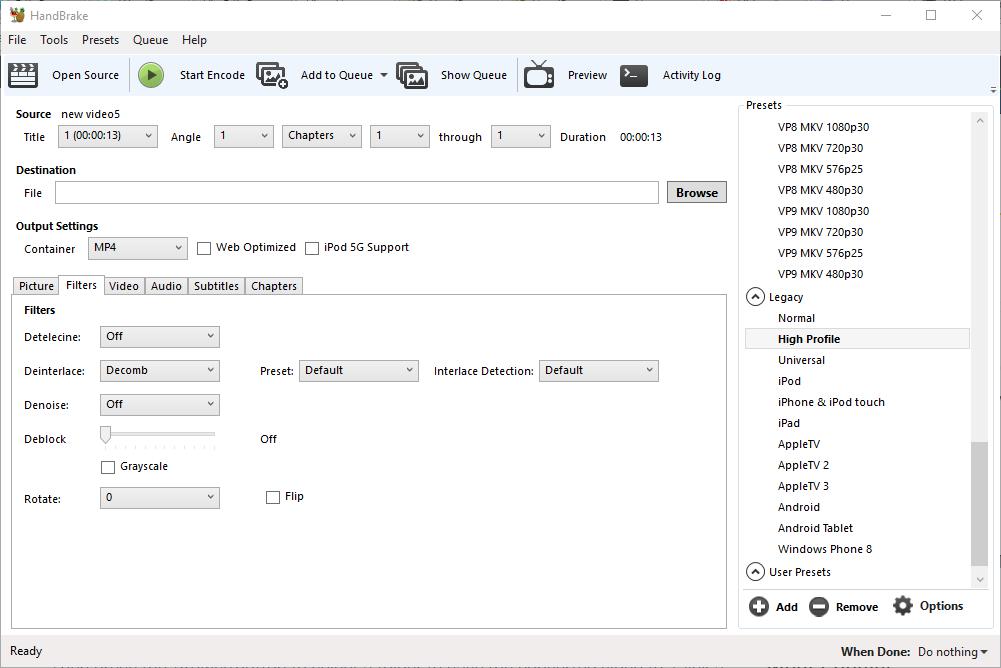
When you’ve installed HandBrake, open its window in the shot directly below. The top bar includes the software’s most essential options with which you can open source files, queue files for batch conversion and encode the videos. Below that there are source details for your selected video, a File path text box where you can choose a folder to save the converted clip to and output settings organized across six tabs. There’s a Presets list on the right of the window from which you can select general, web, device specific, MKV and legacy preset categories.

Convert Videos to a Configured Preset
Now you can convert videos to a preset by pressing the Open Source button. That opens a Source Selection sidebar from which you should click File to select a single video to convert. Select a video and press Open to open it in HandBrake.
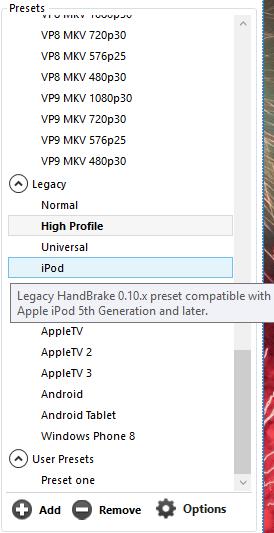
Next, select a preset to convert the video to from the Presets list on the right of the window. To convert the video to a compatible device format, click Devices and Legacy to expand those categories. Then you can select to convert the clip to Android Tablet, Windows Phone 8, iPad, iPod, AppleTV, Roku and other device formats. Hover the mouse over each preset to open a tooltip that provides further preset details as shown in the snapshot below.
Then press the Browse button to select a folder to save the converted video to. Click a folder in the Save As window, enter a video title in the File name box and press the Save button. The File text box will then include the output path.
Press the Start Encode button at the top of the window. The encoding time varies considerably depending on the length of the video. Long clips might take more than an hour. When the encoding is done, you can open the new video format in the output folder selected for it. Now you can save that clip to a USB stick and transfer it to the device you need to play in on. Alternatively, you could also save the video to cloud storage instead.
Rip Video From DVD and Blu-ray
If you have a DVD or Blu-ray with a video on it you want to save to a hard drive, you can do that if it doesn’t have any copy protection. That would probably rule out most movie DVDs or Blu-ray discs. However, if the DVD includes your own recorded videos, you can rip them from the disc and convert them into formats suitable for playback in tablets, mobiles, etc.
First, insert a DVD or Blu-ray to rip a video from into your disc drive. Close any media player than might automatically open. Then press the Open Source button and select the DVD drive to scan it.
Thereafter, you can convert the video to alternative formats much the same as clips saved on your hard drive. Select an output path for it, choose a preset and press the Start Encode button. Then you can open the new video format in the output folder selected to play it in a media player.
Batch Convert Videos
If you need to convert multiple videos to new file formats, you can set up a batch conversion for them. The batch conversion converts all videos included in a queue. As such, you need to add the clips to a queue to batch convert them.
First, press the Open Source button and select a video to convert. Next, choose a present for it and an output folder path. Then you should press the Add to Queue button to add the video to a queue. Press Show Queue to open the window in the snapshot below.
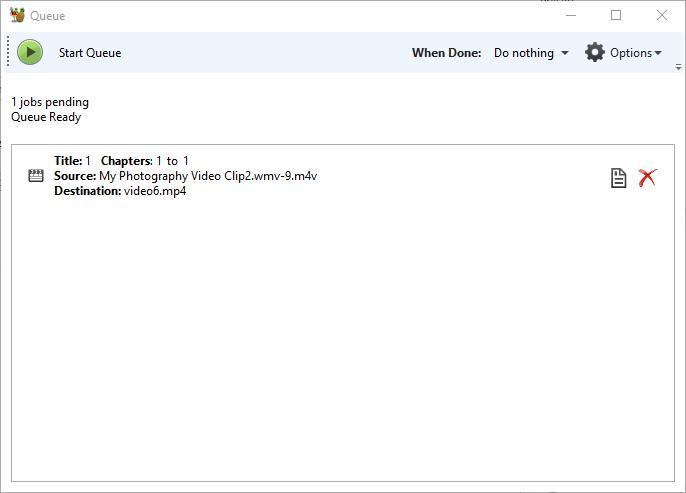
The window above shows you all the videos you’ve added to the queue. So you can add multiple files to that queue to batch convert them. Once you’ve added all the videos, press the Start Queue button. Handbrake will convert all the videos queued to the preset formats selected for them.
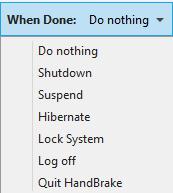
The Queue window includes a When Done drop-down menu. Click that menu to open its options shown in the shot directly below. There you can select HandBrake to close or for Windows to shut down or log off when the software has finished converting the videos.
Adjust the Presets’ Output Settings
HandBrake users can adjust any of the presets’ default configurations with the output settings. Firstly, you can adjust the compression speed by clicking the Video tab in the snapshot directly below. That includes an Optimize Video bar slider that you can drag further left to speed up the video conversion speed. Alternatively, drag the slider right to slow down video compression, which will also reduce the output file size.
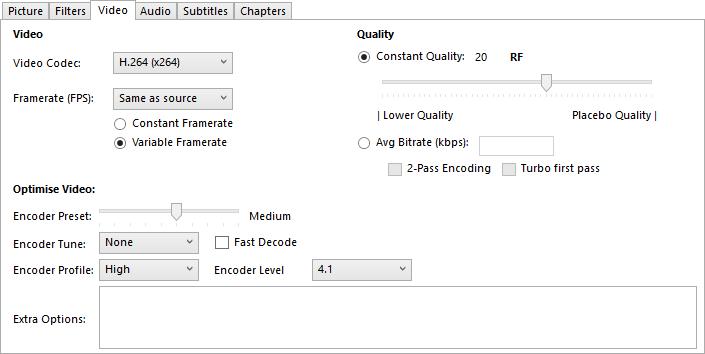
The Video tab also includes a Quality bar. With that bar’s slider you can either enhance the converted video’s quality or compress its file size more. To enhance the picture quality, drag the bar’s slider further right. Drag the bar further left to reduce the converted video’s file size.
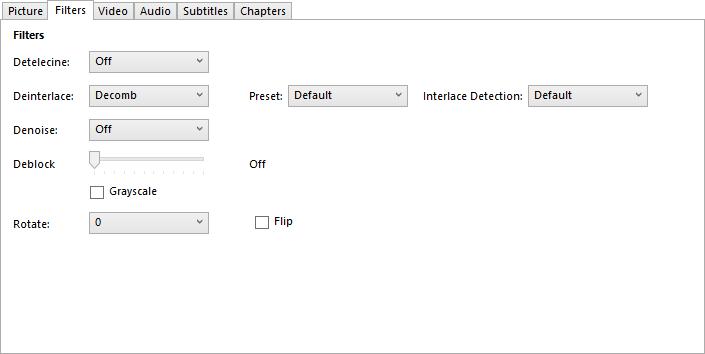
You can further configure picture quality by clicking the Filter tab. That tab includes various video filter options. For example, you can remove grain by clicking NLMeans from the Denoise drop-down menu. Drag the Deblock bar further to the right to remove blocky artifacts and smooth out sharp edges. You can also convert videos to black and white by selecting the Grayscale check box.
You can adjust the videos’ dimensions by clicking the Picture tab in the snapshot directly below. That includes Width and Height boxes that show you the overall video display size. By default, this is usually configured to an Automatic setting for maximum source size output.
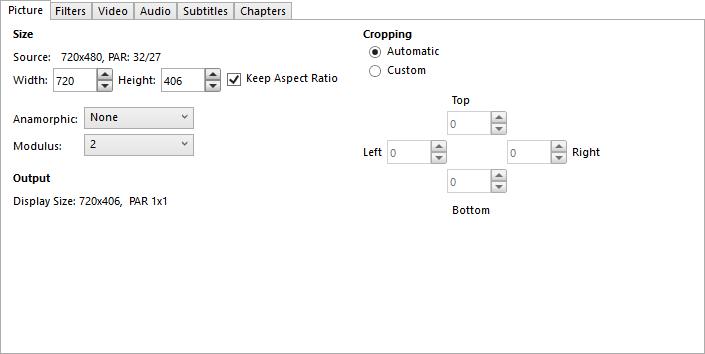
To adjust both the width and height of the display output, click the Anamorphic drop-down menu and select None. Then you can adjust the display size by clicking the down and up arrow buttons beside the Width and Height boxes. Alternatively, you can also enter new values in the boxes. Reducing the display output dimensions will cut down the video’s file size.
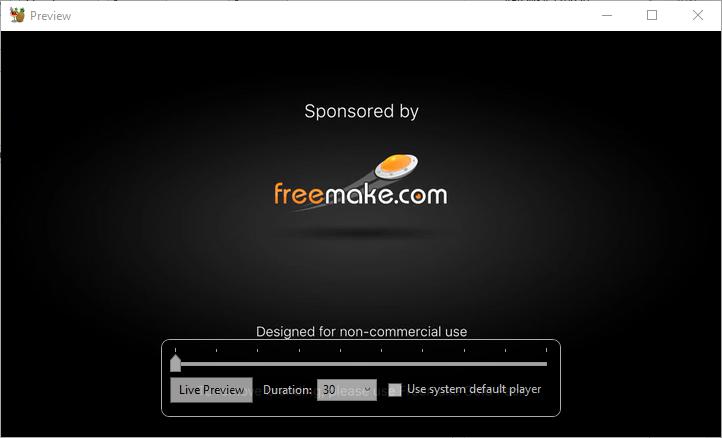
Handbrake also has a Preview option you can select to check videos before converting them. Press the Preview button at the top of window to open the window shown below. Then click the Use system default player check box and press Live Preview to open a preview of the clip in your default media player. If you don’t select the Use system default player option, the preview will open in VLC if you’ve installed that software.
Now you can quickly convert your videos to loads of MP4 and MKV container format presets configured for specific devices and scenarios. This will certainly come in handy when a video isn’t playing in your tablet, mobile, browser or other digital media players. HandBrake is also handy software for ripping DVD videos to hard drives.


One thought on “How To Use HandBrake Guide”