


How to Pair a DISH Remote to Your TV
Using the DISH universal remote controller has many benefits for your entire multimedia corner. It is a very simple-to-use and a versatile tool that helps you control a multitude of devices from a single spot. However, it all starts with pairing your DISH remote to the TV, so here’s how to do it.
Advantages of DISH
Before digging deeper into pairing DISH with your TV, let’s discuss the advantages of using this technology. First of all, the DISH network is very agreeable in terms of price. Although they require you to sign a 2-year contract if you want to be with them, they clearly state that there will be no price increases during the second year of service subscription. Although this may sound pretty regular, this is not the case with most other competitors.
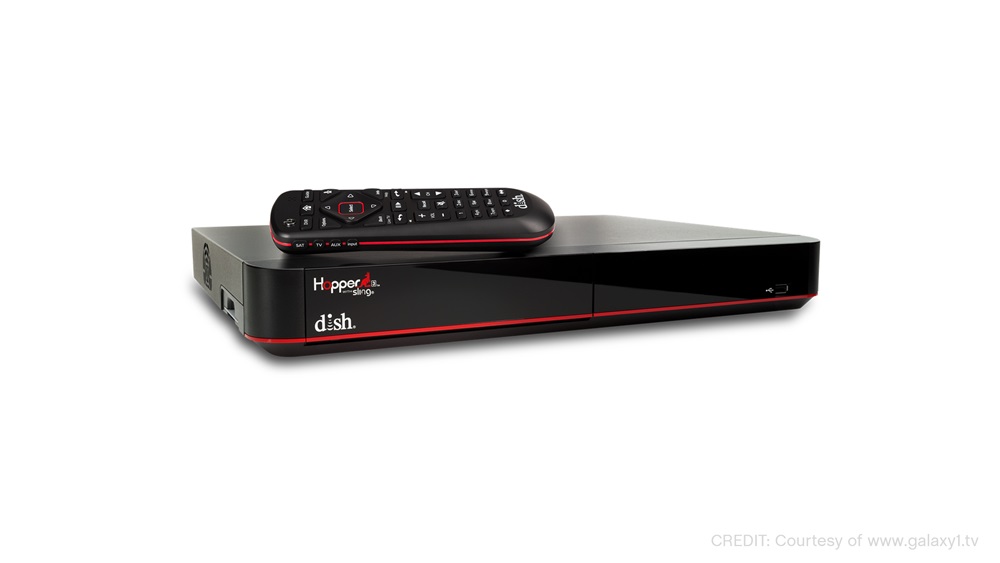
Another huge benefit of using DISH is the Hopper 3 DVR receiver. This receiver has a 2TB hard drive, which is pretty big when compared to its main rivals. There isn’t a whole lot of trouble with the wires, either. With DISH, you only need a single physical wire that runs to the Hopper 3 unit. This means less potential wiring issues and much better aesthetics, without a bunch of cables hidden behind the TV or cabinet.
DISH also offers Netflix and YouTube support, which, and let’s be honest here, are the two services that people use the most. Although most smart TVs feature downloadable YT and Netflix apps, DISH comes with the apps already built in. This may not seem like much, but built-in apps always work more smoothly than the downloaded ones.
There are many other benefits that come with using DISH, but these are the main ones, so let’s move on to pairing the DISH remote to your TV set.
Pairing the DISH Remote with Your TV
The whole process is relatively simple but it isn’t completely straightforward, so don’t worry if you couldn’t pair the DISH remote with your TV by yourself. You’re not technologically impaired, it does take some time. Here’s how to do it.
Newer DISH Remotes
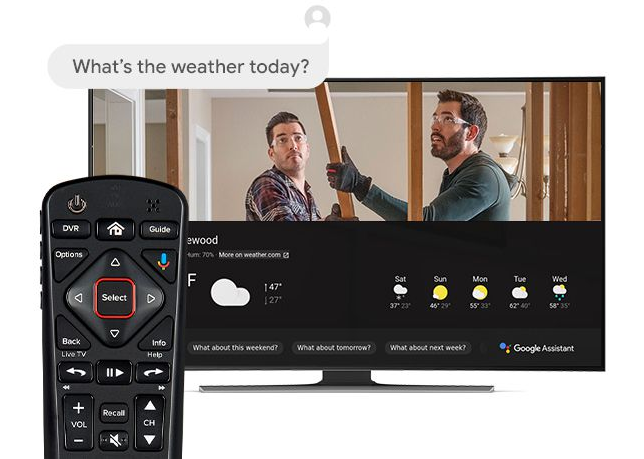
To start off, press the HOME button on your remote twice. If your DISH remote doesn’t have one, press the MENU button once, instead. On the screen that pops up, select Settings and navigate to Remote Control. From the next menu, select the device you want to pair. Now, select the Pairing Wizard option. The wizard will guide you through the entire process and make sure that you set things up properly.
Now, scroll through the on-screen menu until you’ve found the brand of the TV (or any other device) that you want to pair your DISH with. Choosing the right brand is very important here because you’ll have to test pairing codes during the process. These codes are different for each brand, so they won’t work unless you’ve selected the right one.
Now, the Pairing Wizard is going to have you test the device through a series of codes. Follow the instructions carefully for every single code. Most likely, you’ll have to press the Power or Volume buttons on the DISH remote to check if everything is working properly. If the given code works, hit the Finish button on the screen. If the code doesn’t work, select Try Next Code and repeat the process. If the codes aren’t working, you’ve probably selected the wrong TV model, so go back and select another one.
Even if the pairing process went OK, there is an off-chance that certain commands still won’t work. This is usually the case with devices with a lot of unique and specialized features. Test every command thoroughly so that you know which ones you can use and which ones you can’t.
Older DISH Remotes
If your DISH remote is older than the 20/21 series, you’ll have to perform a procedure called power scan. The way the power scan works is that it fires off device codes until it finds a match that works.
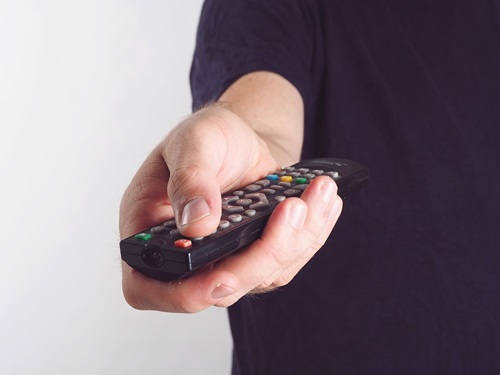
Point your DISH remote at the device that you want to pair it with. Depending on the device that you want to program, press and hold the TV, DVD, or AUX button. Be patient, because you may have to hold it for 10 or more seconds. Once all four Mode buttons light up, release the TV/DVD/AUX button. The Mode button will start blinking. Now, press the Power Button and release it. The Mode button should stop blinking. If the light is solid, this means that your DISH is ready for programming.
Hit the Up button. This will send the TV or DV the remote’s first code. Keep pressing it until the device turns off. Don’t worry if the device turns off, it means you have found the right code. Press the hashtag (#) button to store the code. During this process, the Mode button should blink a few times. Now, test the remote to check whether things are working properly.
Your DISH Remote Is Set up!
That’s it, you’ve successfully set up your DISH remote. Make sure that you test it properly, though, as you don’t want to learn that something’s not working during a game or your favorite movie.
Have you set up your DISH remote? Is everything working properly? Hit the comment section if you are experiencing problems, or if you want to contribute by sharing your thoughts and tips.


5 thoughts on “How to Pair a DISH Remote to Your TV”
20.1R not working
manual. Our new T.V. was not pairing because we had speakers plugged into the Optical
Audio connection– Dish could not read the code. So we plugged in computer speakers that have a headphone plug and it works beautifully! Speakers not expensive and no messing with codes and sound bars which may have problems of their own.