


How To Password Protect a USB Drive in Windows
USB drives are cheap, portable, and convenient tools to secure, store, share, or back up digital files. They are great particularly for people who work on multiple computers in the course of a day; one drive has all their working files and programs and they can take and use it anywhere they want.
However, the advantages of portability raise a legitimate security concern – someone can pluck that USB drive out of a machine and walk away with your important documents in their pocket. Thus, one might ask, “How can you secure a USB drive with password protection?”
Fortunately, Windows 10 has made this very easy. In this article, we will show you how to password protect a USB drive using Windows, as well as some other methods for protecting USB drives.
How Do I Password Protect a USB Drive in Windows 10?
There are basically three ways to protect data on a USB drive; all three methods rely on various encryption protocols to secure data. You can either encrypt the entire drive, buy a secure flash drive, or encrypt individual files.
Let’s take a look at the steps you can take to do this.
Protect the drive using BitLocker
The most straightforward way to protect a USB drive is to password protect the entire device. That way, everything on the drive is secured, and even if you add new content to the drive at a later date, it will also be protected.
There are third-party encryption tools on the market that serve special needs, but for 99% of Windows 10 users, the built-in encryption tool is perfectly adequate. The Windows 10 tool is called BitLocker, and it works on all sorts of drives, not just removable USB drives. It is free and easy to use.
Protecting a drive takes only a few seconds with BitLocker.
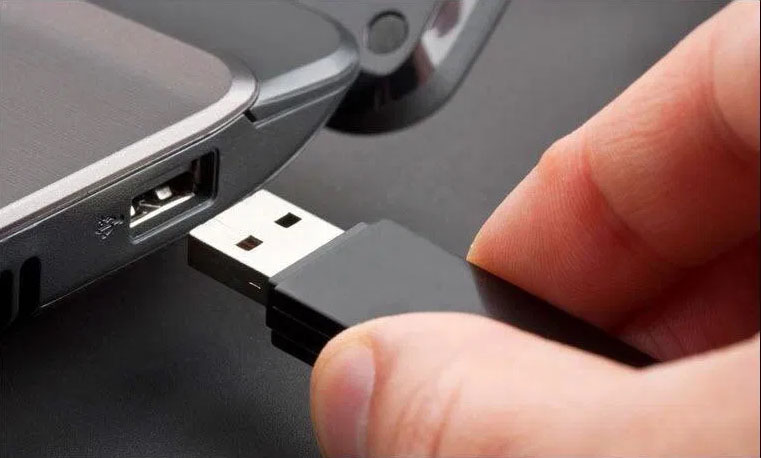
- Insert the USB drive into your computer.

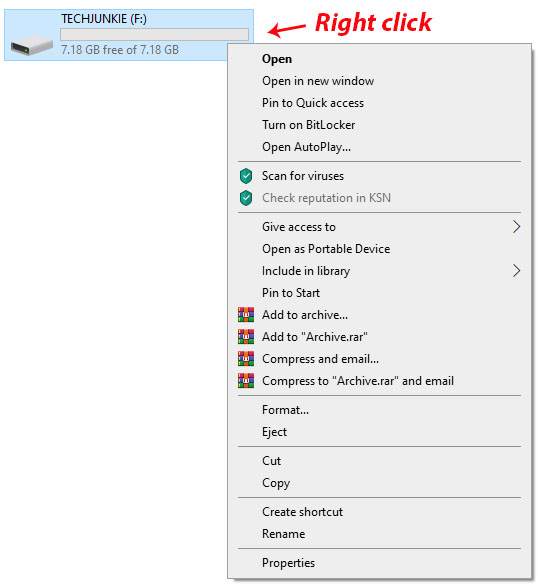
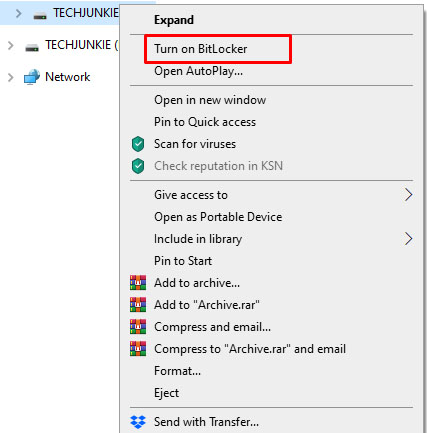
- Navigate to This PC in Windows Explorer and right-click the USB drive.

- Select Turn BitLocker On.

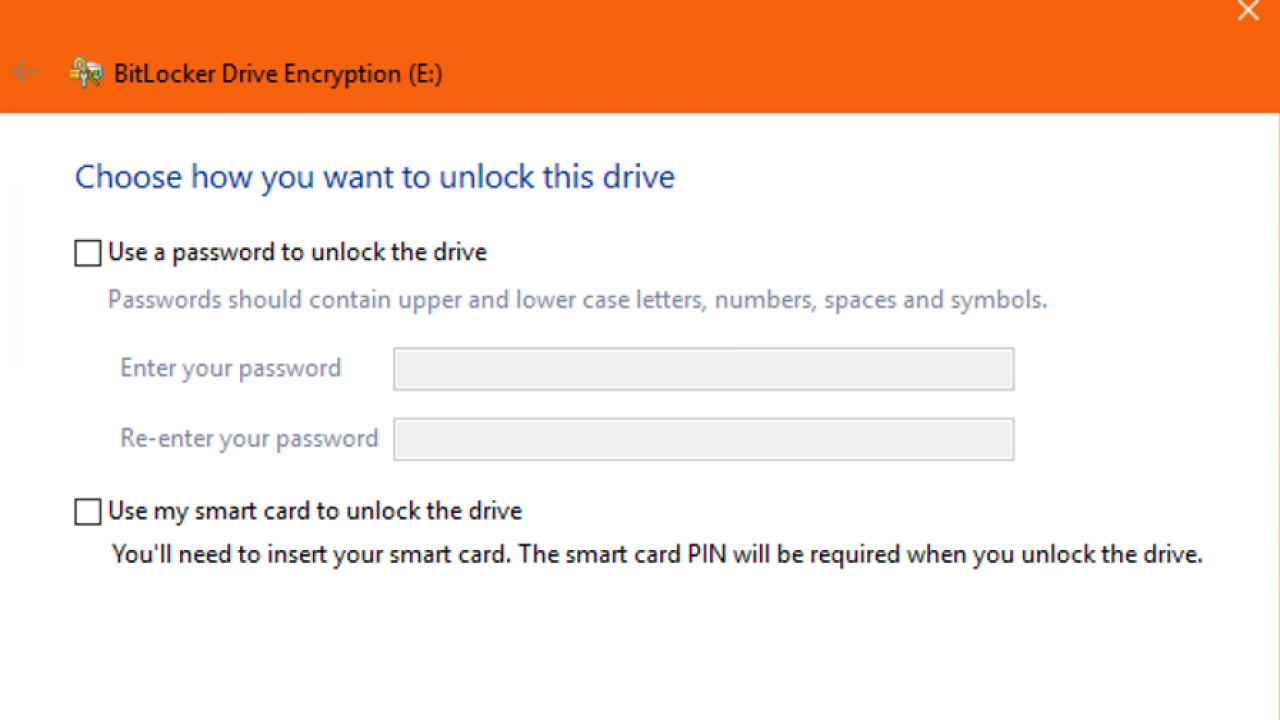
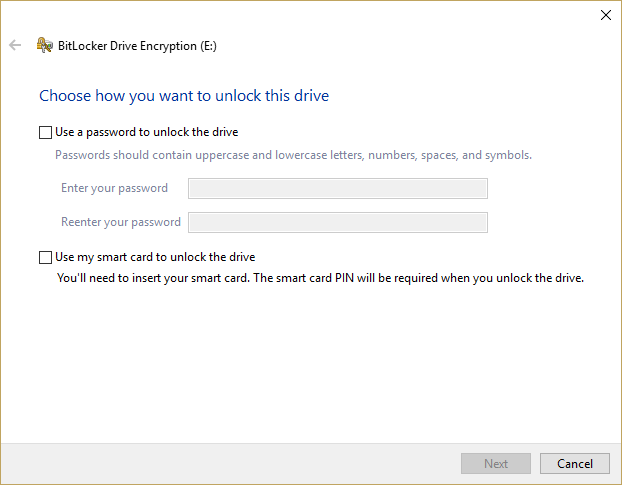
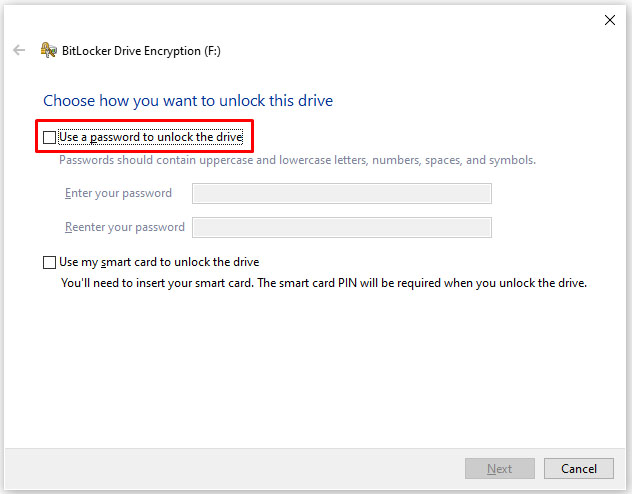
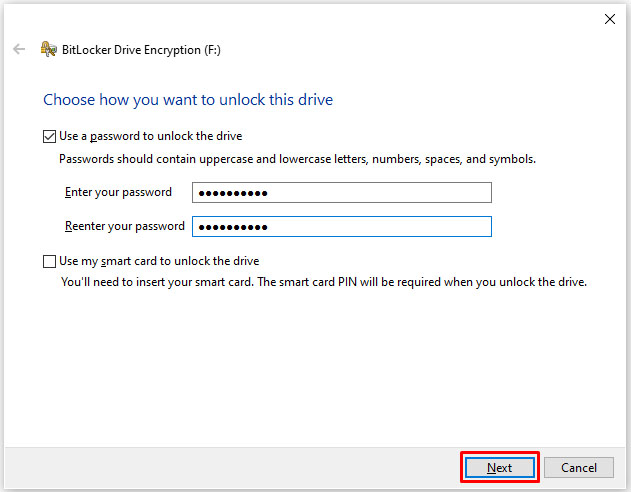
- Select ‘Use a password to unlock the drive’ and enter a password twice.

- Select Next.

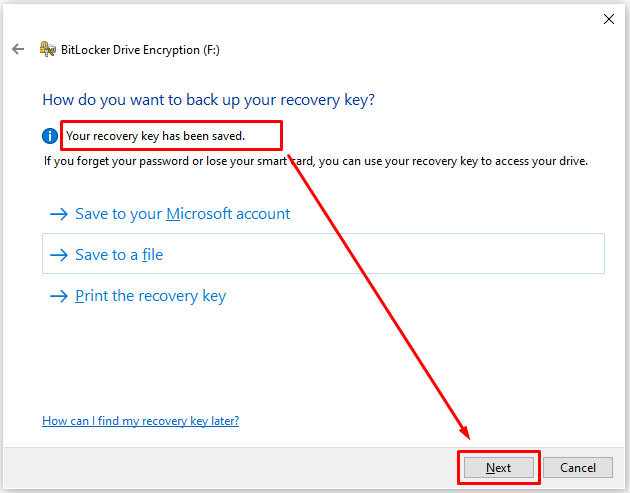
- Select where or how you want to receive your recovery key in the next window and select Next.

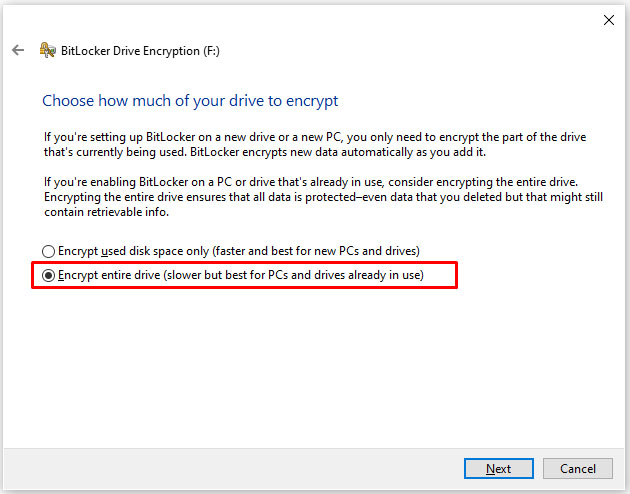
- Select ‘Encrypt entire drive’ and then Next.

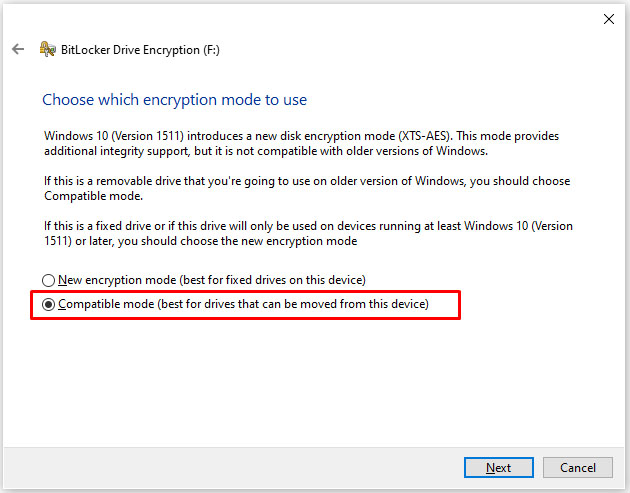
- Select ‘Compatible mode’ in the choose which encryption mode screen and then hit Next.
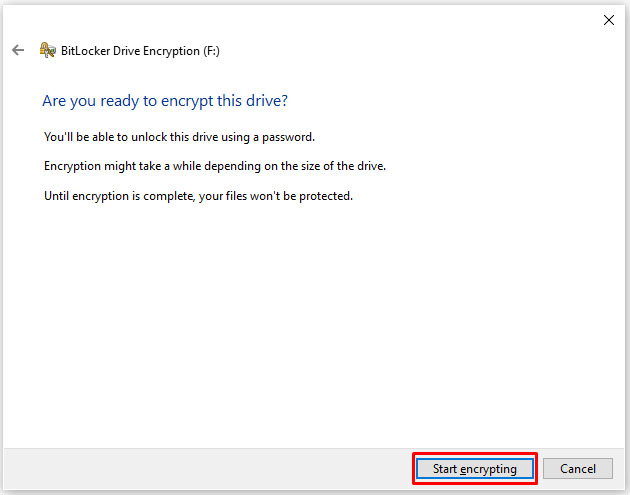
- Select Start encrypting.

The Explorer icon for the USB drive will now change to include a padlock. When you want to access the drive, double-click it and you will be prompted for a password.
Protect the drive using VeraCrypt
If you want to protect your drive but don’t quite trust Microsoft’s built-in tool, you can use VeraCrypt, a similar software package from the software company Idrix. It is open-source and freely available. VeraCrypt actually has more features than BitLocker but is still fairly easy to use to protect a USB drive.
Some of the main features of Veracrypt include entire encryption of storage devices (such as USB), automatic and real-time encryption, hardware-accelerated encryption, and plausible deniability).
Protecting a drive is quite a tedious process using VeraCrypt but it isn’t very complex.
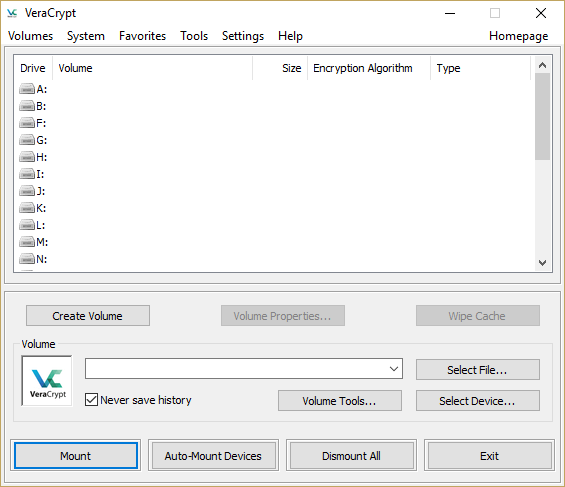
- Launch the VeraCrypt app by typing “veracrypt” in the search box, selecting the app, and hitting return.

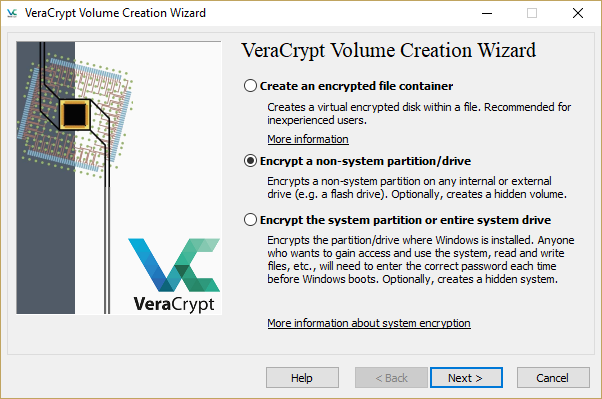
- Click on Create Volume, select “Encrypt a non-system partition/drive,” and click Next.

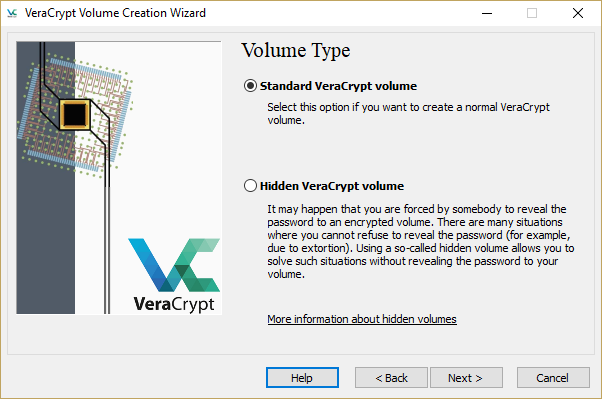
- Select “Standard VeraCrypt volume” and click Next.
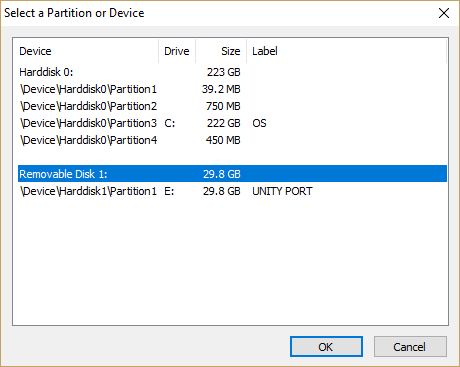
- Click Select Device and select your USB drive from the list of devices that appears, then click OK, then click Next.

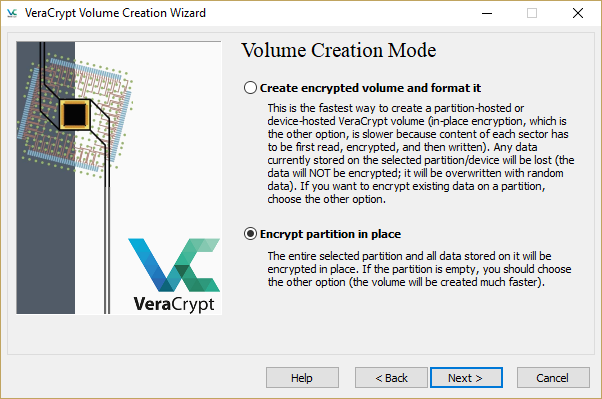
- Select “Encrypt partition in place.” If you select the other option and there is data on your drive, the data will be overridden and lost. Click Next. If you are protecting an empty drive, select “Create encrypted volume and format it” and click Next.
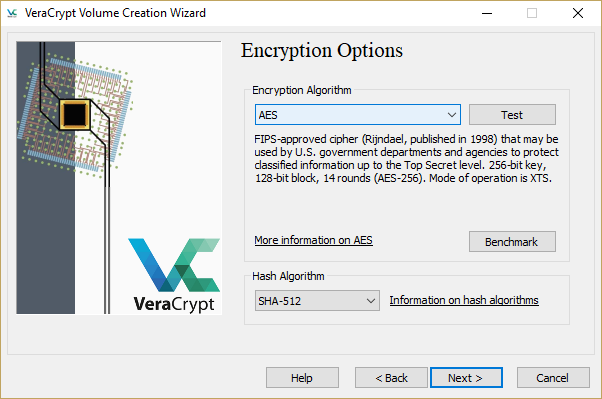
- Select the encryption method and hash algorithm you wish to use. You can pretty much choose any of these and it will be fine unless the NSA is coming after your data. Click Next.
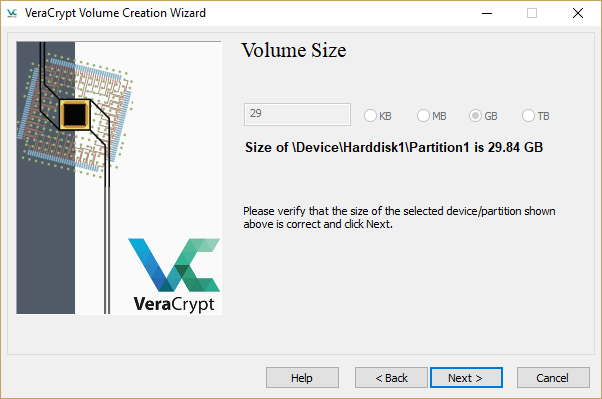
- Confirm the volume size and click Next.
- Enter and confirm your password, then click Next.
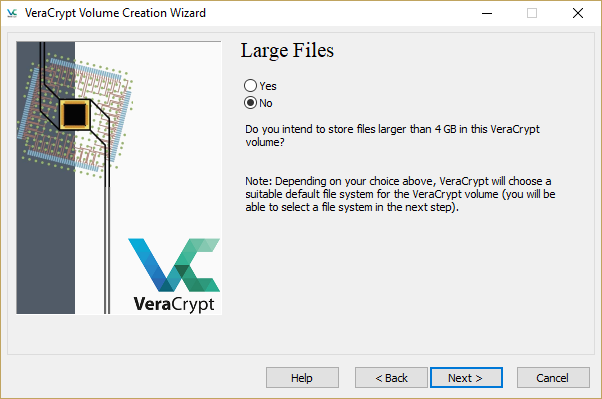
- Decide whether you will have large files on this partition or not. Click Next.
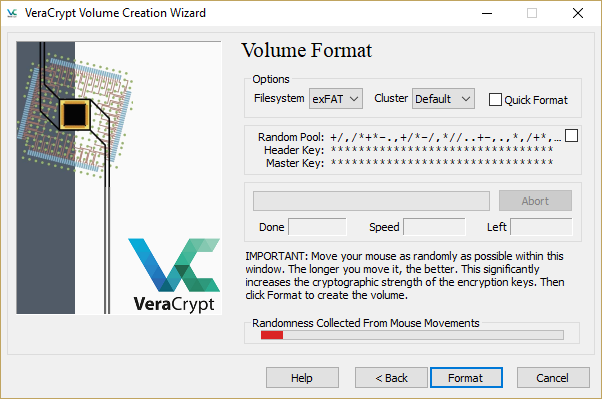
- Move the mouse randomly around in the window while VeraCrypt randomizes the cryptography. Your mouse movements apparently add randomness to the keys the program selects. Move them around until the bar is green, then click Format.
- Confirm the format command and wait. This process will take a few minutes to an hour or more.
- Mount the formatted drive in VeraCrypt (entering the correct password) and your drive will now be encrypted and functional.
Buy a secure USB drive
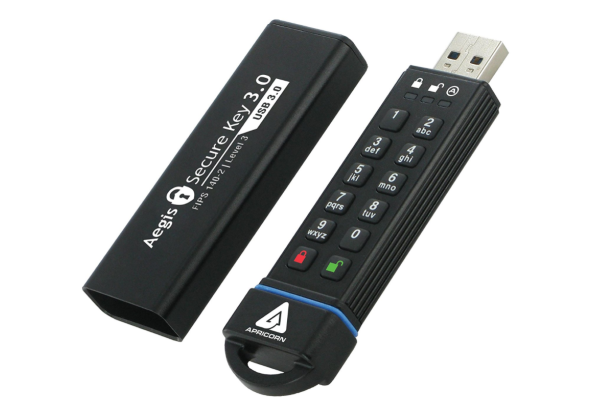
If you don’t use Windows 10, or would rather buy a USB drive with hardware-based security, there are options available in the market.
Some of these USB drives will have physical keys on the casing for protection while others will require a software key to unlock; some require both. The advantage of a secure USB drive is that they can include military-grade encryption; however, they much more expensive. Where you would typically pay $10 for a normal 32GB USB drive, you can pay in excess of $130 for the same capacity secure drive.
Unless you need military-grade encryption or a specific hardware solution, I would stay away from these secure USB drives. It’s hard to justify the cost when you could buy a standard drive for a few dollars and then use VeraCrypt or BitLocker to provide data security.
We would suggest using VeraCrypt if you don’t have the Pro or Enterprise version of Windows for encrypting the entire USB drive.
Password protect files on a USB drive
If the drive itself doesn’t need to be secured but a specific file or directory does, then you can use Windows’ built-in password protection to secure the files or use a file compression tool to password-protect it. For example, you can password protect most Microsoft Office documents individually.
To do this, follow these easy steps.
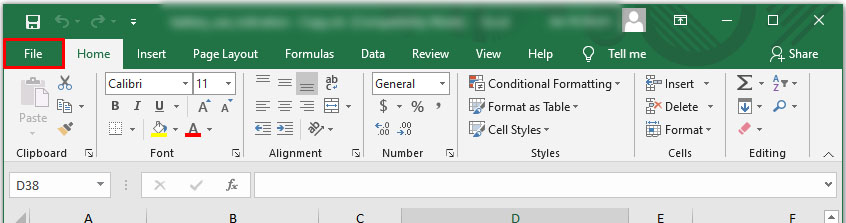
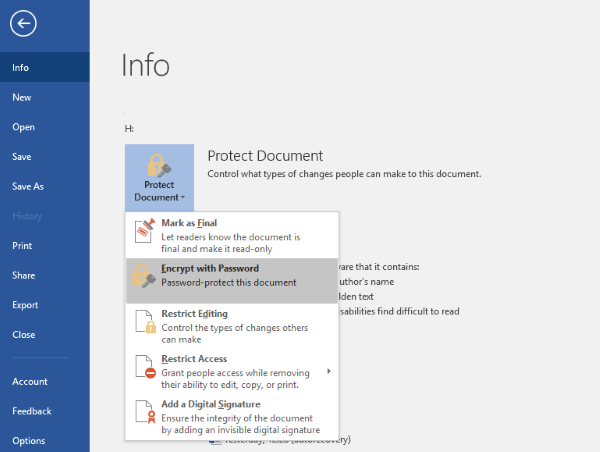
- Open the document and select File.

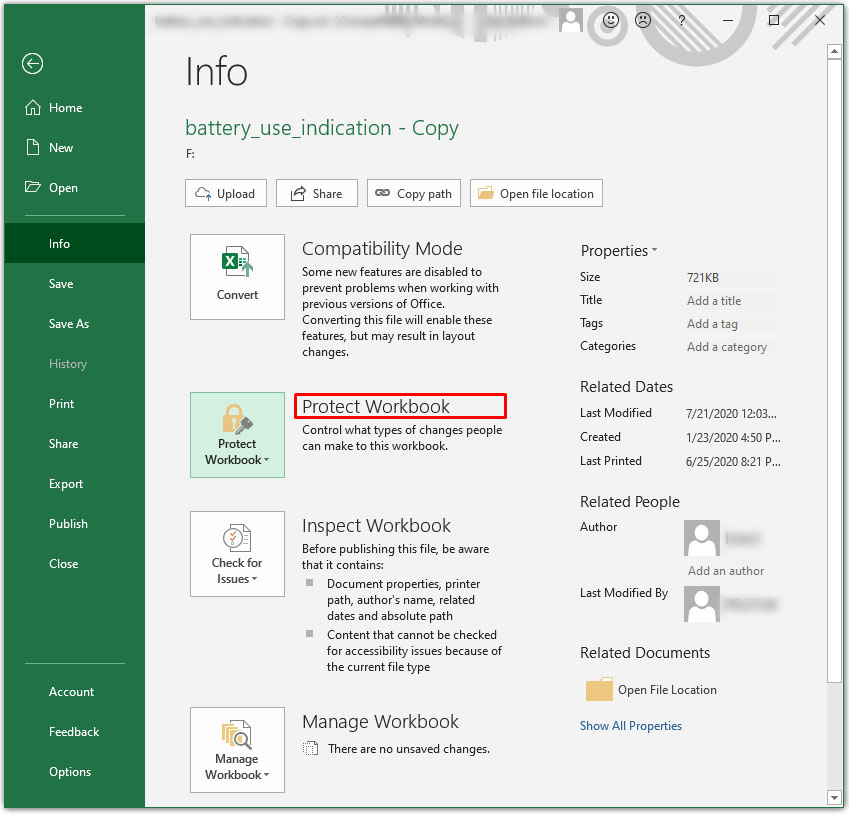
- Click Info and Protect Document from the menu options.

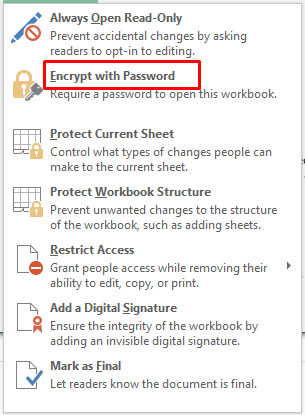
- Select the option to Encrypt with Password.

- Add the password and then save it. From that point onward, every time you try to open the document you will be prompted for that password.
If you don’t have the option to use built-in encryption, you can use WinZip or WinRAR to compress the file and password protect it. Right-click the file and select Add to Archive or Send To Compressed folder. Select the option to Set password or password protect, enter and confirm the password, and compress the file. Every time you want to access the file, you will be prompted to enter the password before it is decompressed.
Final Thoughts
These are three simple but very effective ways to password protect a USB drive in Windows. Your choice depends on which one suits your needs and privacy requirements. Whichever method you choose, you can be sure that your most important documents and files will be protected.
Got any other suggestions? Tell us about them below if you do!


7 thoughts on “How To Password Protect a USB Drive in Windows”