How to Use Screencastify with Google Slides

Screen recording software comes in all shapes and sizes. But when you need something ultra-simple and efficient, Screencastify is there to deliver. It’s an easy to install extension for Chrome that allows you to add some flair to your online presentations.
Screencastify is an excellent tool for people who use Google Slides for business or online education. You can forget about long emails and conference calls. If you have to give a presentation, just record it with Screencastify.
This article will show you how to record, save, and share a Google Slides presentation with Screencastify.
Recording Your Presentation
Google Slides has a straightforward UI and is super simple to use. That means that it is a perfect match for Screencastify.
After you have installed the Screencastify Chrome extension, and have your Google Slides presentation ready, the recording session can begin. Here’s what you need to do:
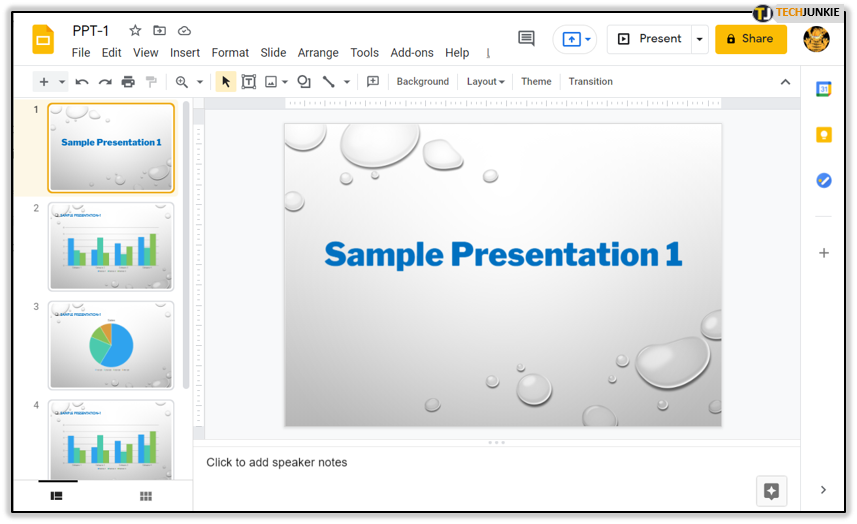
- Open your Google Slide deck.

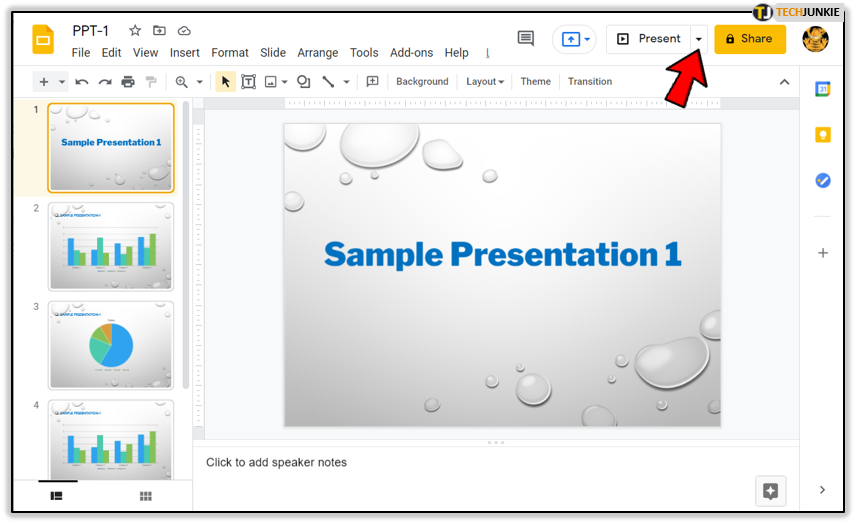
- Select the arrow next to the “Present” button.

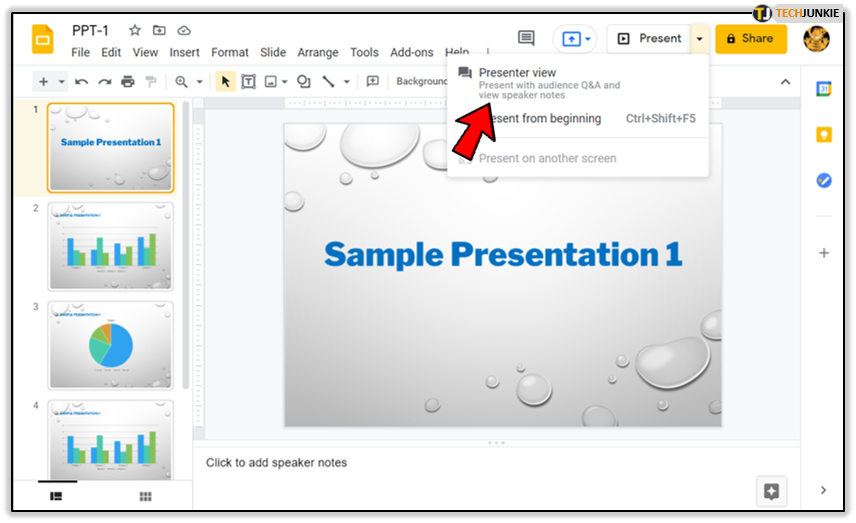
- Select the “Presenter view” option.

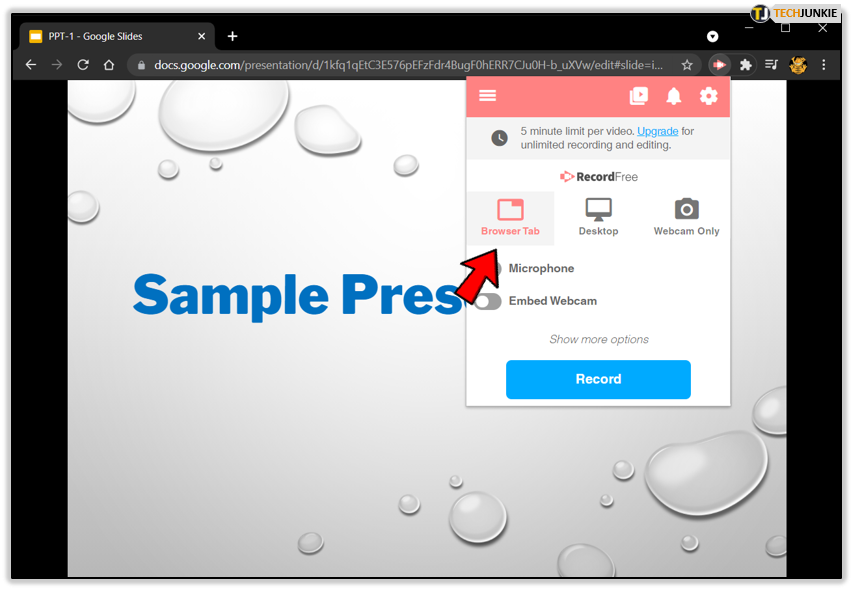
- Click the Screencastify icon in your Chrome browser and select “Browser Tab.”

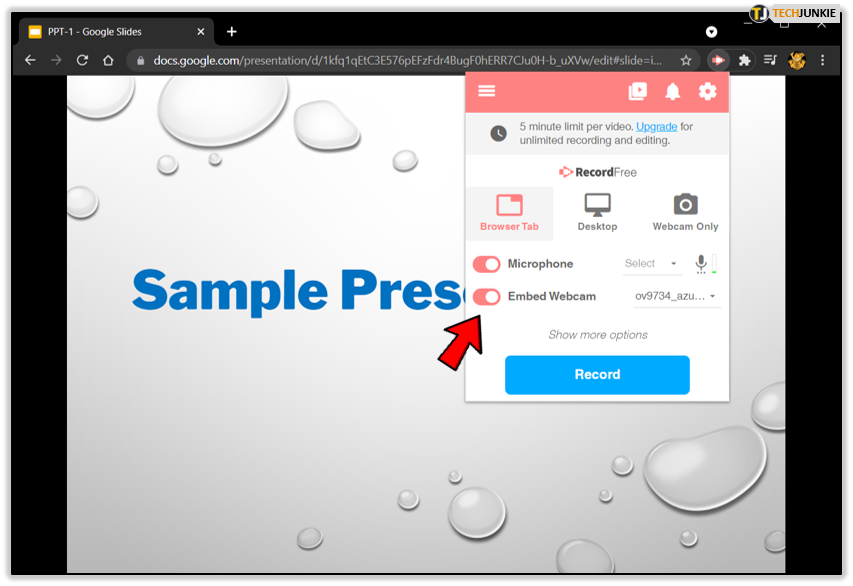
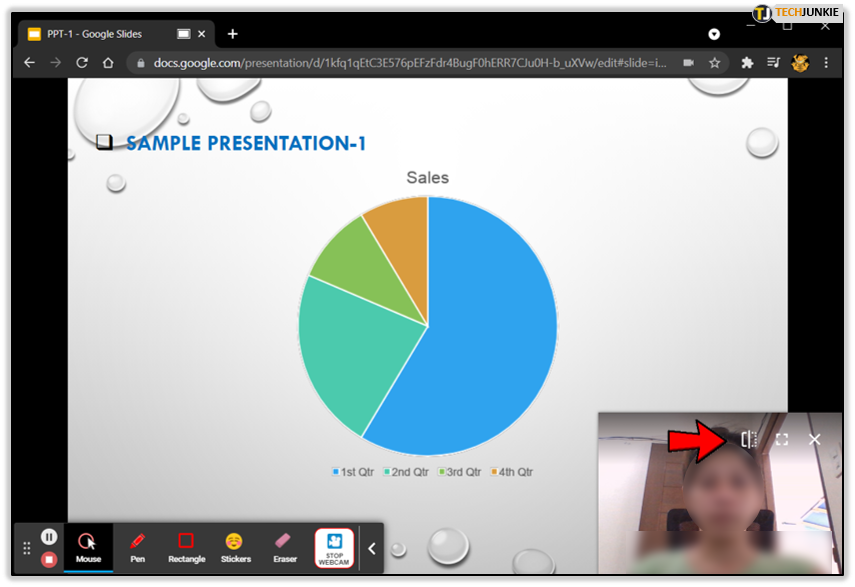
- If you want audio, activate “Microphone.” And for video, turn on the “Embed webcam” option.

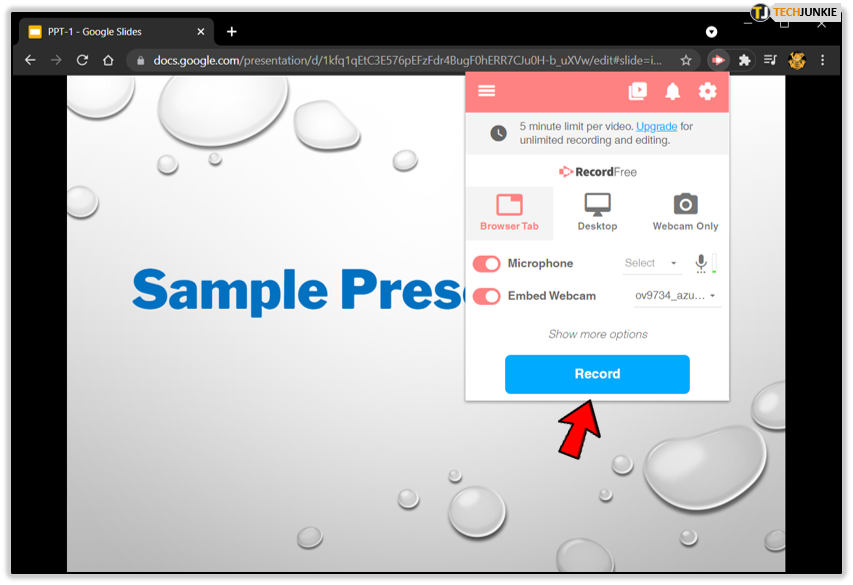
- Hit the “Record” button to start recording.

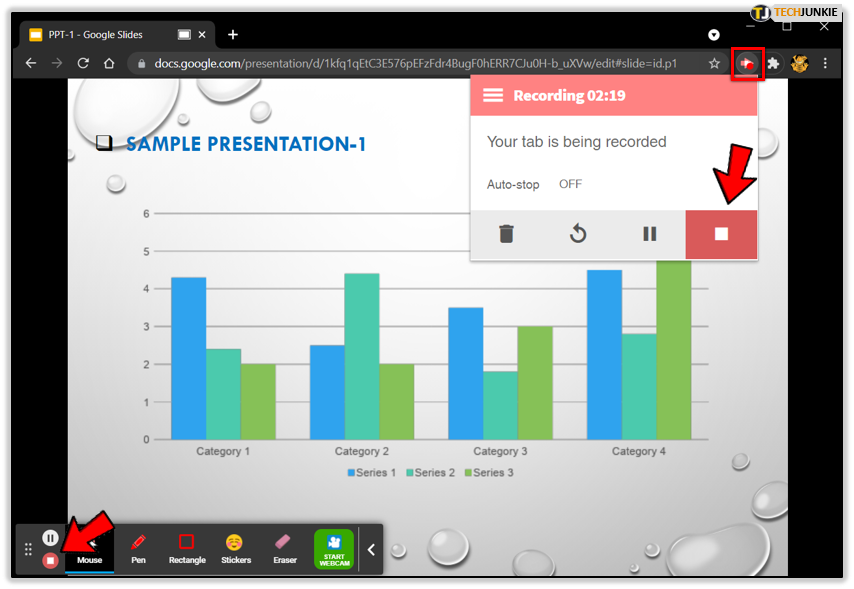
- Finally, click the “Stop” button at the bottom left of the screen or click on the Screencastify icon again and press “Stop.”

You will see and hear a short countdown from three. After that, Screencastify will start recording your Google Slides presentation.
Webcam Feature
While recording your Google Slides presentation, you might notice that the camera window is either too small or too big. Or that it’s just the wrong shape.
You can expand or shrink your webcam window with your cursor. It can be square-shaped or rectangular. Or you can go full screen. However, the latter might not work best for Google Slides presentation.
The webcam window will, by default, appear in the bottom right corner of the tab. But you can move it around the screen freely and find the best spot that offers the least distractions.

Additional Features
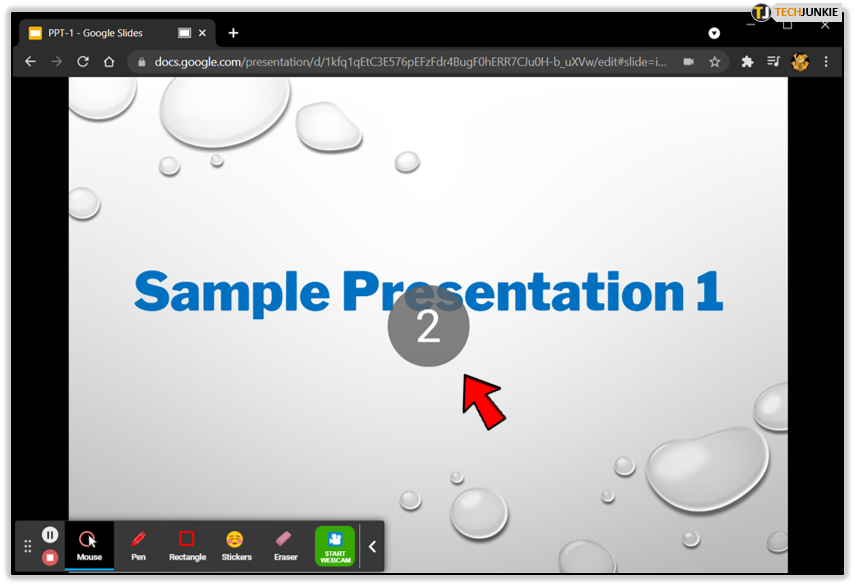
When you choose “Tab recording” in Screencastify, as you should when recording Google Slides, you also get a few additional features. For example, in the bottom left corner, you can select a highlighted cursor that will let you point out relevant parts of your presentation.

It looks like a little white spotlight, and it can be helpful when you’re trying to key in on something. If you want to turn it off, click it once again.
The tab recording feature also lets you pause and resume at any time. So, if somewhere in your Google Slide presentation, you need to do or say something you don’t want to appear on the recording, this feature makes it easy.
In case your presentation requires an annotation, Screencastify has that option too. In the toolbar in the bottom left corner, select an icon that looks like a brush.
There are several colors to choose from and then just proceed to annotate on your Google Slide. If you make a mistake, you can use the eraser feature.
There is also a button to turn off the webcam if there is no more need for your viewers to see you. And right next to it, there is an icon that looks like a clock. It tells you how long you have been recording the presentation.
Saving and Sharing Google Slides with Screencastify
After the completion of your Google Slides show, all you have to do is press the “Stop” button. Unless you’ve altered the default settings, your recording will go directly to your Google Drive.
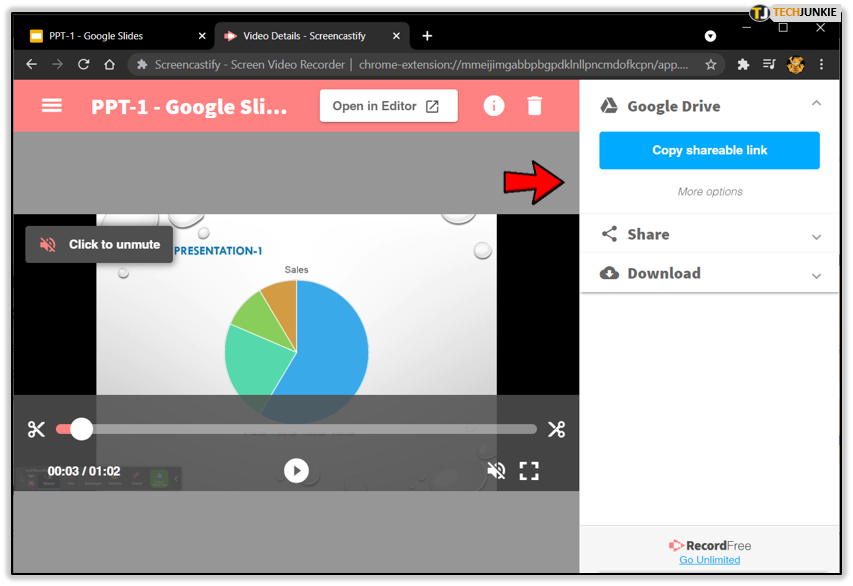
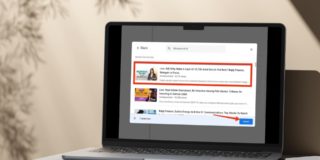
But you also get a few other options available right away. You can copy the link and send it via a third-app. Or you can click on the “Share” icon directly from the tab and share the recording to your YouTube channel or Google Drive.
If you want to share it on YouTube, you have to provide the channel’s email address. The advantage of the Google Drive option is that you get the sharable link here as well. Also, you can set privacy settings in both cases.
If you’re using Google Slides and Google Classroom features combined, Screencastify can come in handy. When you’re done with your presentation, uploading the recording to Google Classroom is super easy.
You can drop the link or upload the video directly. The benefit is that the files are not huge but have pretty excellent quality.

Taking Google Slides to the Next Level with Screencastify
Screencastify is popular because it works great, and it’s easy to use. And your computer and Google Slides don’t lag or feel overburdened.
You also get several additional features that make the entire experience even more interactive. If you want to highlight vital points during the presentation, Screencastify’s tab recording feature will let you do that.
Have you ever used Screencastify and Google Slides before? Let us know in the comments section below.