Windows 10 Search Not Working – How To Fix

Windows 10 has plenty of useful features. Due to their interconnection, sometimes a few of these features may stop working properly. Usually, it is a minor issue that you can solve by restarting your device.
But, if you’ve already restarted your computer and it didn’t help, there might be an ongoing issue.
This article will list some of the most common causes of an unresponsive Search service, and how to fix it.
Fixing Cortana
Most of the time, the virtual assistant Cortana is the main reason for the Search tool’s malfunction. Since these two programs are inseparable, if one isn’t working properly, the other won’t work either. So, there’s a chance that you can fix your problem by fixing Cortana.
However, there are different ways to do so.
Restart the Cortana Process
Due to Cortana’s connection to the Search tool, making Cortana start over may refresh your search tool, too. To do this, you should:
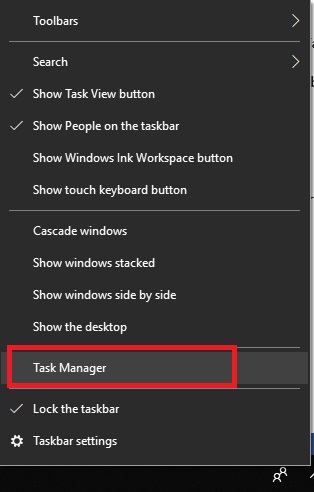
- Right-click the taskbar (or press and hold on a touchscreen device) and click on ‘Task Manager’ from the menu.

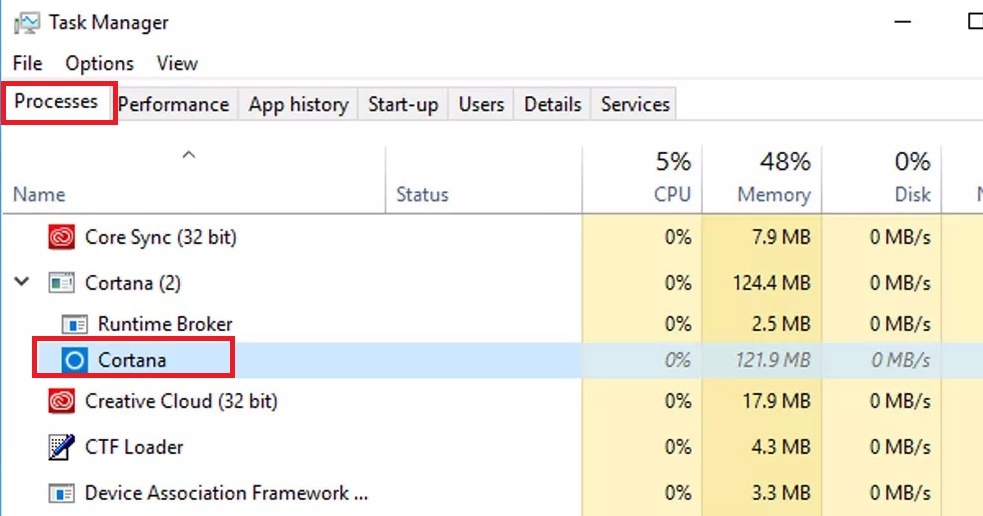
- Go to ‘Processes’ tab. ‘Task Manager’ should open it by default. If not, the tab is on the top-left of the window.
- Make sure that you select ‘More details’ at the bottom of the window.
- Look for Cortana under processes.

- Right-click on it and click the ‘End task’ option.
This will turn off Cortana for a brief moment. After this, you should restart your computer.
Re-Register Cortana
If the Cortana restart didn’t work, you can try and register the app again. To do this, you need to execute a command in PowerShell. Follow these steps:
- Open ‘File Explorer’. It is a folder icon that’s usually on your taskbar.

- Go to the following destination:
C:Windows\System32\WindowsPowerShell\v1.0 - Look for the ‘powershell.exe’ file.
- Right-click it and select ‘Run as Administrator’.

- Copy this code:
Get-AppXPackage -AllUsers | Foreach {Add-AppxPackage -DisableDevelopmentMode -Register “$($_.InstallLocation)\AppXManifest.xml”}

- Press ‘Enter’ to execute the code.
- Close PowerShell and restart the system.


This should fix both the Search tool and Cortana.
Fixing the Windows Search Service
Sometimes Windows may disable the ‘Search’ tool for some reason. Since Search is a Windows service that should always start automatically, you should check if it is disabled for whatever reason. Follow these steps:
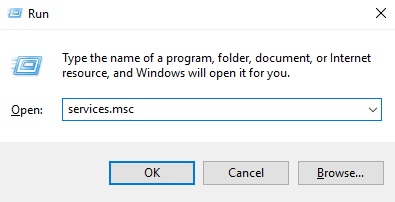
- Press ‘Windows Key’ + R on your keyboard to open the ‘Run’ window. Alternatively, you can right-click the ‘Start’ menu and click on ‘Run’.
- Type ‘services.msc’ in the bar.

- Press ‘OK’.
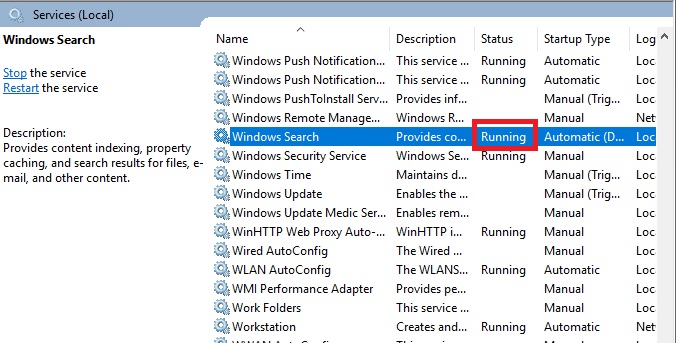
- Find the ‘Windows Search’ service on the list.
- Check its ‘Status’ column.
- If it says ‘Running’, then everything is fine.

- If it is blank, you will have to start it yourself.
- Right-click the ‘Windows Search’ service.
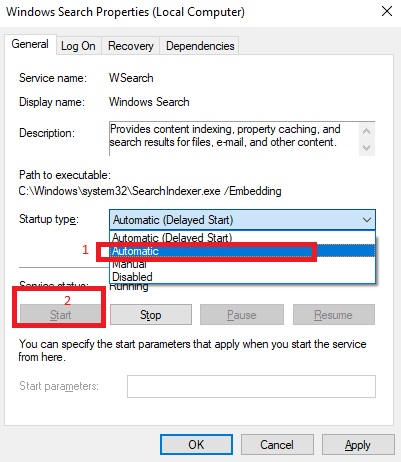
- Select ‘Properties’. A new window will open.
- Select the ‘General’ tab at the top of the window.
- Set ‘Startup type’ to ‘Automatic’.
- Press the ‘Start’ button.

- Press ‘OK’.
Now the ‘Status’ column should say ‘Running’ next to ‘Windows Search’. This means that the next time you restart your computer, the ‘Search’ tool should be active.
Run System File Checker
If you can’t solve the problem manually, you can use this simple method to run an automatic file checker. It will scan your device for any errors, bugs, and corrupted data and try to fix them.
Since Search is a system process, this tool should scan and fix any issues. To start this process, you need to:
- Right-click the ‘Start’ menu.
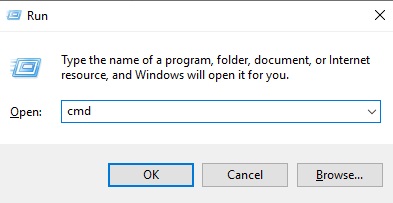
- Select ‘Run’.
- Type ‘cmd’.

- Press ‘OK’.
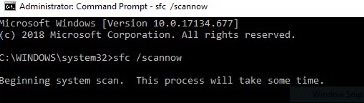
- Type in:
sfc /scannow

- Hit ‘Enter’ to execute the command.
- Wait until the tool scans and fixes all potential issues.
Delete and Rebuild Index
Sometimes it just so happens that Windows 10 has trouble remembering the location of certain files and folders. This happens when Indexing Options malfunction. To fix this, you should:
- Right-click the ‘Start’ menu.
- Select ‘Run’.
- Type ‘Control Panel’
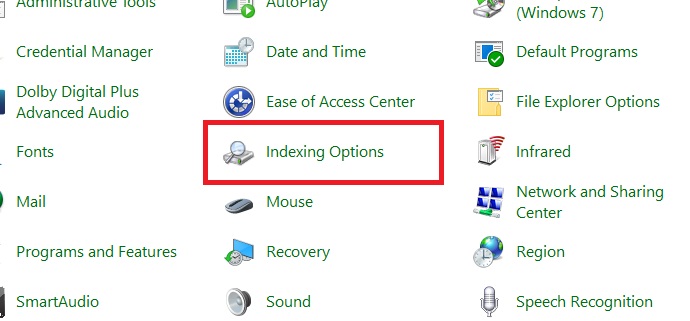
- Press ‘Ok’. The Control Panel window should open.
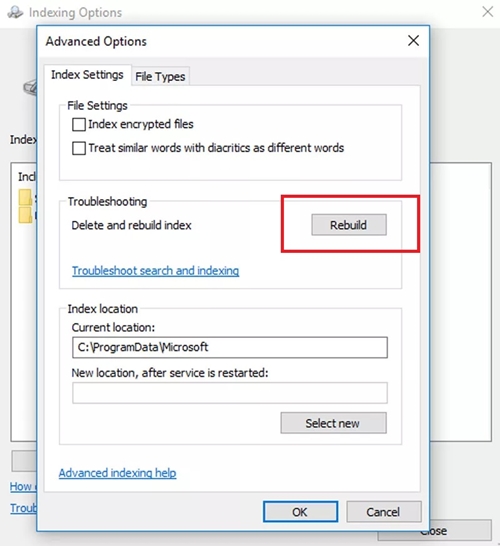
- Open ‘Indexing Options’

- Click on the ‘Advanced’ button.
- Select ‘Rebuild’ and hit ‘OK’.

Wait for the process to finish.
Time to Refresh Your System?
If the problem persists, the issue might be in one of your third-party apps. Or the system might need some refreshing.
If nothing else helps, you should back up your files and try to reset or refresh your operating system. This will most certainly make all the system services and tools work smoothly and without issues.
If you have any other solution, feel free to post a comment below and help your fellow readers.