


Ready for a Glow Up? How to Change Thumbnail Borders in Windows 11

Thumbnails are one of those aspects of Windows Explorer that you don’t think about as being customizable. Most users either disable them entirely or just leave them as is. But if you have the default thumbnails, the “shadow” effect on the border might become a bit distracting for images, and the “reel” effect for videos could be a bit passé. If you want to change thumbnail borders, Windows 11 has ways of doing this.
Option 1 – Change Thumbnail Borders Windows 11 Explorer Shows by Default
Windows 11 comes with three (technically four) “stock” thumbnail border styles: borderless, shadow border, and the “video reel” border. By default, the shadow is applied to most files, the reel is for videos, and themes use the borderless look to ensure clarity.
However, all of these border styles are stored in the same place and can be applied to any file type by modifying the Windows Registry.
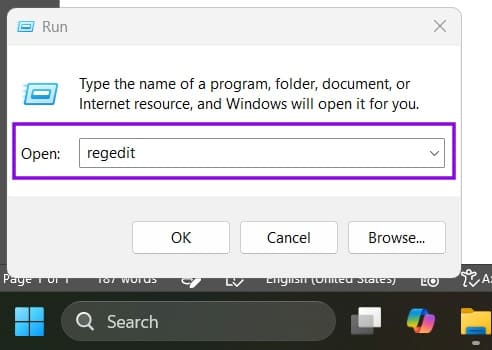
Step 1. Open the Run dialog with “Win + R” then type in “regedit” and click “Enter.” This opens the Registry Editor. You can also search for the Registry Editor and open it as administrator (this is helpful if you get an error).
Step 2. From here on out, you’ll need to go to a different address based on what you want to change:
- To change image thumbnails for all users, go to HKEY_CLASSES_ROOT\SystemFileAssociations\image.
- To change image thumbnails for only the current user, you’ll need to create the folder “image” in the following address: HKEY_CURRENT_USER\Software\Classes\SystemFileAssociations.
- Alternatively, you can modify specific thumbnails based on file extension in HKEY_CURRENT_USER\Software\Classes\SystemFileAssociations (for example .png, .jpg, and .jpeg will cover most images).
- For video thumbnails for all users, go to HKEY_CLASSES_ROOT\SystemFileAssociations\video.
- For video thumbnails for the current user, make a “video” folder in HKEY_CURRENT_USER\Software\Classes\SystemFileAssociations.
- For themes files (for all users), go to HKEY_CLASSES_ROOT\themefile.
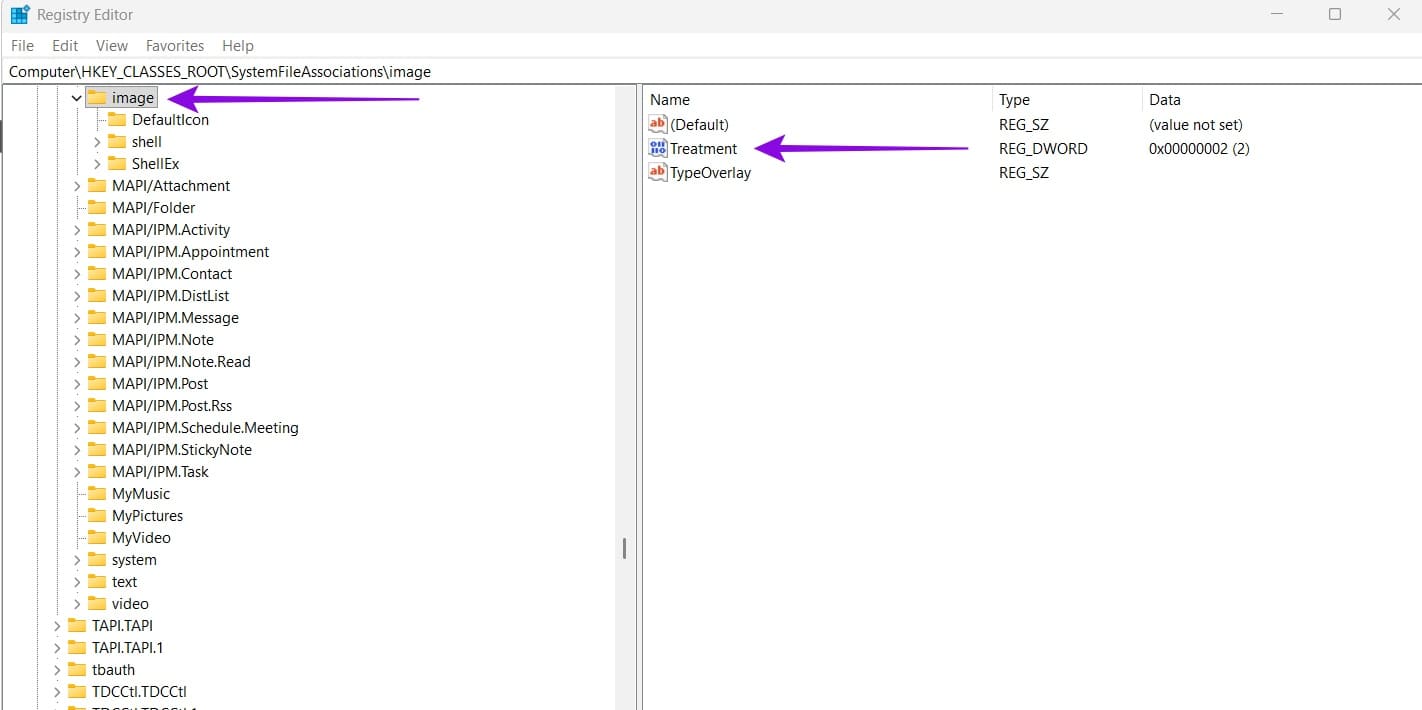
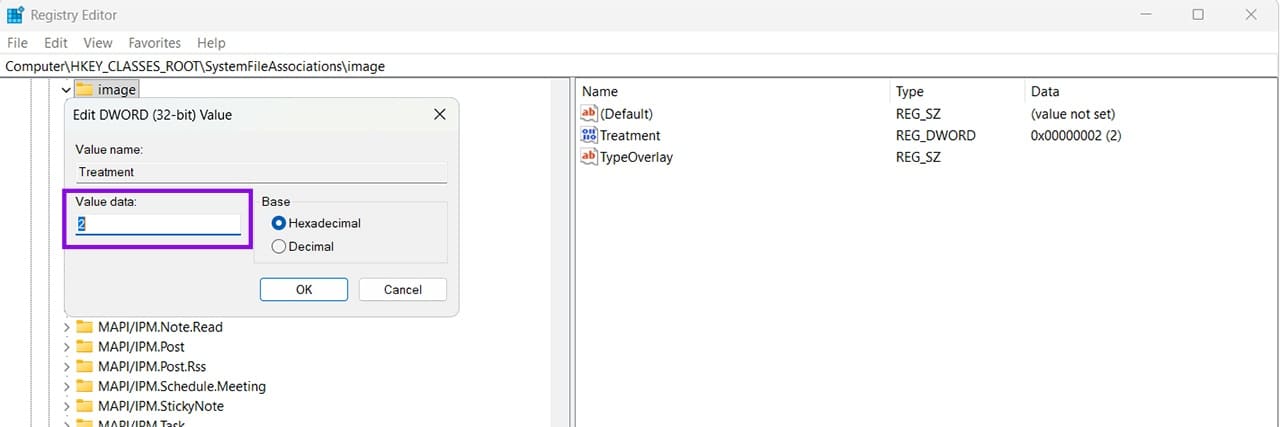
Step 3. Open or create the “Treatment” DWORD value on the right panel, then change its value. The values here are:
- Values 0 and 1 remove the border (the differences are minimal).
- Value 2 is the “shadow” border.
- Value 3 is the “video reel” border.
Step 4. Make changes as you see fit based on the borders you want, then close the Registry Editor. This automatically applies any changes.
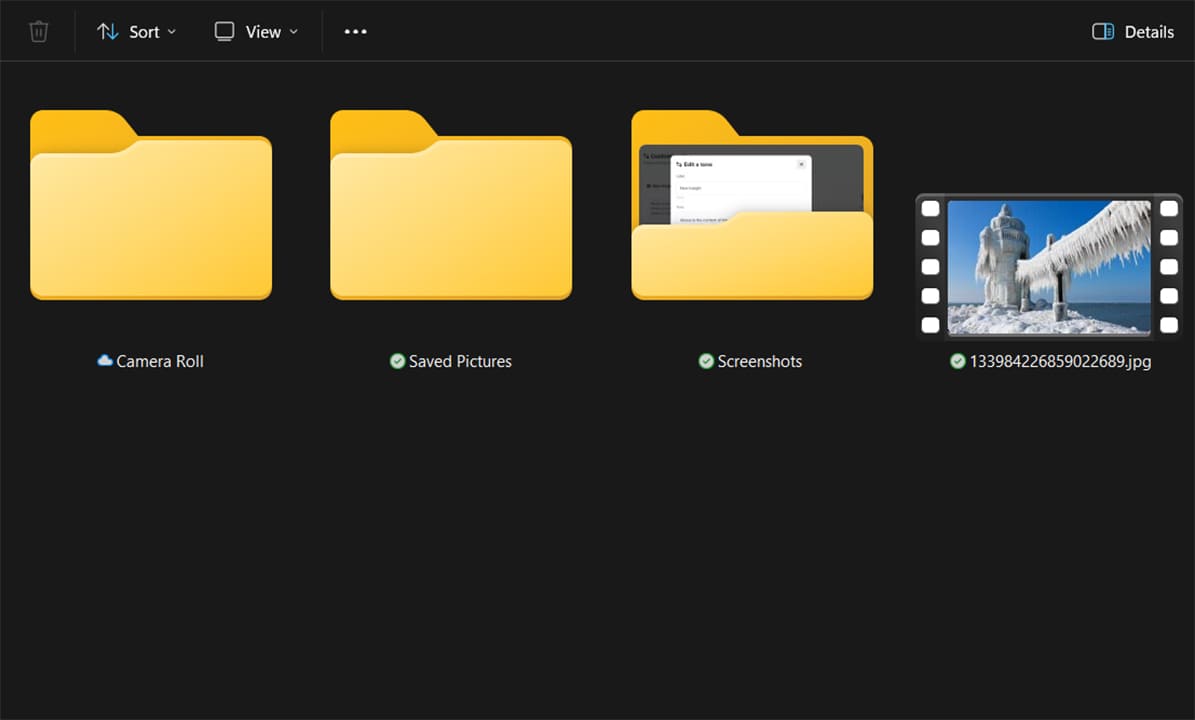
Step 5. Go to Task Manager, then restart the “explorer.exe” process (or Windows Explorer). This will reload Explorer and allow you to view the new thumbnail borders. Here’s an example when the image border was changed to include the “reel” effect.
To revert changes, edit the Registry again.
Option 2 – Third-Party Programs
In general, not only will most third-party programs show you how to change thumbnails, Windows 11 will do it by default. The most comprehensive such option is arguably WindowBlinds, which applies “skins” to the entire Windows theme and changes its broader look that remains cohesive (mostly).
The program is $29.99, but it comes with a free 30-day trial so you can test it out.
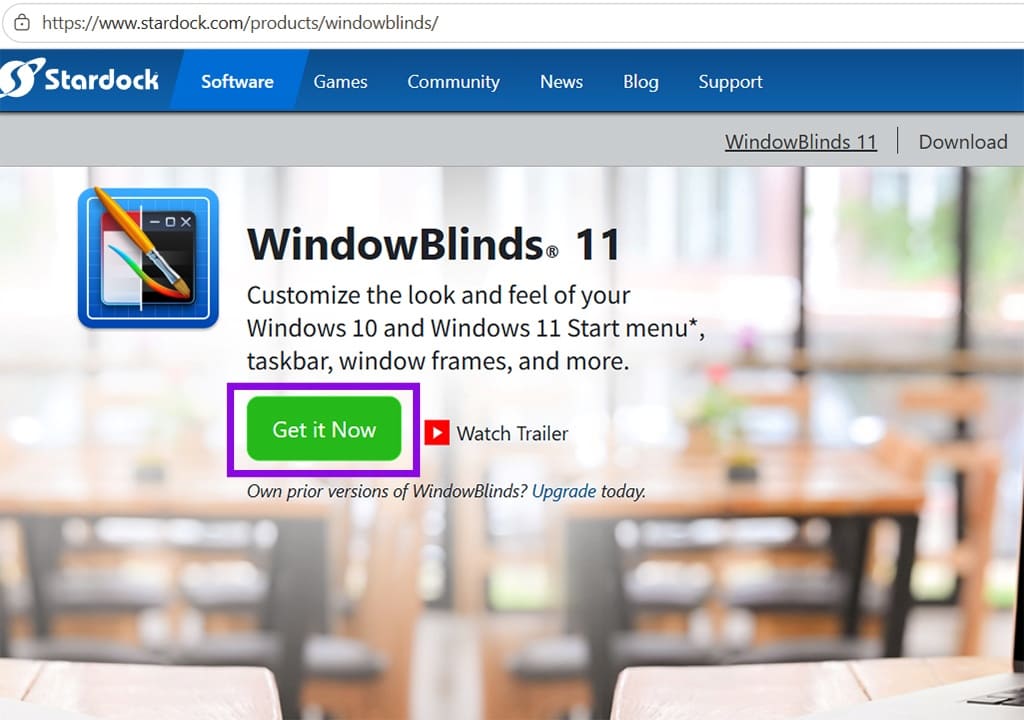
Step 1. Download WindowBlinds from the official page.
Step 2. Install the program and follow the Setup Wizard, then open WindowBlinds.
Step 3. Register for a free trial account with your email (you will be prompted to enter one the first time you open it). You’ll receive a confirmation email that activates the account.
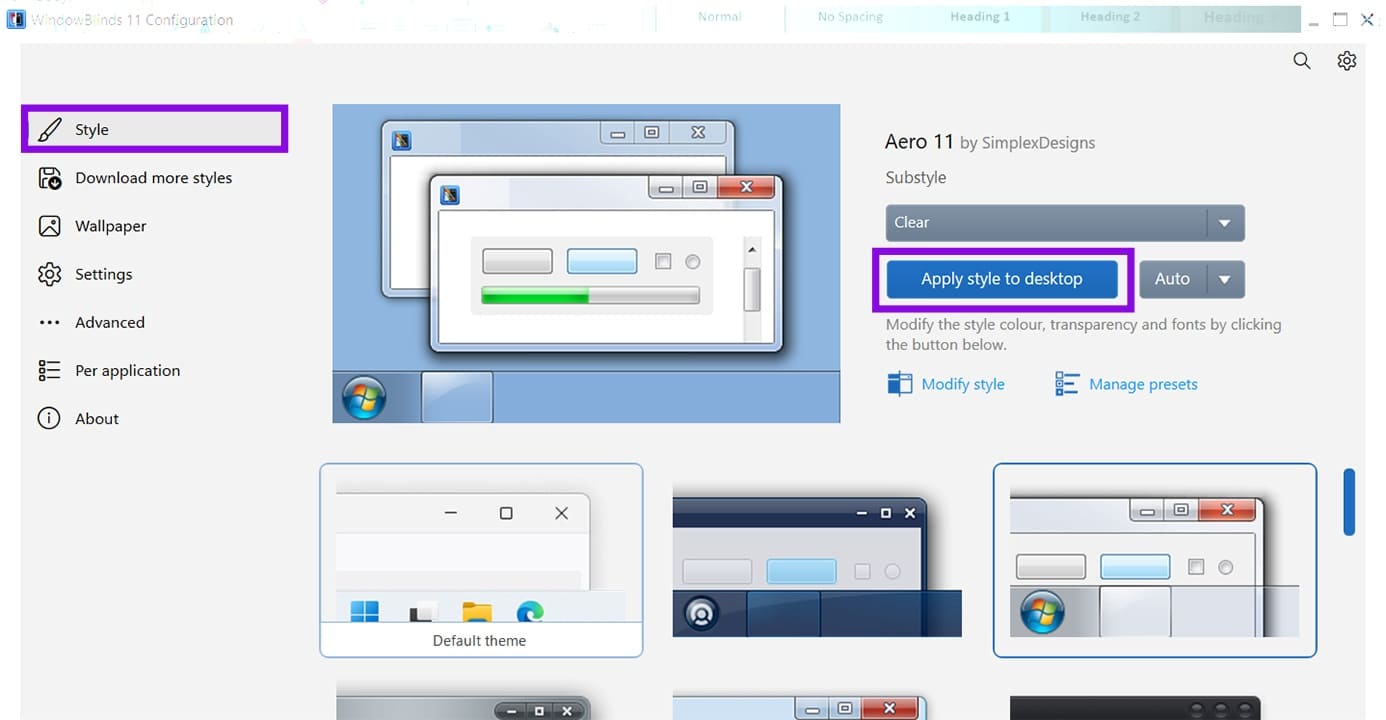
Step 4. Go to the “Styles” section and choose a theme, then click on “Apply style to desktop.”
Step 5. Alternatively, you can go to “Download more styles” to choose custom styles. Once downloaded, you’ll get a prompt in the notification bar to apply it.
Step 6. Restart Windows Explorer in the Task Manager if the taskbar or window backgrounds don’t change.
Some of the themes change the thumbnail selector or background, but most leave them as the default. You can still try various options before the trial runs out to see which one works best for you.


