


How to Add a Face to Google Photos

Google Photos lets you add faces to your photos and sort them into groups. This will help you to effortlessly organize your vast collection of pictures, whether it’s portraits of loved ones or your furry friends. If you are not already, you should learn how to tag and add a face to Google Photos to better manage your library.
There are several benefits to adding a face to Google Photos. You can create albums, search by specific people or pets, and enjoy the convenience of finding cherished moments in a few taps.
Another advantage is that Google Photos recognizes the person or the pet once tagged, even if they age. So, if you have years of photos of your pet or loved ones, Google Photos can keep them organized.
How to Enable Face Grouping in Google Photos
Before we add faces, you need to enable the Face grouping feature in Google Photos on your phone. If you haven’t enabled it before, you won’t be able to add new faces. Enabling the face groups feature in Google Photos is pretty straightforward.
Here’s what you need to do:
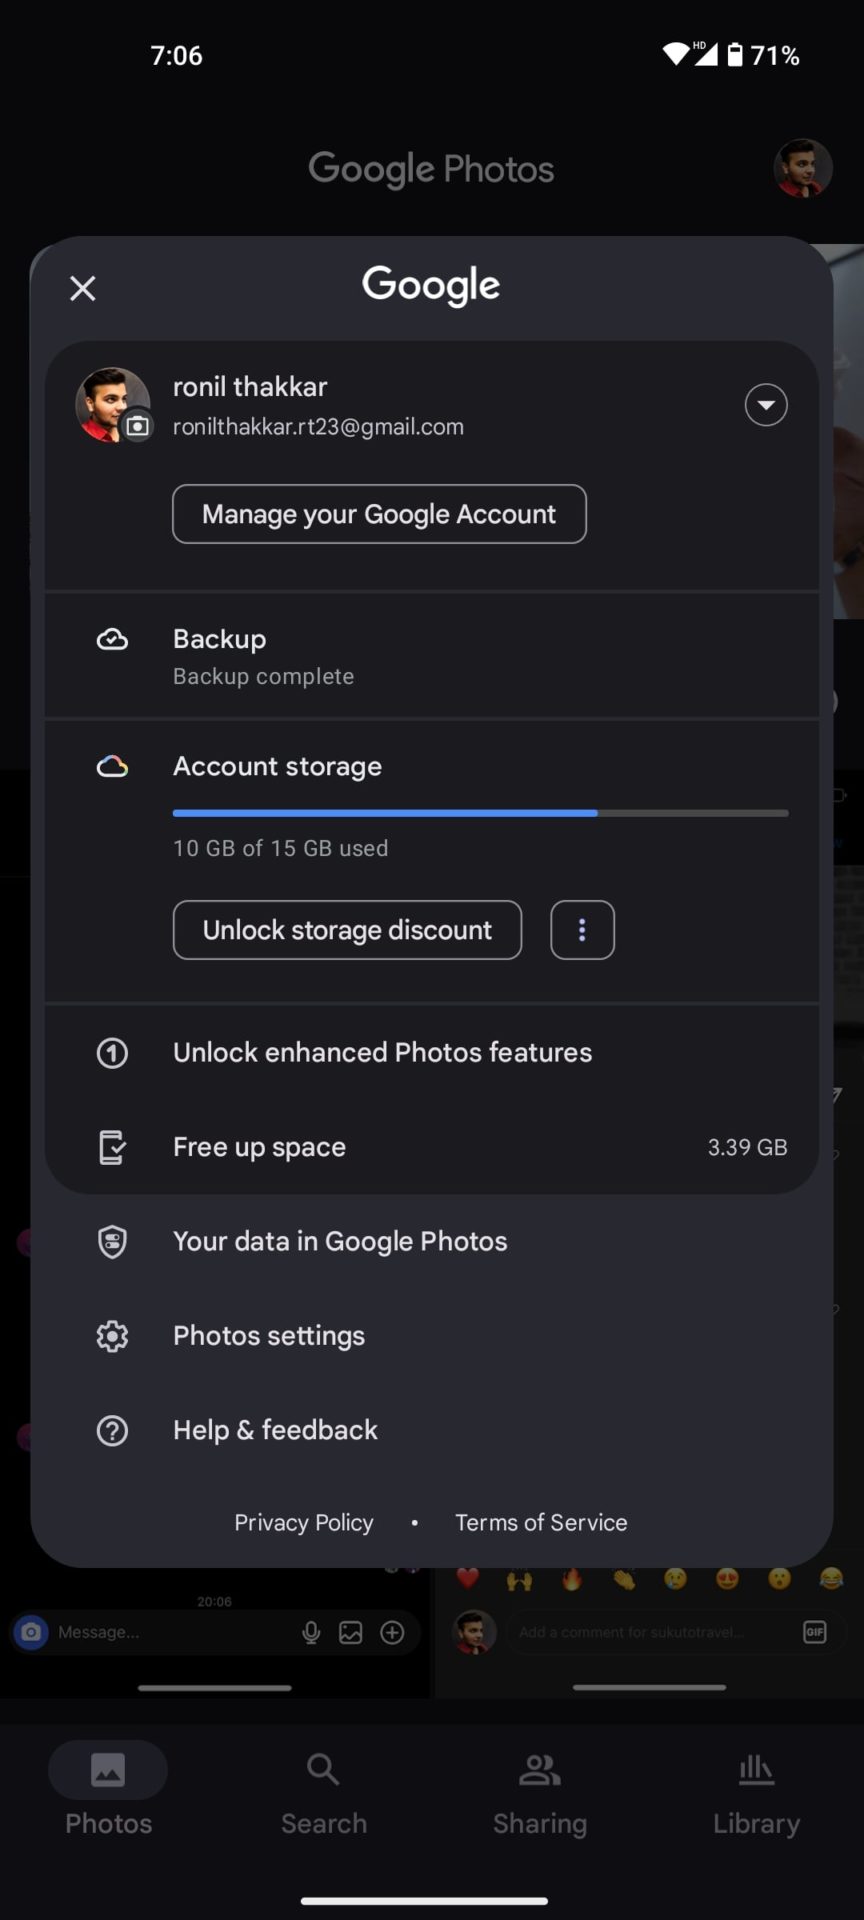
- Open the Google Photos app on your phone
- Tap your profile icon in the top right corner.

- Tap Photos settings from the menu.

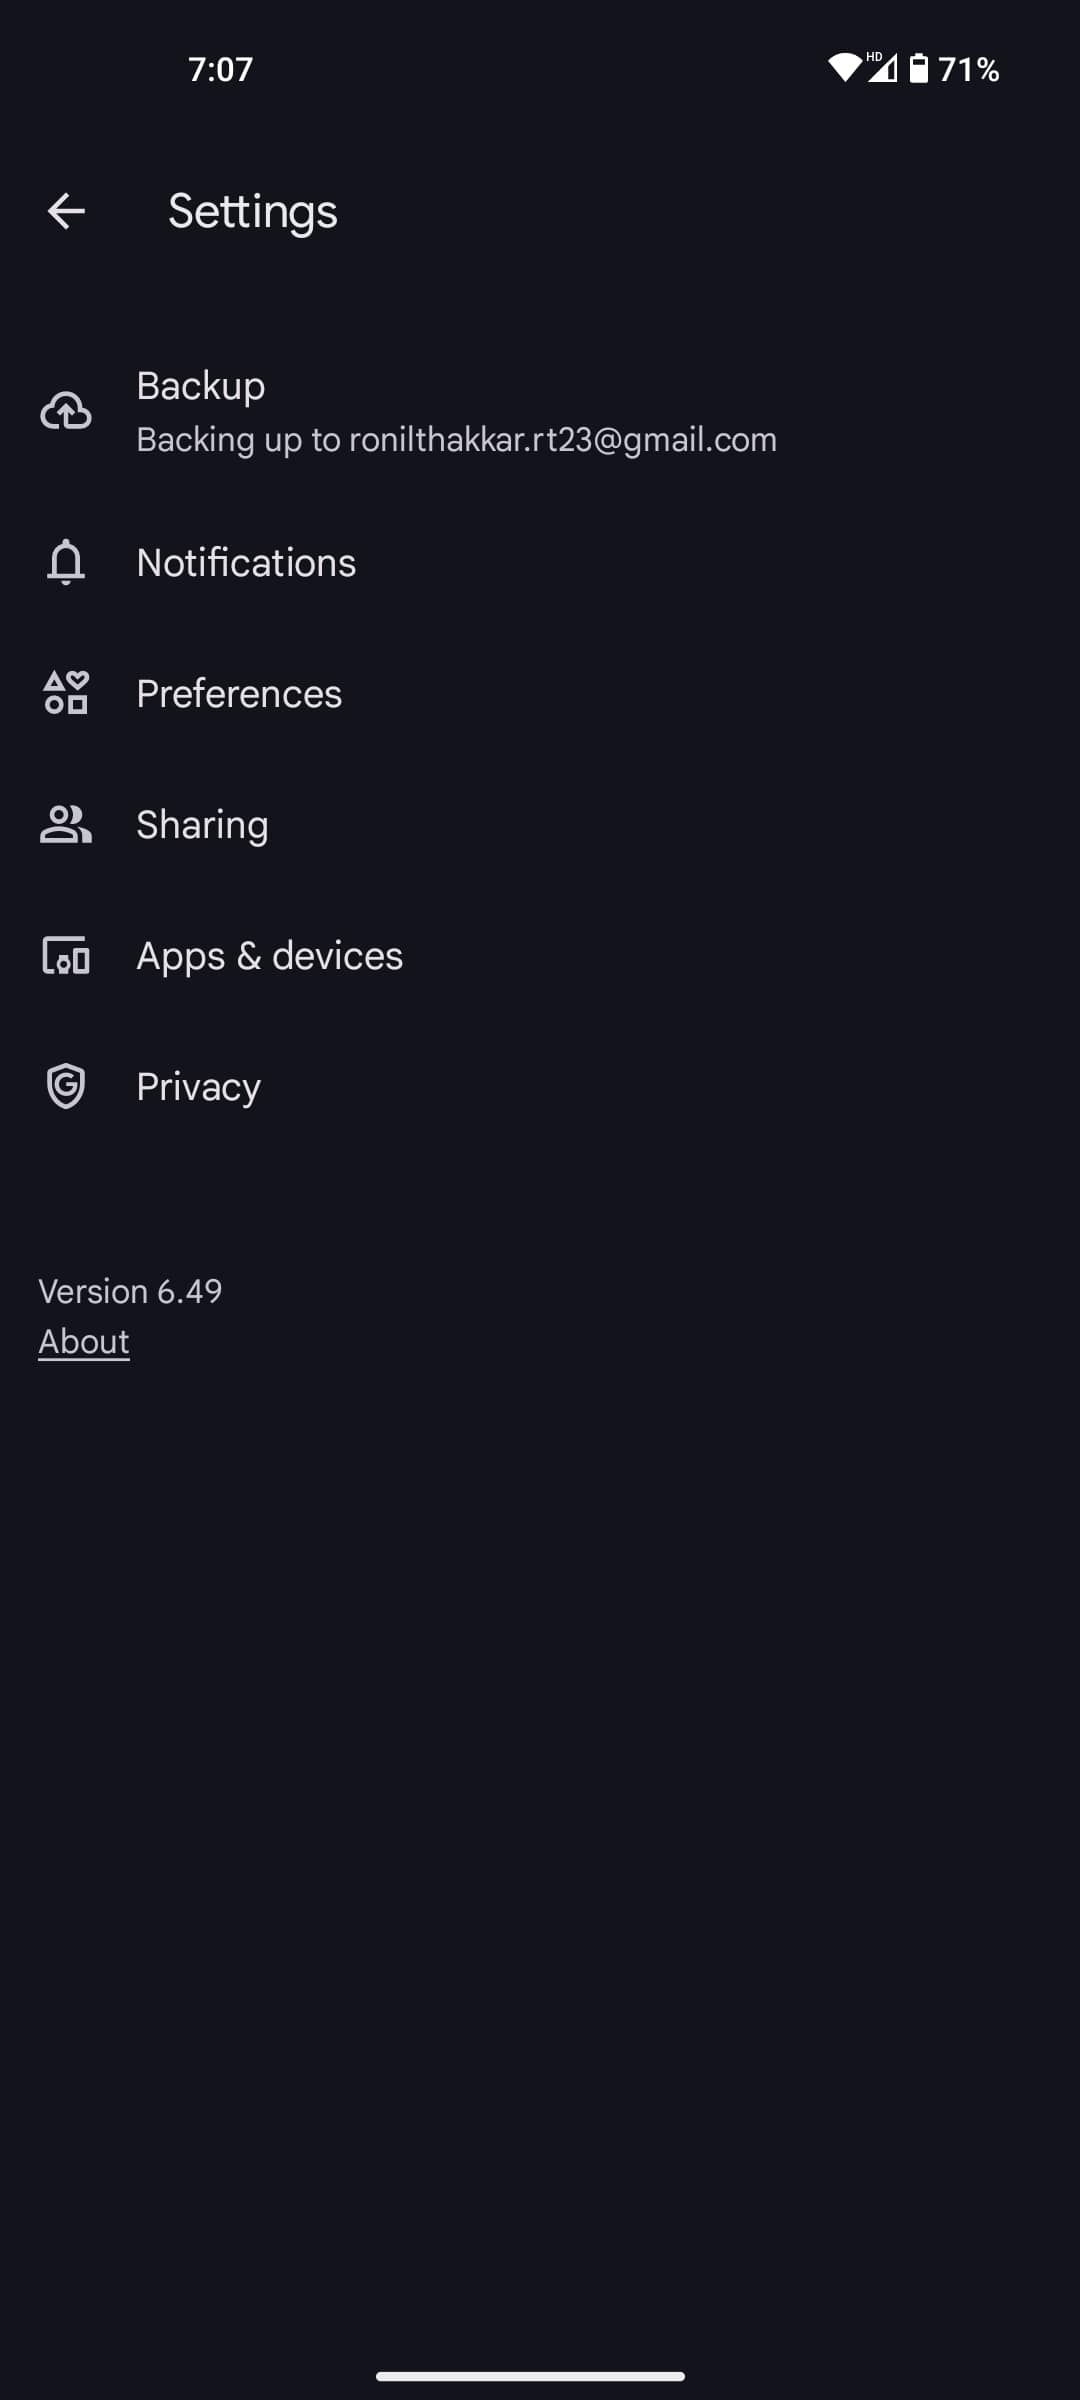
- Select Preferences.
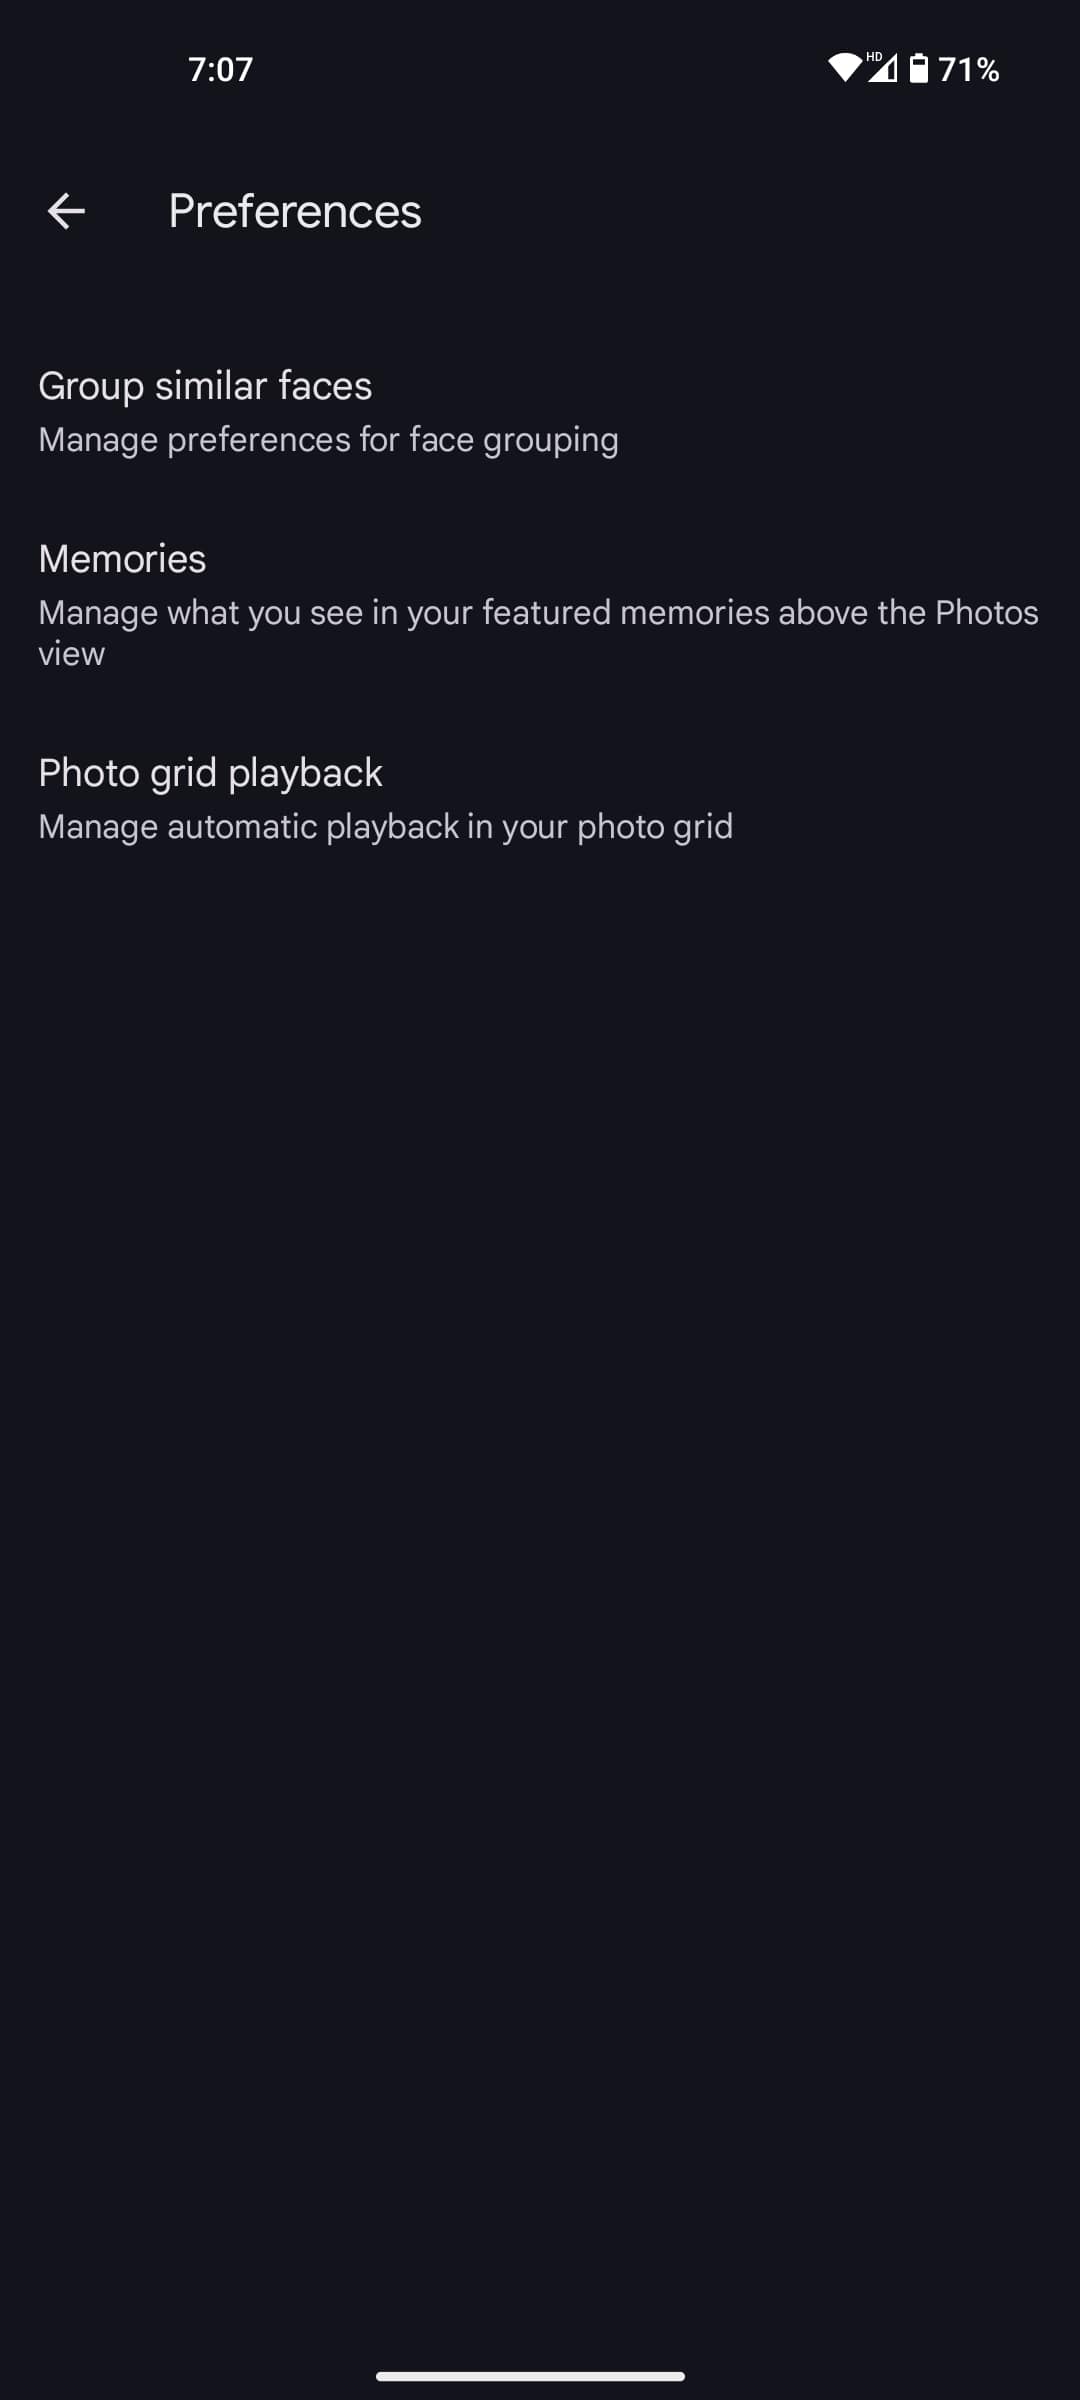
- Tap the Group similar faces option.
- Enable the Face groups toggle.

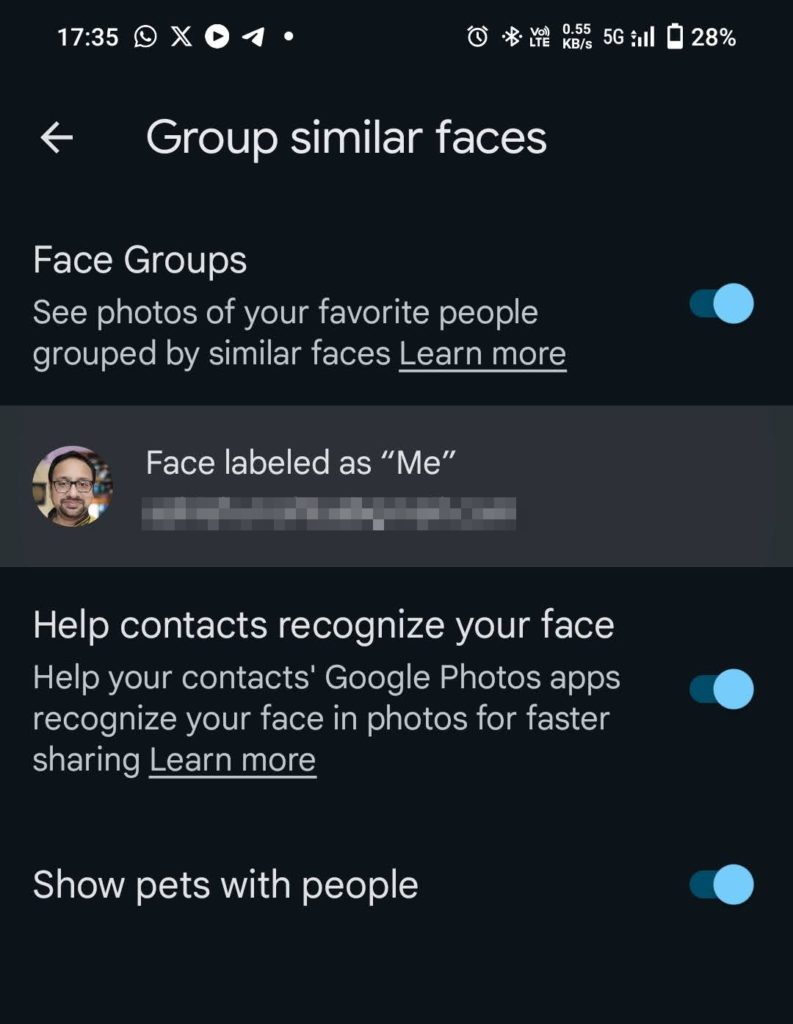
Along with the Face Groups toggle, you should enable the Help contacts to recognize your face and Show pets to people. The former options help you with personalized creations, such as highlighting videos with photos of you, and also recommend others that it’s you on the photo when they capture a moment.
Remember that hidden photos and videos in Google Photos won’t appear in search results even if they are tagged.
Now, you should be able to find and tag people manually in the Google Photos app.
How to Add a Face in Google Photos From Android or iPhone
Tagging faces in Google Photos is a great way to index your memories and easily sort them so you can find them effortlessly. Here’s how you can add faces manually on a mobile device:
- Open the Google Photos app on your phone or tablet.
- Choose a photo with a person you want to add.
- Select More at the top of the screen (three-dot icon).
- Next, tap on the Edit option (looks like a pencil) next to the People section.
- Choose a person you want to tag below the Available to add menu.
- Select the Add icon at the top right.
- Tap on Create.
- Finally, select Done to save changes.


You can always remove faces from Google Photos by pressing or tapping the Remove option instead of Add because, sometimes, Google will place incorrect tags.
How Google Photos Face Tagging Works on a Computer
You can use Google Photos on the web from the comfort of your PC or laptop to tag faces. Just remember that you must have face grouping enabled in Google Photos settings.
- Open Google Photos on your browser.
- Select a Photo in which you want to tag someone
- Click on the i icon to reveal more information about the photo
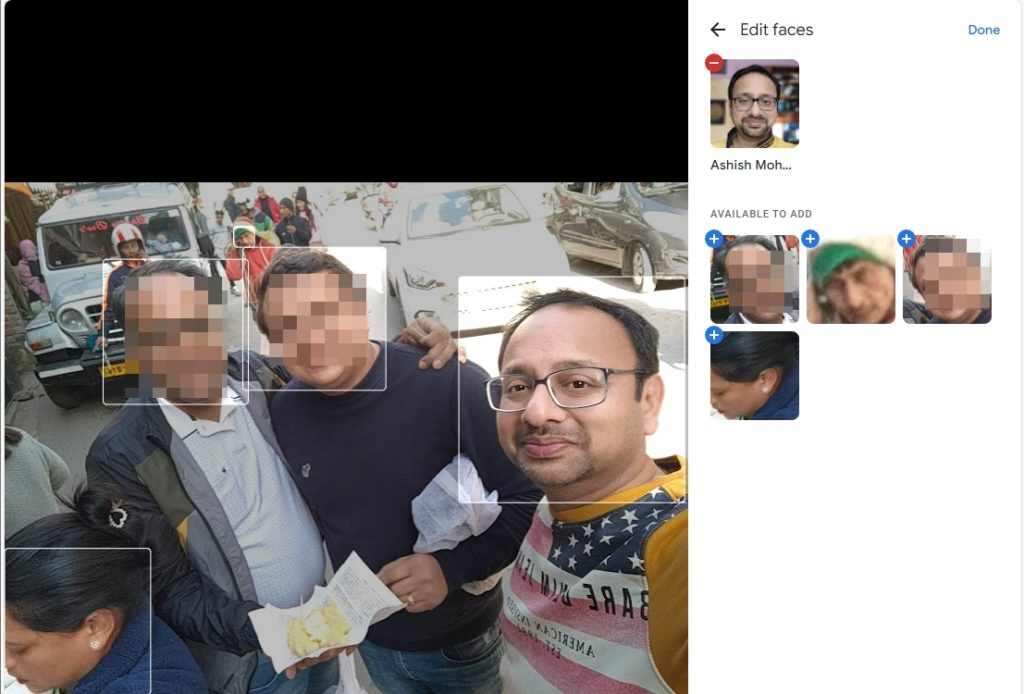
- Click the Pencil icon next to the People section
- Select a Face, match it with any available faces, or create a new one.

- Click Done to save the changes.
How to Search Pictures by Faces in Google Photos
Once you’ve successfully added faces to Google Photos, you can easily search for all pictures of that person or pet in your library.
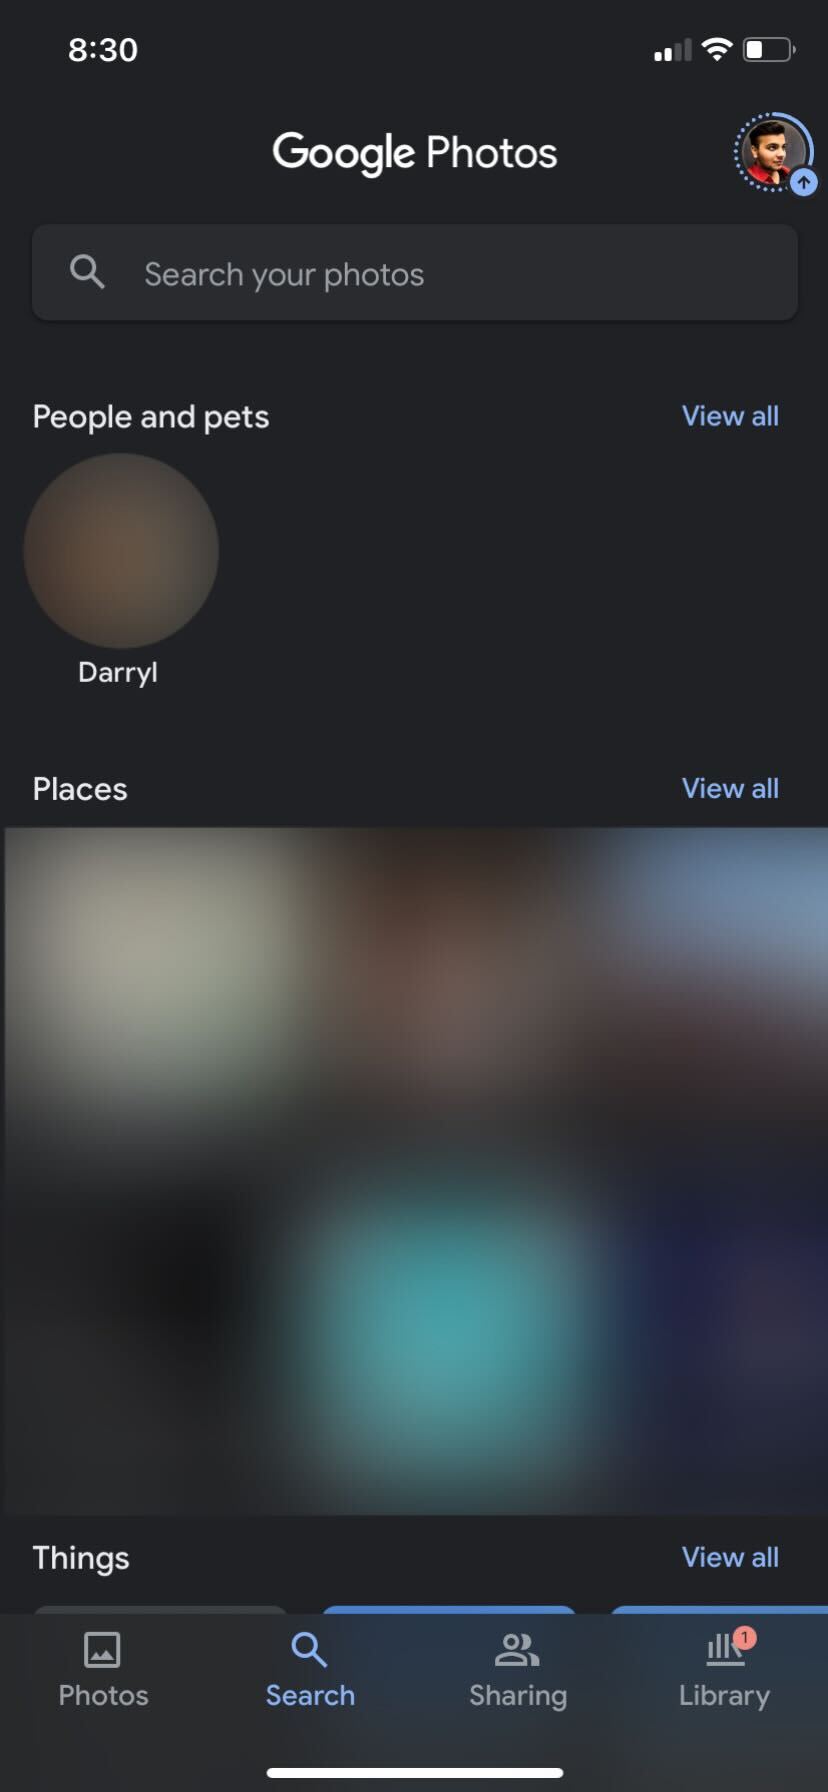
- Open the Google Photos app on your phone and go to the Search tab.
- Tap on the View all button next to the People section.
- Select the face you want to search for.

After this, Google Photos will show you all the photos of that person. You can then easily save those images from Google Photos to your phone’s gallery.
Why Isn’t Google Photos Finding Faces?
Google Photos is a marvelous app, but it is not perfect. Sometimes auto-tagging doesn’t work as intended, so manually adding faces is very useful. Take time to add tags where automated tagging failed, and you’ll have a much easier time later.
If it doesn’t, the only option is to disable the Face grouping option and enable it again. However, it also means you will lose all faces. You will have to tag people again and let the Google Photos algorithm learn to find similar photos of the same person.
If the problem is only with many photos, you can delete them and add them again. Once done, give it some time, and it should start working.
How to Hide and Remove Faces from Photos in Google Photos
If you don’t want a tagged person to appear in the people section in Google Photos, you can hide it. All you need to do is go to the People section, find the person, long press, and choose to hide.
If you want to remove a tagged face from pictures in your library, you must follow a lengthy process.
- Open Google Photos.
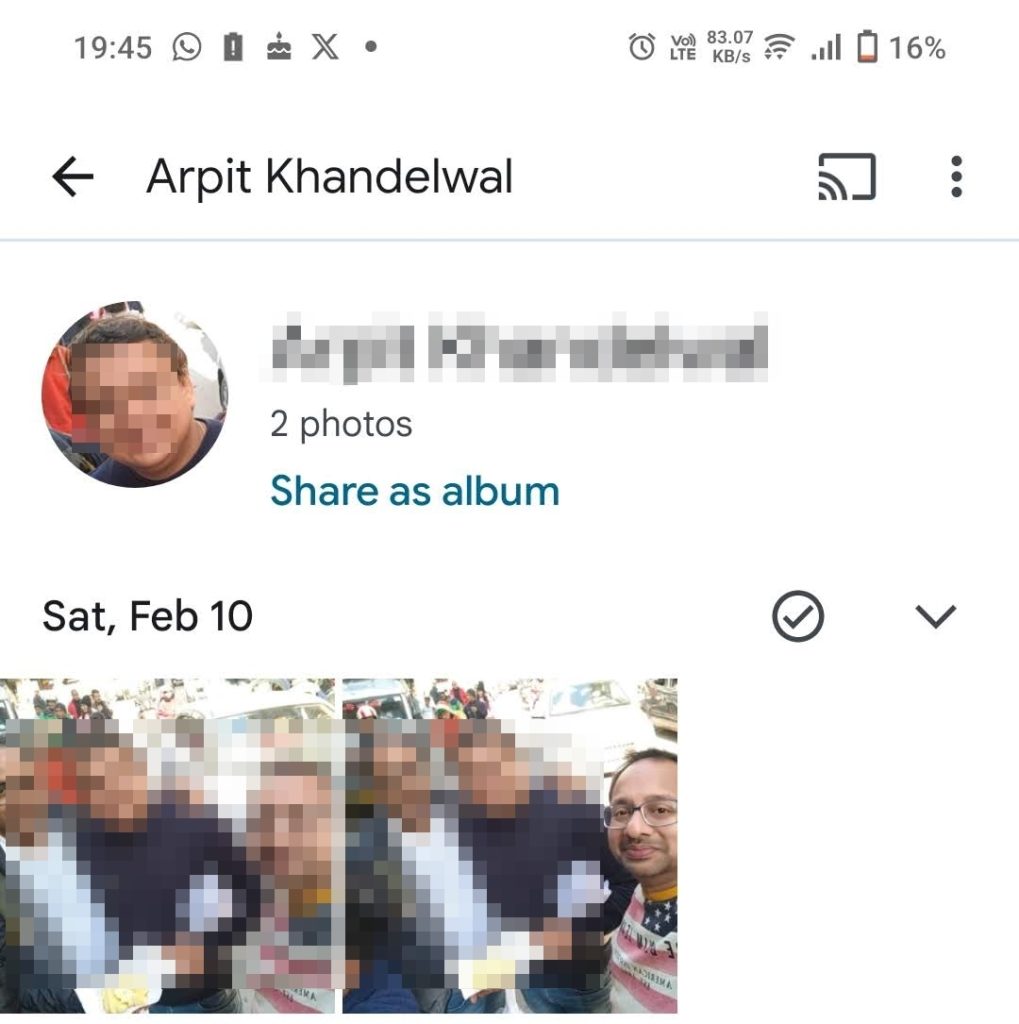
- Tap on the View all link in the People section.
- In the search box, type the name of the person you want to untag.
- It will then display all the photos in which the person is tagged.

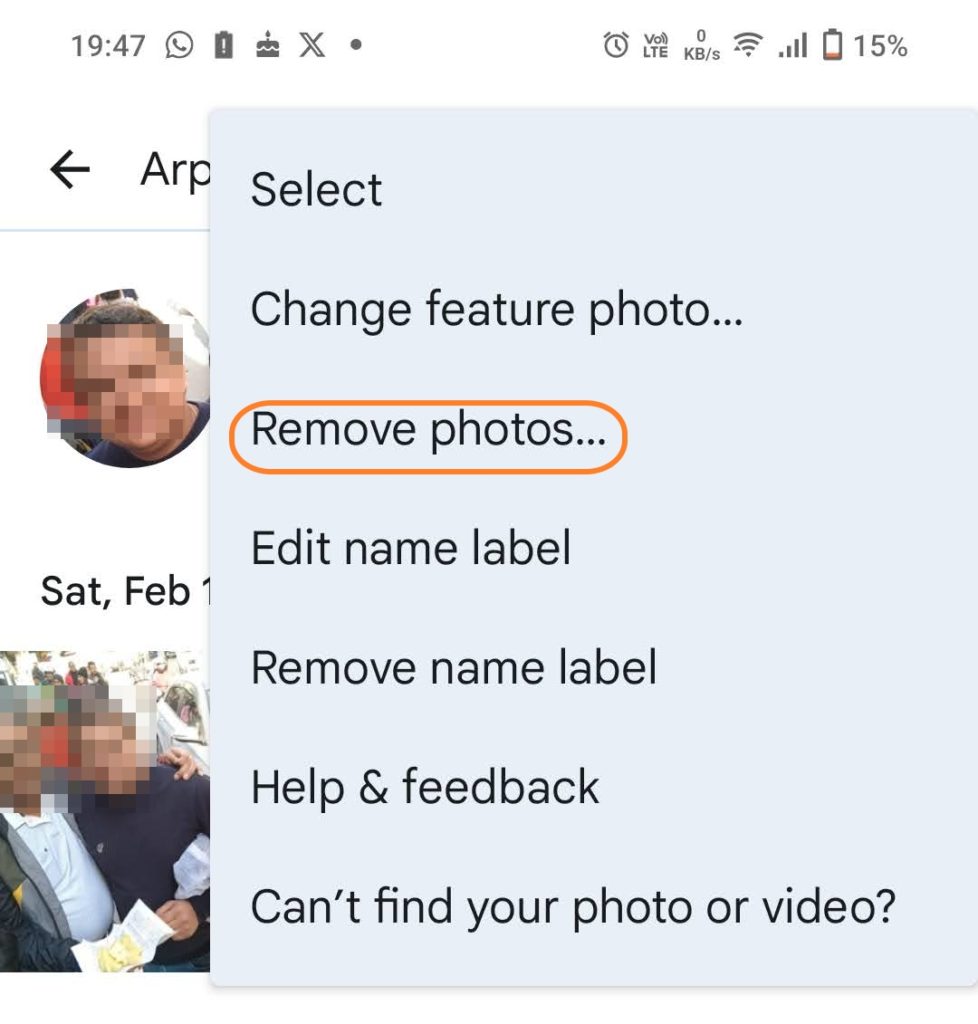
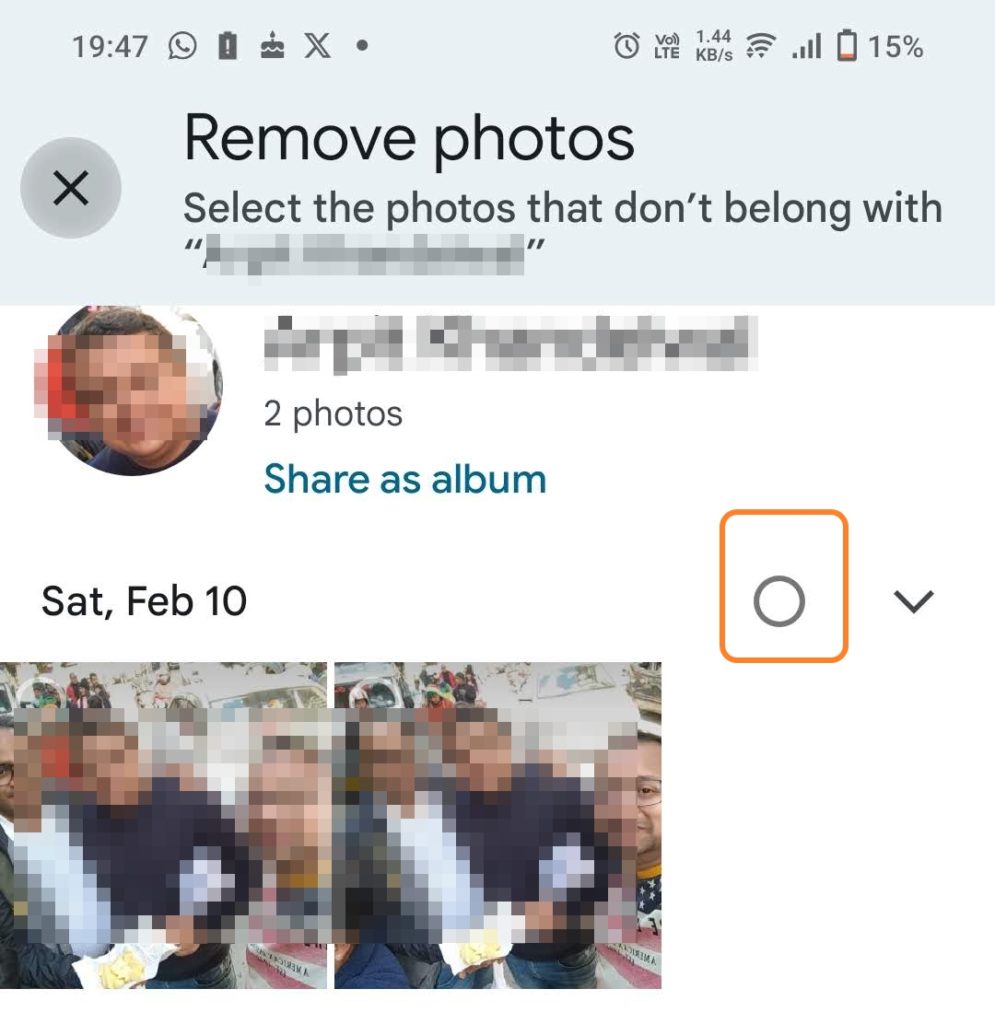
- Tap the three-dot menu and select Remove Photos…

- It will then show a prompt with the following message—Select the photos that don’t belong with <person name>”.

- Select the photos and tap the Remove link on the top right.
- It will open another window where you need to give feedback on why you are removing the tag. You can choose to skip.
- After this, the tag will be removed from the person’s face.
Put a Name to the Face
Tagging faces in Google Photos will make managing your vast library easier. Plus, you can easily search for pictures of multiple persons using their names when required. This will be much faster than manually going through your entire photo library.
Next, you might want to learn how to recover deleted photos and videos from Google Photos.
FAQs
A: If you cannot find a person in the People section, either they are not tagged properly, or you have hidden those people from the list and forgotten about it.
A: Google Photos lets you show/hide faces in albums. Search for “People & Pets,” then tap “View all” and the menu (dots). “Hide & show” acts as a toggle: tap once to unhide and again to hide. Hidden faces have an eye with a slash. Tap the eye to unhide permanently.


5 thoughts on “How to Add a Face to Google Photos”