


How to Add a Pixel in BigCommerce
Tracking web data isn’t just for the web analytics crowd. If you want to make the most out of your marketing strategies, it’s a good idea to gather as much data as possible. And you can do that with a pixel.
Facebook is probably the pixel that most people use. With over 1.62 active Facebook users daily, it makes sense for a savvy business owner to link it to their BigCommerce eCommerce platform.
Read on to find out how to track valuable information like purchases and subscriptions in your BigCommerce store with the help of a little code.
How to Add a Pixel to BigCommerce
Before you can add a Facebook Pixel to BigCommerce, you need to create one first. If you’ve already done so, you can skip to the next step. However, if you need a refresher on how to get started with pixels, these are the steps you need to take:
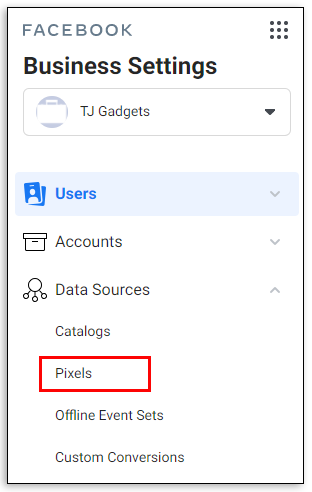
- Log into your Facebook Business account

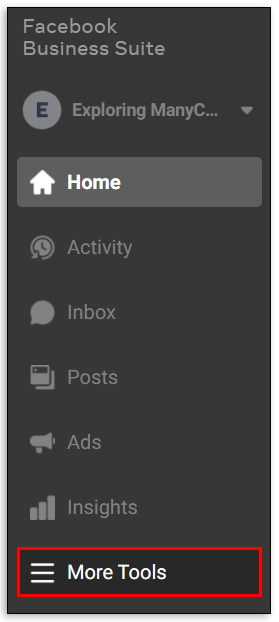
- Click on the Menu icon on the left corner of the screen

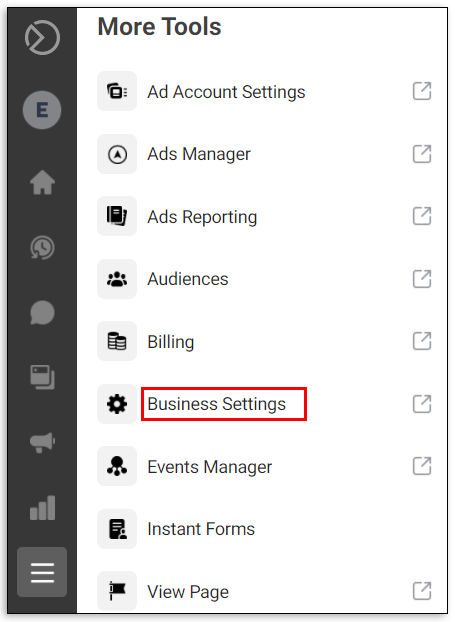
- Click on “Business Settings.”.

- Select Add Data Source to open a drop-down menu

- Click on Facebook Pixel

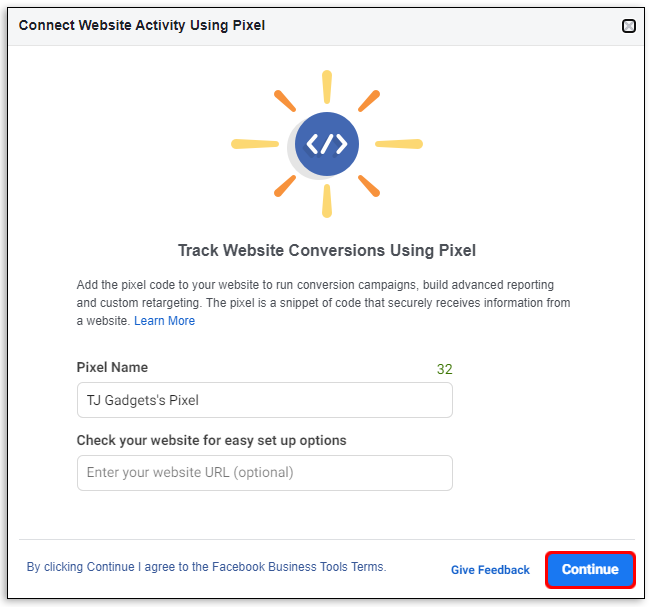
- Name your Pixel and click on the “Continue” button

Once you have created your pixel, it’s time to link it to your BigCommerce account. Check out these steps to add it to BigCommerce:
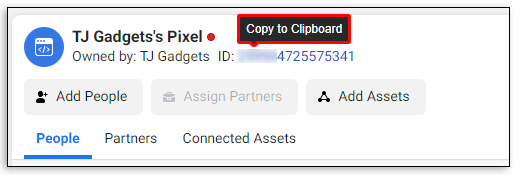
- Copy your Facebook Pixel ID (if you just created it, the button is in the subheading bar of the window)

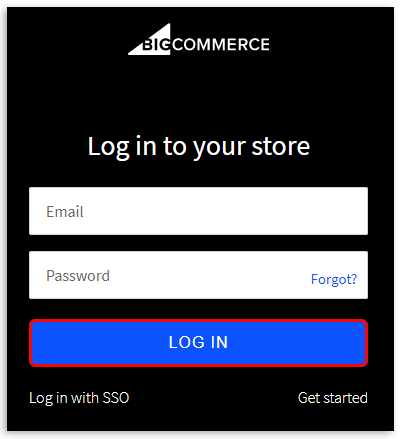
- Log into your BigCommerce store

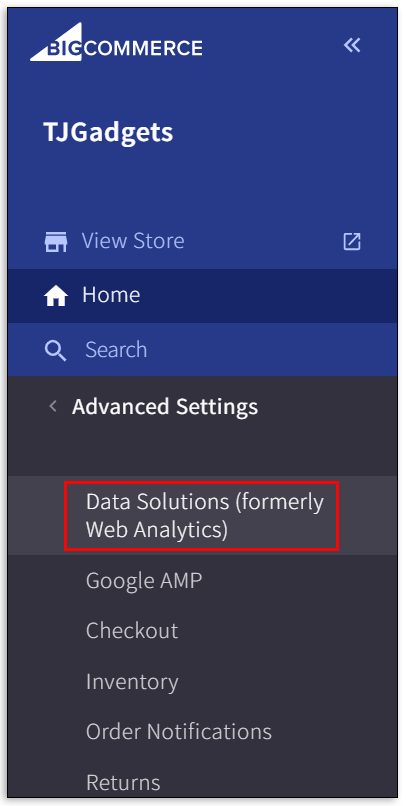
- Click on Advanced Settings in your BigCommerce menu

- Select Web Analytics at the top of the drop-down menu
- Check the box for Facebook Pixel and Save


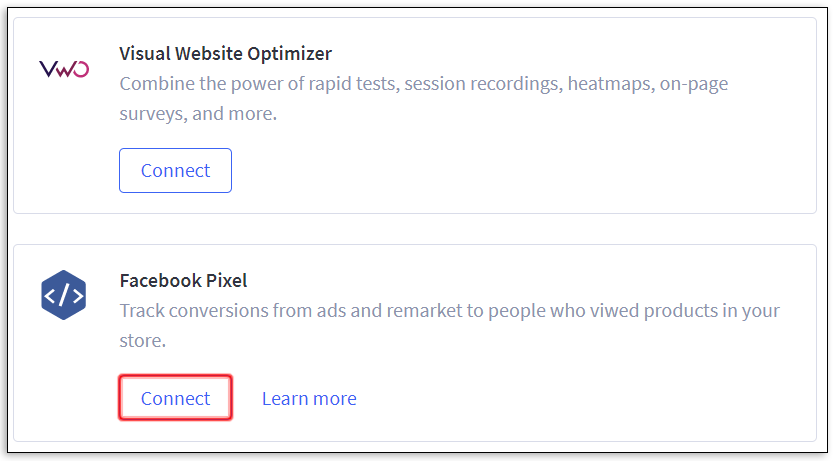
These steps will add a new tab called Facebook Pixel to your BigCommerce dashboard. Now, it’s time to put it into action:
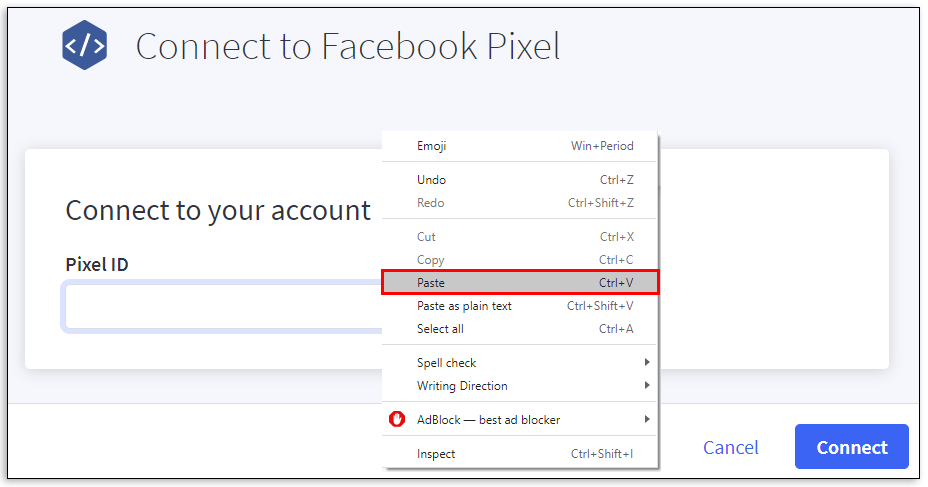
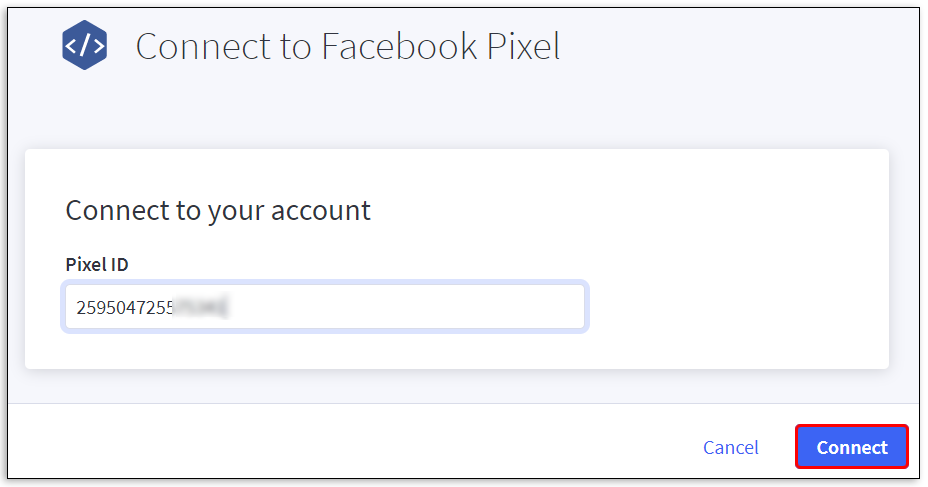
- Open the Facebook Pixel tab
- Enter or paste your Facebook Pixel ID

- Click on “Connect” to add it to your account
If you’re using the Facebook Ads Manager App, do this instead:
- Open the Facebook Events Manager and click on the Facebook Pixel tab
- Select Get Started
- Enter the pixel name in the new pop-up window
- Select the Continue button to agree to the Facebook Business Tools Terms
- Choose “Add a code using a Partner Integration” and BigCommerce to start the installation
- Follow the on-screen prompts to verify that the Pixel is working
What Is a 1×1 Tracking Pixel?
You may have heard the term “1×1 Tracking Pixel” thrown about in terms of marketing strategies. Simply put, this is a small graphic that contains a little bit of HTML coding. The image tracks movements, such as user behavior, web traffic, and site conversions. They also go by other names including the following:
- Web beacon
- Pixel tag
- Clear GIF
- Web bug
The graphic itself is relatively small and usually transparent. It’s typically built into the website to remain unobtrusive to a user’s experience.
How to Add Multiple Pixels to BigCommerce
BigCommerce only allows you to add one Facebook Pixel on your own. Having multiple pixels can skew the data that you receive and narrows down your audience into different segments.
However, if you have your heart set on adding multiple pixels to BigCommerce, you’ll have to reach out to their support team directly.
Additional FAQ
How Do I Add a Facebook Pixel to BigCommerce?
You can add a Facebook Pixel to BigCommerce in a couple of ways. If you use the Facebook Ads Manager App, just go to the Facebook Pixel tab and follow the prompts. Or, if you already created a pixel in Facebook Events Manager, you need to enable it first by doing the following:
• Go to Set Up
• Click on Install Pixel
The other way involves a little more steps but will bring you to the same destination if you don’t use the Facebook Ads Manager app:
• Log into your BigCommerce account
• Go to Advanced Settings and then select Web Analytics
• Check the box for Facebook Pixel and the Save button
• Click on the new Facebook Pixel tab on the main dashboard
• Enter in your Facebook Pixel ID
• Click on the Save button
How Do I Add a Tracking Pixel to BigCommerce?
Adding a tracking pixel to BigCommerce is as easy as a few clicks. Assuming that you have already created a Facebook Pixel, follow these steps to add it to your BigCommerce store:
• Log into BigCommerce
• Select Advanced Settings from the left panel
• Click on Web Analytics
• Check the box for Facebook Pixels and then Save
• Click on the new Facebook Pixels tab
• Enter or paste your Facebook Pixel ID
• Click the Save button
How to Edit HTML Files in BigCommerce?
It depends on what you want to edit in BigCommerce. If you want to edit a theme, follow these steps:
• Click on Storefront from the BigCommerce dashboard
• Select Advanced
• Click on “edit theme files”
Keep in mind, though, that editing HTML themes only work for Blueprint files.
If you want to edit a product description directly, select the HTML button on the product description editing page. The button is on the right side of the screen.
What Is BigCommerce for WordPress?
WordPress is a popular choice for people to manage their content. However, their specialty is not in eCommerce. That’s where BigCommerce comes into the picture.
BigCommerce is an eCommerce platform that takes care of the logistics for WordPress users via a special plugin. The plugin is available to install directly from your WordPress dashboard.
What If You Already Have an AdRoll Account and/or Pixel Placed?
Having multiple pixel codes on your store page can wreak havoc on its primary functions. So, you’ll need to remove them before using BigCommerce. The actual removal steps may vary depending on how you placed the pixels and the type of pixel used.
For example, if you manually placed a pixel on an AdRoll account, you will need to reverse this process. That means that the website code was entered into the footer and you need to remove the Pixel and edit the code.
However, if you’re working with Facebook Pixels, this is how you can remove unwanted pixels:
• Open and log into Facebook Business Manager
• Click on the Settings gear icon on the upper right corner
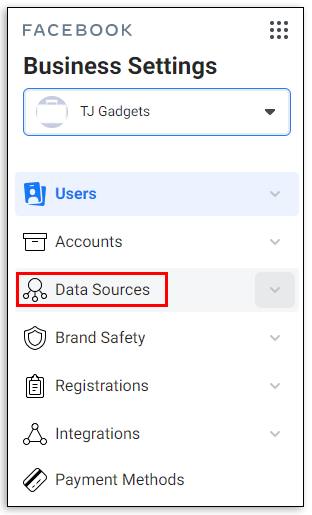
• Choose Data Sources from the left-side pane
• Click on Event Source Groups
• Choose the group and select Connected Assets
• Hover your cursor over the unwanted pixel name to see the trash icon
• Click on the trash icon
How Do I Setup My BigCommerce Facebook Pixel?
Setting up a Facebook Pixel is a simple process because BigCommerce guides you through most of the process. But first, you will need to create a Facebook Pixel in your Facebook Ads Manager account. You’ll need the Facebook Pixel ID to set up your BigCommerce store.
What Is a Facebook Pixel?
Facebook Pixels are a piece of code that helps you track what people do when they arrive at your website via a Facebook ad. A variety of information is trackable through a Pixel, such as the following:
• Start Trial
• Complete Registration
• Add to Cart
• Subscribe
• Add Payment Info
Using this information can help you retarget campaigns for bigger ROIs in your Facebook advertising strategies.
What Do Pixels Do with BigCommerce?
Think of it this way…
BigCommerce houses the products and services that you want to sell. They manage the storefront and take care of the logistics involved. However, they can’t tell you who is buying what and where they heard it from.
That’s where Pixels come in.
Pixels track user behavior from the origin platform, such as Facebook, to your storefront. They essentially follow users around and note their behavior so that you can create better ad strategies.
Data Is Only Numbers
Remember that tracking data is only a set of numbers until you decide to use it. Those numbers are no good to you or your business if you don’t use them to test and gauge your marketing efforts.
Do you use a pixel for your BigCommerce store? Tell us about your experience in the comments section below.


