Best Ways to Insert Checkbox in Word Document
Have you wanted to know what are the best ways to insert checkbox in word documents on Mac or Windows? Well, there are a couple of different ways to go about the process. You can use a customized bulleted list or a content control to insert checkboxes into a Word document. Also, for those wanting to just insert checkbox in word document for print checkbox controls next to each item, that can be done as well. There are two ways to add checkbox controls and how you’ll use them determines which method you’ll use.
Insert Checkbox in Word: Only for Printing Method
If you plan to print your list and use a pen or pencil to mark each item as you complete it, you can add checkbox controls instead of bullets. The following will help you insert checkbooks in word for printing only:
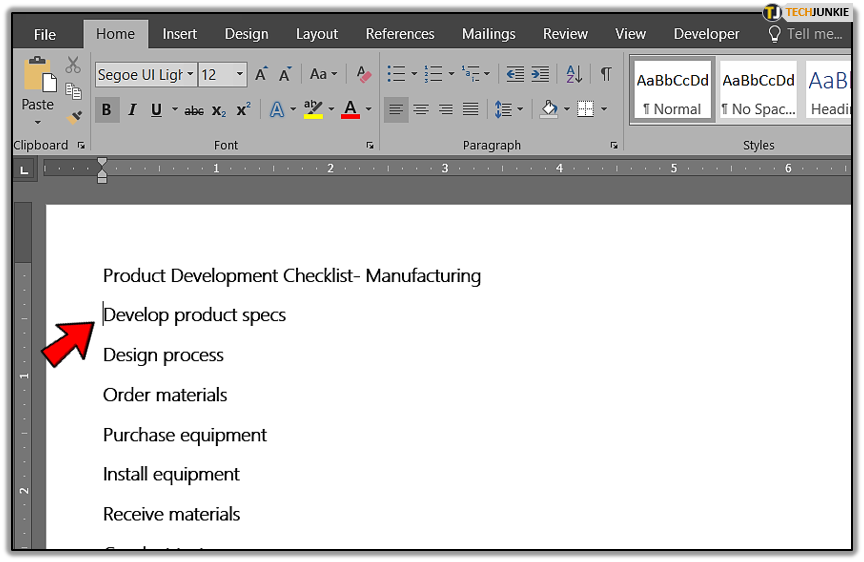
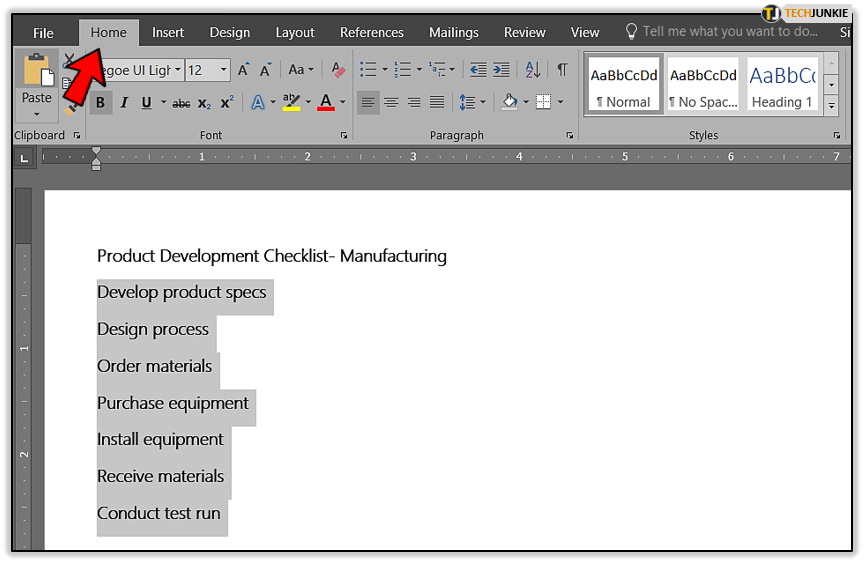
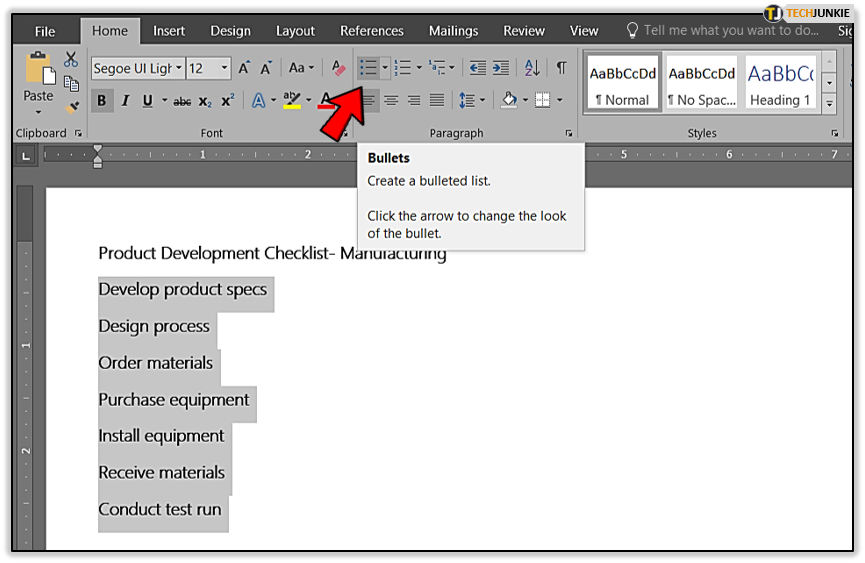
- Select the list.

- Click the Home tab if necessary.

- Click the Bullets dropdown in the Paragraph group.

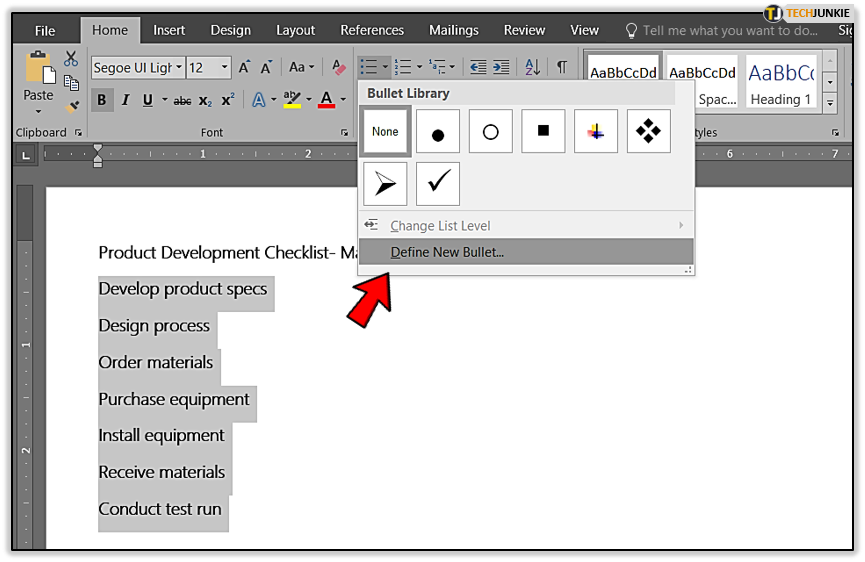
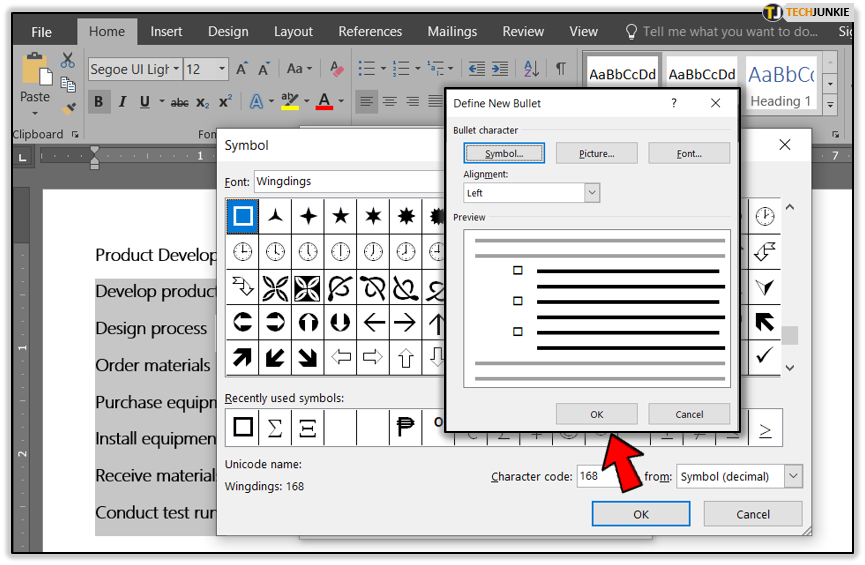
- Choose Define New Bullet from the dropdown list.

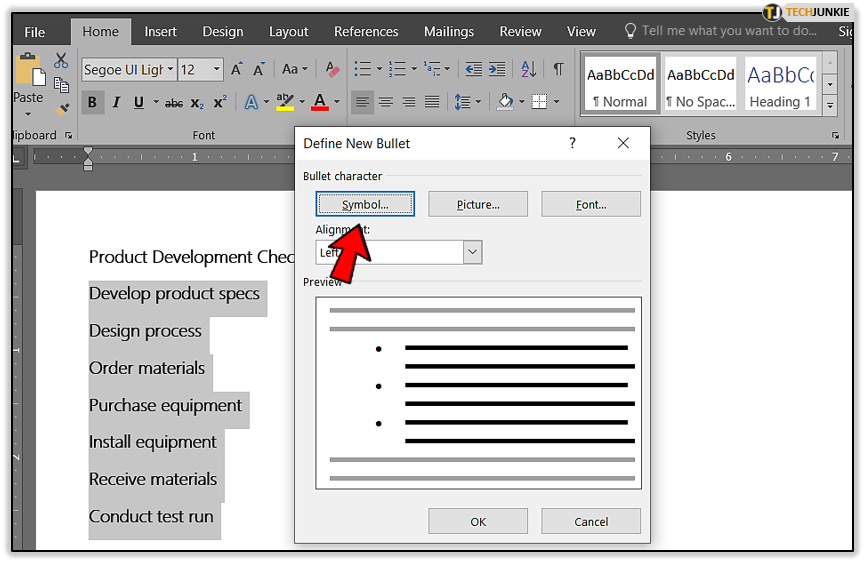
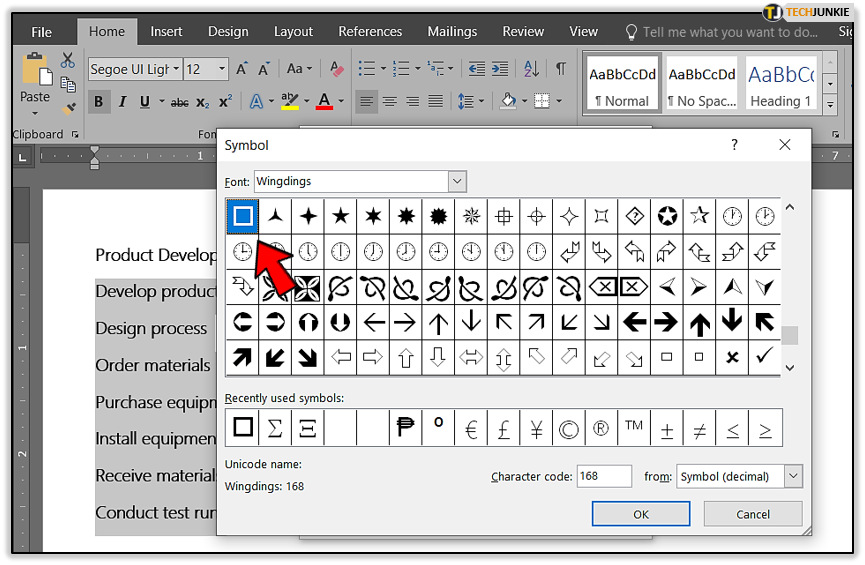
- In the resulting dialog box, click Symbol.
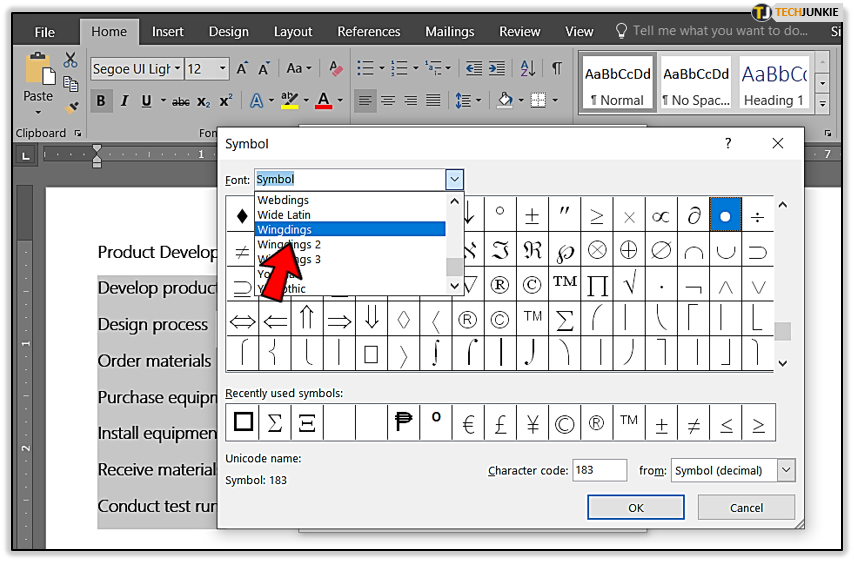
- Choose Wingdings from the Font dropdown.

- Select the checkbox in the first row.

- Click OK twice.

In some versions of Microsoft Word, when you select the right-click the list and choose Bullets and Numberings from the resulting shortcut menu. Choose any bullet style and click Customize. Click Character in the resulting dialog box. Continue with step 6 above.
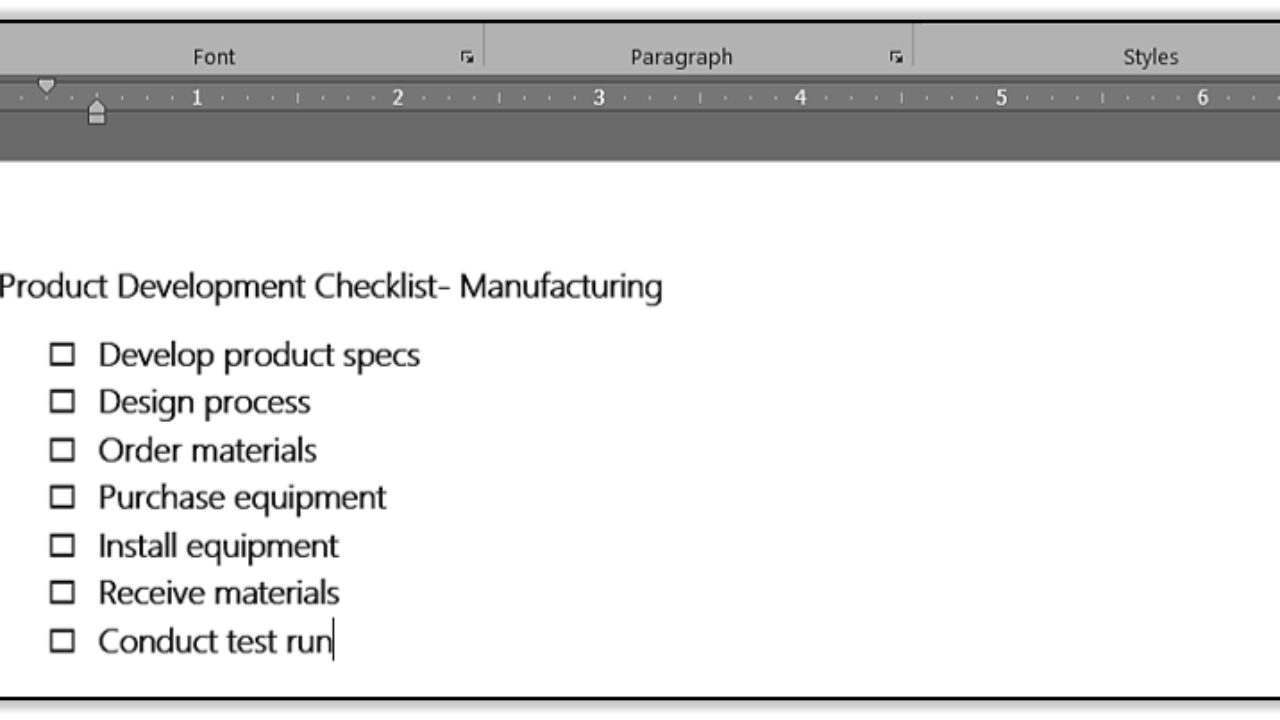
Word will replace the default bullet character with the selected checkbox. This particular symbol won’t let you check anything in the actual document, but it’s great for printing.
Insert Checkbox in Word: Content Control
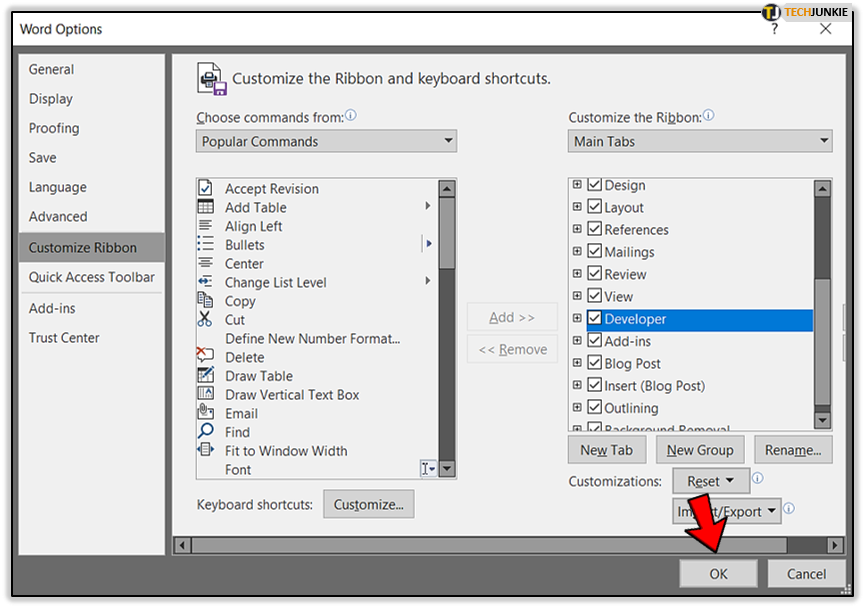
Also If you want the option to check the checkbox within the Word document, use a content control. Using content control allows you to insert checkbox in Microsoft Word. These controls are available on the Developer tab, which isn’t visible by default. To display the Developer tab, if necessary, do the following:
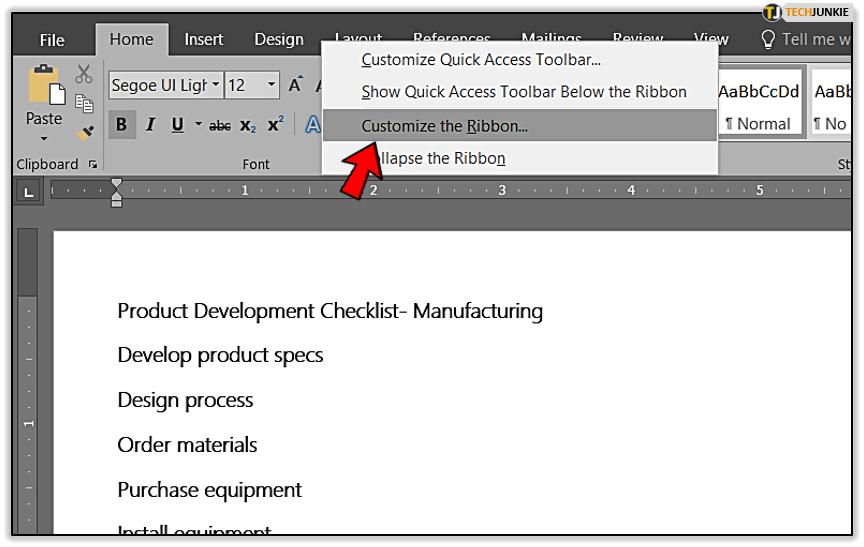
- Right-click anywhere on the ribbon’s background and choose Customize The Ribbon.

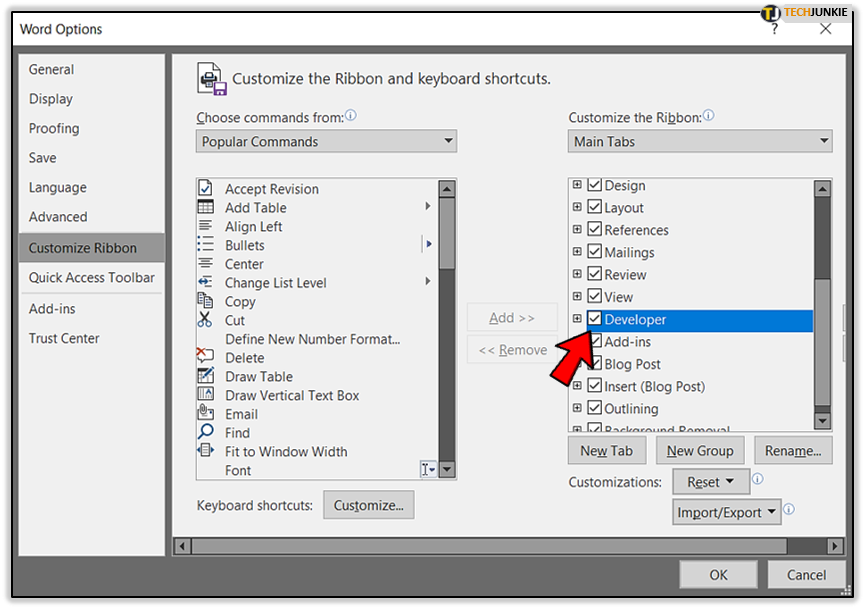
- Check the Developer item in the list to the right.

- Click OK.

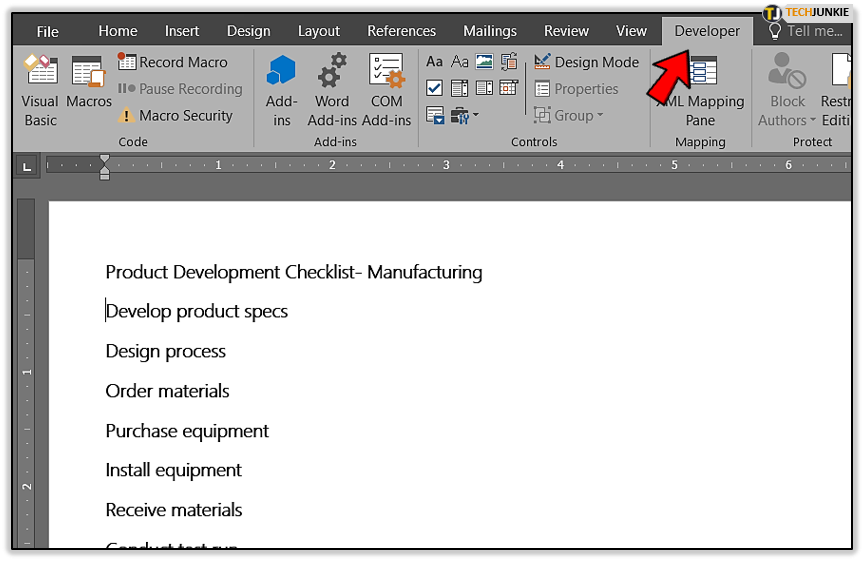
Once the Developer tab is available, you can add a checkbox content control, as follows:
- Position the cursor where you want the first control. (Don’t select the entire item; doing so will delete the item).
- Click the Developer tab.

- Click the Checkbox content control in the Controls group.