How To Create and Manage Your Apple ID
Your Apple ID is your personal key into the Apple ecosystem and necessary to log into most Apple services. You need it to log into iCloud, the App Store, iTunes and all those other services you might sign up for. Whether you’re a home or business user, safeguarding and managing your Apple ID is paramount.
This is a beginner’s guide, written for those of you who are new to the Apple ecosystem and who want to create and manage your Apple ID with the minimum of fuss.
Creating an Apple ID
Your Apple ID is your login to iCloud, your iPhone, iPad, iMessage, the App Store, iTunes, FaceTime and any Apple service you care to use. Your Apple devices are all synced using your Apple ID too, so it plays a central role in your Apple life.
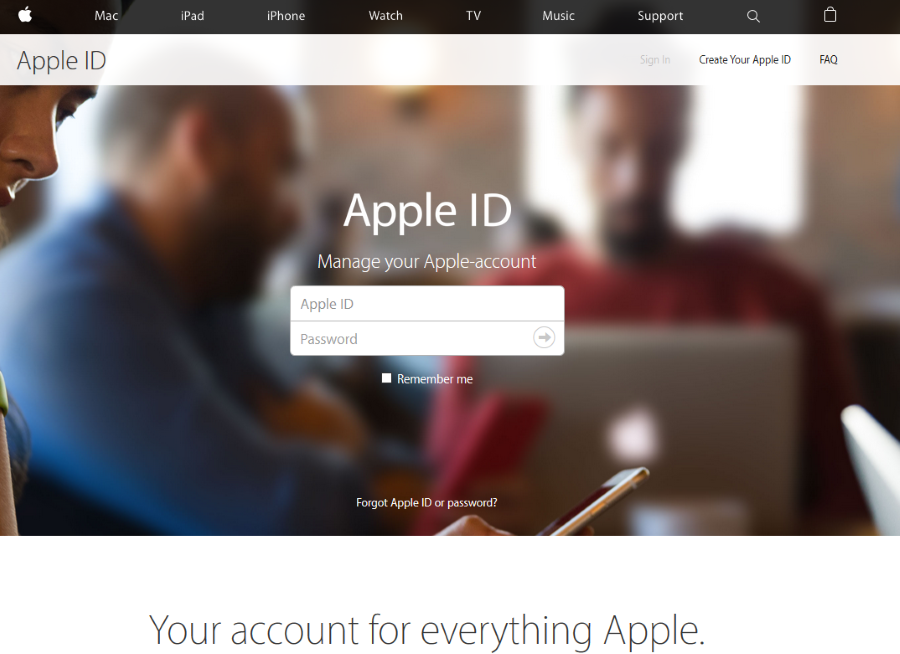
- Visit the Apple website here to create your Apple ID.
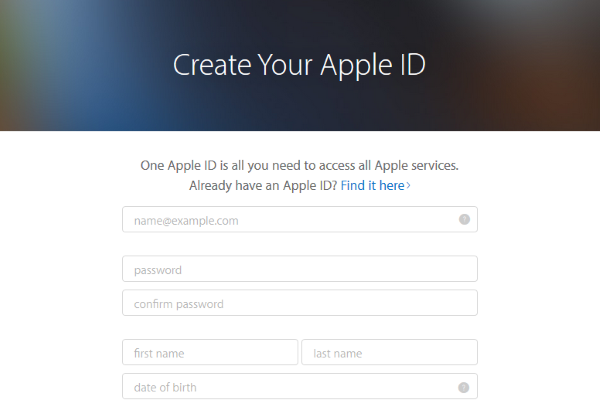
- Use your regular email address for your account as Apple will send a confirmation mail before opening your account. You cannot use one previously linked to an Apple ID either.
- Fill in your personal details and security questions to complete the form.
- Be truthful with your country of residence as Apple has different licensing regulations in different territories. It seems to use geolocation to check, plus your billing address has to match what your credit card holds on you otherwise you won’t be able to buy anything.
Using your Apple ID
Once you have created your Apple ID, it’s time to use it.
- In iTunes, click the Sign In link in the top right of the screen.
- In iCloud, click System Preferences, then the iCloud icon.
- In the App Store click Sign In within the quick links on the right of the screen.
- iBooks, click Sign In within the quick links on the right of the screen. Click Authorize this Computer to read your purchases.
While slightly different in places, all the different Apple services have a similar layout and sign in process. If you use a different service, you will likely see either a Login or Sign In option on the front screen of each.
Managing your Apple ID
You can manage every aspect of your Apple ID from the Apple website. There isn’t a whole lot you need to do with it, but what you can do, you can do from there.
- Log into the Apple ID website.
- Click the Manage your Apple ID button to access all the options.
From here you can manage passwords, email addresses, close your account and remove your Apple ID.
Increase security
One of the first things you should do after creating an Apple ID is increase security on the account. Using two-factor authentication is popular across many brands and Apple is in on the act too. Essentially, you set up a destination, either your cellphone or email address to have confirmations sent to. Then, every time you log in using your Apple ID, a confirmation is sent which you need to respond to. You will not be able to log in until you respond to the confirmation.
This significantly increases the security of your account and is the first thing you should set up once you get your Apple ID.
- Log into the Apple ID website.
- Click the Manage your Apple ID button.
- Select Password and Security on the left and then Two-Step Verification.
- Click Get Started and provide either your cell number or email address where the confirmation can be delivered. Make sure you can get to it quickly as the confirmations are time limited.
- Note the recovery key and keep it somewhere very safe.

Adding payment details
While many Apple services are free if you own an Apple device, they are only free to a point. Most services require some form of payment for media, extra storage or extra features. That means you’re going to need to add a credit card to get the most out of them.
You don’t add a credit card to your Apple ID, you add it to the app you’re going to use. So you would add it to iTunes, App Store or wherever rather than your Apple account.
On iPhone and iPad
- Tap Settings, iTunes and App Store.
- Tap your Apple ID, then View Apple ID. Sign in if required.
- Tap Payment Information and add your details.
- Tap Done when complete.
On Mac
- Open iTunes on your Mac and sign in.
- Click the Account menu option and View Account.
- Click Edit next to Payment Type and add your card details.
- Click Done to save those details.
How to recover a lost password
If you forget your details and cannot log into your Apple account, don’t worry, Apple has an app for that.
- Visit the Apple iForgot website.
- Enter your email address into the box and click Continue.
- If you haven’t yet enabled two-factor authentication (why not?) you can elect to reset your password there and then.
- If you have enabled two-factor authentication, you will need the recovery key you were given when you set it up. Enter it into the box and a verification message will be sent to you. Respond to it and reset your password.
If you forget your recovery key and your password when you have two-factor authentication enabled, you’re out of luck. The system is designed to be secure and as such cannot allow access to your account without this information. If this happens, you will have to create a new Apple ID.
How to delete an Apple ID
If you have had enough of Apple products and services, you can (sort of) delete your account from your Apple devices easily. Surprisingly easily considering the company wants in on every aspect of your life. However, you cannot delete the Apple ID itself, just the hardware and details contained within it.
On iPhone and iPad
- Tap Settings, iCloud.
- Tap your Apple ID then Devices.
- Tap Remove From Account.
- Tap Sign Out and Delete from my iPhone.
- Tap iTunes & App Store and your Apple ID.
- Tap Sign Out.
- Tap Settings and then Music.
- Scroll down to Home Sharing and tap Sign Out.
On Mac
- Open iTunes on your Mac and sign in.
- Click Store and View Account.
- Click iTunes in the Cloud and then Manage Devices.
- Click Remove next to each listed device and then click Done.
- Click Store, Deauthorize this Computer.
Those are the basics of creating and managing your Apple ID. I hope it helps!