What is a Range in Google Sheets?

If you’re working with large amounts of data in Google Sheets, it’s inevitable that you will have to deal with a range of cells. But what are ranges, exactly, and how can you use them to make your spreadsheet more useful? Are there ways to make a range of cells that help you with your work?
If you’ve ever asked yourself, “What is a range in Google Sheets and can it help me?,” we’ll try to answer that question here, as well as give you some useful commands related to Google Sheets.
Definition of a Range in Google Sheets
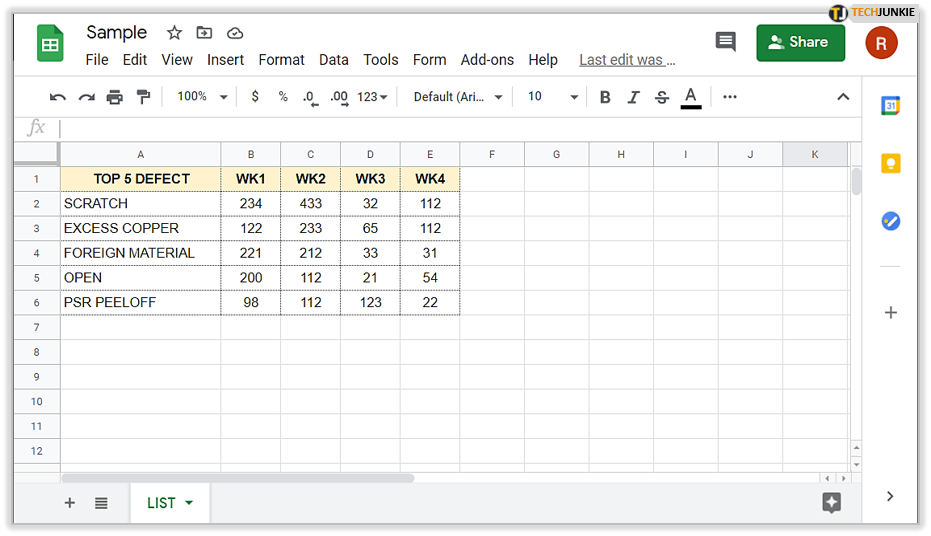
To put it simply, a range contains all the cells to which you want to apply an edit or an effect. This can be a single cell or a large number of cells. The common format of a range is X:Y, where X is the first cell in the range and Y is the last. For example, a range of 10 cells from A1 to A10 will be written as A1:A10.
Ranges are usually set as either columns or rows. A column range will have cells starting with the same letter. Row ranges will have cells ending in the same number. A range containing multiple rows and columns are also possible. For example, a range of 20 cells from B2 to E6 can be written as B2:E6.
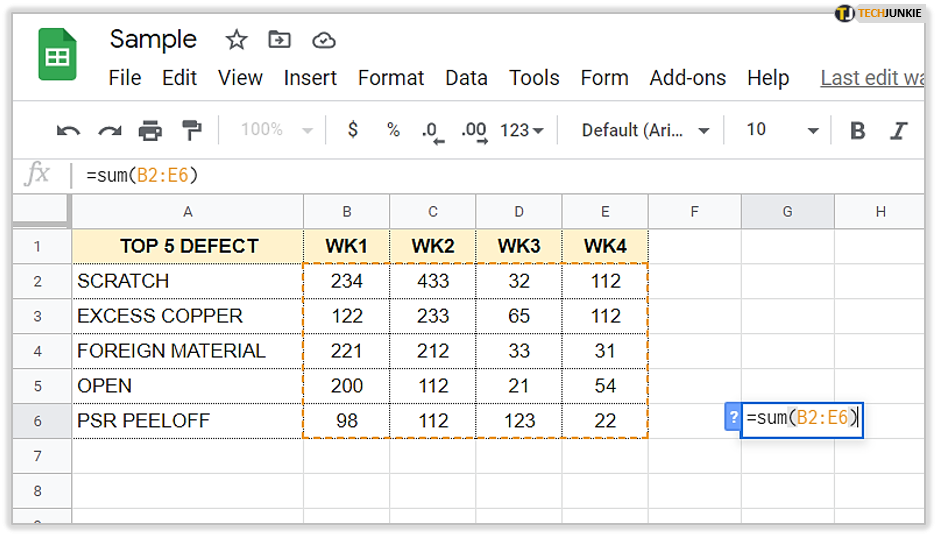
If you’re using a formula or a function, you can click and drag your mouse to see the text equivalent of that particular range. Do note that if you’re actually using a function, any null or blank cells in your range selection may cause #value or #ERROR messages, as a large number of formulas don’t accept null values. The same may happen if a value in your range isn’t in a format accepted by the particular function.
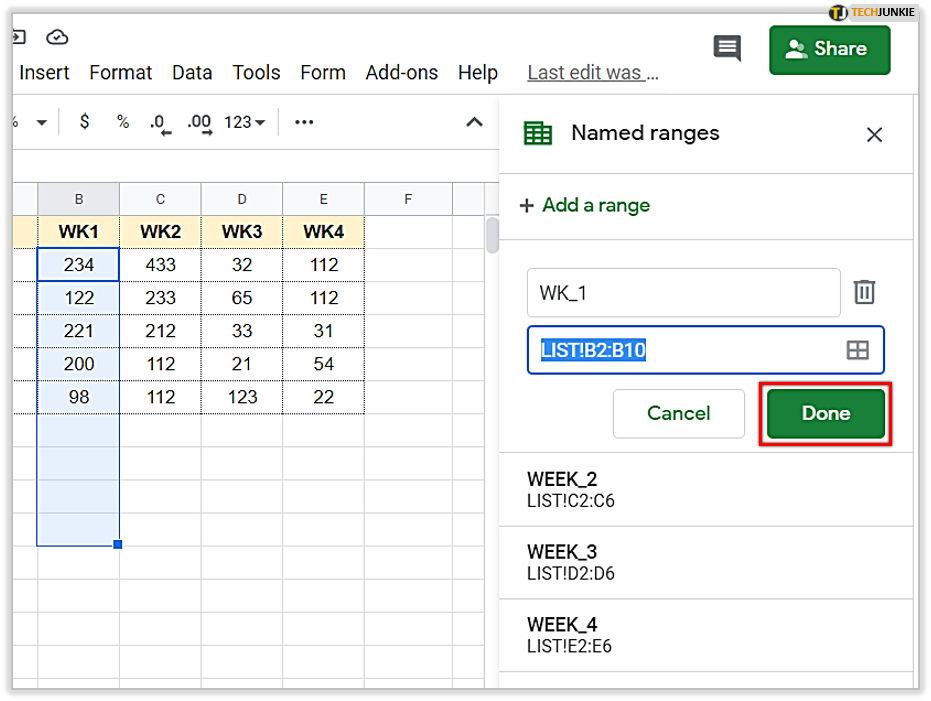
Making Named Ranges
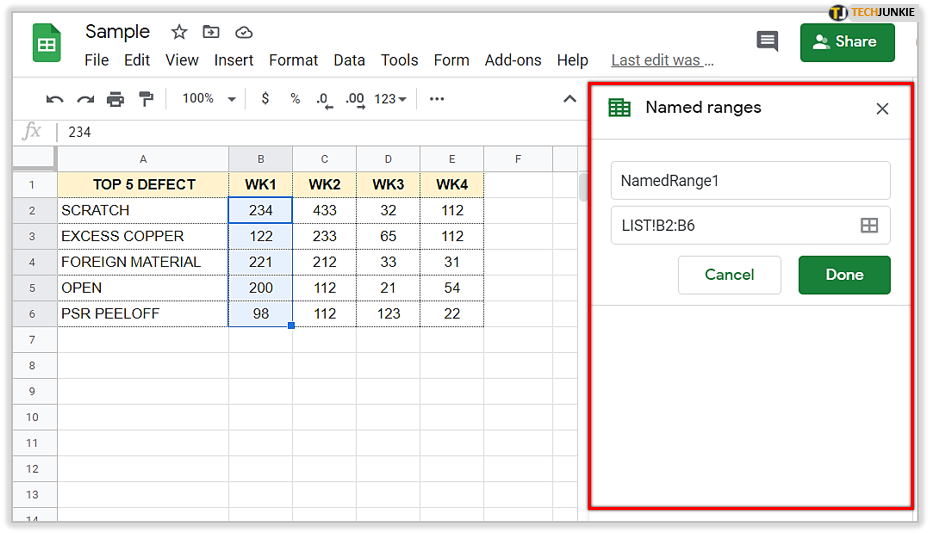
Sometimes, declaring the cells for ranges can be quite confusing, especially if you have multiple ranges with which you have to deal. Fortunately, Google Sheets allows you to name particular ranges so that you know the exact data that they contain. This is certainly useful if you have a database that contains hundreds, if not thousands of data points. To make named ranges, you can do the following steps:
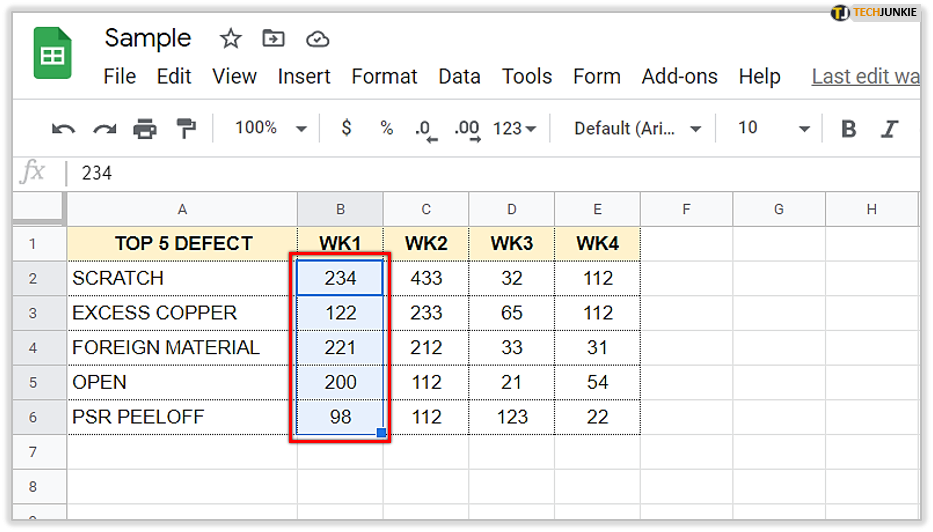
- On your Google Sheets project, select the range of cells that you want to name.

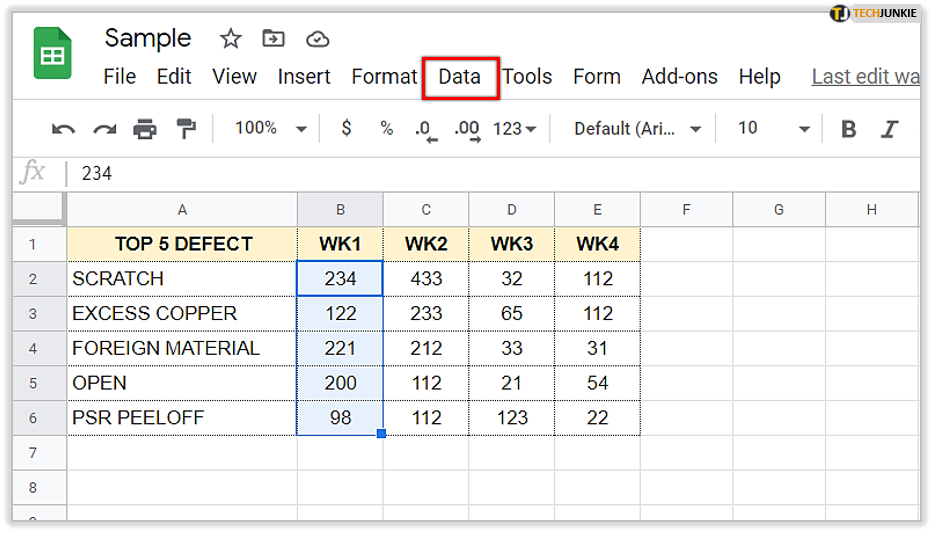
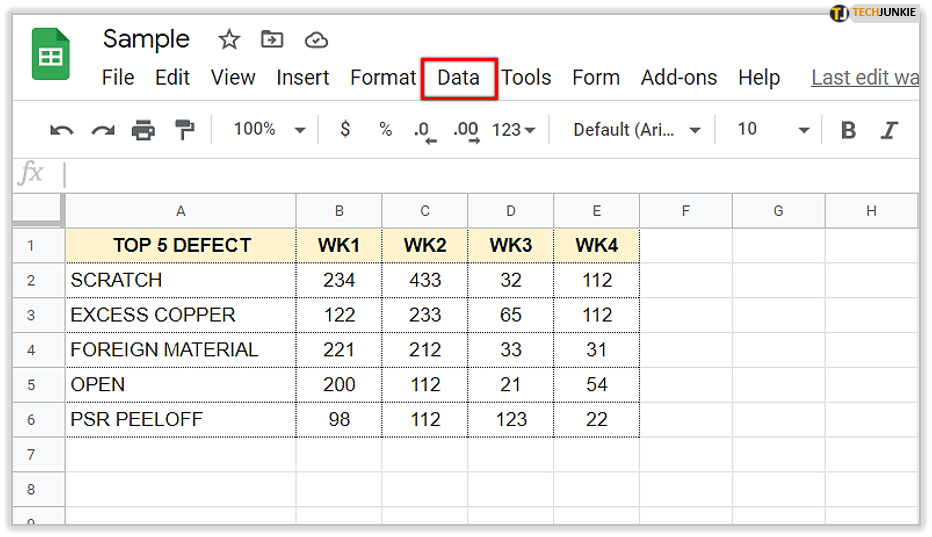
- On the top menu, click on “Data.”

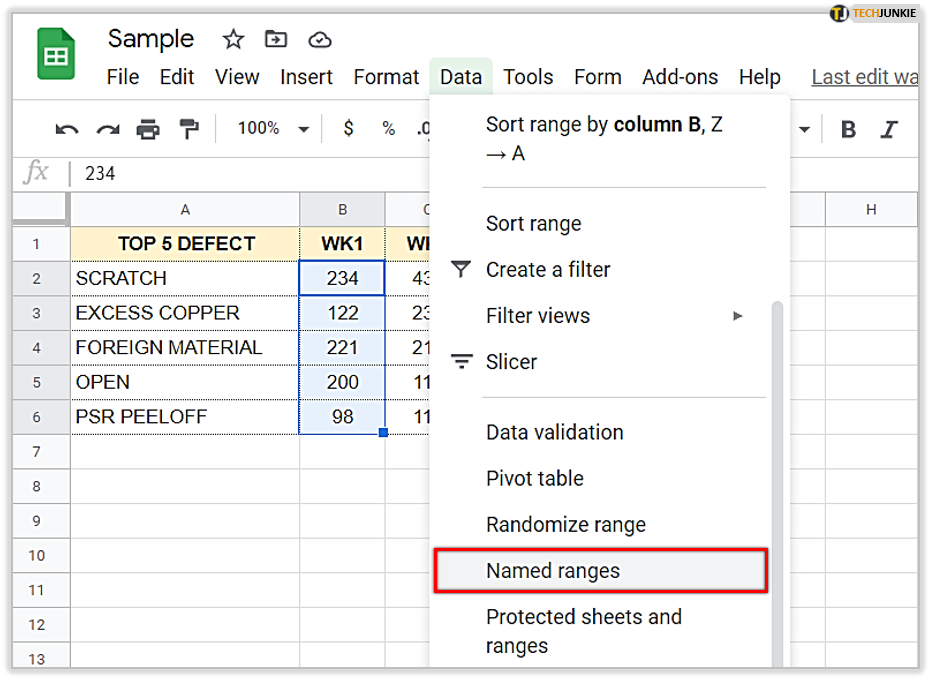
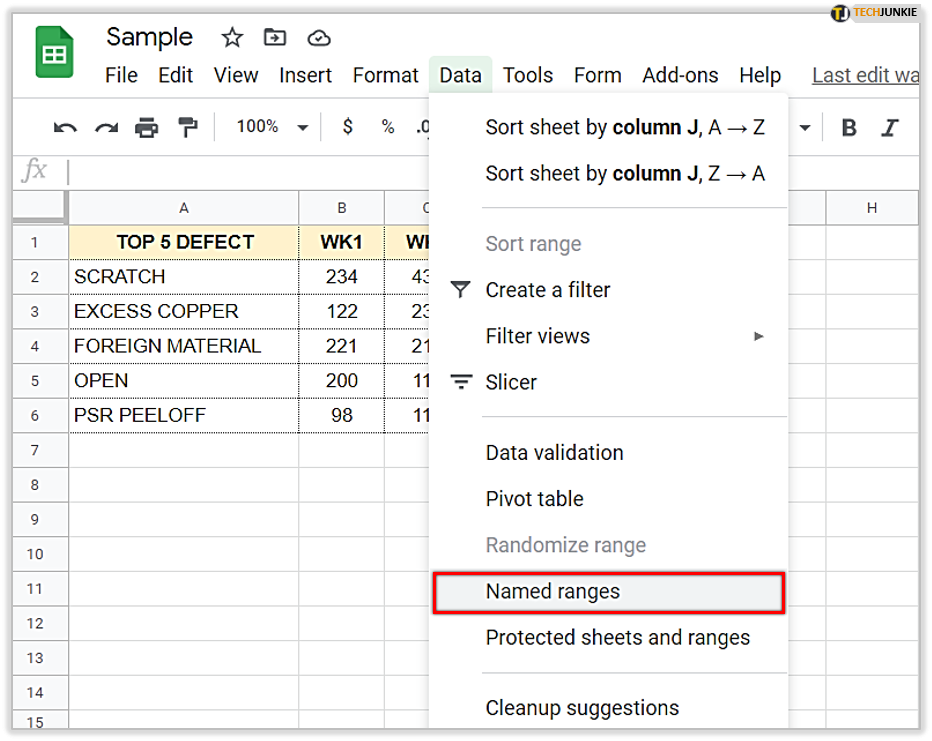
- From the dropdown menu that appears, find and click on “Named ranges.”

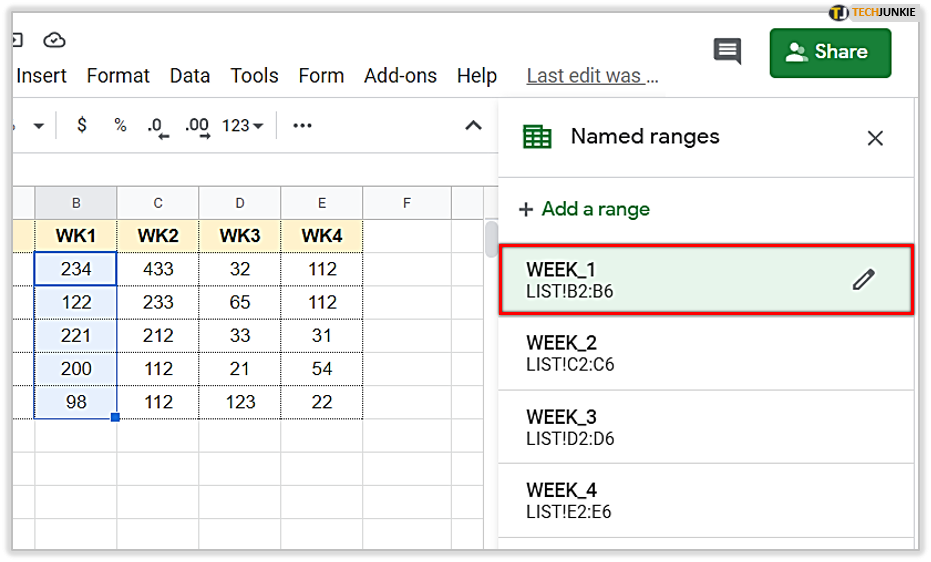
- To the right of the Google Sheets screen, a new window will appear.

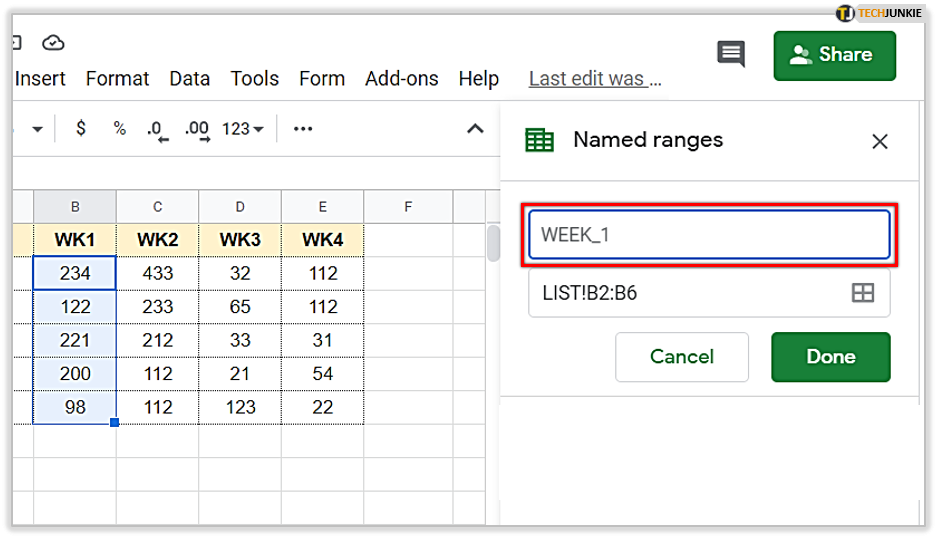
- The first text box is where you will be allowed to input your desired range name.

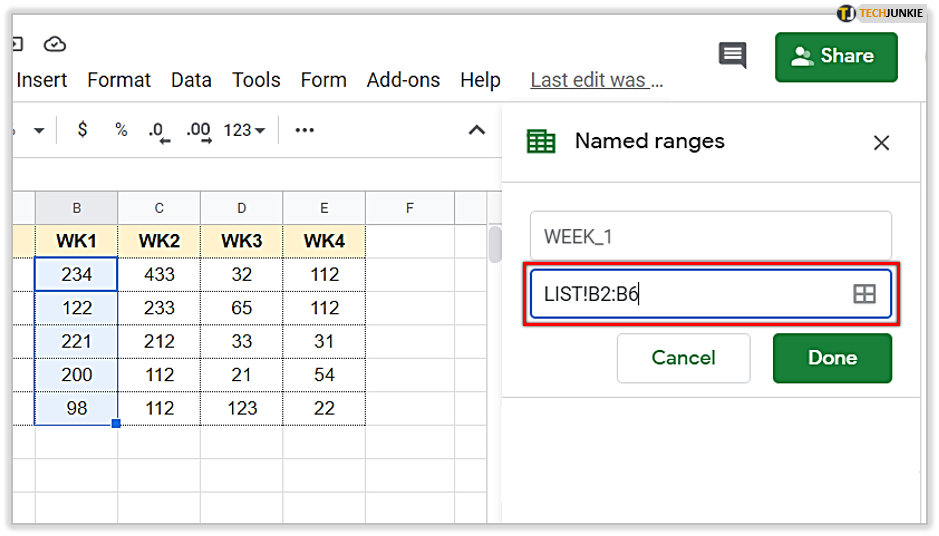
- The second text box will allow you to edit the current selected range.

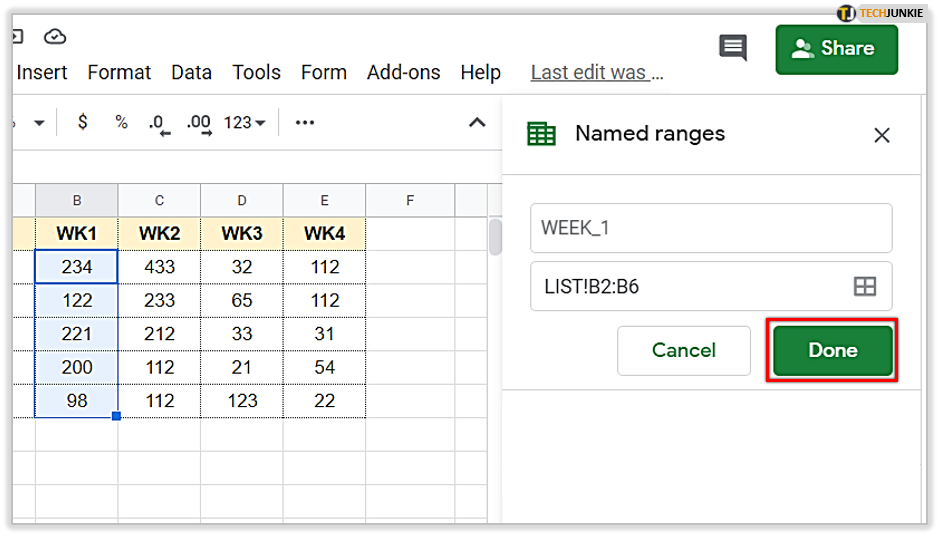
- Once you’re finished editing the information, click on “Done.”
Do note that Google Sheets has several naming rules that you must follow. Fail to follow them and you’ll experience errors when naming your range. These rules are:
- Range names can only consist of numbers, letters, and underscores. You can’t use other symbols when using a range name.
- A letter must be used to start your range name. Using a number as the first character will result in an error.
- You can’t put spaces in your range name. Punctuations, because they are symbols, are also unaccepted.
- The minimum name length allowed is a single character. Conversely, you can have a maximum of 250 characters for your range name.
- Although accepted, names that are similar to actual cell names may cause errors as Google Sheets will think that you’re referring to a cell, or a range of cells. Naming your range A1 for example will cause the program to think you’re trying to call cell A1.
Editing or Deleting Named Ranges
If you have already named ranges and wish to edit either the name or the range itself, perform the following steps:
- Open the spreadsheet project that has the named ranges that you want to edit.

- Click on “Data” on the top menu.

- Scroll down and click on “Named ranges” from the dropdown menu.

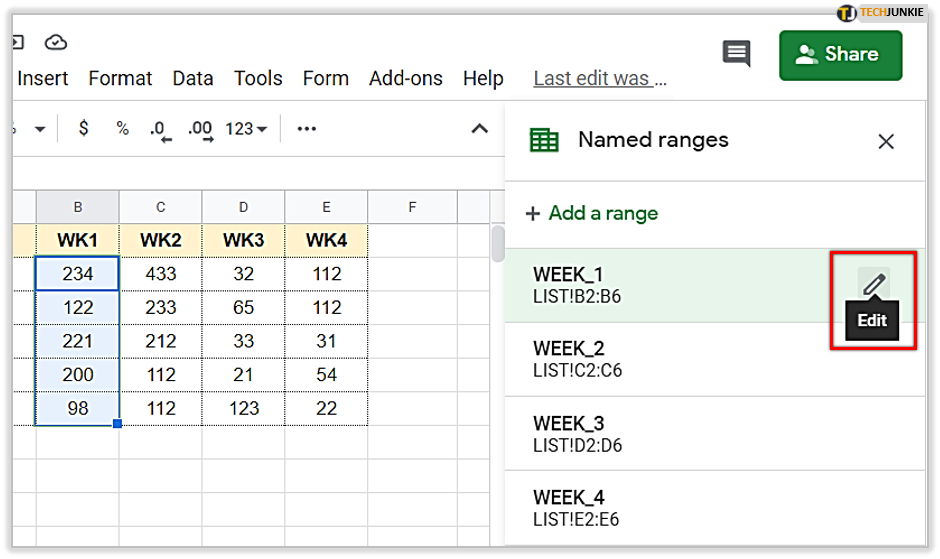
- On the “Named ranges” window to the right, choose the range that you want to edit or delete.

- Click on the pencil button that appears to the right of the name range.

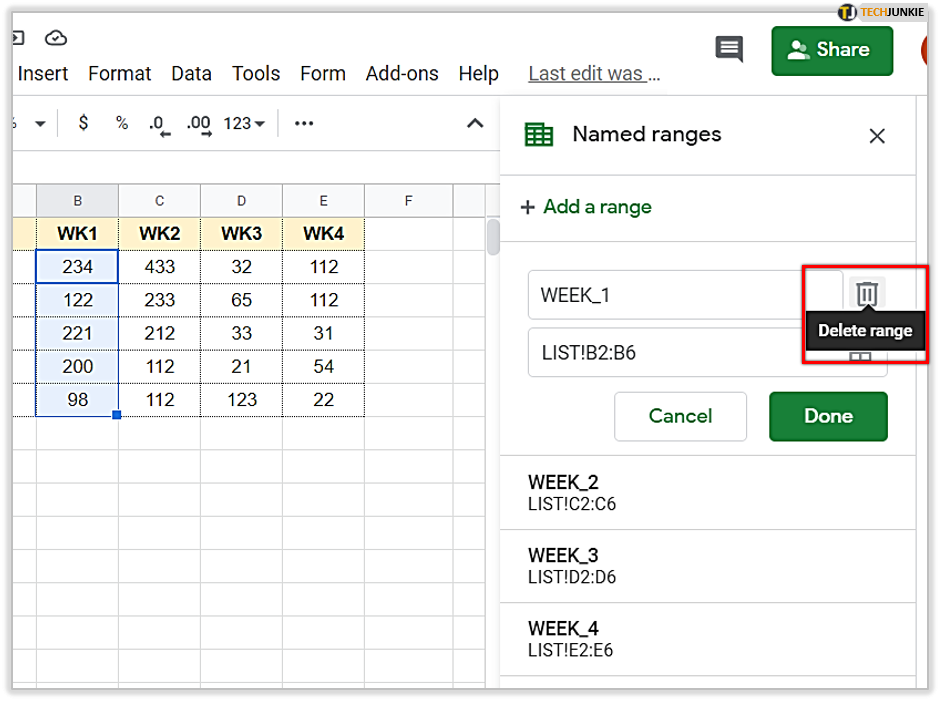
- If you wish to delete the range, click on the trashcan icon to the right of the range name.

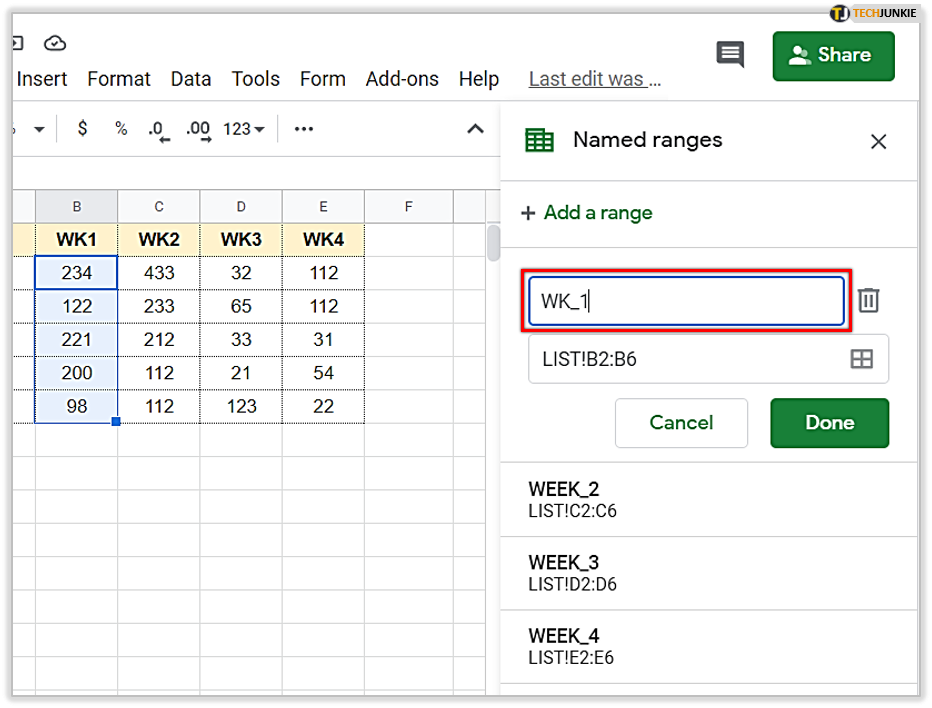
- If you wish to edit the name, type the new title in the text box.

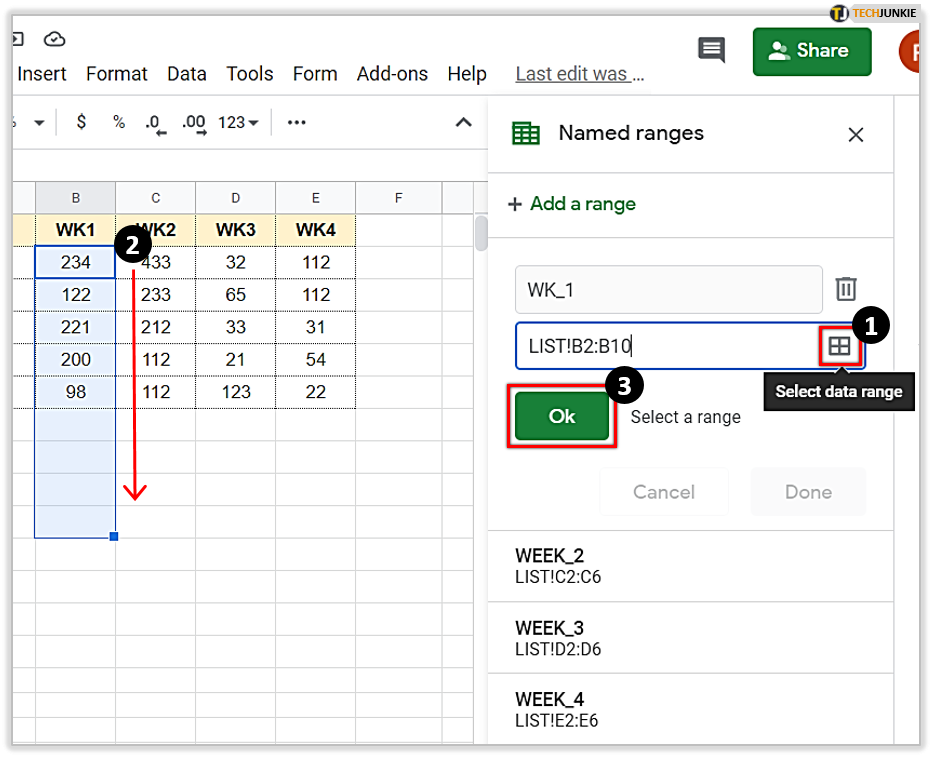
- If you want to edit the range itself, change the values in the second text box, or click on the “Select data range” button to select the range by clicking and dragging your mouse. When done, click on Ok.

- Once you’re finished, click on “Done.”

Coding Commands Related to Ranges
A good number of common formulas used in spreadsheet accounting accept ranges as an input. The SUM function, for example, will add all the values contained inside a specified range. The AVERAGE function, as the name suggests, will add the values in the range and then divide it by the number of values.
If you wish to see a list of functions that Google Sheets uses, then go to the Function List and press Ctrl + F, then type in range. The highlighted formulas, especially relating to Arrays or Mathematics, will accept ranges as input arguments.
Using the Proper Tools
Knowing what a range is and how they can be used to your advantage will help a great deal in improving the efficiency of your spreadsheet. Manipulating a great deal of data can be a simple process as long as you have the proper tools at your command.
Have we answered your questions about what a range is in Google Sheets? Share your thoughts in the comments section below.