


How to Rebuild the Spotlight Index on Your Mac

Spotlight, the Mac’s built-in search utility, is pretty great. It can find documents, folders, or applications by file name, and you can even use it to search for words that appear within your files, too. If Spotlight stops working, though—i.e., if your searches aren’t turning up the results you’d expect—there’s thankfully a way to rebuild the Spotlight index to get it back up and running again. Which is awesome, because I personally couldn’t live without it! Not sure I’d ever find anything on my Mac again.
Spotlight Overview
So how does Spotlight work, anyway? There are a few different ways to access a Spotlight search on your Mac. First, you can click its magnifying glass icon, which lives at the top-right corner of your Mac’s screen by default.
![]()
Another method, and the one I prefer to use, is the Spotlight keyboard shortcut, which is Command-Spacebar by default. Regardless of whether you clicked the magnifying glass or pressed that shortcut, you’ll see a text input bar appear in the middle of your screen. Here, you can type your search word or phrase.
As soon as you start typing, the text box will expand to show you results in near real-time. The time it takes for results to appear will vary depending on the number of files you have on your Mac, the speed of your Mac’s hard drive or SSD, and the type of file system your drive is formatted as (the Apple File System, introduced to the public in macOS High Sierra, allows for near-instant search results).
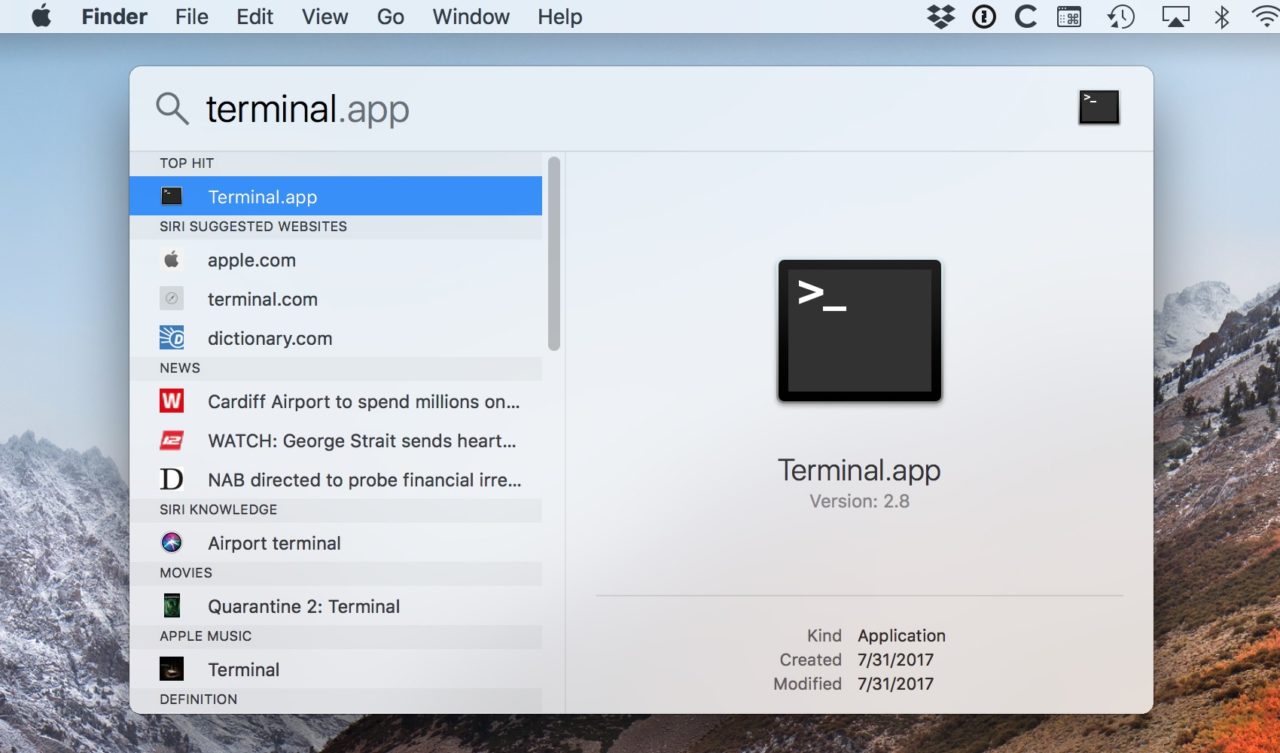
In the example screenshot above, I’ve searched for the Terminal app, but as I mentioned, you can look for pretty much anything on your Mac. Spotlight will even do some other neat stuff, too, like quick calculations.
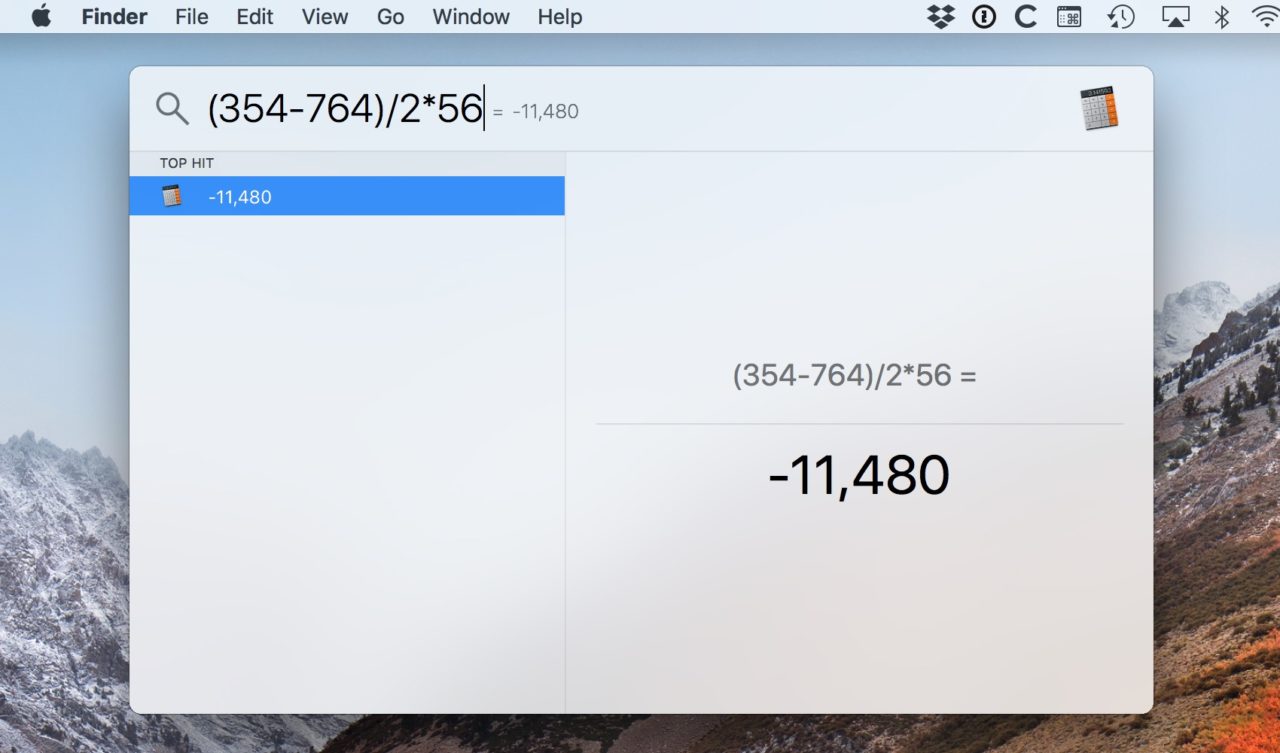
Why these numbers? I have no idea.
Fixing Spotlight
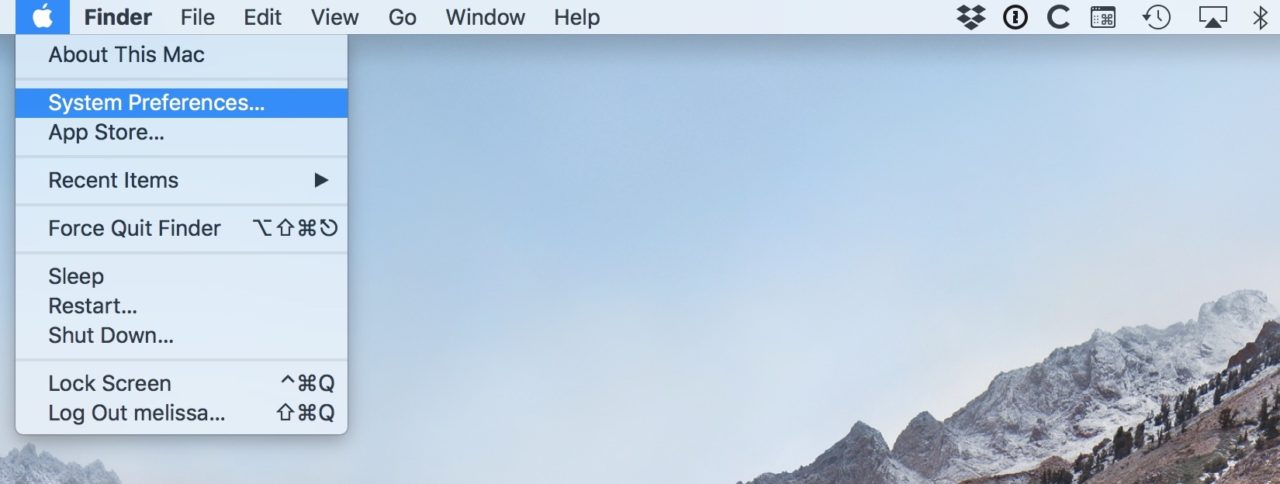
Spotlight’s really handy for a whole bunch of stuff, so…you know…it’s kind of a bummer when it stops working. What should you do if that’s the case? Well, to re-index your own Spotlight database, start by clicking on the Apple Menu at the upper-left corner of your screen and choosing “System Preferences.”
When that window opens, click on “Spotlight” (unsurprisingly).

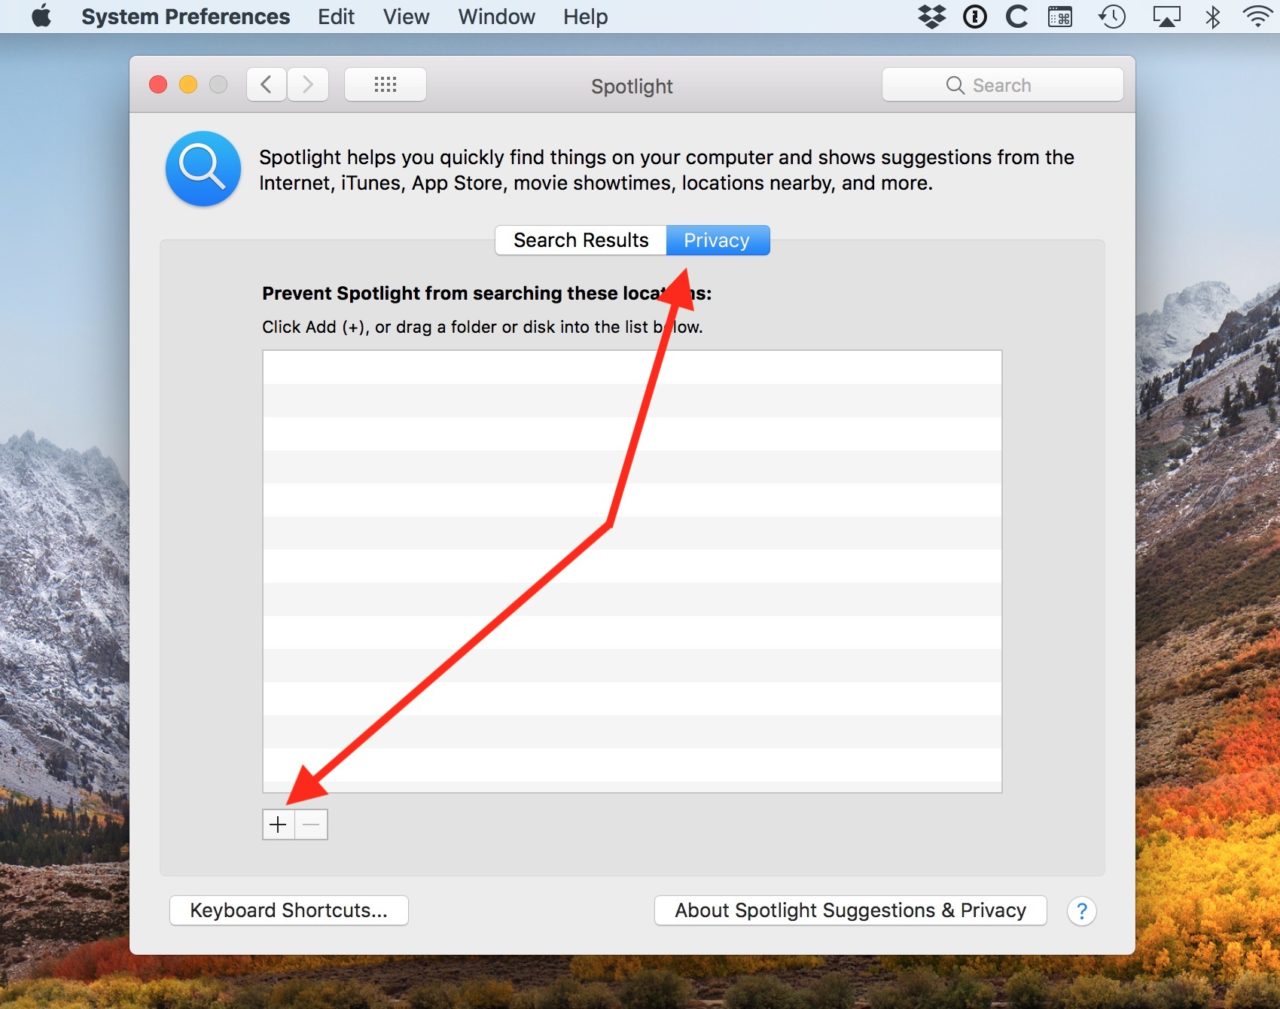
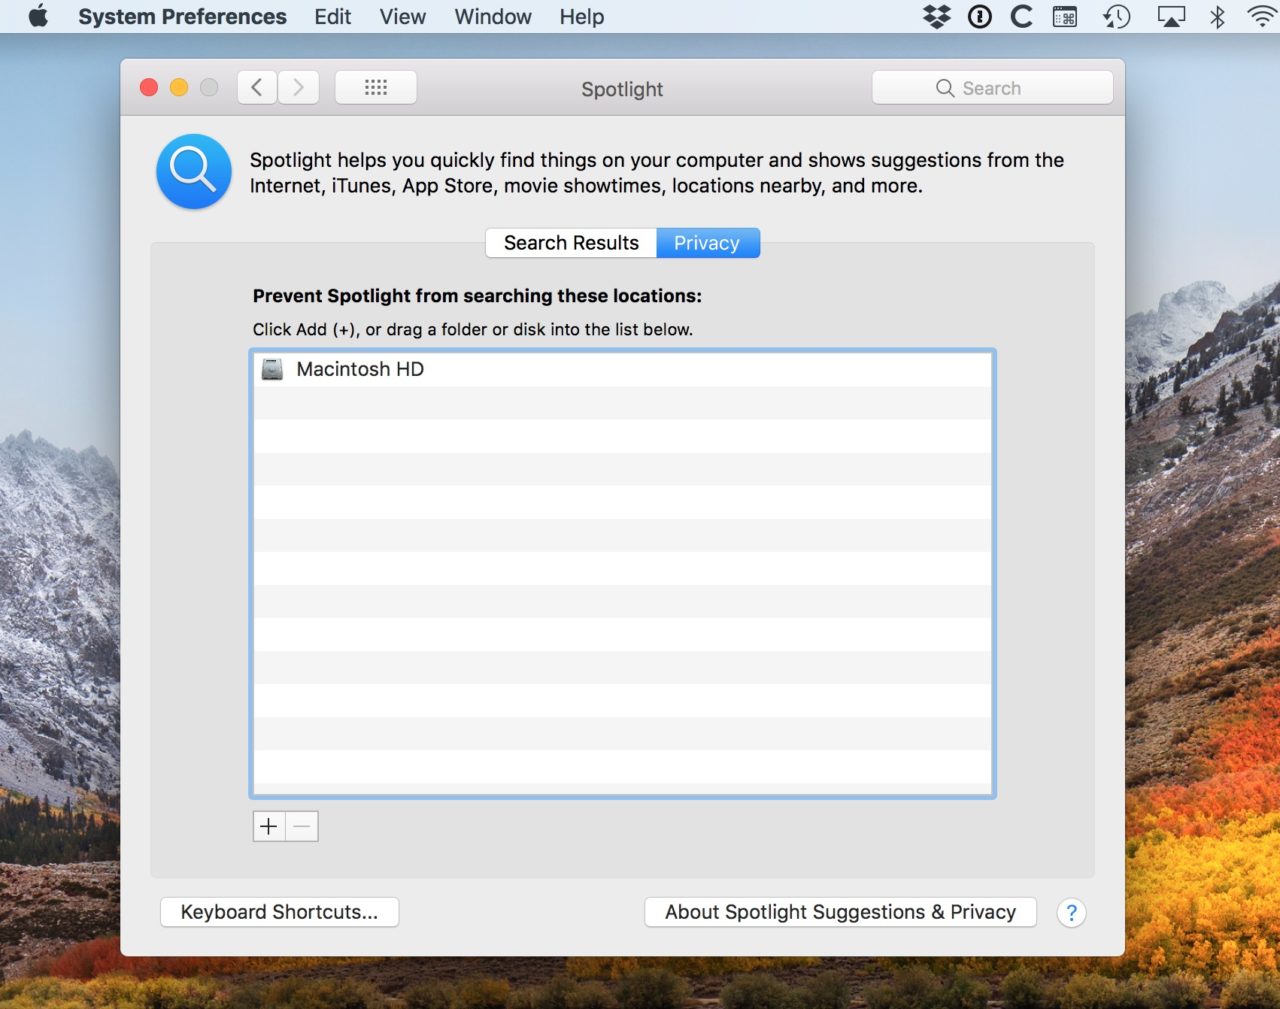
Under the Spotlight preferences, choose the “Privacy” tab, and then click the plus button at the bottom-left corner.
Next, you’ll have to find your Mac’s startup disk, which is probably called “Macintosh HD.” An easy way to do this is to click the drop-down at the top of the following window…

…and then choose your disk from that drop-down.
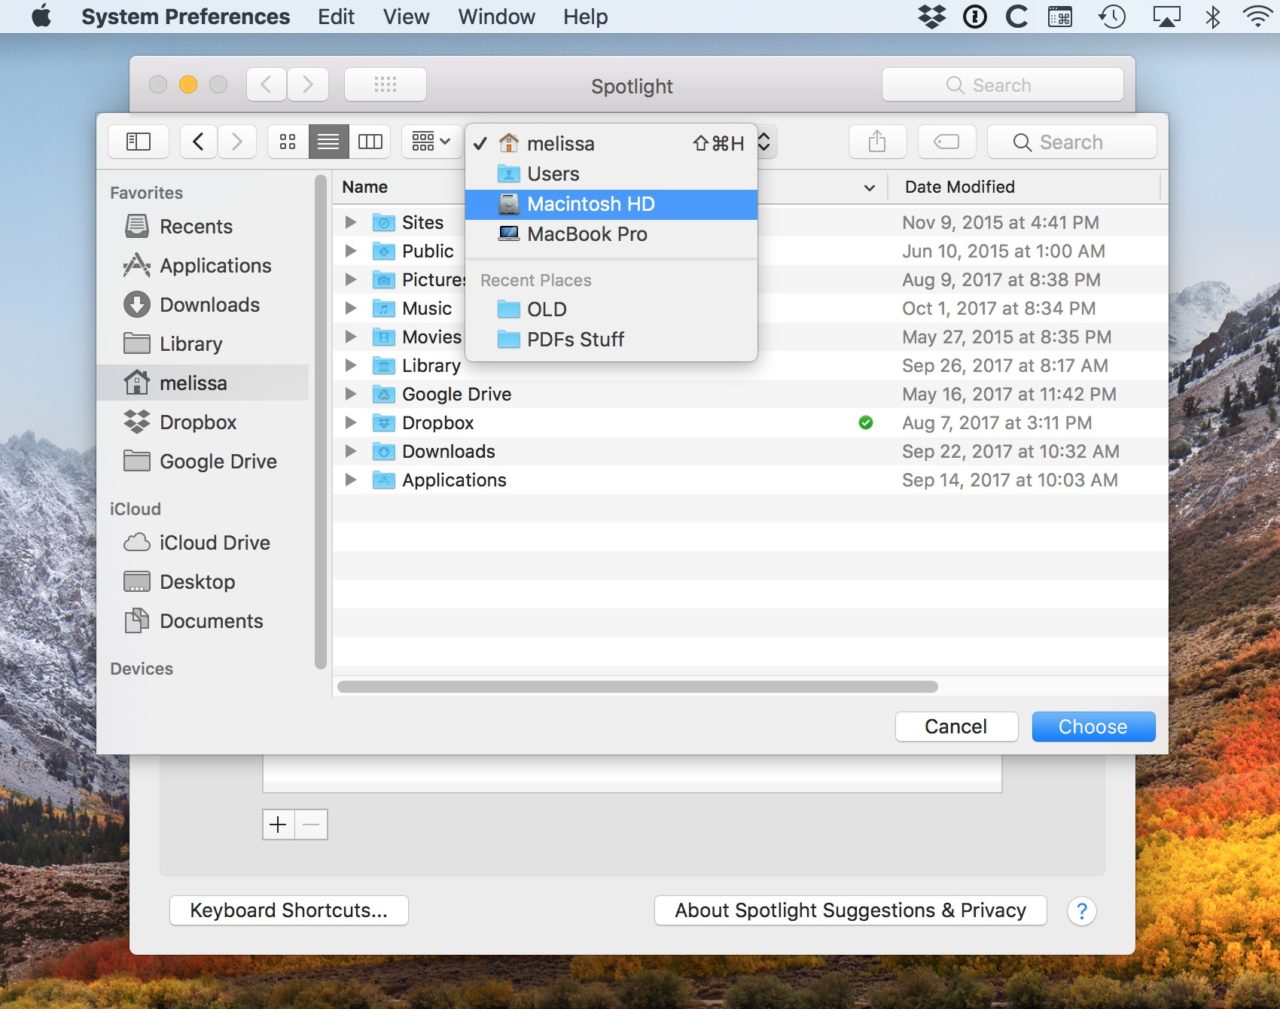
As I noted, it will likely be called “Macintosh HD,” but if yours isn’t, you can tell you’ve got the right item by the icon; it will look like a silver drive. (And if you don’t see it in that drop-down at all, try clicking “Applications” or your home folder from the sidebar on the left and then looking back under the drop-down.)
When you’re done with this selecting-your-disk part, click on the “Choose” button. Your Mac will give you a big scary warning to agree to.
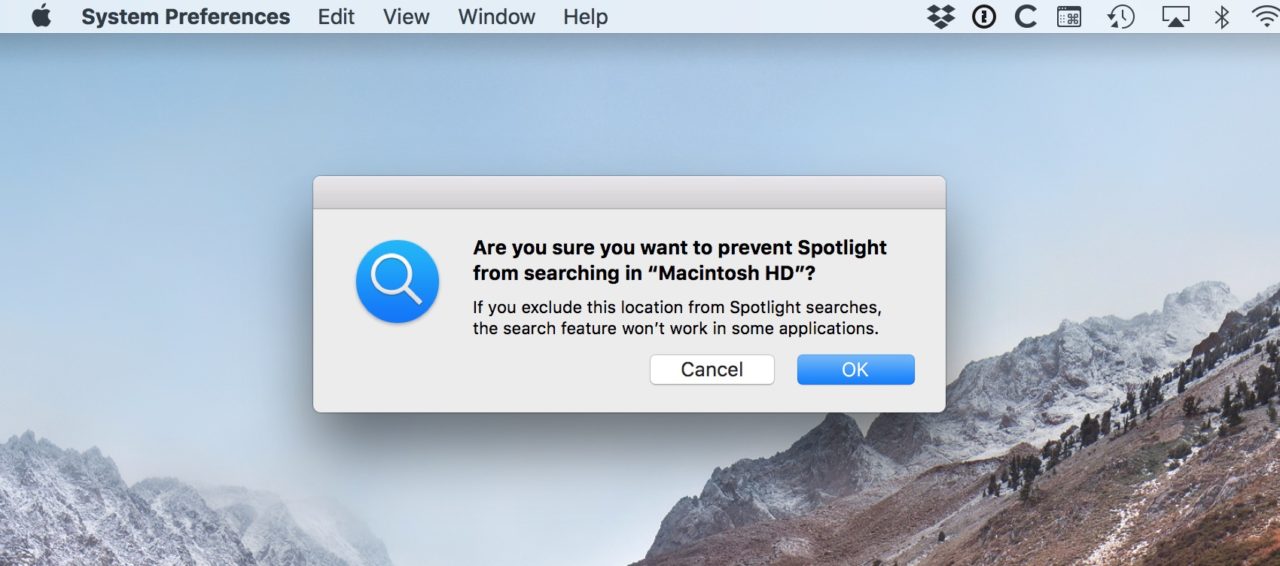
You’ll click “OK,” but don’t worry—we’re going to turn Spotlight right back on when we’re finished with this! After you confirm that you know what you’re doing, you’ll see your drive appear under that Spotlight “Privacy” tab.
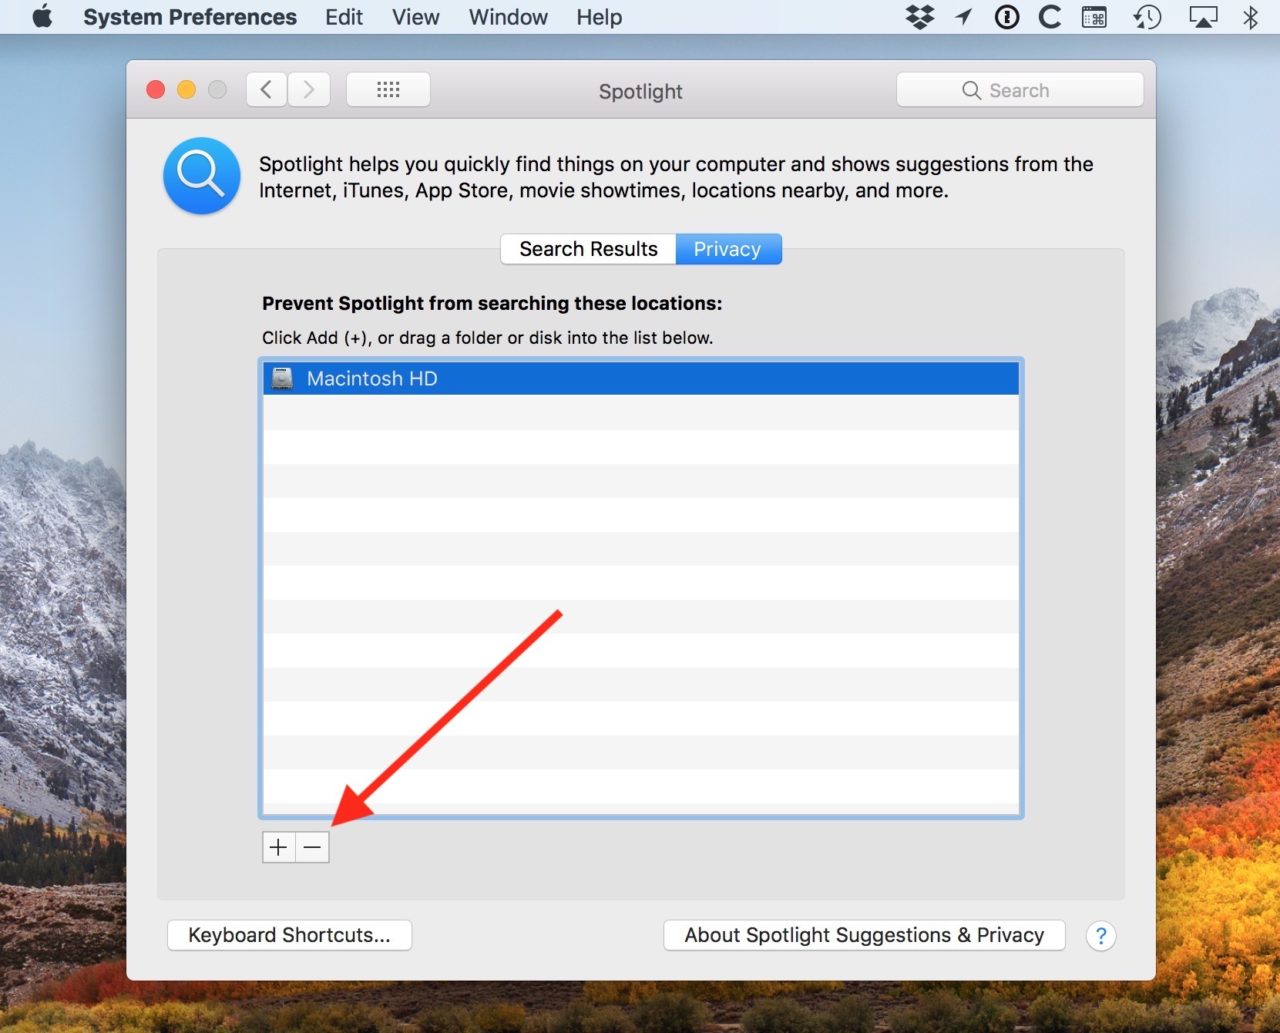
Now I know we just put the drive in there, but we’re gonna take it back out, which will force Spotlight to re-index the whole disk. Nice! To do that, just click on it in your “Privacy” list to highlight it, then click the minus button at the bottom.
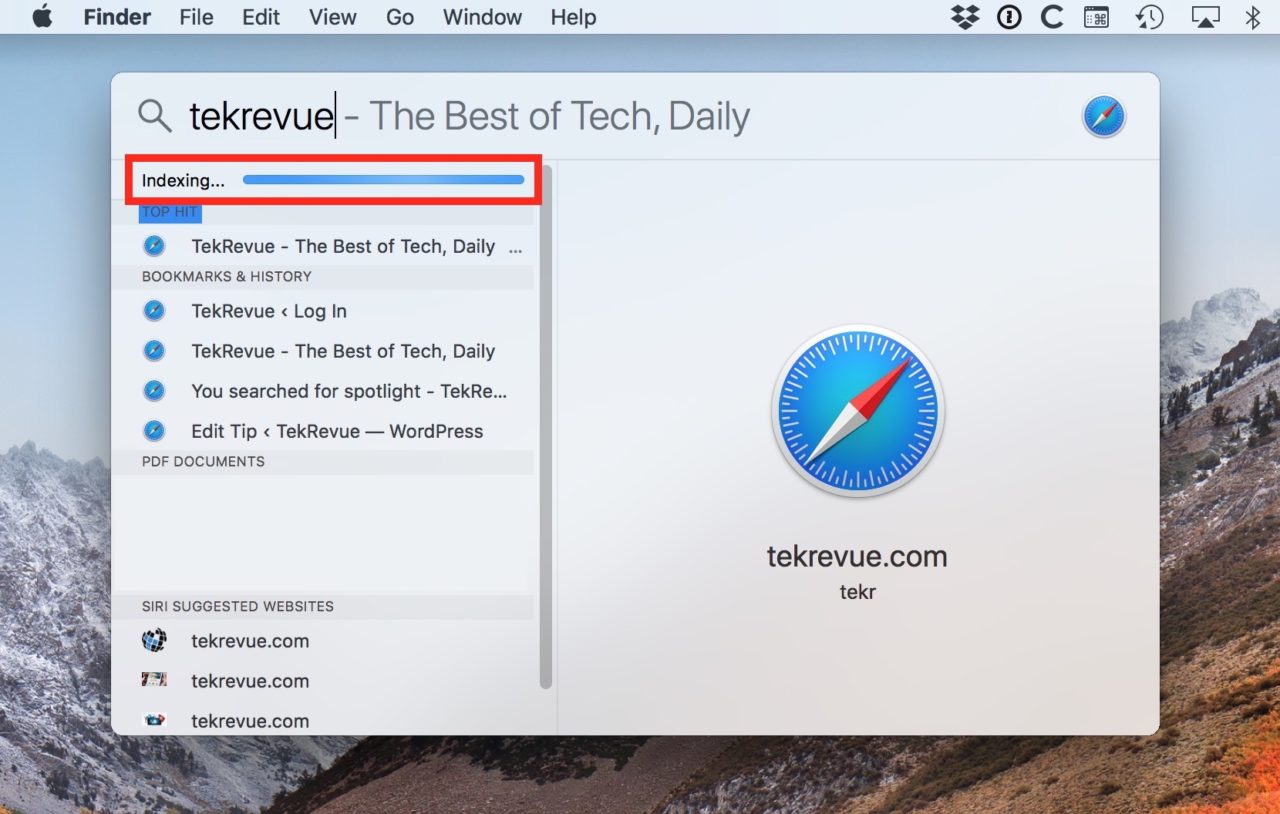
And you’re done! You’ll be able to tell that Spotlight is doing its reindexing job if you click on its magnifying glass icon and start doing a search. When you type something in, a small progress bar will appear to let you know that the indexing isn’t done.
One final note: the Spotlight reindexing process can consume a lot of your Mac’s resources, so expect performance to take a hit while the indexing is going on. It could take a few hours to complete, too, so don’t get this started right before you absolutely need your computer to be the fastest it can be or anything. But when everything’s done, you should be able to go back and find whatever you need to within Spotlight’s magical window. Happy searching!


