


How to Switch from View Only to Edit Mode in Google Sheets

Imagine you’re collaborating with your colleague on a spreadsheet they created. Everything is fine when you are just reading, but now you need to edit something. You discover that you’re in View Only mode, and you’re not able to make any changes. Unfortunately, you’ll have to ask the document’s creator to give you permission to edit the spreadsheet.
To help with this issue, or if you’re the creator, here’s how to switch from View Only to Edit mode in Google Sheets.
Sharing Options
First, we’ll explain how you can share a spreadsheet with your colleagues and what options you have. Here’s what you have to do:
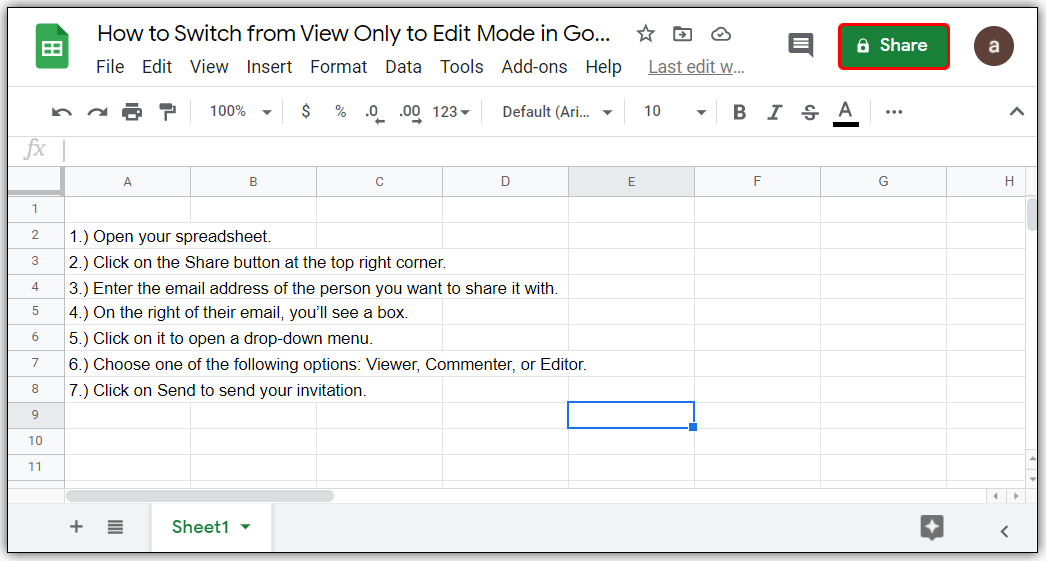
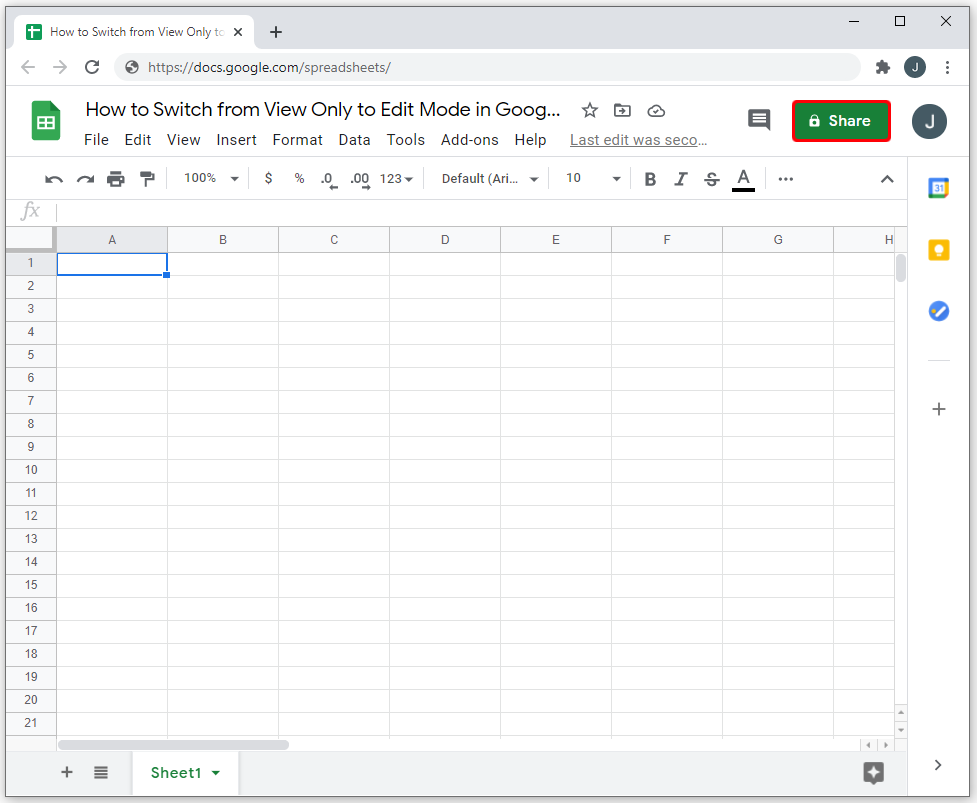
- Open your spreadsheet.

- Click on the Share button at the top right corner.

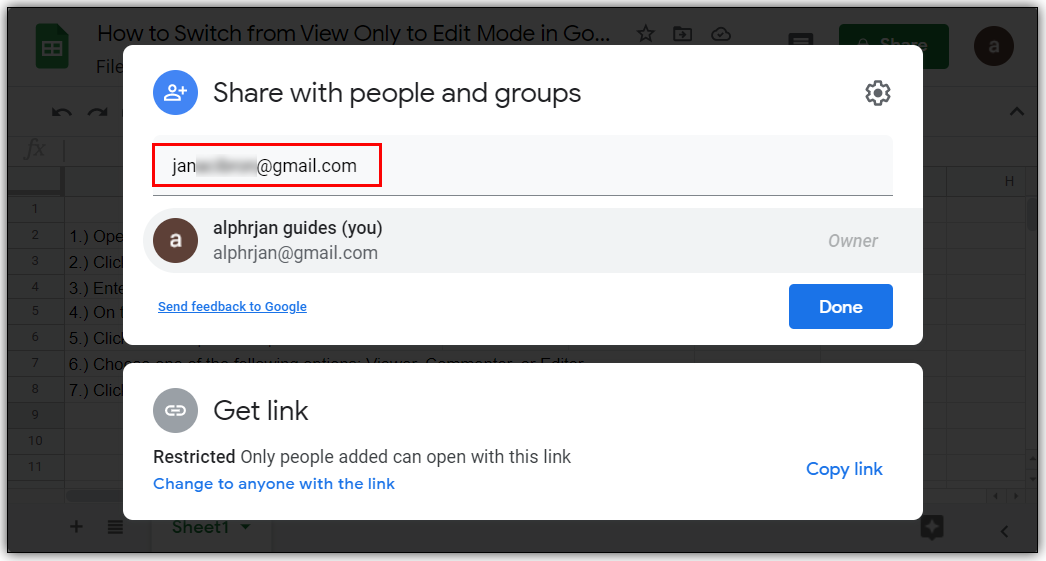
- Enter the email address of the person you want to share it with.
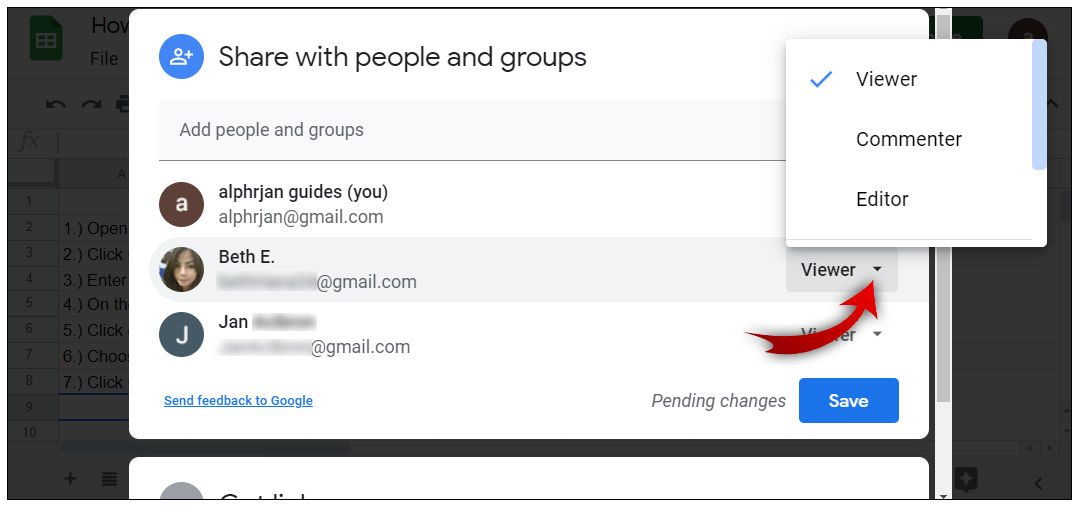
- On the right of their email, you’ll see a box.
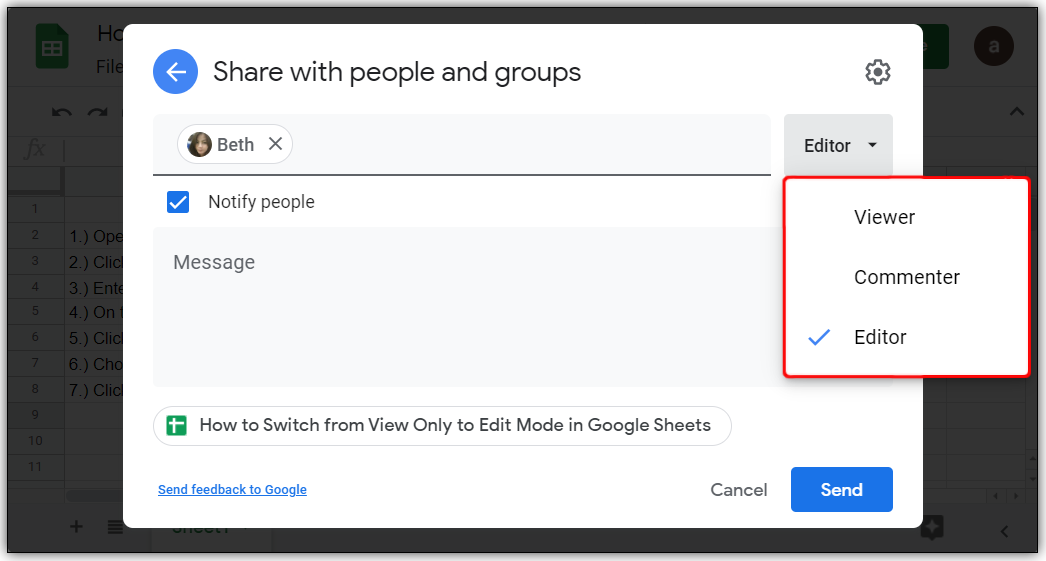
- Click on it to open a drop-down menu.
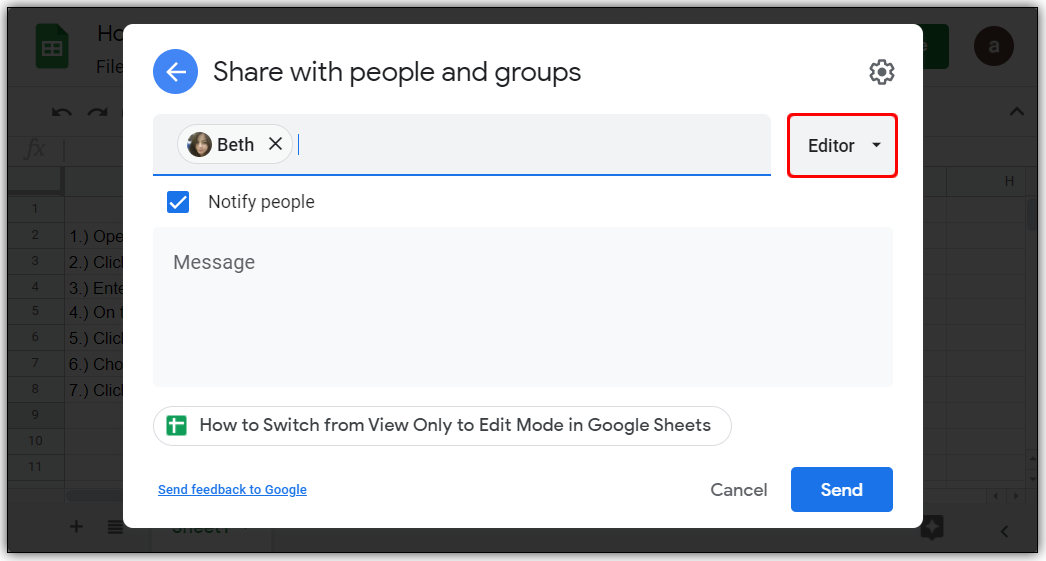
- Choose one of the following options: Viewer, Commenter, or Editor.
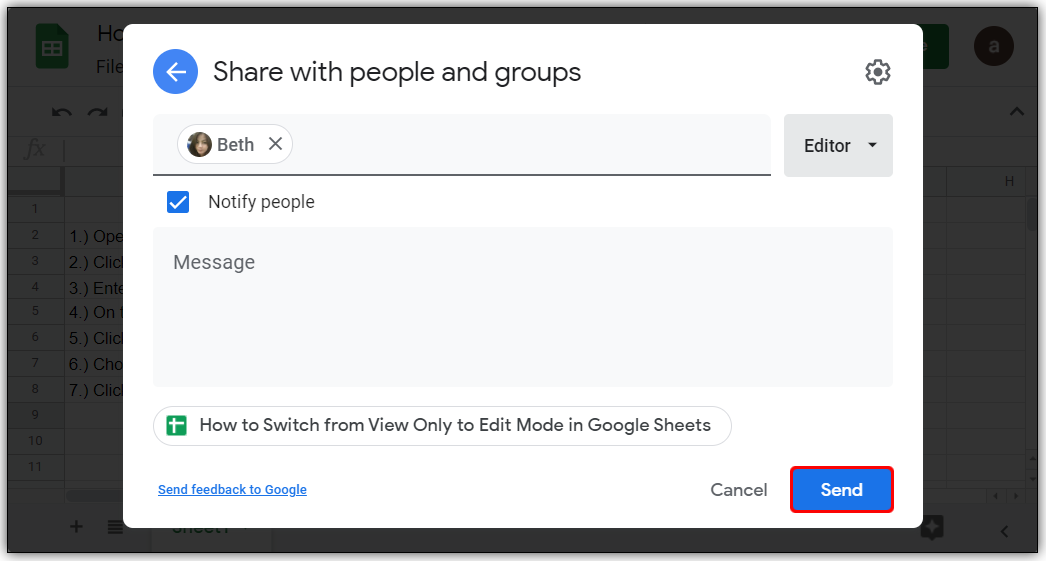
- Click on Send to send your invitation.
That’s it! Now, let’s talk about the permissions you can give them and what these mean:
- Viewer – This is what we call View Only mode. Viewers can only view and read your spreadsheets, but they can’t make changes, or add any comments.
- Commenter – Commenter means they can’t change the data in your spreadsheet, but they can leave comments on the side. This can be a good option if you want to protect your data when collaborating with someone. At least they can write their suggestions, which is not possible in View Only mode.
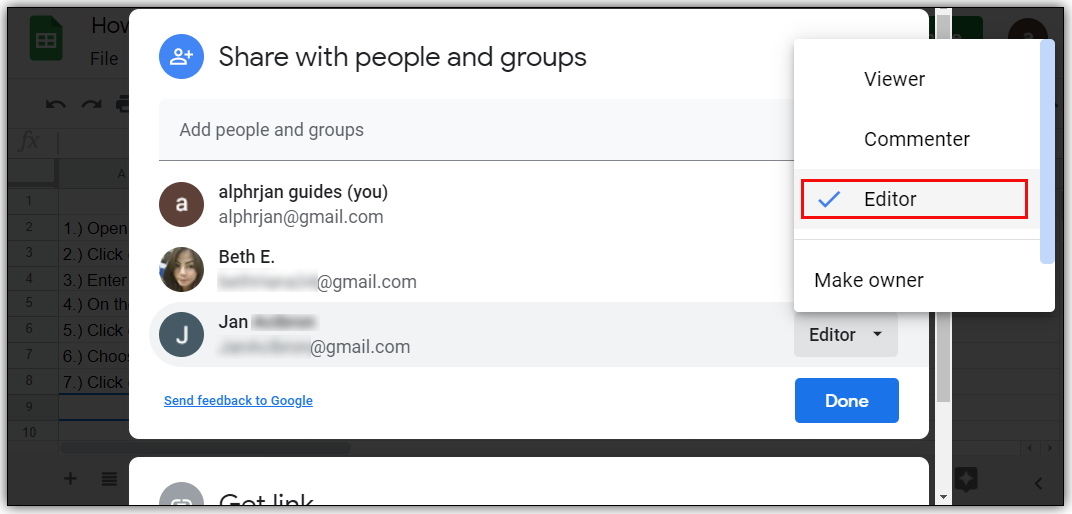
- Editor – Editors can make changes in your spreadsheet, enter new data, or delete some of your entries. The good thing is that you can always access spreadsheet history if you want to see the first version.
Bonus: If you open the Advanced Settings, you’ll see that you can permit editors to share the document with others. This can be a great help, especially if you have a big team and can’t handle all their requests alone. Editors with this special permission can help you. However, if you don’t want this feature, make sure to disable it.

Change from View Only to Edit
We’ve described how to share documents and give various permissions, but what if you’ve changed your mind? Maybe you want to allow your colleagues to edit the document, or they’ve asked you to do so because they want you to add something. No problem. You can change their status whenever you want to. Here’s what you have to do:
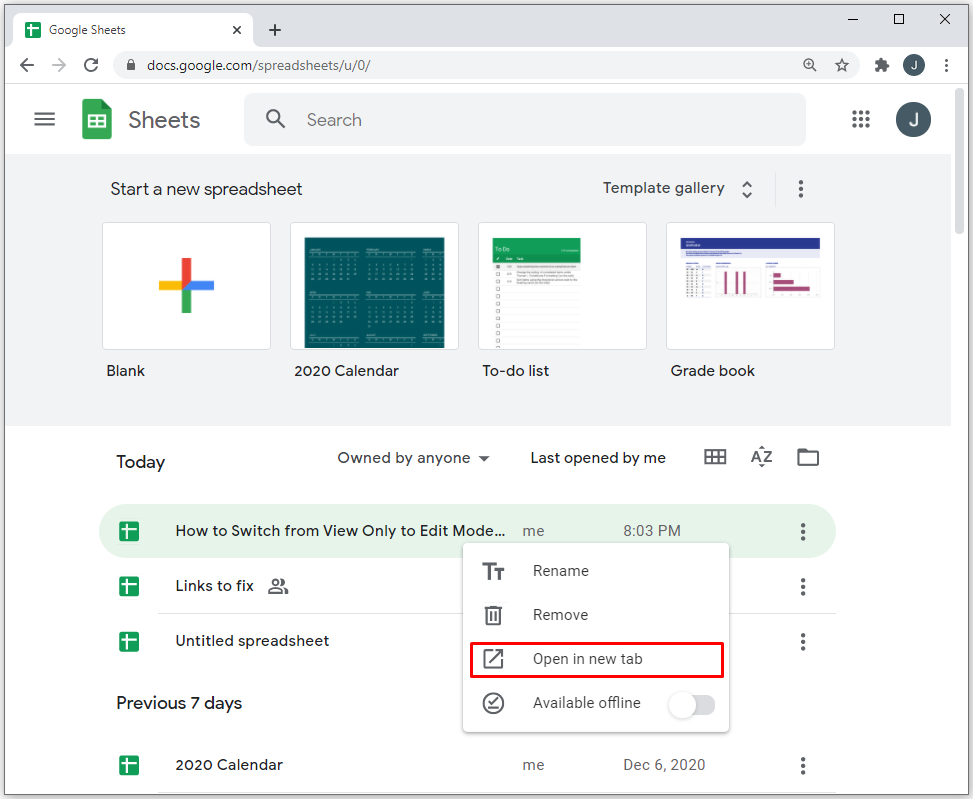
- Open your spreadsheet.
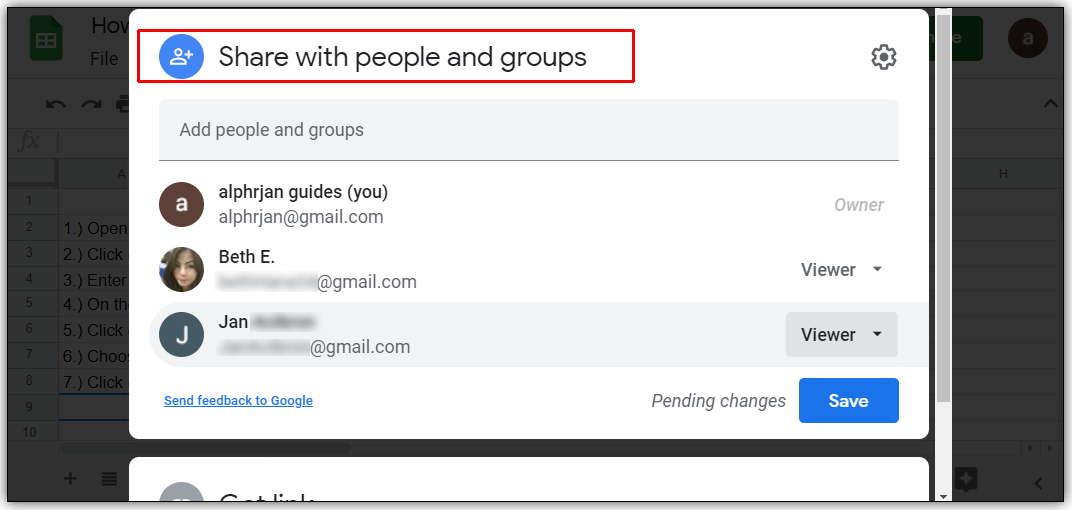
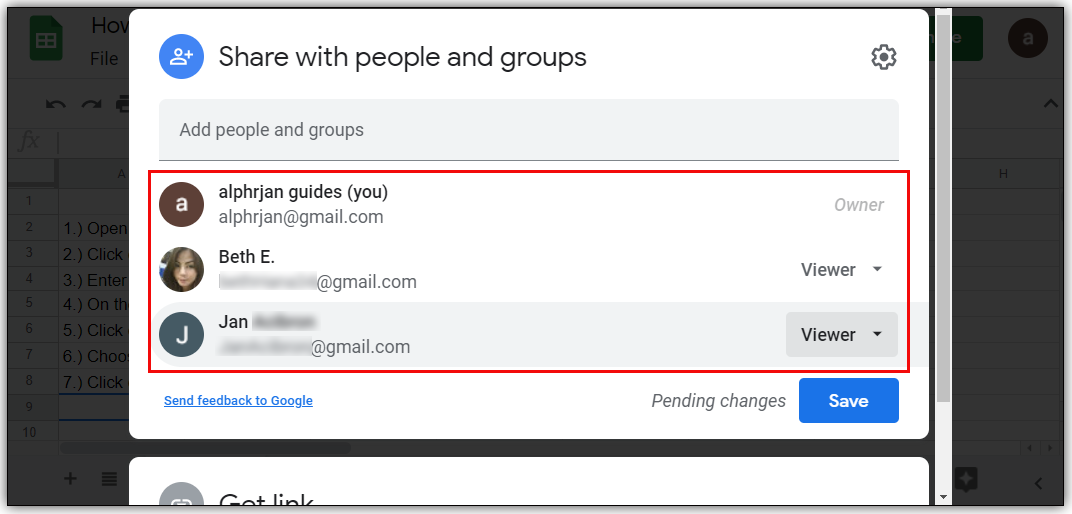
- Click on Share with people and groups.

- You’ll see a list of people you’ve shared it with as well as the status of each of them, next to their name.

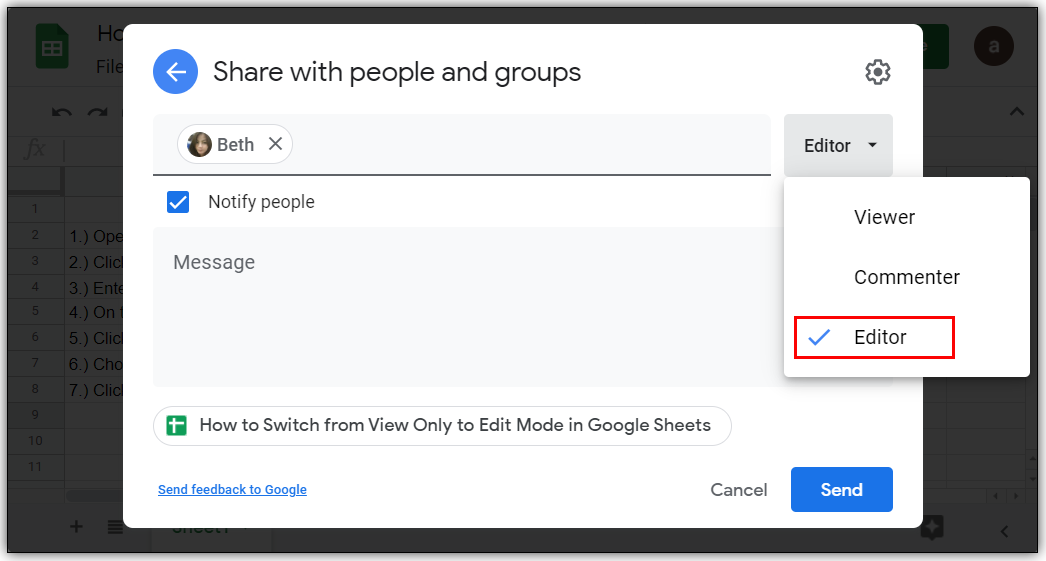
- Click on the box next to their name and open a drop-down menu.

- Instead of Viewer, select Editor.

That’s all! If you need to change the status of more people, it may take a while because you’ll have to repeat this process for each one of them. However, this has a positive side as it means you can always customize the access to your document and give different permissions to various people.
Sharing with a Link
If you want to share your spreadsheet with a lot of people, sometimes it’s easier to share it by sending them a link or simply posting a link somewhere. This method is very convenient, but you have to be careful to make sure what people with a link can do and what they can’t do (it may not be a good idea to give all of them Editor’s permission).
Here’s how you can share a spreadsheet with a link:
- Open your spreadsheet.

- Click on the Share button on the top right corner.

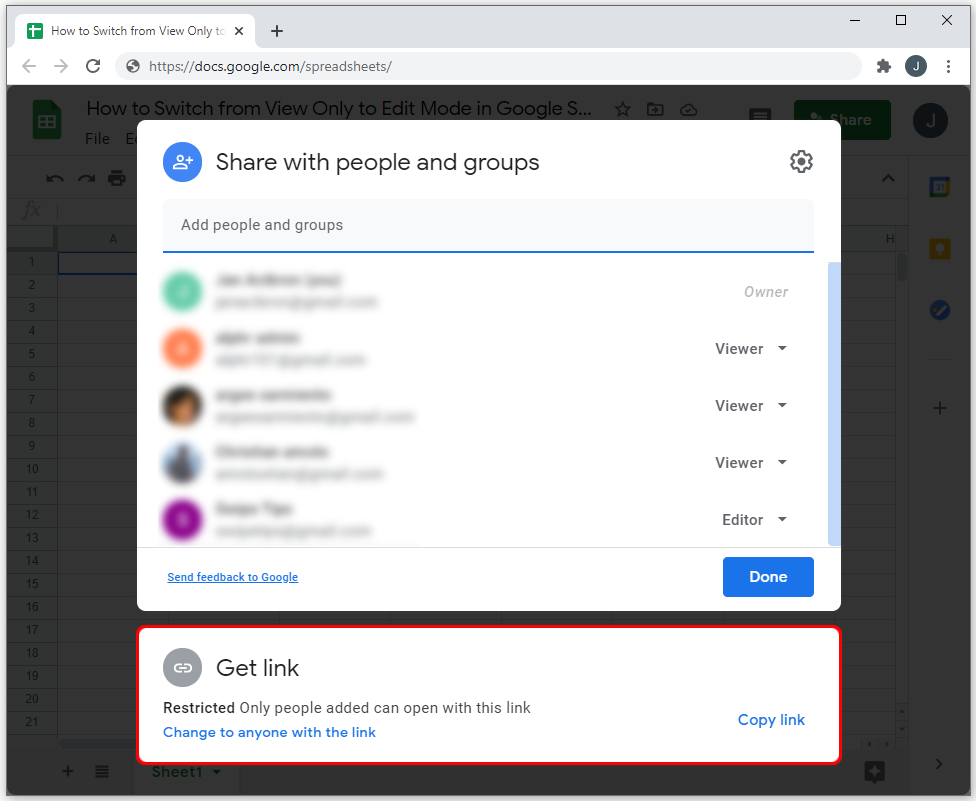
- Click on Get a link.

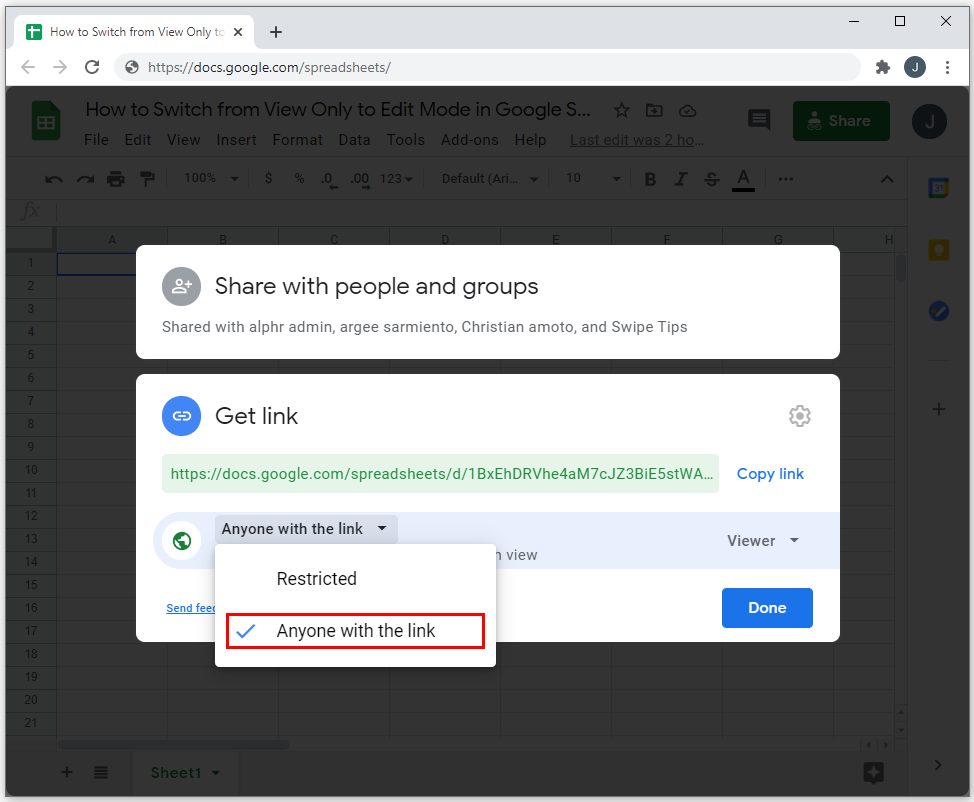
- Click on the box below it and change the settings from Restricted to Anyone with a link (this is a mandatory step, as you have to allow people to see the spreadsheet.)

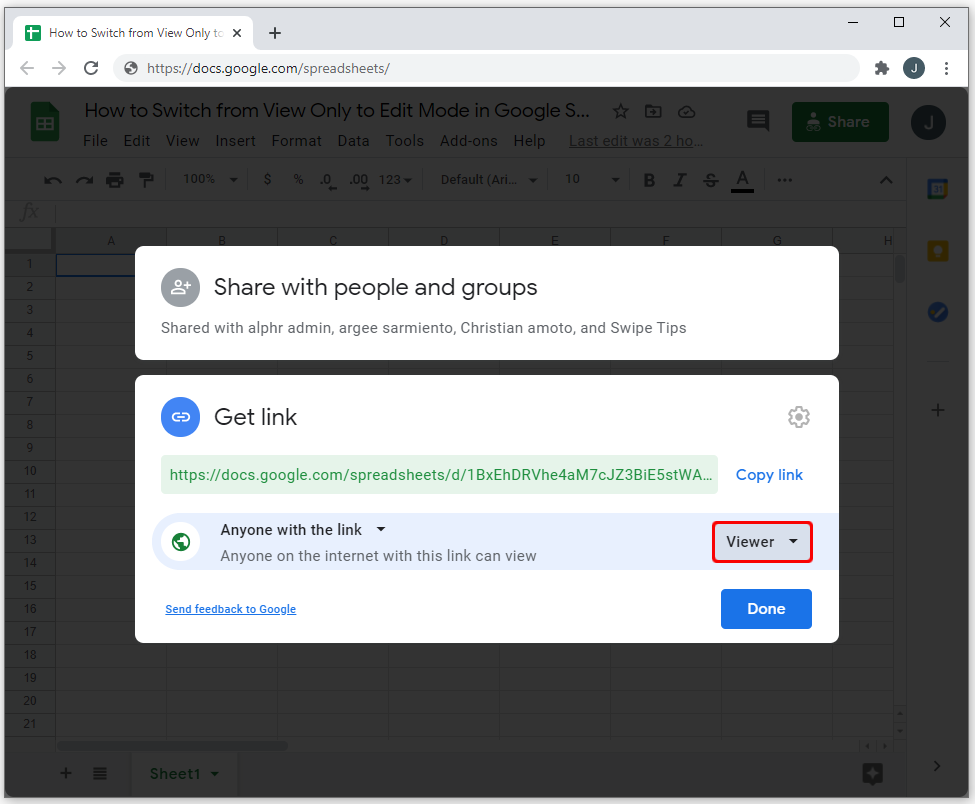
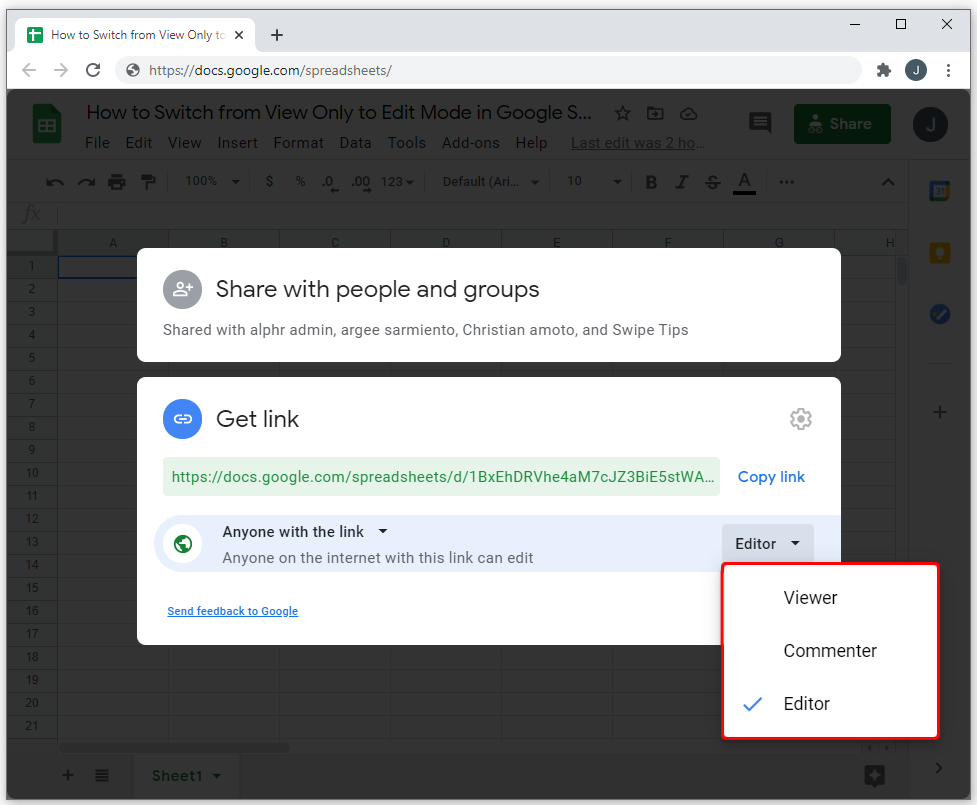
- Then, click on the box next to Anyone with a link.

- Choose whether you want them to be Viewers, Commenters, or Editors.

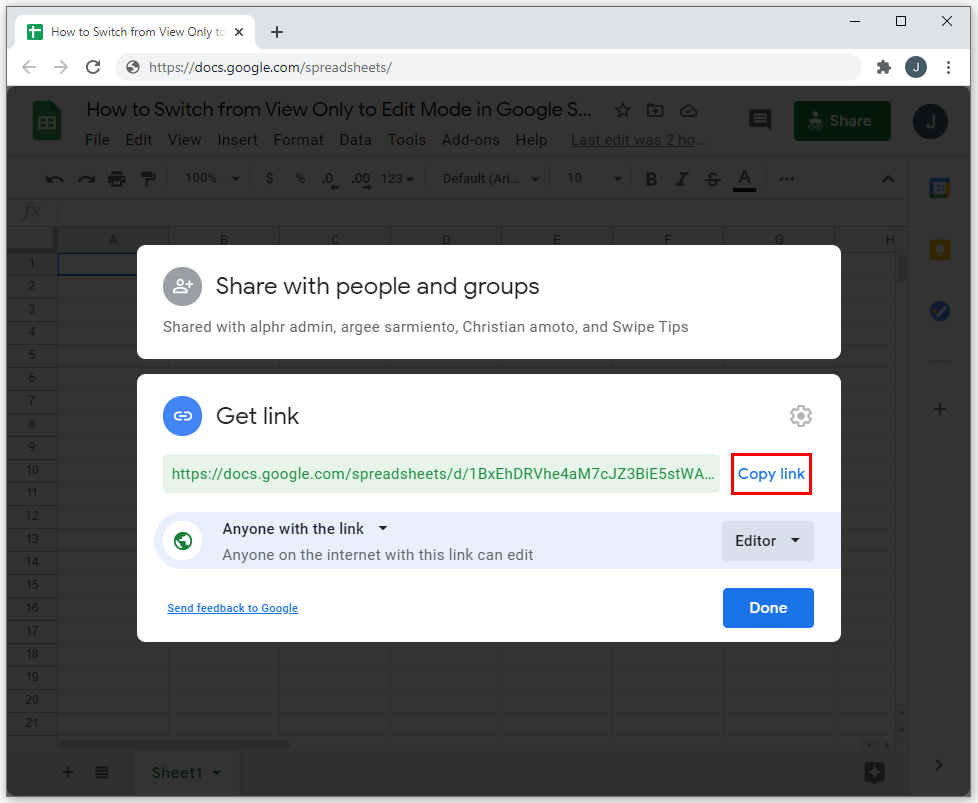
- Copy link.

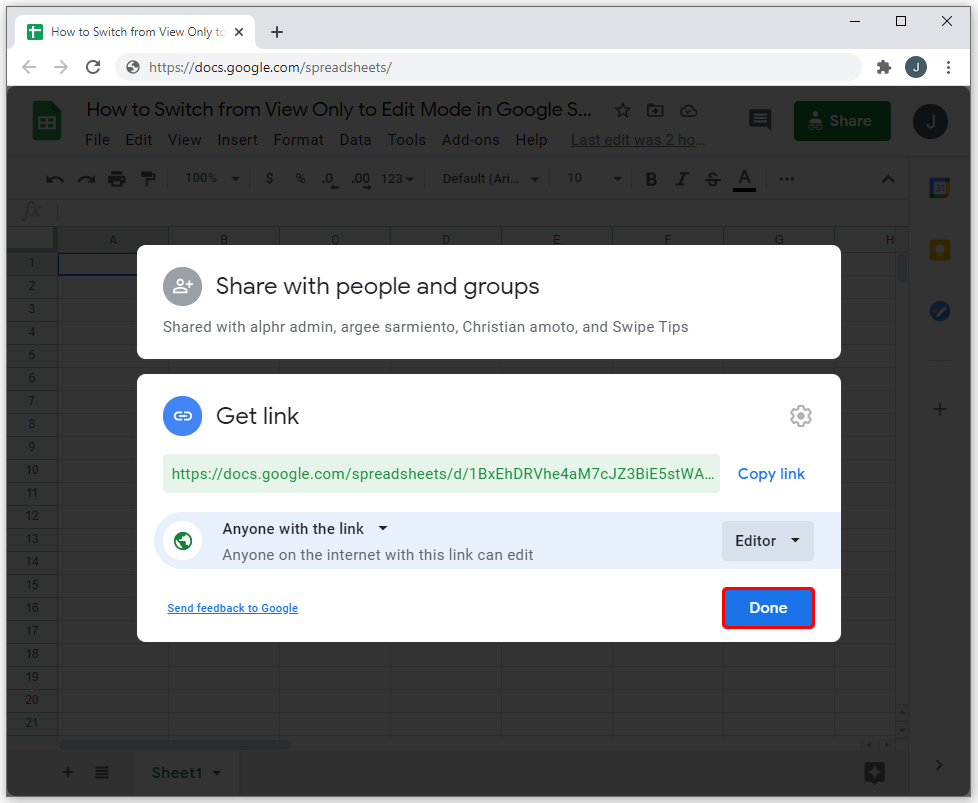
- Click on Done.
That’s it! You can now post the link somewhere, and anyone can access the spreadsheet unless you change the settings. If you’re sharing it with a lot of people, we highly recommend you give them Viewer or Commenter status, but not Editor status.
You’re in Charge
Collaborating on documents has never been easier, thanks to Google Sheets. However, some rules still have to exist, especially if you’re sharing a file with a lot of people. The best thing is that you can always change their status and editing privileges.
Do you prefer to be a Viewer, Editor, or Commenter? Let us know in the comments section below.


One thought on “How to Switch from View Only to Edit Mode in Google Sheets”