How To Fix ‘You might not have permission to use this network resource’ Errors in Windows
Even though Windows was designed as a network-capable OS, networking it at home or at work has never been straightforward. While more recent OS like Windows 8 and Windows 10 have made it slightly easier to connect two PCs together, it is still more trouble than it should be. One common error is the ‘You might not have permission to use this network resource’ error. Here is how you fix it.
Picture the scene. You have two Windows computers on the same network. They are both within the same Homegroup, have sharing enabled and can see each other on the network. Yet every time you try to open a folder, you see an error that says ‘You might not have permission to use this network resource’.
Fix ‘You might not have permission to use this network resource’ errors in Windows
The procedure to fix this is quite lengthy as it could be a number of factors so you will have to bear with me while I go through everything. First, I’ll show you how to create a Homegroup that works and then show you a specific fix that helps. Feel free to skip to the end for the fix.
You will need two PCs on the same network connected to a router. The two machines should both be powered on and have an active internet connection. I used a pair of Windows 10 machines for this example.
To set up a Homegroup correctly:
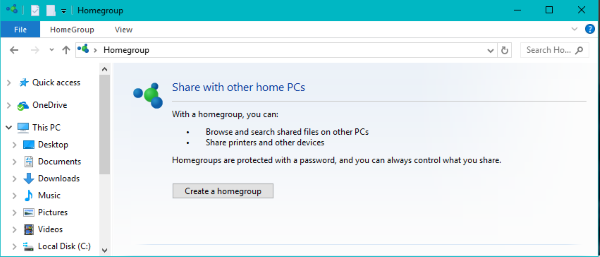
- Type ‘homegroup’ into the Search Windows/Cortana box and select Homegroup.
- Select Create a homegroup and hit Next.
- Write down or photograph the password that appears on the next page.
- Select Finish.
To add another computer to the homegroup:
- Type ‘homegroup’ into the Search Windows/Cortana box and select Homegroup.
- Select Join now and hit Next. The system will detect the Homegroup you just created.
- Select the files or drives you want to share and hit Next.
- Enter the password created above into the box when prompted and hit Next.
- Select Finish.
In theory, you should now be able to view files on both computers from one or the other.
Share files across a Homegroup
To change what files, folders or drives are shared across a Homegroup you need only to use the Homegroup wizard.
- Type ‘homegroup’ into the Search Windows/Cortana box and select Homegroup.
- Select ‘Change what you’re sharing with the homegroup’.
- Select the files, folders or drives you want to share.
- Select Next then Finish.
- Test on the other computer.
If you follow these steps, you should have a fully working Homegroup within which you can view resources on other machines.
If you are trying to fix an existing Homegroup, you can either delete it and start again or troubleshoot it.
Troubleshooting Homegroup settings
To work effectively, a Homegroup needs ideally to be set up exactly as above. If you already have one set up, make sure these settings are correct.
- Both computers should be on the same physical network.
- Both computers should be members of the same Homegroup.
Then you need to check Advanced File Sharing and make sure both machines are set up the same.
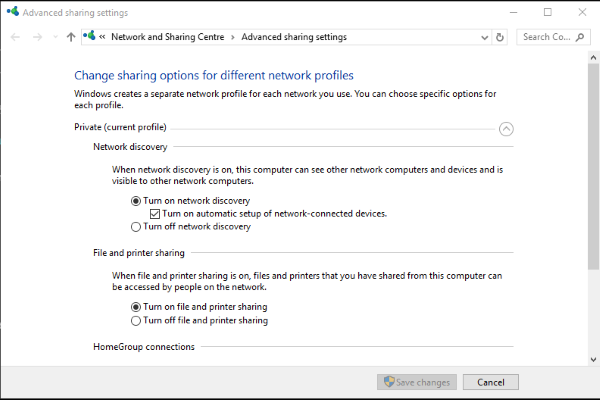
Access Advanced File Sharing through Control Panel, All Control Panel Items, Network and Sharing Centre, Advanced sharing settings.
Then check:
- Network discovery should be set to on.
- File and printer sharing should be on.
- Network discovery should be on.
- Public folder sharing should be on.
- 128-bit encryption should be on.
- Password protected sharing should be on.
It may help to temporarily switch Password protected sharing to off during troubleshooting. Ideally, Public folder sharing should be off, as it allows anyone to access your files but for troubleshooting, turn it to on to help figure out what’s wrong.
If all these settings are correct, try this fix.
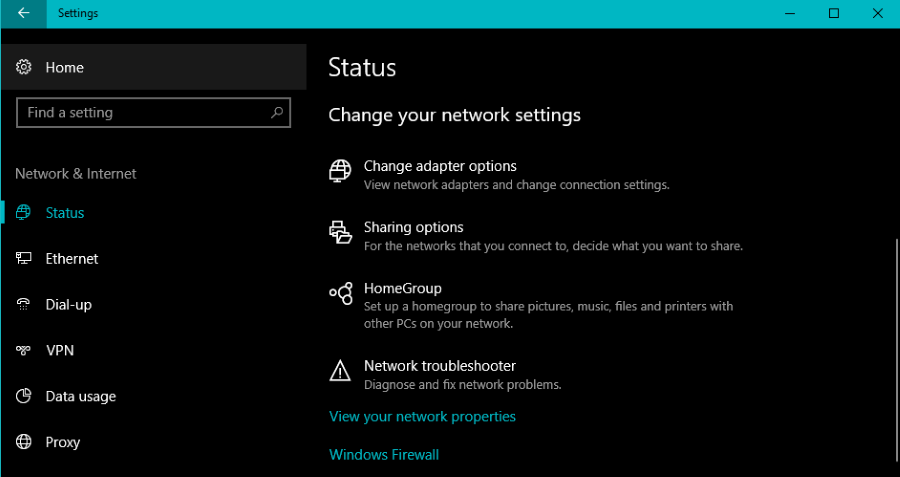
- Open Settings and select Network & Internet.
- Select Change adapter options and right click your network adapter in the new window.
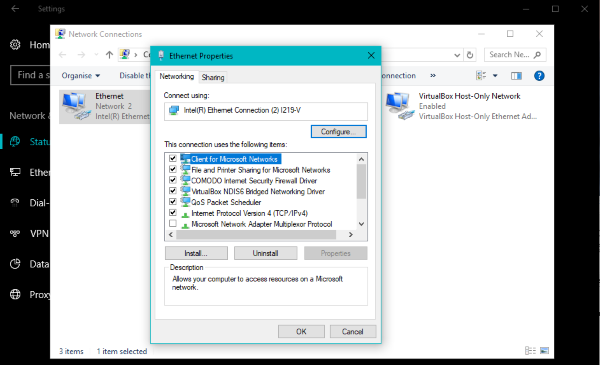
- Select Properties.
- Make sure Client for Microsoft Networks is installed and has a checkmark in the box.
If you don’t see Client for Microsoft Networks, select Install, then Client and Client for Microsoft Networks. Windows may want to reboot and then your Homegroup should work perfectly.
If Client for Microsoft Networks is present, hit Uninstall and then Install Client and Client for Microsoft Networks. Reboot if required and retest.
If the Homegroup has been set up correctly and the two computers are on the same network and can see each other, the Advanced sharing settings are correct, then this final step is usually enough to fix the issue.
Have you been able to fix ‘You might not have permission to use this network resource’ errors using this tutorial? Tell us about your experience below if you have!